


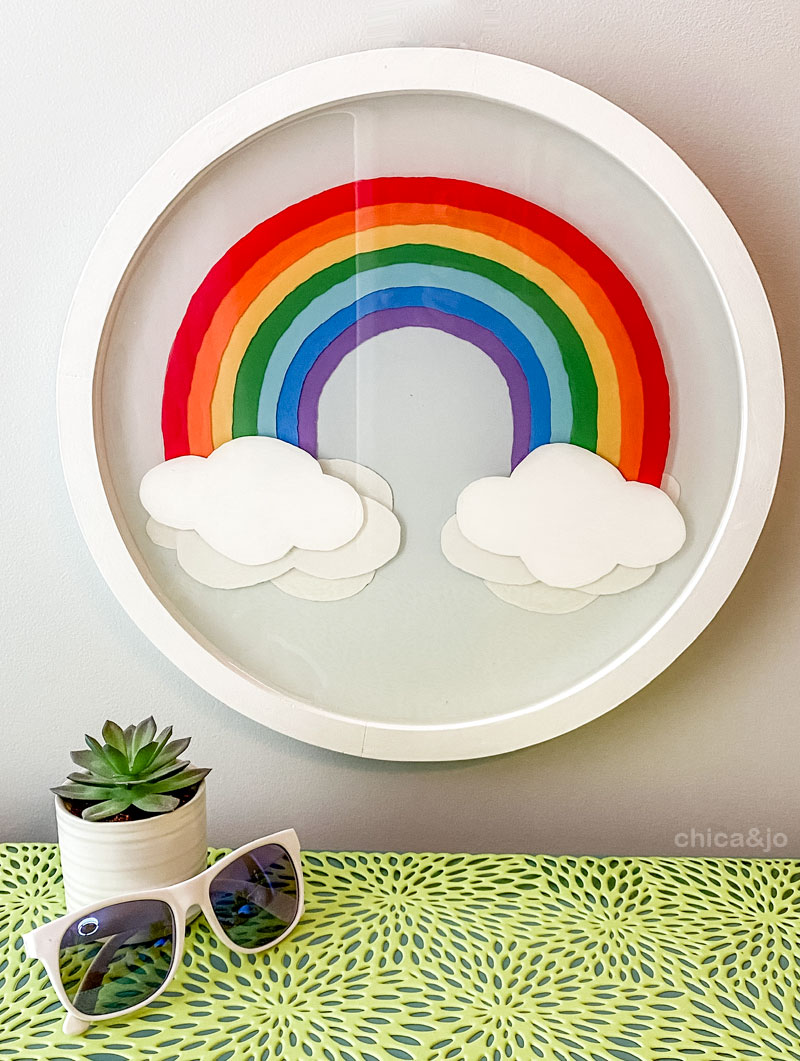
Painted Rainbow Layered Resin Art

I have had so much fun playing with resin, and love learning new techniques. When I saw the Layered Heart Art that my friend Kelly over at MAS epoxies created, I was instantly inspired to try it myself. I came up with my own design and created an awesome layered rainbow with tons of depth and color.
Video tutorial for painted layered resin art
Here's a video showing the entire process of how I made this layered resin rainbow art.
If you can't see the video, try viewing it directly on YouTube.
If you prefer step-by-step instructions, keep reading to see exactly how I made this layered resin rainbow art!
How to make a layered resin rainbow
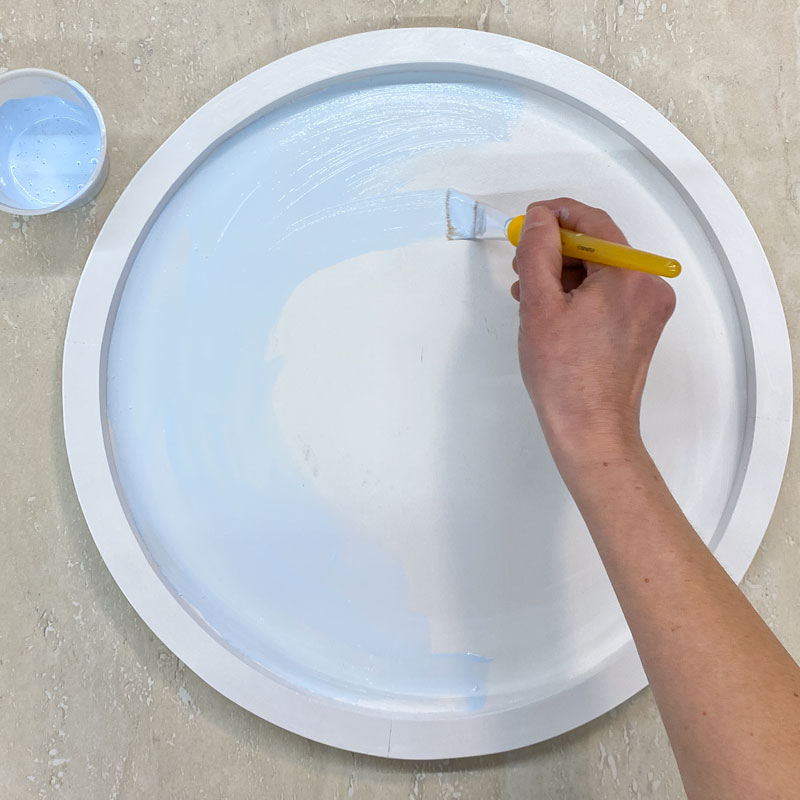
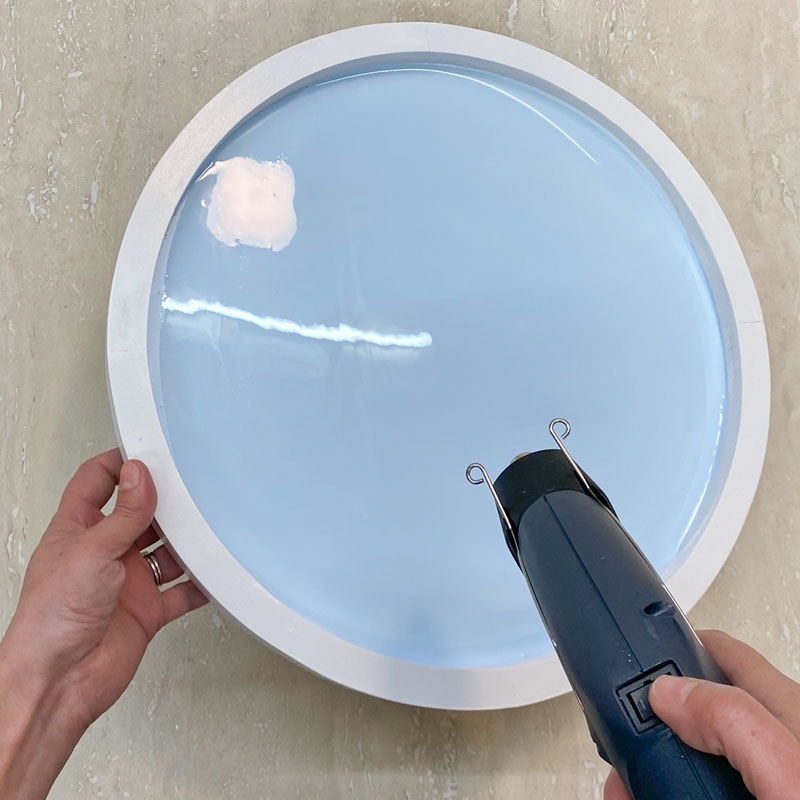
Creating painted, layered resin art takes a while to do because there are so many steps, but it's totally worth it. To start off, you need a frame or tray with fairly tall sides that can hold in the resin. How tall will depend on how many layers of resin you pour. I chose a round wood tray that I found at the craft store that measures about 13" on the inside diameter and has 3/4" tall sides. Use acrylic craft paint to paint the frame white and the inside a soft, sky blue.
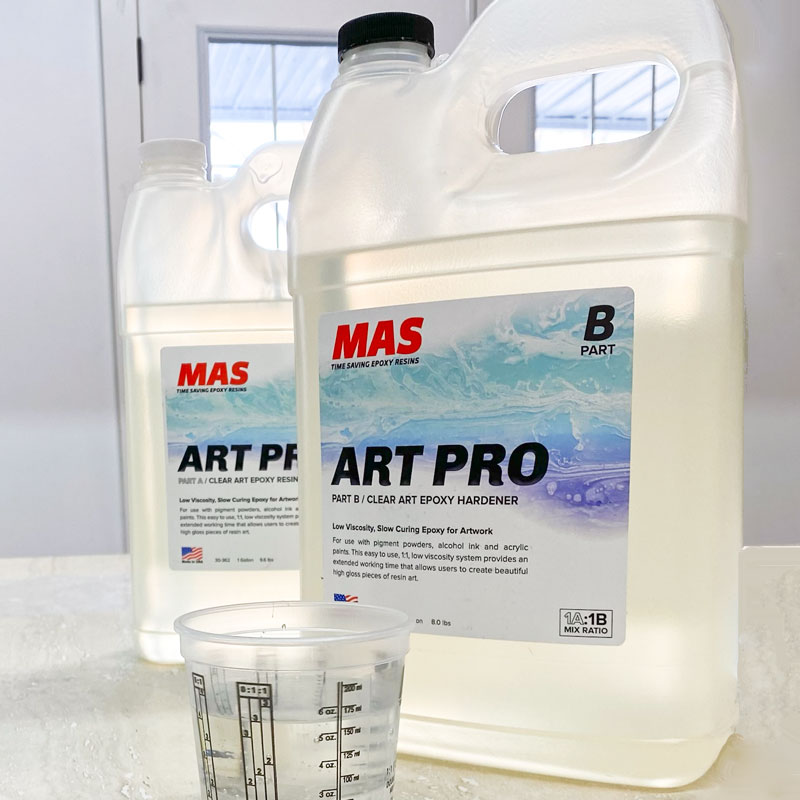
The resin I chose to use for this project is MAS Art Pro Epoxy (Enter coupon code CHICAANDJO for 10% off), a 1:1 epoxy that's easy to use and would work great for the thin layers I would be applying in this project.
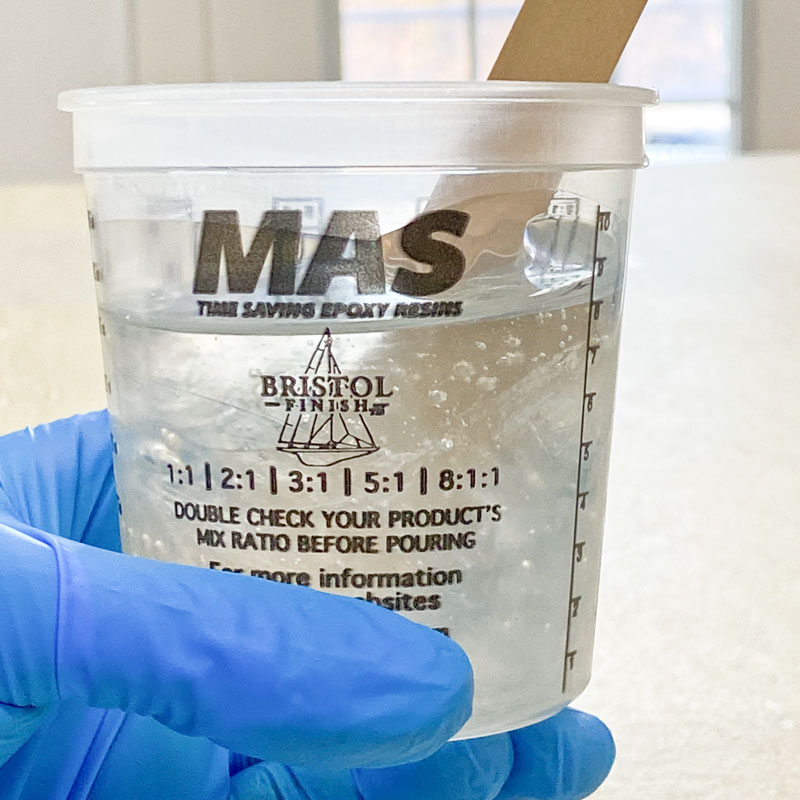
For each layer of resin on this project (and there will be many!) you will need to mix up enough resin to create a 1/16" thick layer across the surface. For my 13" tray, that meant 5 ounces of resin — 2.5 ounces of part A and 2.5 ounces of part B. If your tray has a different diameter or you want a different thickness for each layer, use the MAS Resin Calculator to determine how much to mix.
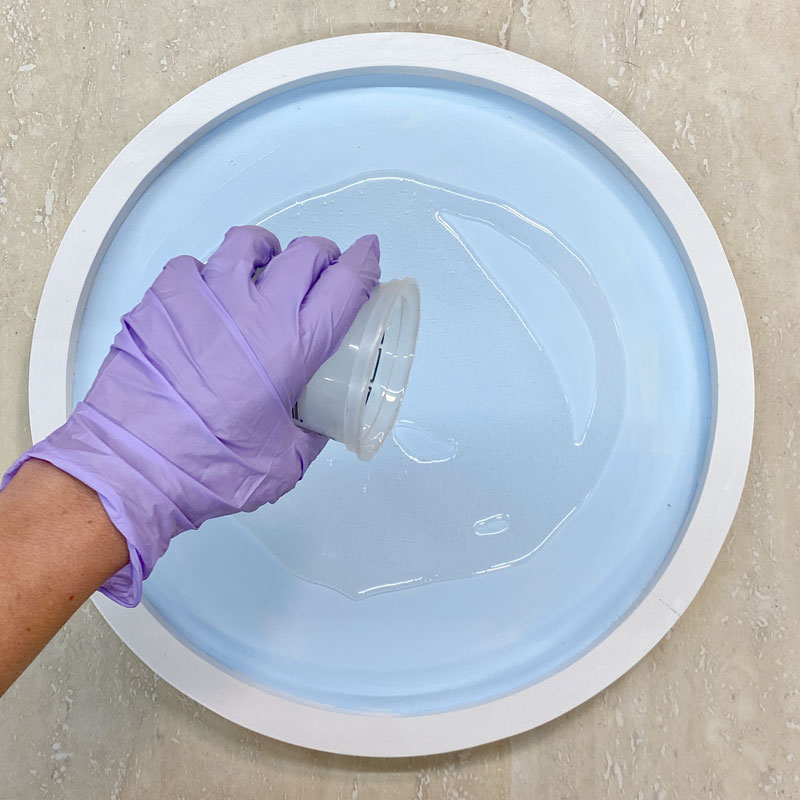
To seal the paint in and give you a good working surface to start with, apply your first layer of resin over the dried paint. Mix the Art Pro (Enter coupon code CHICAANDJO for 10% off) resin thoroughly according to package directions and pour it over the paint.
To make the epoxy flow evenly across the surface, gently warm it up with heat gun, such as my Wagner HT400 heat gun. As the heat warms the resin, it will become more fluid and spread easily, and the blowing air from the gun will help push the resin to the edges. Tilt it in all directions as you go, until the entire surface is covered.
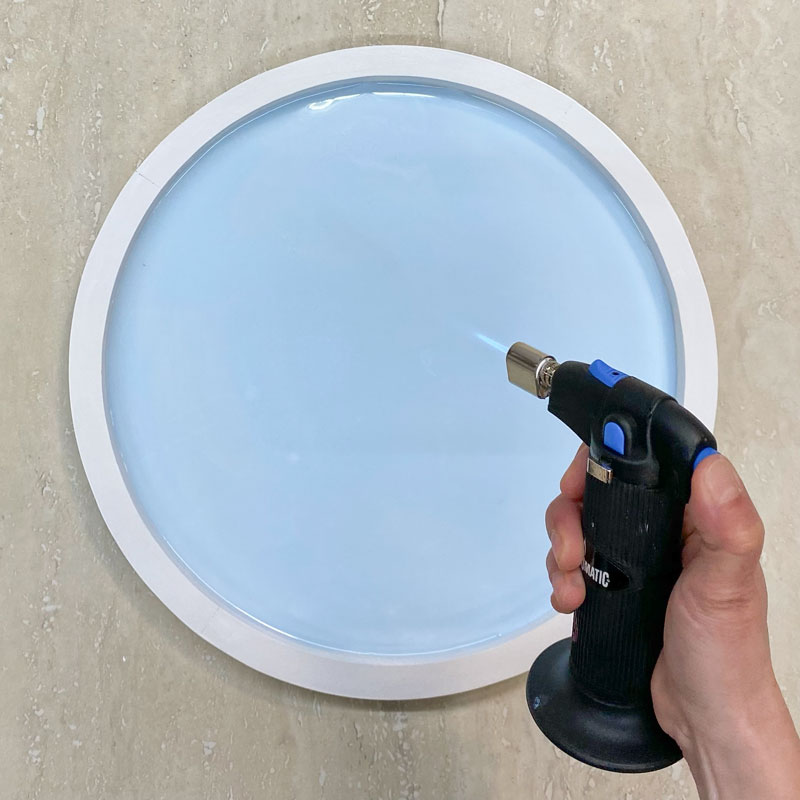
Then wave a torch, such as my Bernz-O-Matic butane torch, quickly over the surface to pop any air bubbles. Repeat this step every few minutes until the bubbles stop appearing. This is how you get a nice crystal-clear finish on your resin. Let the resin cure completely (overnight at least).
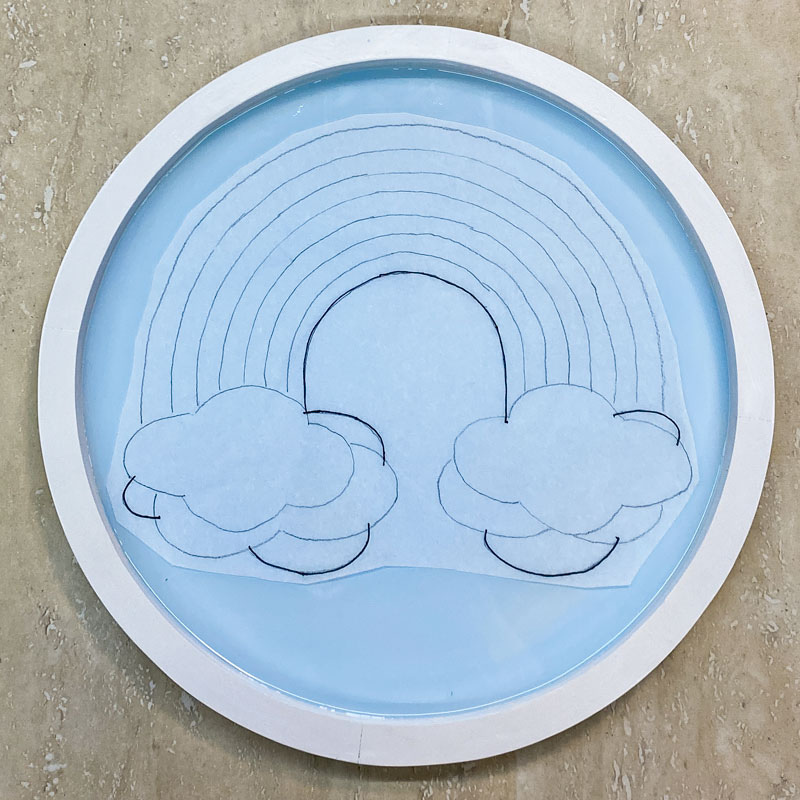
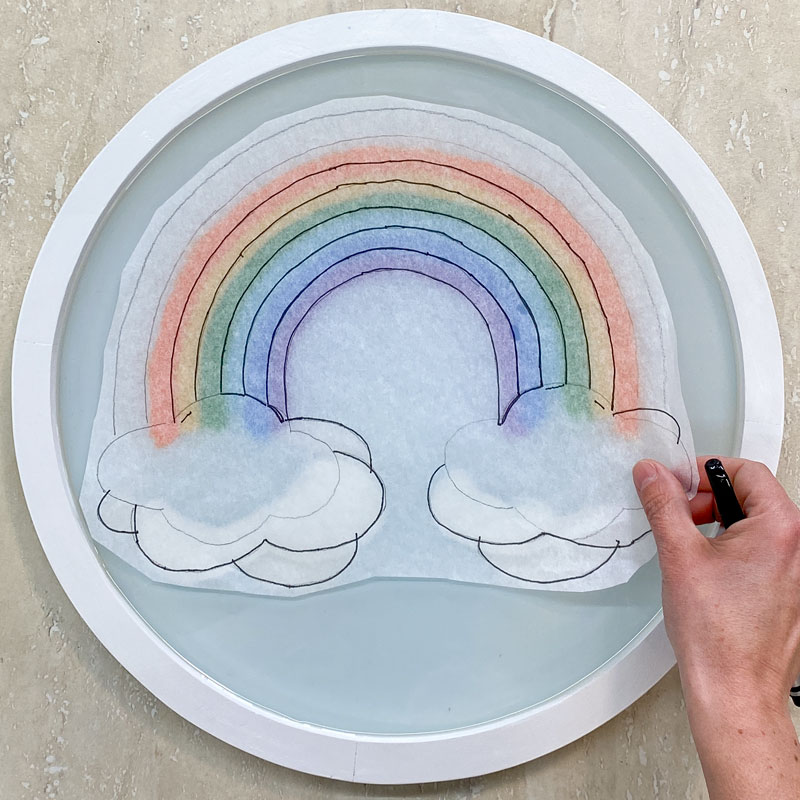
With the surface prepped, you're ready to get started applying the rainbow. I designed a rainbow outline and used that to create a printable Rainbow Pattern that you can also download and print to create your own rainbow tray.
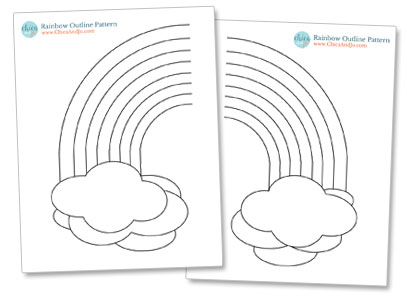
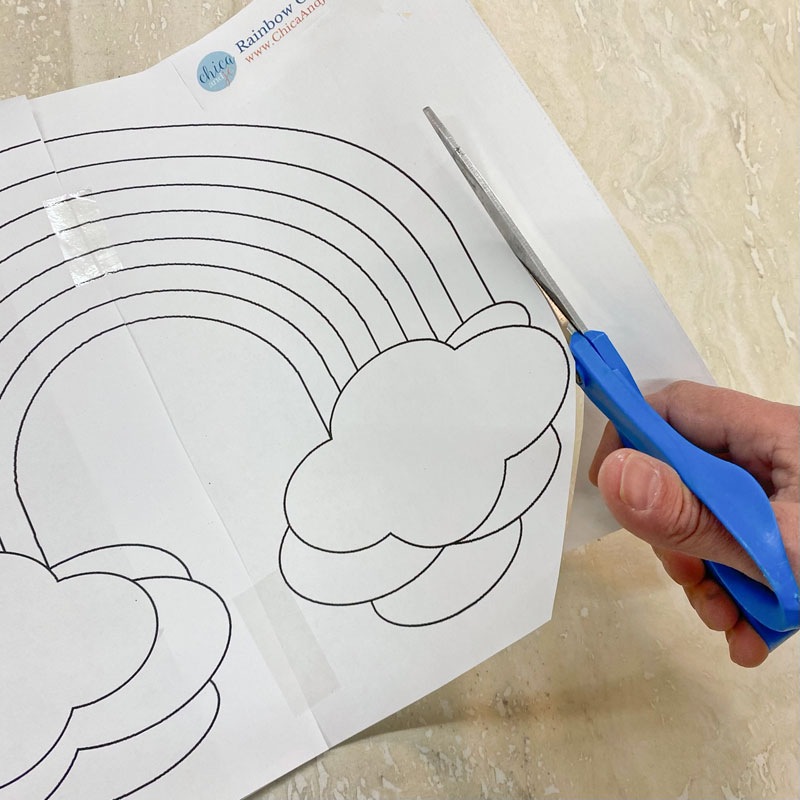
After printing both pages of the pattern, tape them together and if you'd like, trim away any excess paper.
Now the key to converting this pattern into something that can be transferred onto the resin is the clever use of tissue paper. I'll have to give Kelly full credit for introducing me to this brilliant trick. First, lay a piece of white tissue paper over the design.
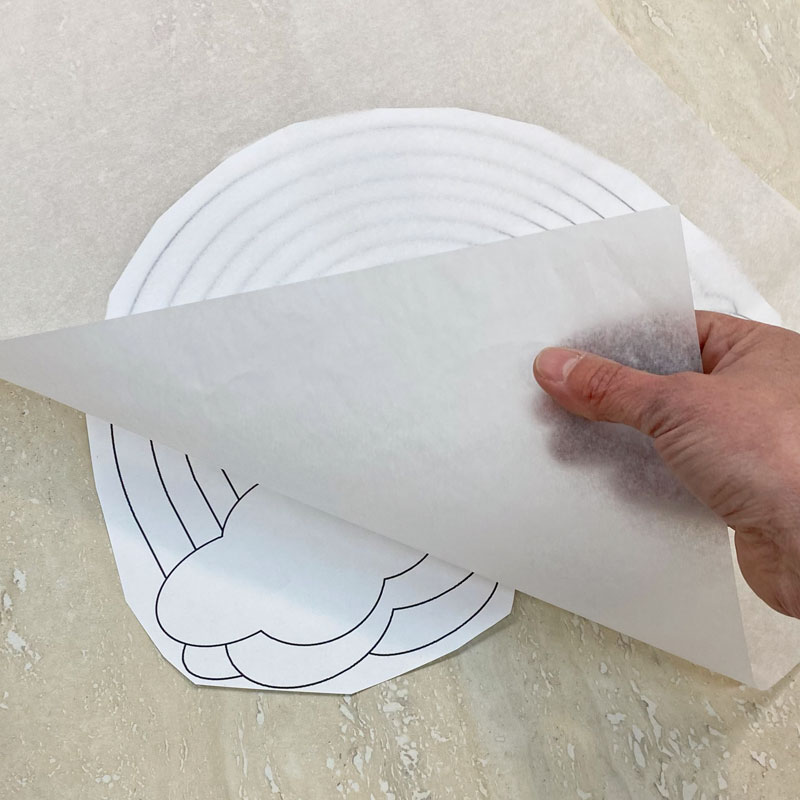
Then trace over the design with a pencil, transferring it to the tissue paper.
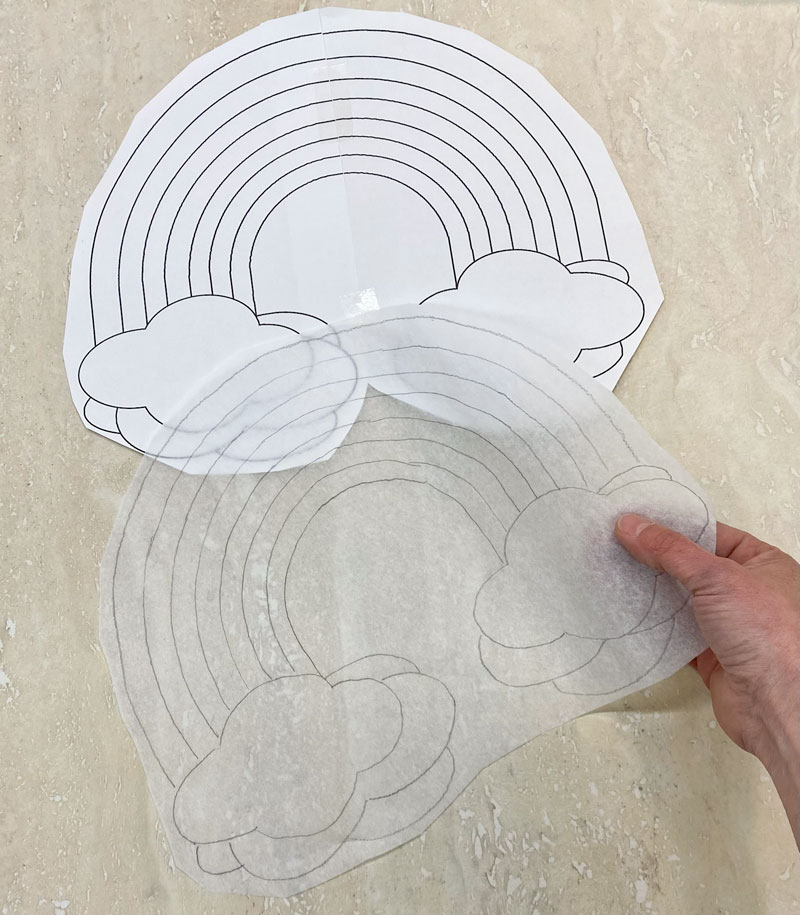
Cut it out and you'll have a see-through version of your pattern.
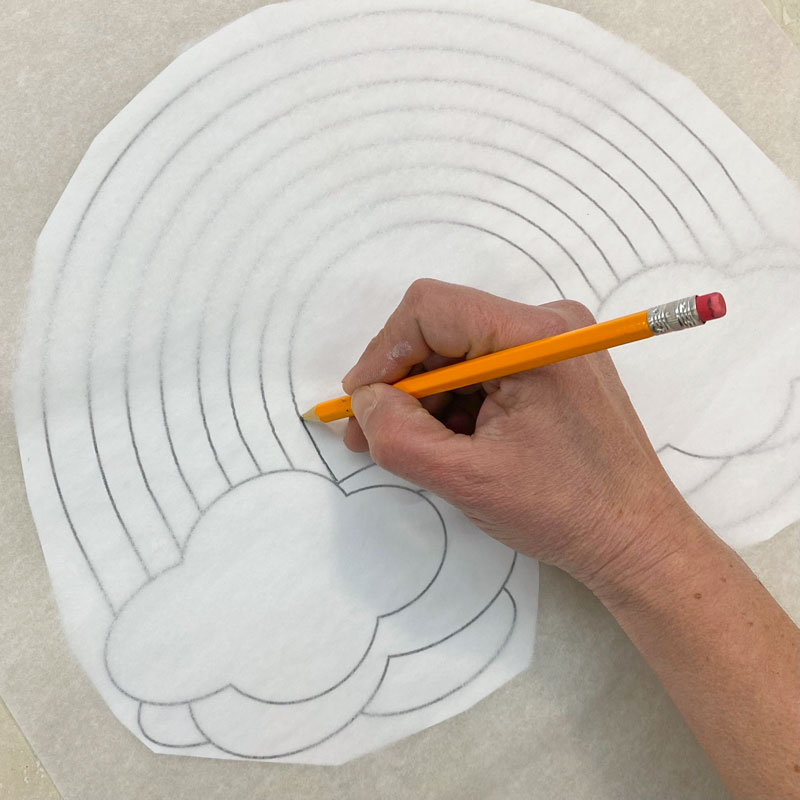
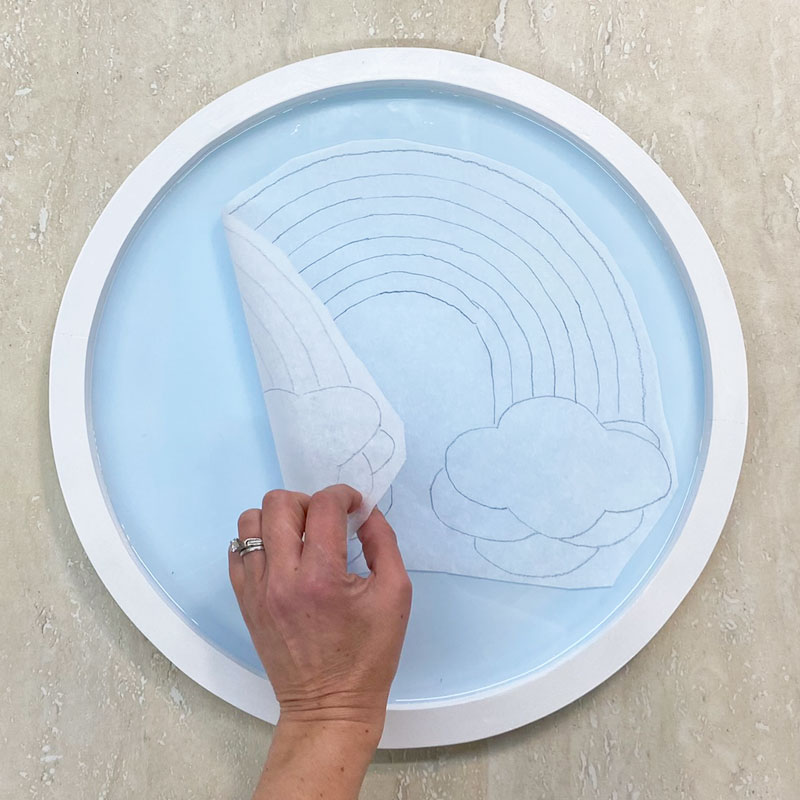
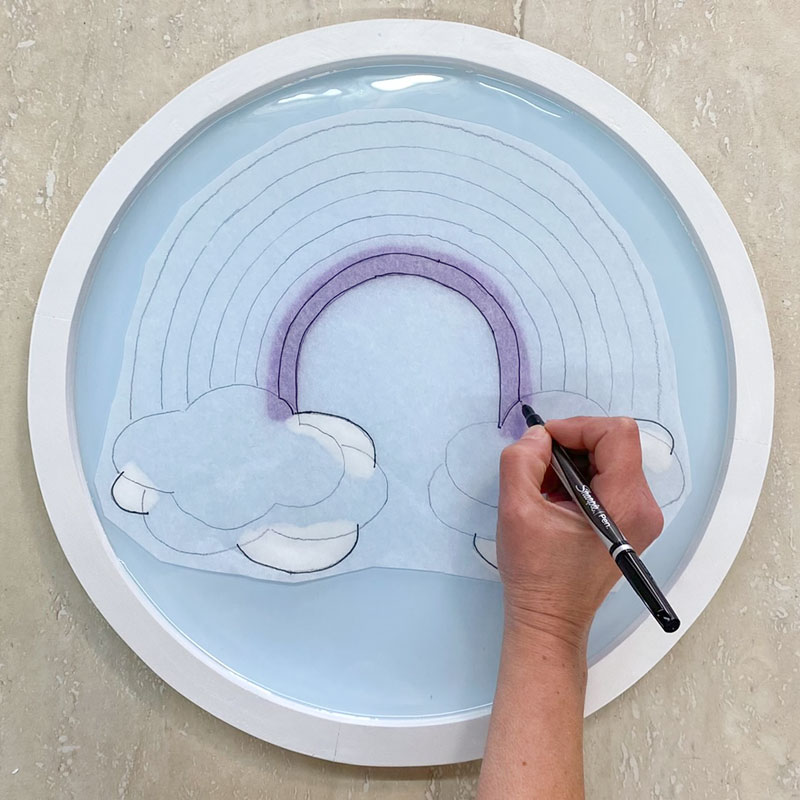
Center the tissue paper on the tray and get it exactly where you want it.
Then use a fine-tip Sharpie marker to outline the pattern. As long as you draw slowly, the Sharpie will bleed through the tissue paper just enough to leave a faint outline on the resin.

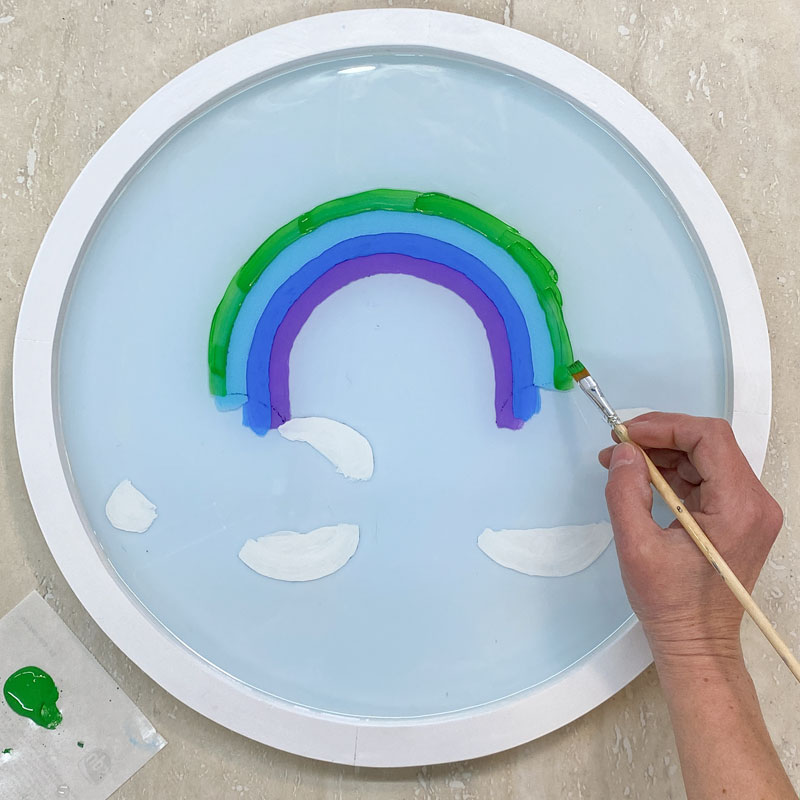
Don't trace the whole pattern yet, though! For this first layer, you only need to outline a few key elements of the design. Trace the innermost curve of the rainbow, and the outermost bubbles of the clouds (three on the left and two on the right).
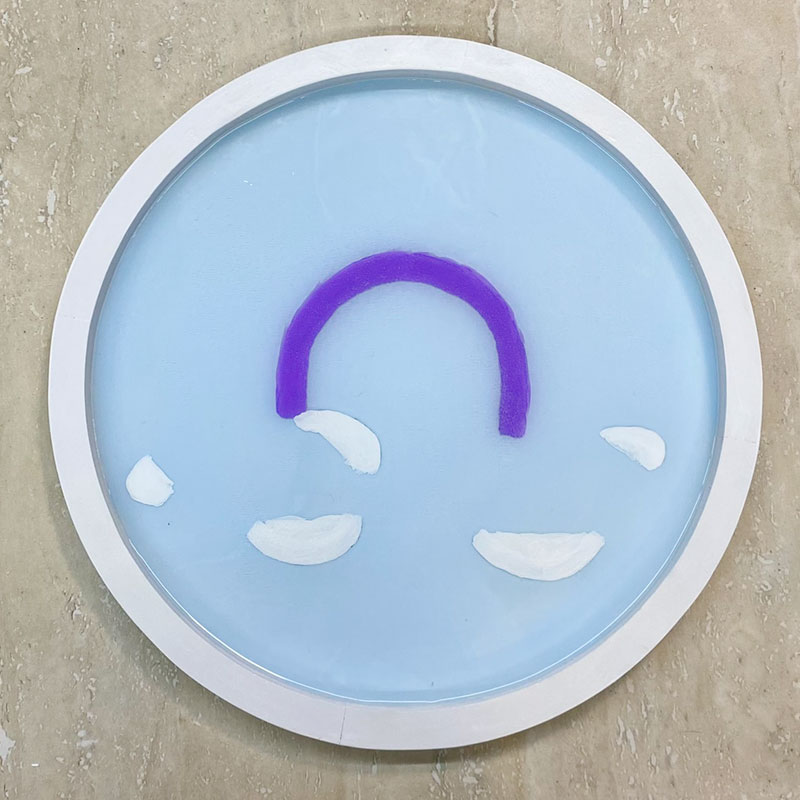
Remove the tissue paper to reveal your pattern lines, and grab your acrylic paints. You'll start with white, and paint the puffs of the clouds that you outlined. You don't need to paint the entire cloud, because it will get covered up later with other layers. Just follow the edge your traced and refer back to your pattern to see how much to paint. You'll probably need to apply several layers to get a good solid coat of white.

For the rainbow portion, you'll need a selection of classic ROY-G-BIV colors. I used my favorite go-to paint, Americana Multi-Surface Satin, and I used Lipstick (red), Pumpkin Patch (orange), Goldenrod (yellow), Turf Green (green), Turquoise Water (blue), Blue Bird (indigo), and Iris (violet).

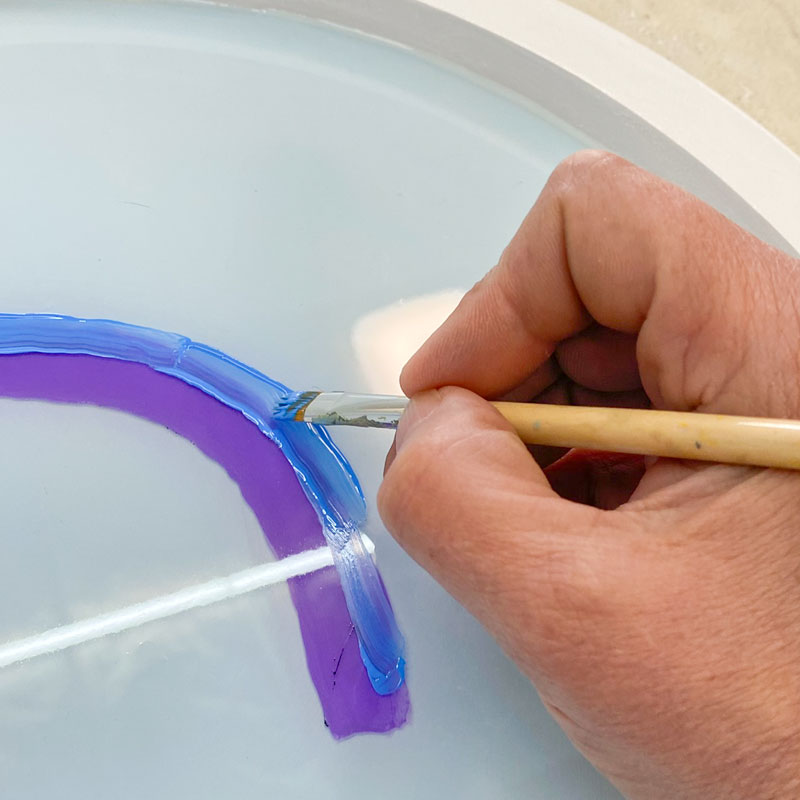
Grab the Iris to paint the innermost band of the rainbow, following that traced pattern line carefully. The width of the band doesn't matter too much... it just has to be wide enough for the next color to go over it later.
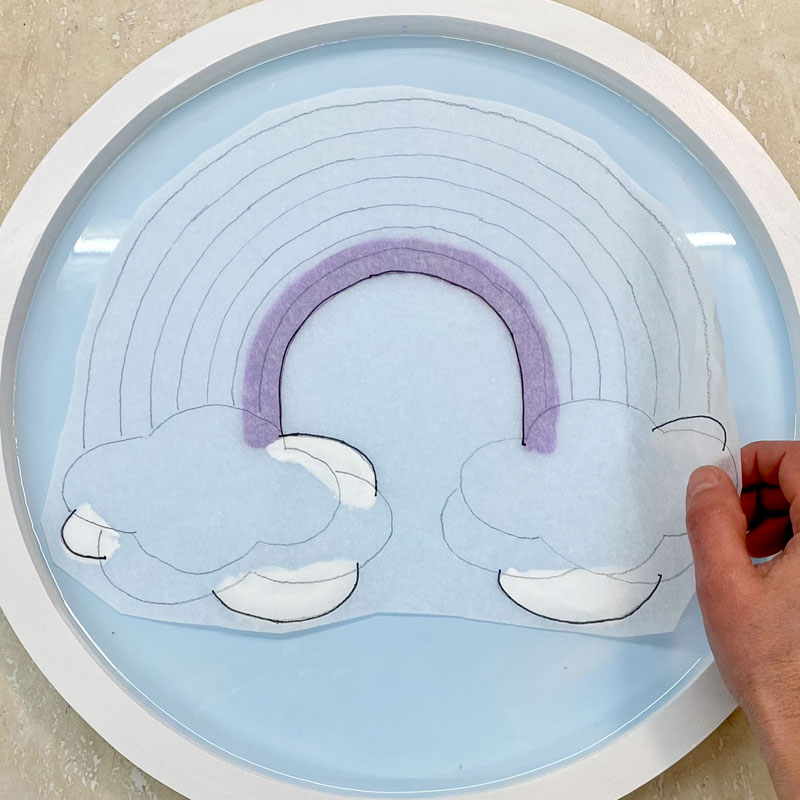
To double-check that you covered all the right areas, lay the tissue paper back in place. When you're happy with the results, it's time to add your next layer of resin.
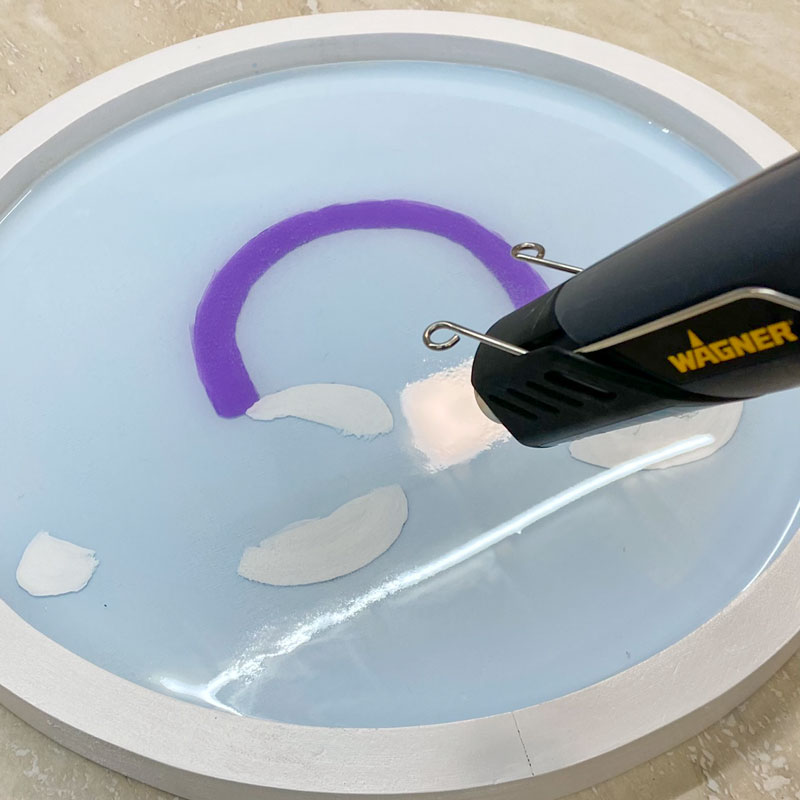
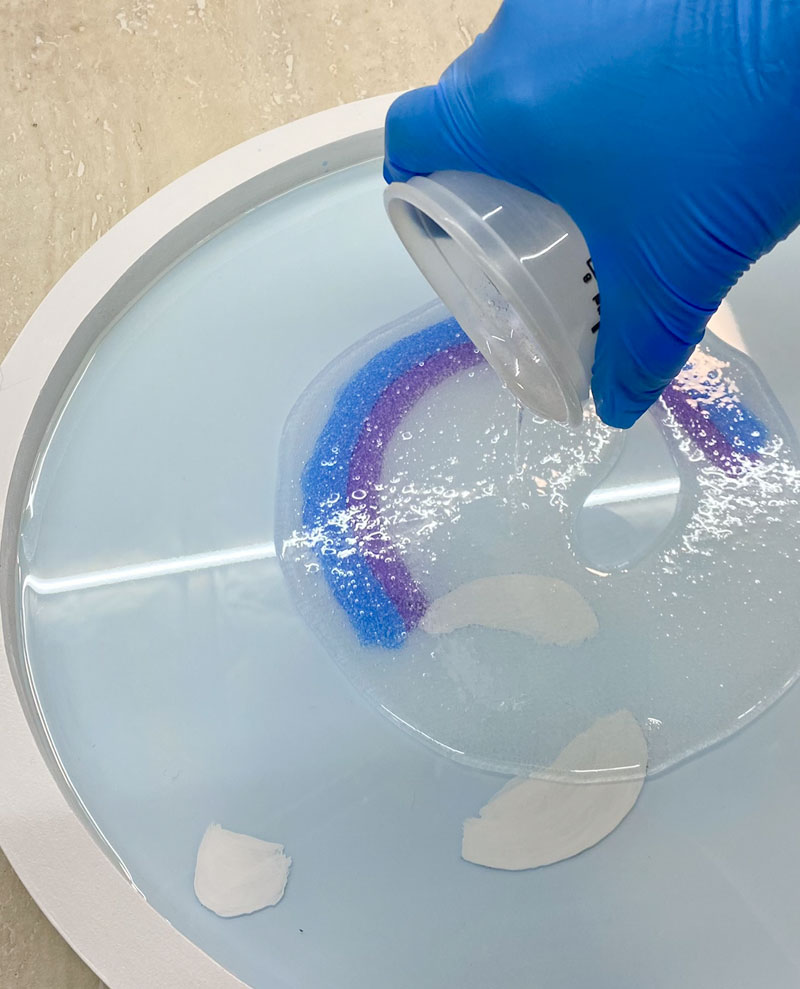
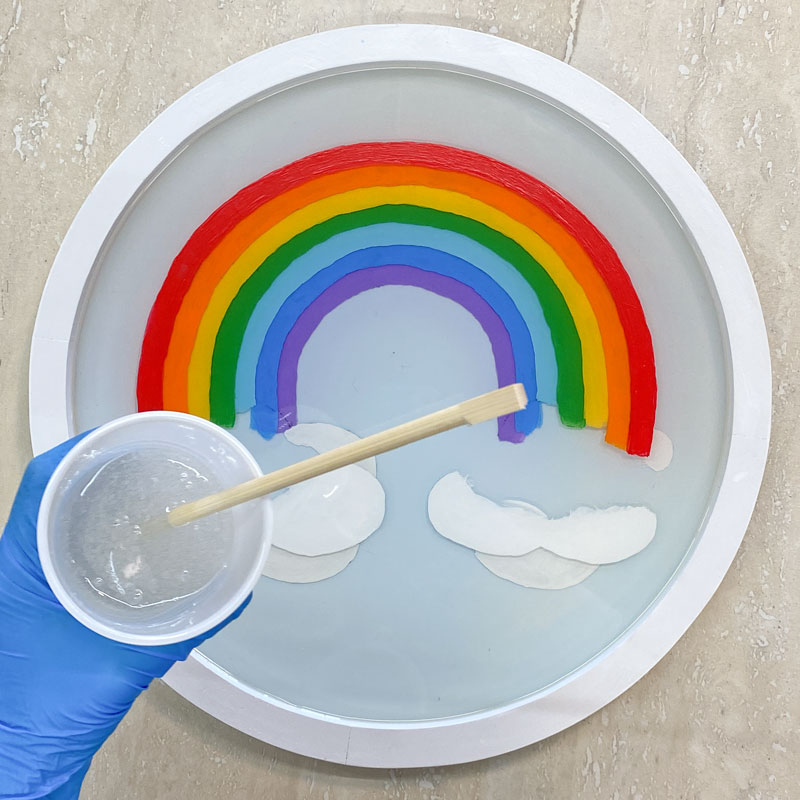
Mix up another batch of resin and pour it over top of the purple painted layer. As before, use the heat gun to warm it up so it flows evenly over the entire surface. Then use the torch to pop any bubbles. Let it cure completely (overnight is best) before moving on to the next layer.
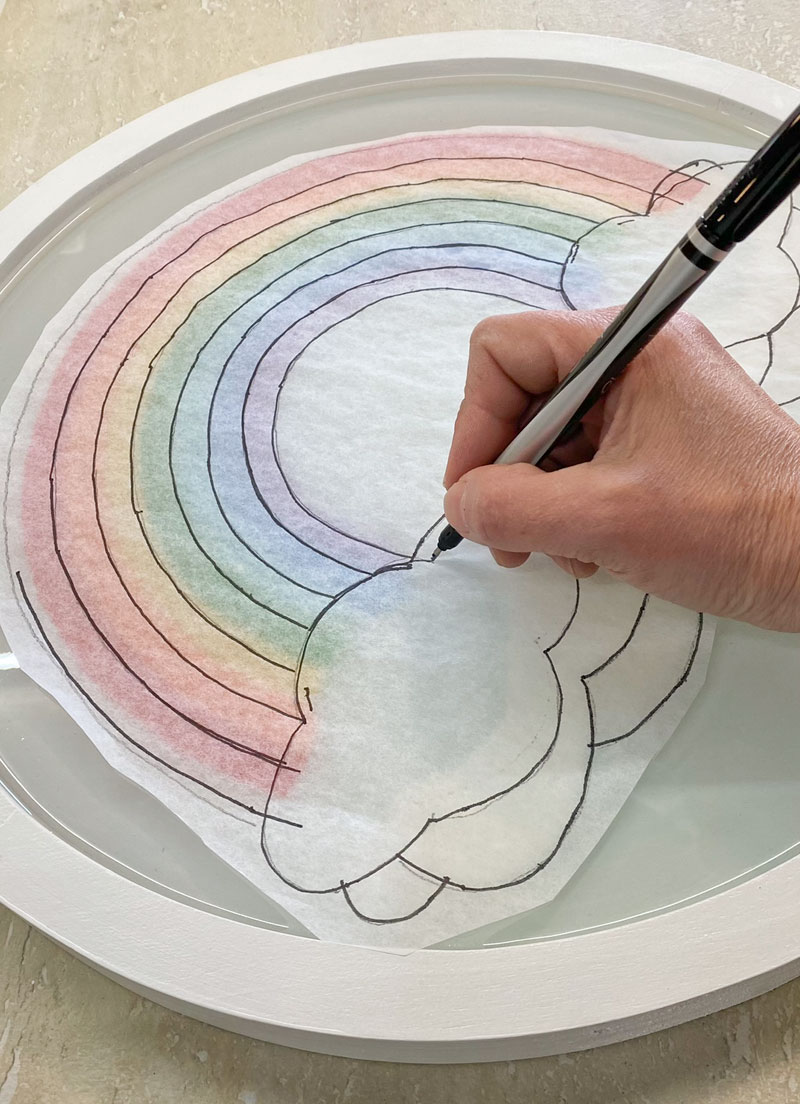
Now you'll repeat those last few steps a half-dozen more times to add the remaining colors! Put your pattern back on the piece, carefully lining it up with the previously painted areas. Outline the next color band above the violet one.
Use the Blue Bird paint to add the blue band to the rainbow, following that traced line and adding multiple coats if needed for good coverage.
When it's done and dried, seal it up with another layer of resin.
Do the same steps again to trace the third band and paint it with the indigo color, then add a layer of resin over that. At this point you should be able to really see the depth you are building up as you add multiple layers of resin. You can also see that your brush strokes in the paint just magically disappear as the resin makes them appear perfectly smooth.
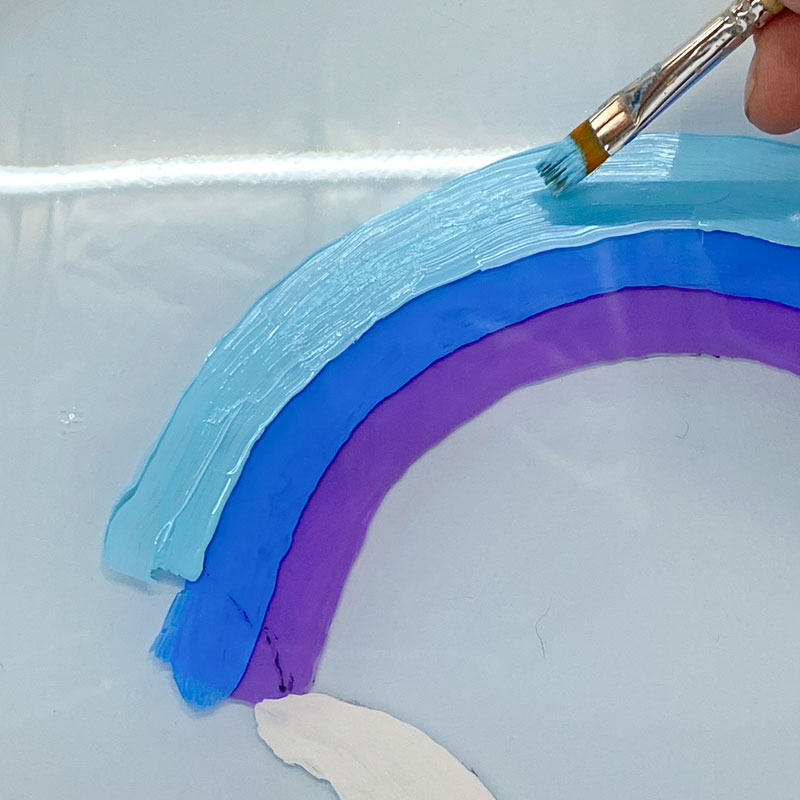
Repeat those basic steps once more, this time adding the green band to the rainbow. Again, add a layer of resin after the paint is dry.
The next layer is going to be a bit more complicated, because it's time to add another layer to the clouds. Put the pattern back onto the piece and trace the rainbow band as usual, but then you also need to trace the next layer of clouds on each side.

Add your yellow band next to the green, as usual, then use more white to paint the clouds. As you fill in this layer of clouds, you'll really see the depth from the previous layer. This is an effect you can only get from the multi-layer resin technique!
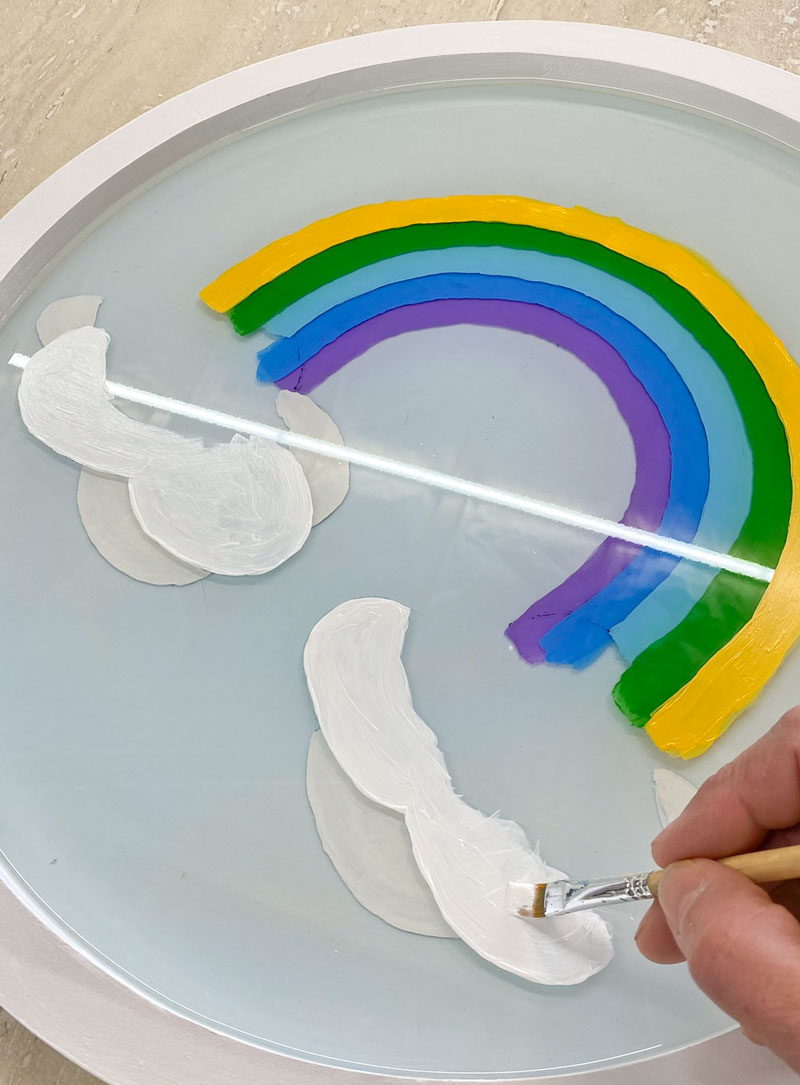
After sealing up the yellow/cloud layer with another coat of resin, go ahead and add the orange band just as before, finishing it up with another layer of resin, of course. Just look at that depth from each layer! You could exaggerate it even more with thicker layers if you choose — just make sure your tray's sides are tall enough to contain more resin.
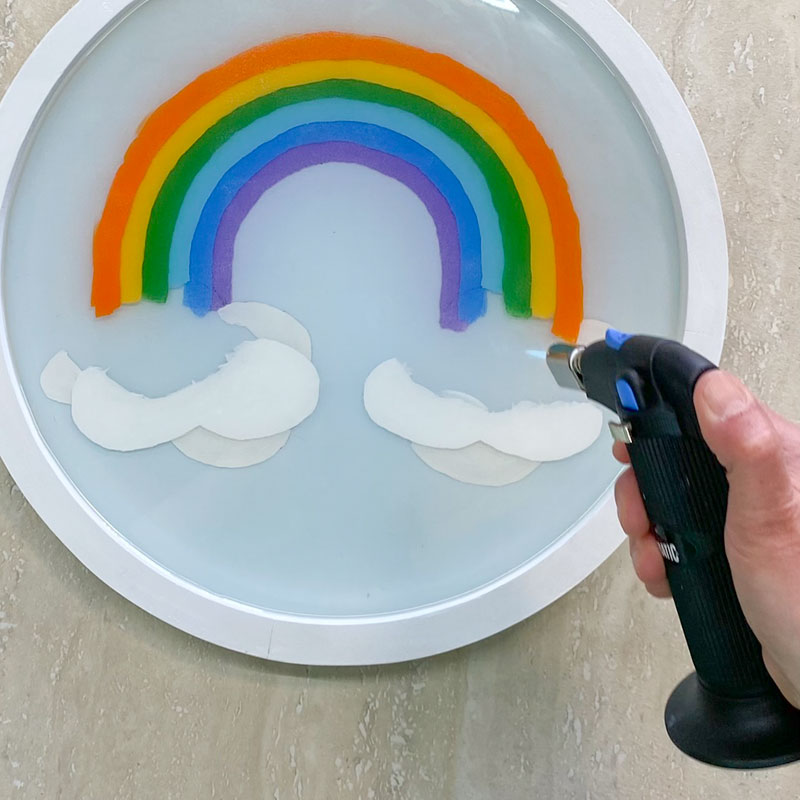
And don't forget to use your torch on every single layer of resin you apply, to pop any air bubbles that might appear. This is a critical step to getting a crystal-clear finish.
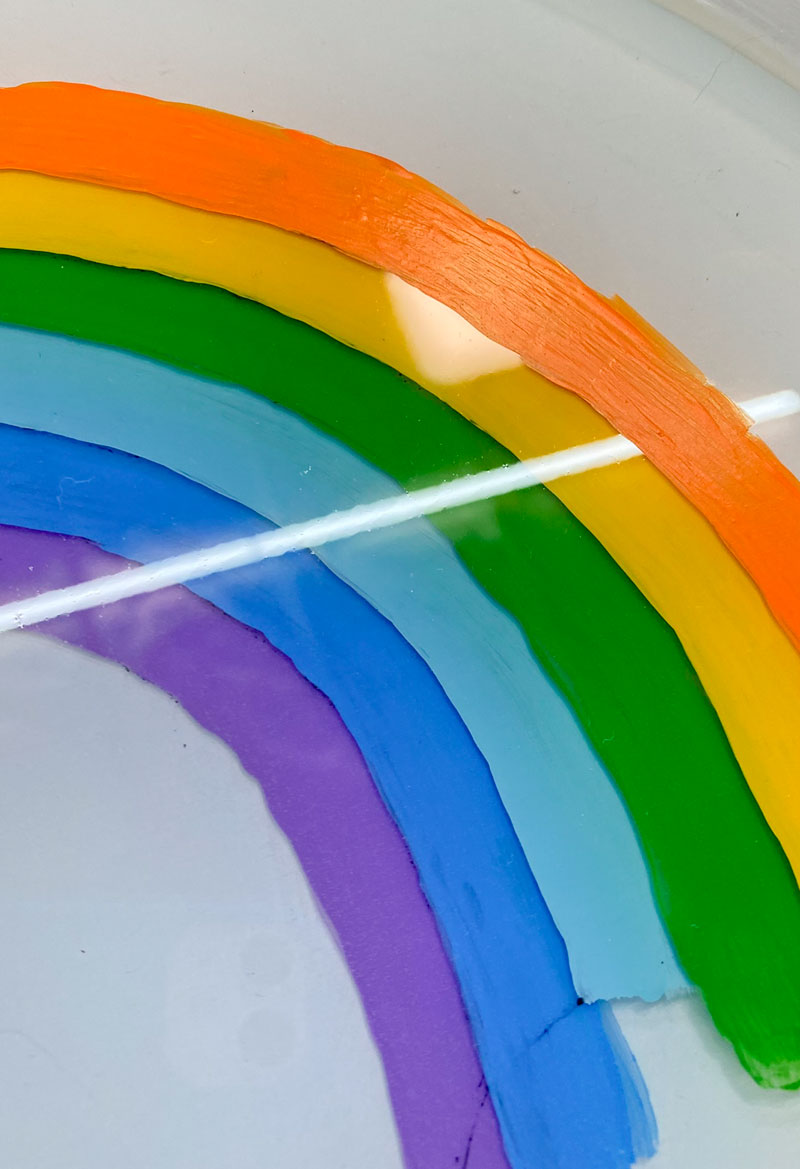
Next up is the final band of color on the rainbow, the red. For this one, you need to do an extra step when tracing your pattern. Instead of just worrying about one side, you need to trace both sides of the red stripe, since it's the last color.
And this means, of course, that when you paint the stripe, you need to keep your lines nice and straight on both sides. There won't be anything else coming to cover up the top edge of the red band.
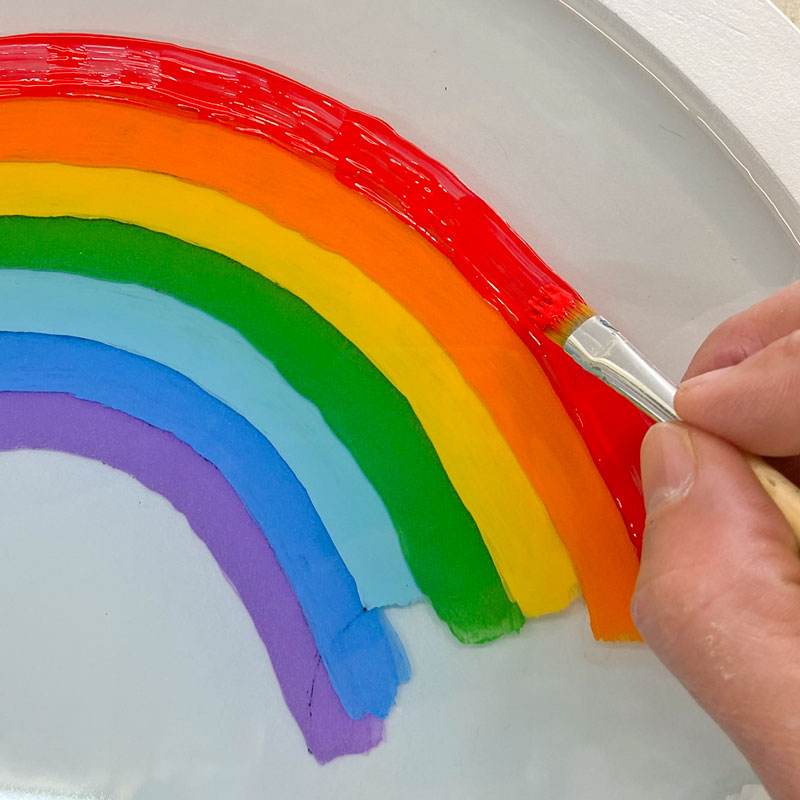
Apply yet another layer of resin over the red paint. Isn't it amazing how the addition of the red really turns it into a full-fledged rainbow?
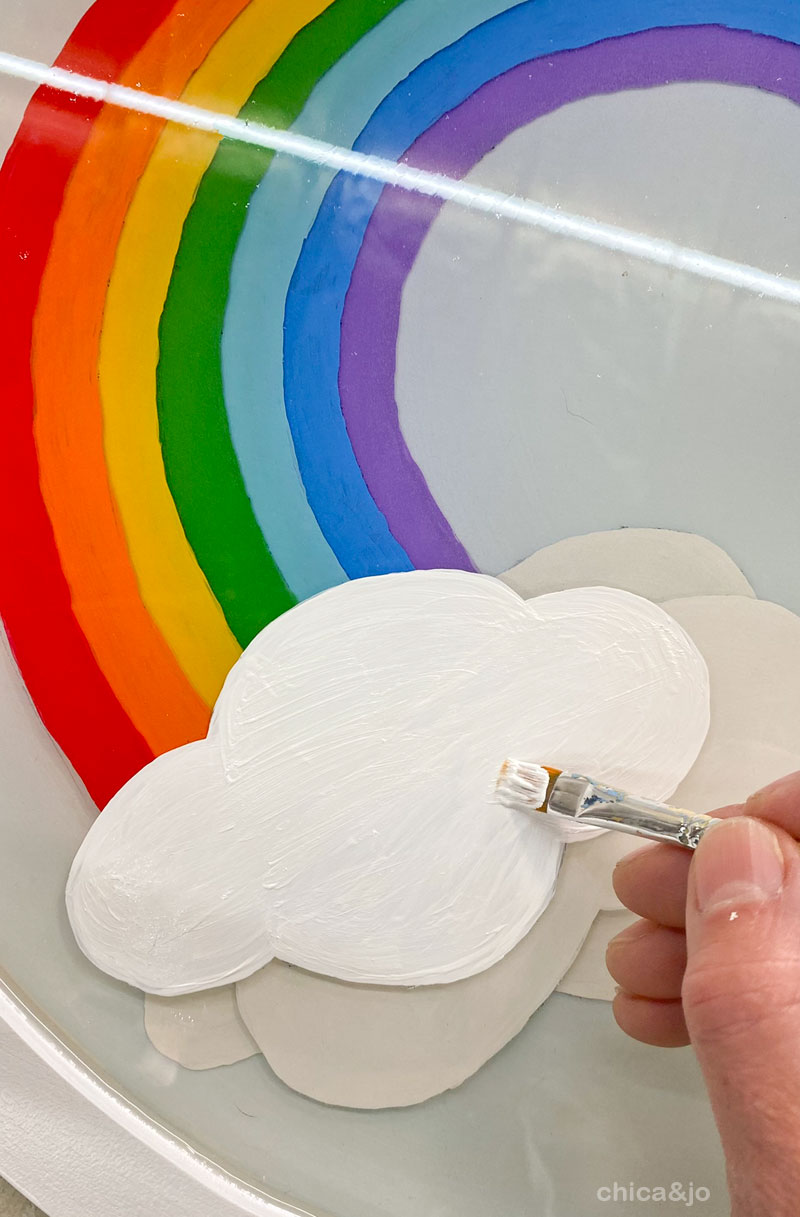
We're not quite done yet, but almost! Time to finish off those clouds with our top-most puffy layer. Put your pattern back in place and trace the biggest shape on both clouds. Make sure the top covers up the ends of your rainbow.
Fill the final cloud layers in with white paint. I love how the way it covers the ends of the rainbow, making it look like it's tucked down behind part of the cloud.
One more finishing layer of resin over top, and it's done!
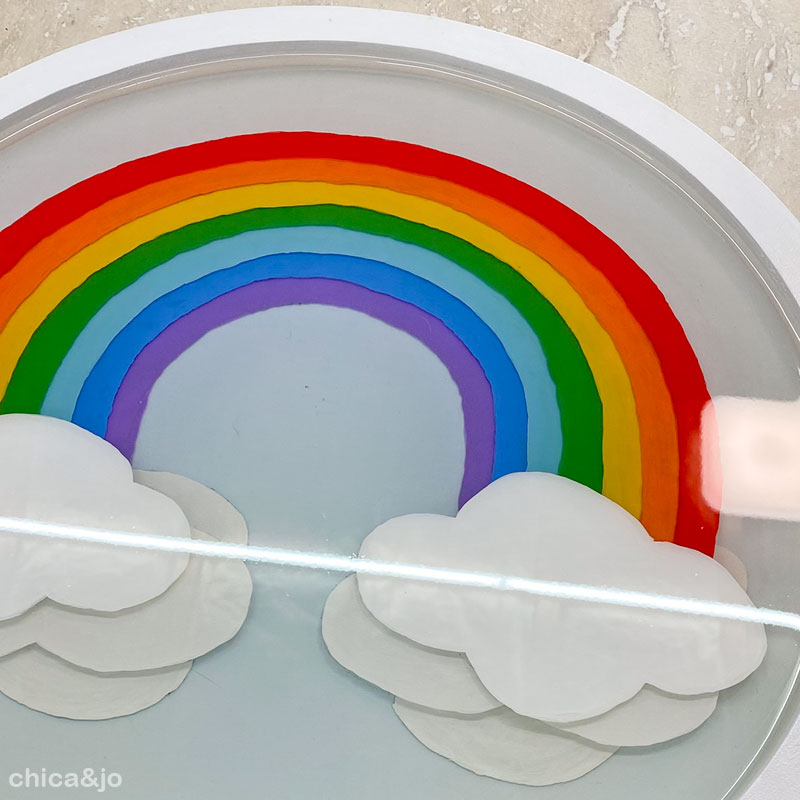
In case you lost count, that was nine layers of resin. And worth every bit of effort, in my opinion.
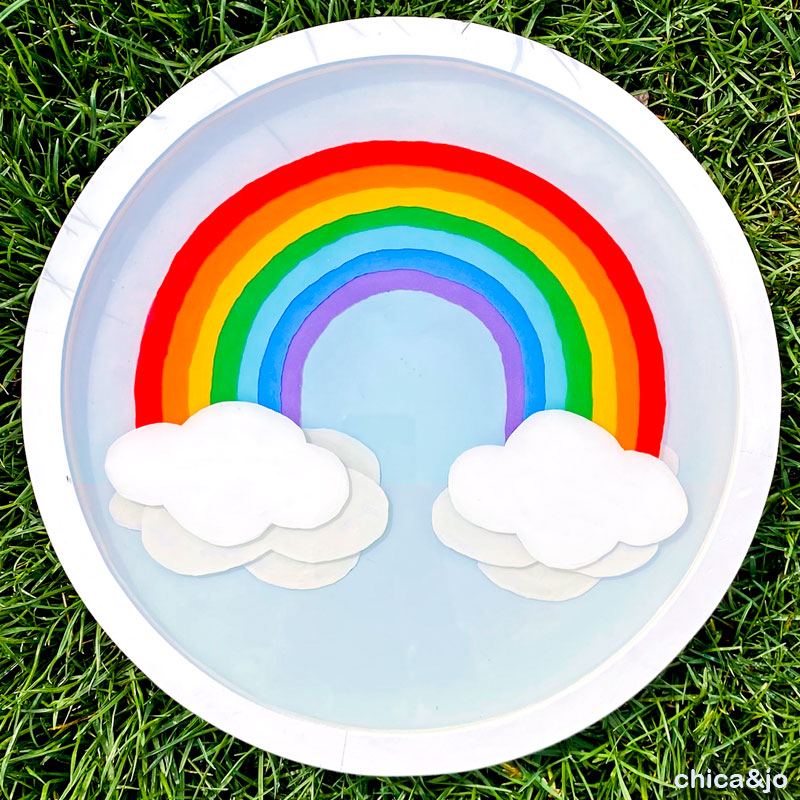
I mean, just look at the depth from those layers, and that glorious shine from the resin!
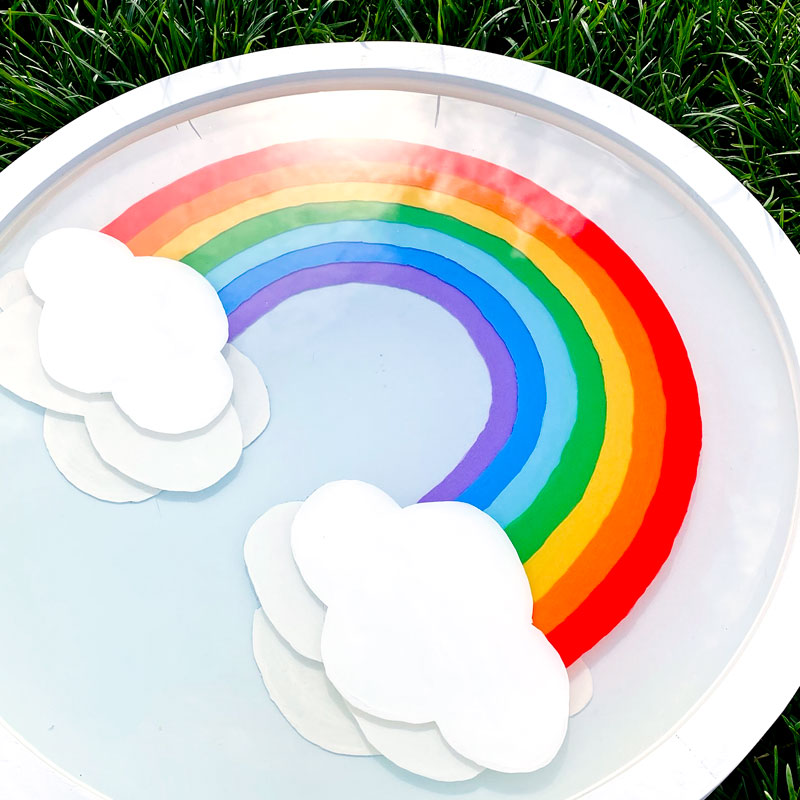
This layered painted rainbow resin art works great anywhere in the home, as a wall hanging or even serving its original purpose as a serving tray.
similar projects
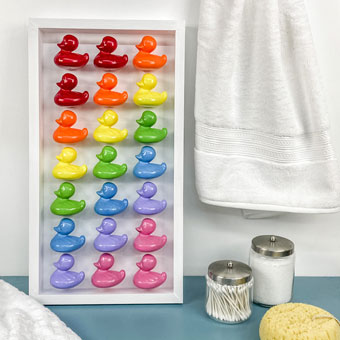
Rainbow Kid's Bathroom Art from Painted Toy Ducks
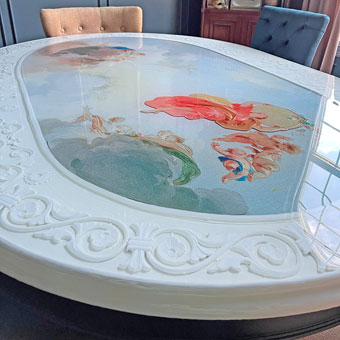
Unique Layered Resin Dining Room Table
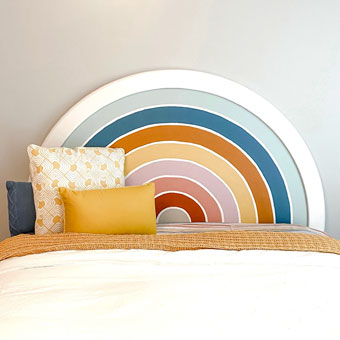
Retro Rainbow Painted Headboard Perfect for a Boho Aesthetic


