


Retro Rainbow Painted Headboard Perfect for a Boho Aesthetic

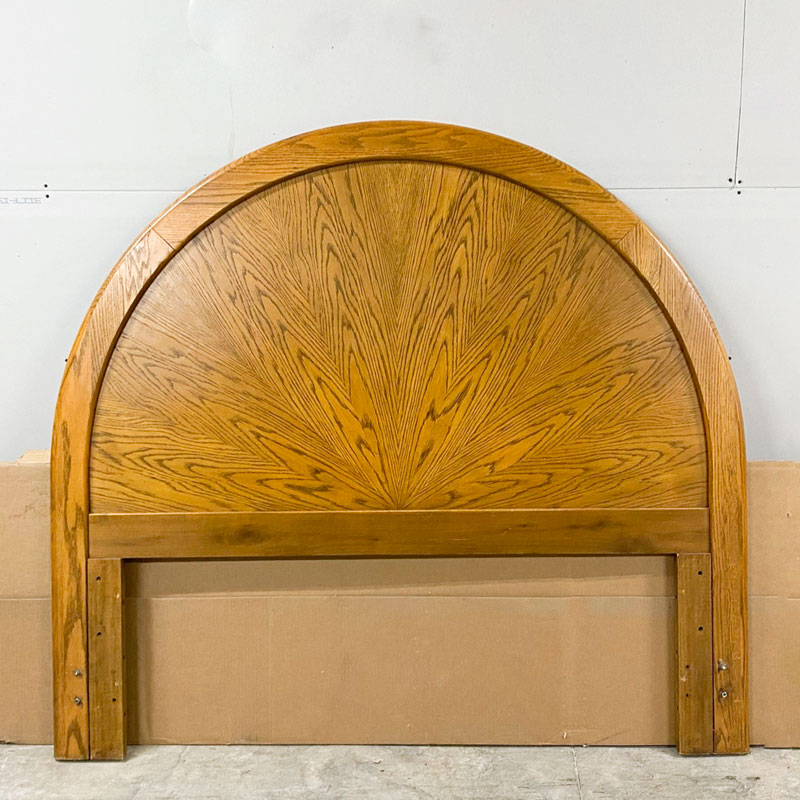
I was at my sister's house recently and noticed she had her old headboard sitting out for the trash. She'd gotten a new bed and no longer wanted want this dated, old beast of an oak slab. But you know me... I grabbed it up right away, knowing that with a little paint, I could upcycle this old headboard into something fresh and modern.
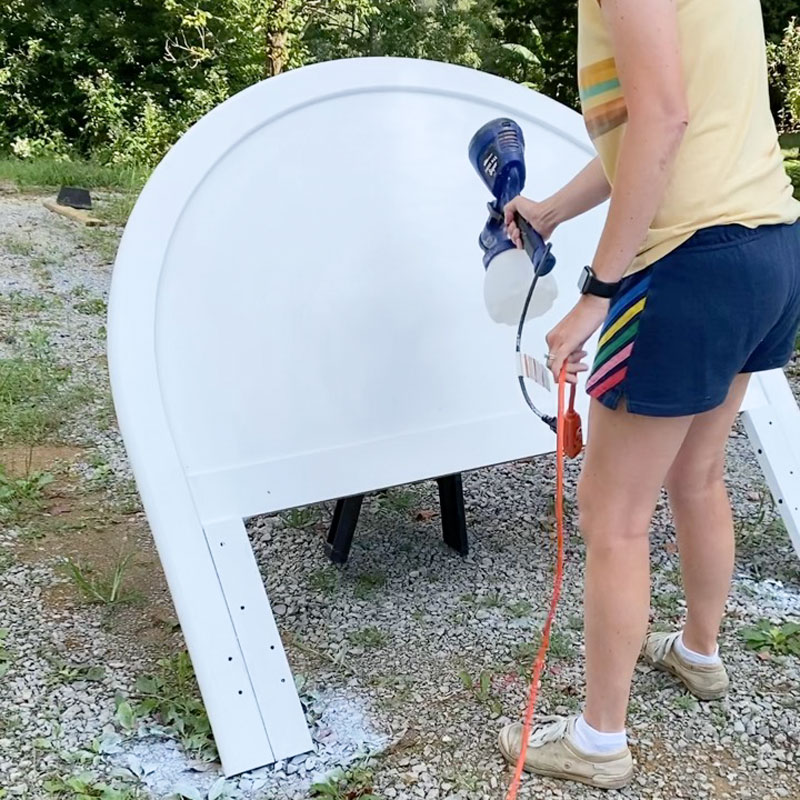
The first thing I did was paint the headboard with a fresh coat of white paint. My HomeRight paint sprayer made super quick work of that.
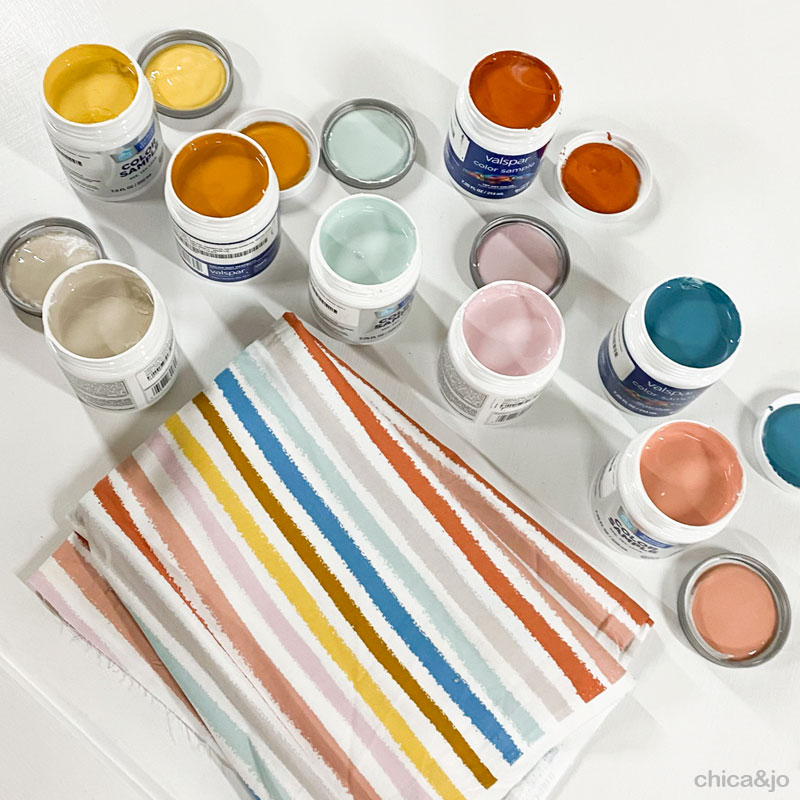
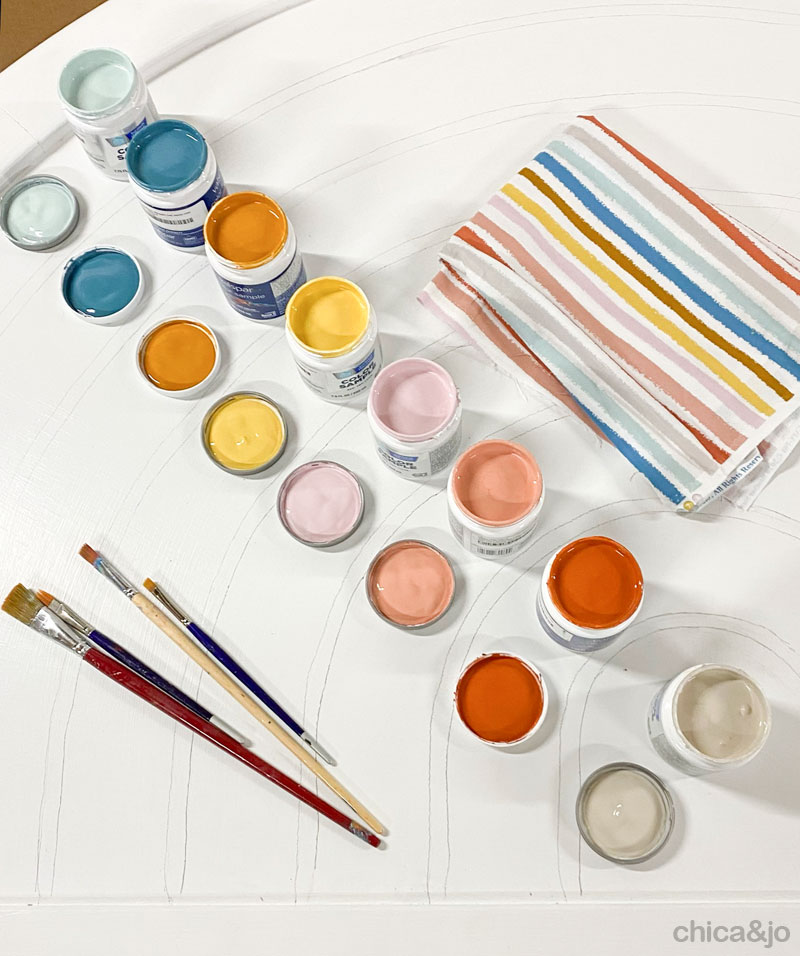
Then came the color! Jo found me the perfect fabric for inspiration with a burst of retro muted rainbow stripes. We picked out some "HGTV Home Sherwin Williams" paint colors that matched the fabric perfectly, and had a sample jar made of each one.
- hgsw2342 Mermaid's Tale
- hgsw2092 Warm Sienna
- hgsw2122 Harvest Gathering
- hgsw2016 Blush & Bashful
- hgsw2316 Watery
- hgsw2075 Salmon River Run
- hgsw2476 Adley Grey
- hgsw2134 Refined Amber
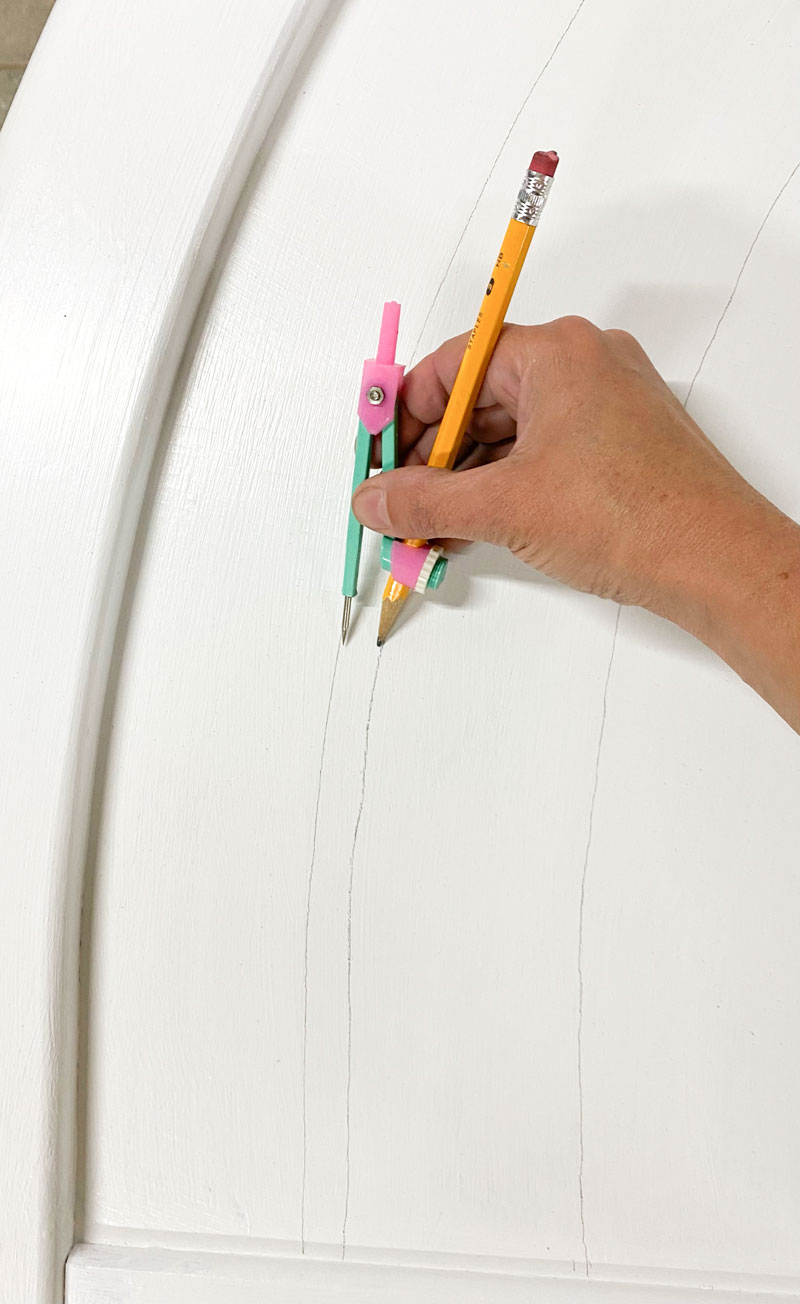
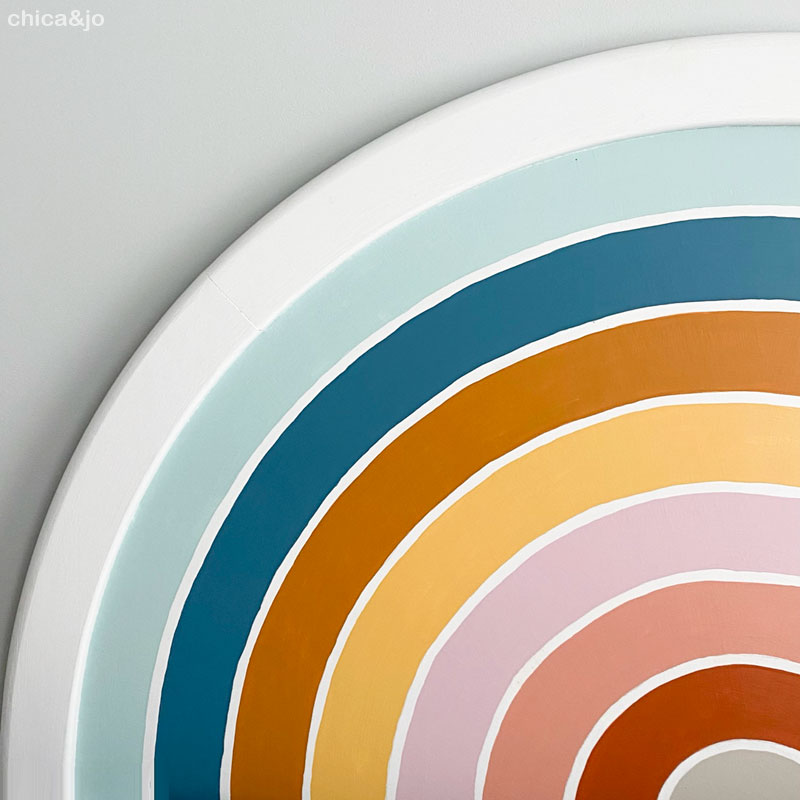
Obviously, with this semi-circle shape and color palette, I was going for a rainbow design on this headboard. To make the curved shapes, I reached for my goofy (yet functional!) old compass and dragged the pointy end along the edge of the headboard, drawing a curve with the pencil end. I repeated this every 3.5", moving the pointy end to the last-drawn line and then drawing a new, smaller curve inside that one.
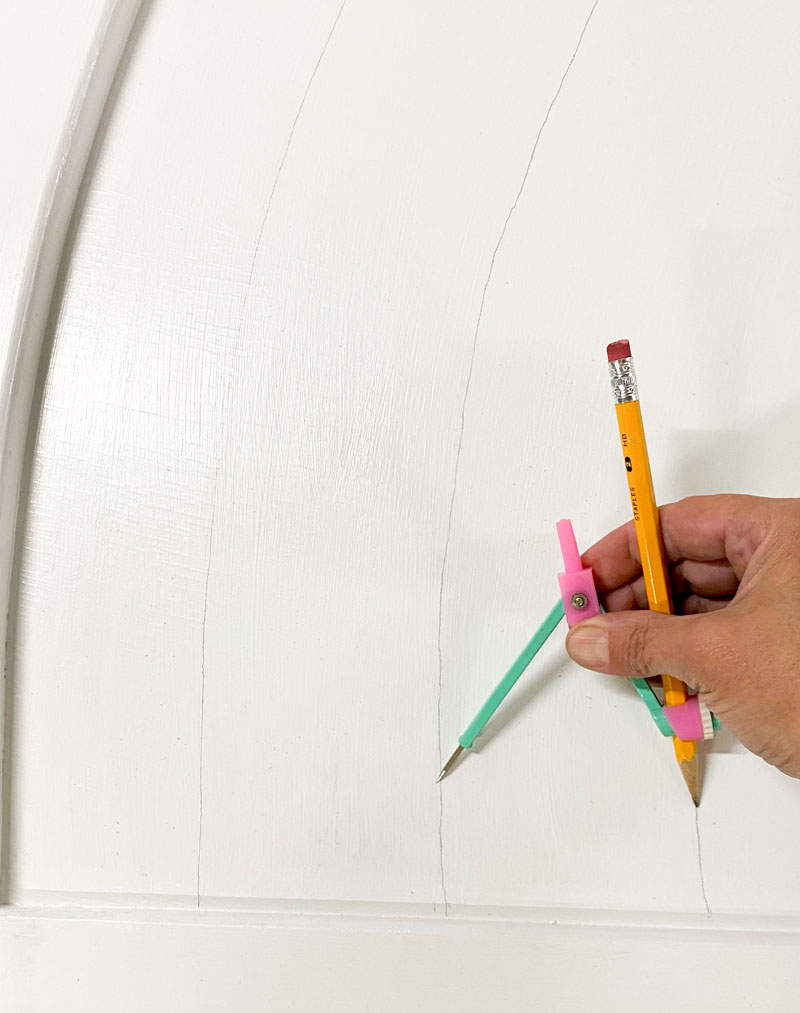
Then I set the compass to 1/2" and went back and drew in new lines next to each of the existing ones. This let me create a small space between each band of color.
I kept going all the way to the middle of the headboard, which gave me 8 wide bands for color.

I set the jars out on the bands to get the order I liked, and it was go time!
I used a nice soft brush to freehand paint the bands of color. I knew going into this that there was no way these semi-circles would be perfect, so I embraced the imperfection and leaned into the hand-drawn look.
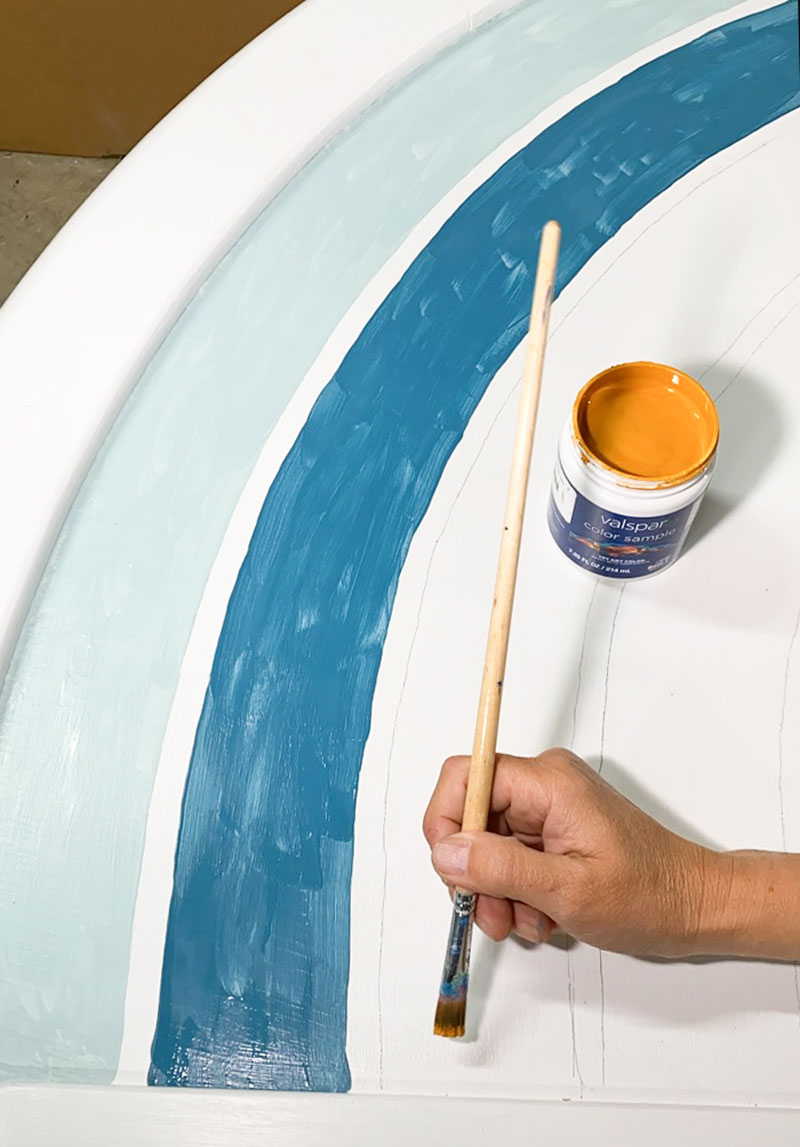
When I got the first coat of paint on for every color, I was so thrilled with how it was coming together!
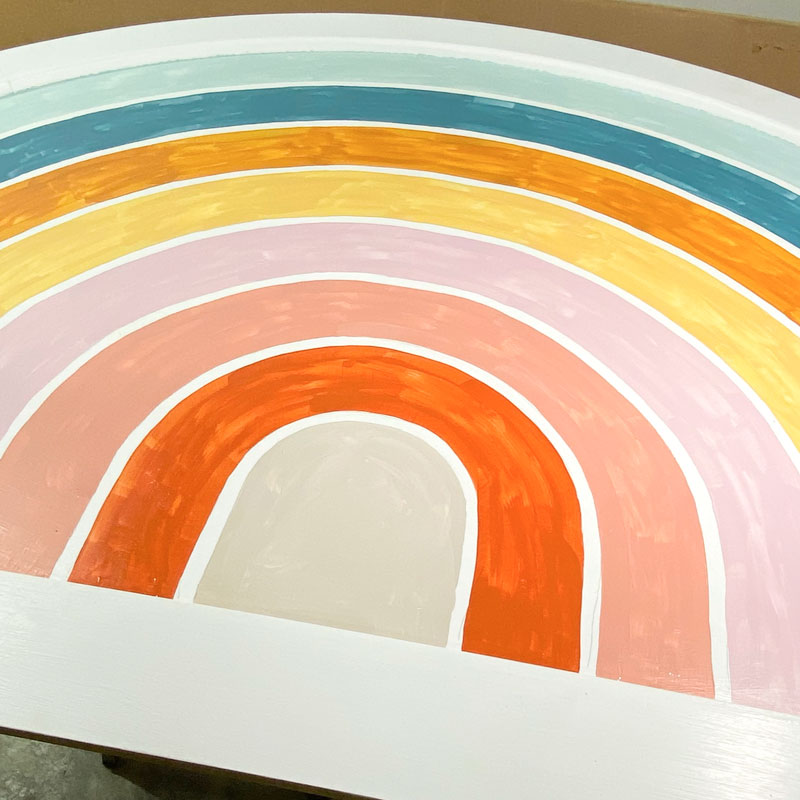
I applied a second (and for some colors, a third) coat of paint to get good coverage, and the headboard was done.
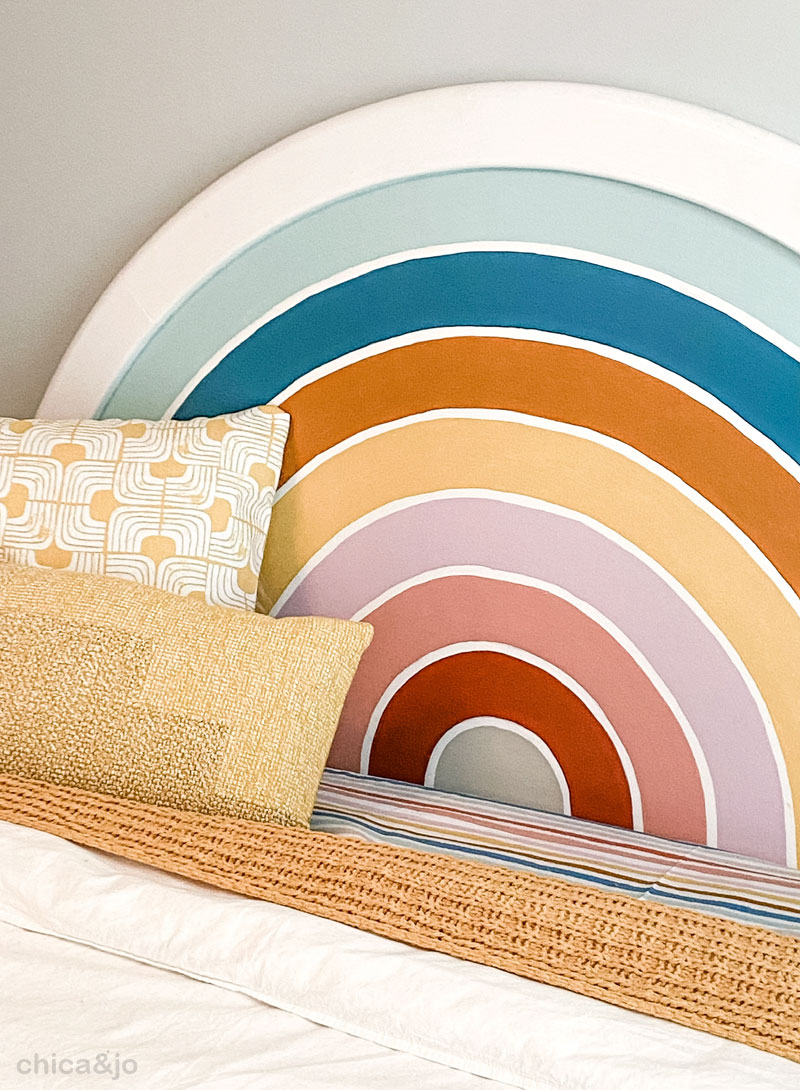
Just look at how adorable this retro rainbow design is! I added a few throw pillows in coordinating colors and it made the perfect bed setting for someone of just about any age. I might put this in my guest room, if Jo doesn't steal it for her niece first.
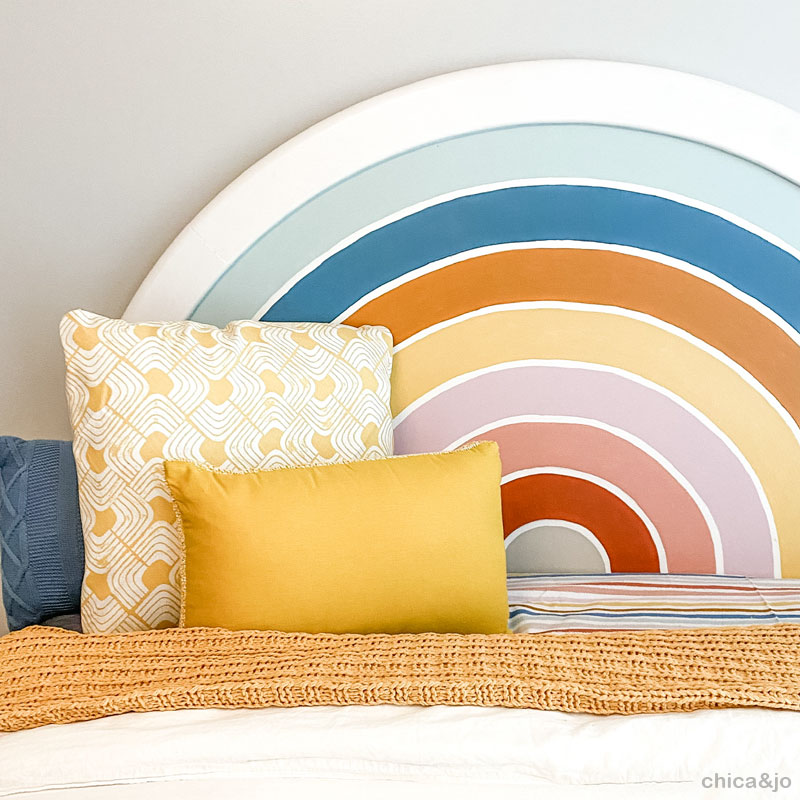
I even used that inspiration fabric to make a coordinating fitted sheet for the bed. How perfect!
Now that it has a new life, my sister is starting to regret throwing this headboard out, but I'm sure glad she did.
similar projects
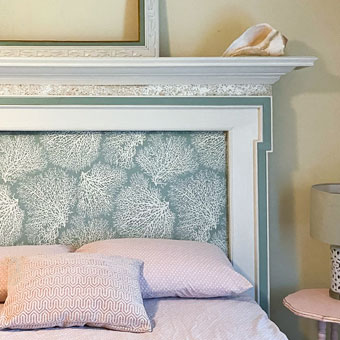
Transform a Fireplace Mantel into a Headboard

Painted Rainbow Layered Resin Art
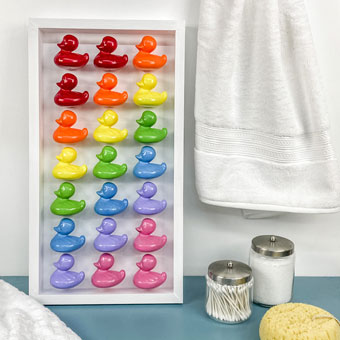
Rainbow Kid's Bathroom Art from Painted Toy Ducks


