


Unique Layered Resin Dining Room Table

We love creating unique resin tabletops, and since Chica's layered rainbow tray turned out so great, I thought I would try applying the layered resin technique to something on a larger scale. How fun would it be to create a 3D layered design on a huge dining room table?
I've been wanting a new table for the dining room for a while, and this was the perfect opportunity to go a bit "extra" on it. I had a vision in my mind of recreating the beautiful frescoes I'd seen on Italian ceilings. It had to have detail and dimension, and look like I had plucked it right from an old ceiling and transformed it into a table. And with a little ingenuity, some layering with resin, and some creative materials, we made it happen.
Here's a video showing the entire process of making this layered resin masterpiece.
If you can't see the video, try viewing it directly on YouTube.
If you prefer step-by-step instructions, keep reading to see exactly how I created this old world style dining room table using a wallpaper mural, ornate trim, and lots of resin.
Prepping the table
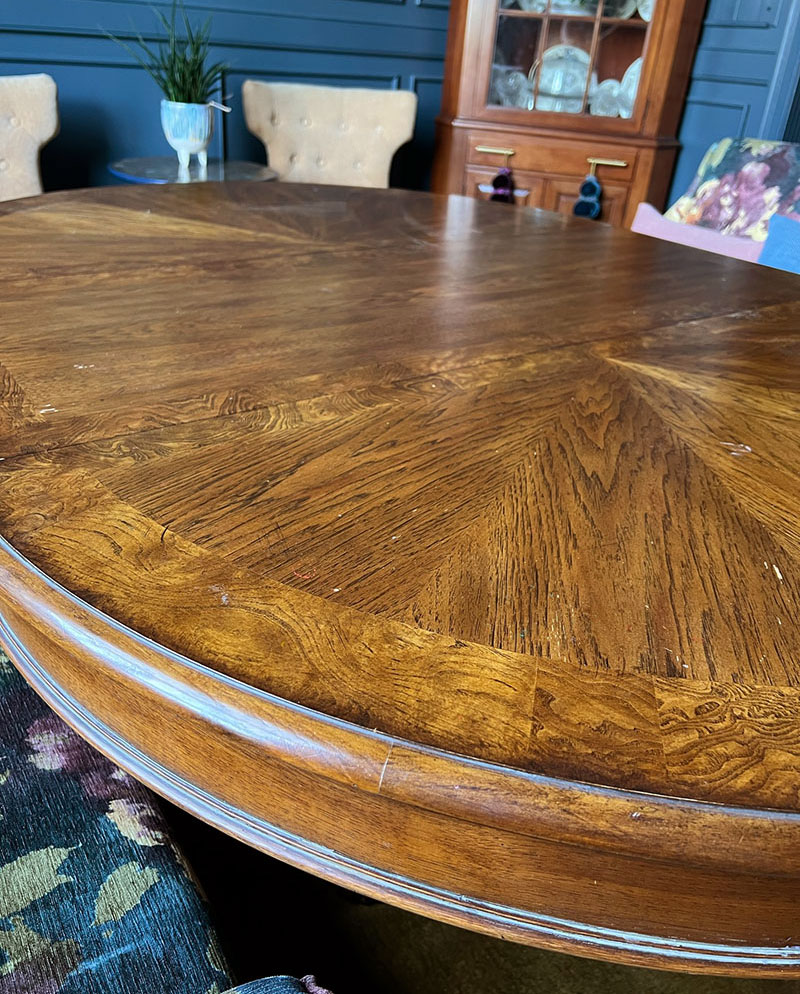
I found the perfect size table for my dining room, with a large oval shape and made of sturdy oak. It was a bargain at a local estate sale and had just the right weight and shape for what I had in mind.
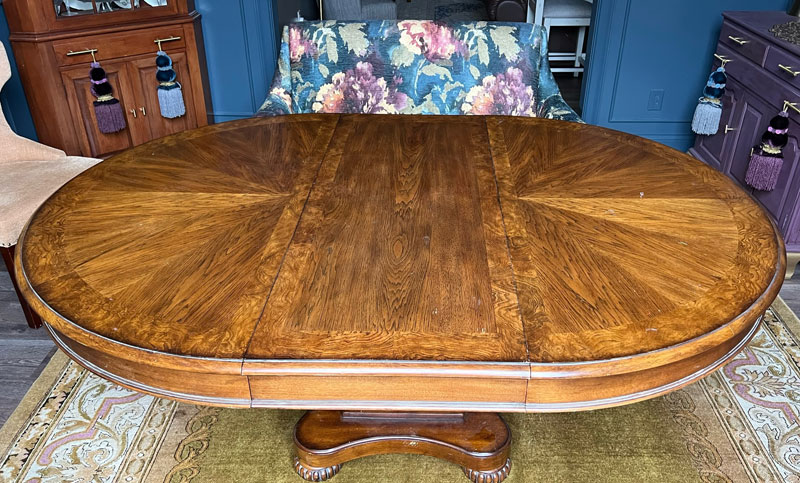
To prep the surface, I thoroughly clean the table with a degreaser and wiped it with a tack cloth to get it clean and dust-free before getting started on the paint.
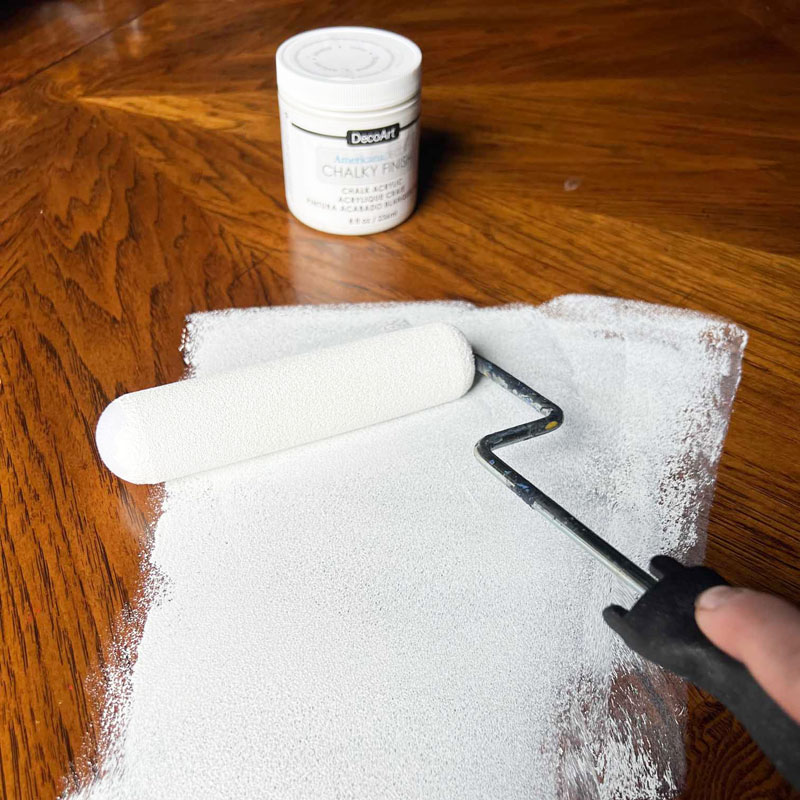
I painted the entire table top with Ameericana Decor Chalky Finish paint in a simple white color called Everlasting. This paint sticks to just about anything, making it the perfect product for basecoating the semi-slick surface on the table.
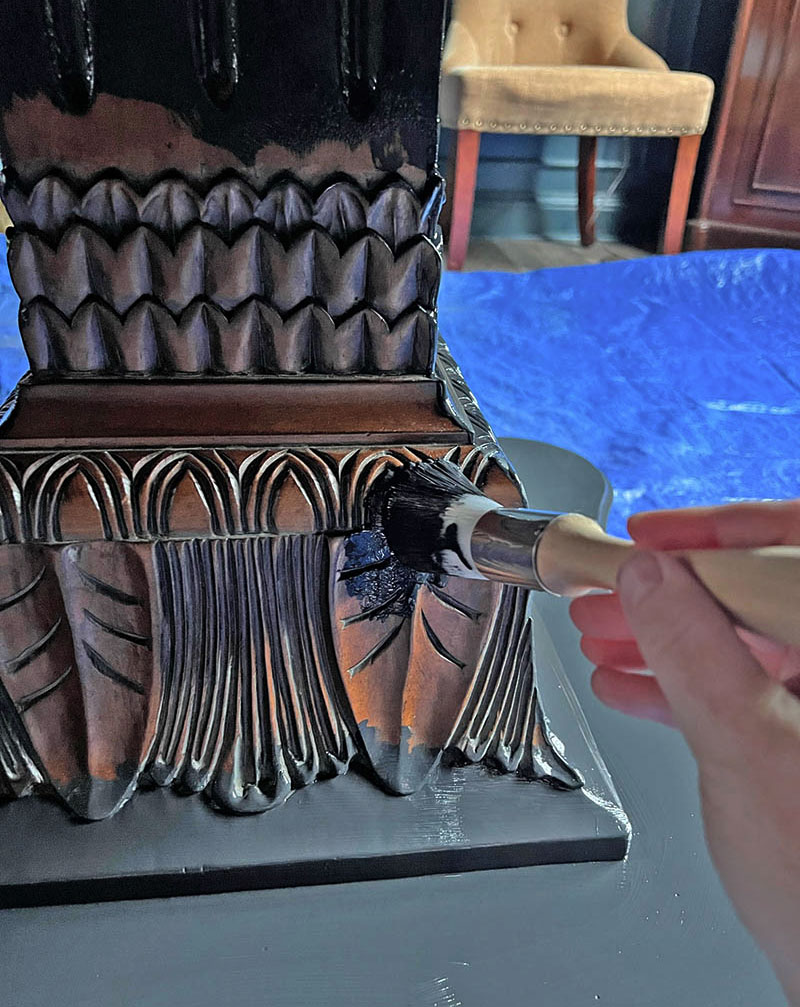
As for the base of the table, I really just wanted it to disappear so that the top could be the focal point. It had rather ornate carving, so I used more Chalky Finish paint, this time in a near-black color called Carbon, to mute all that activity.
Planning the design
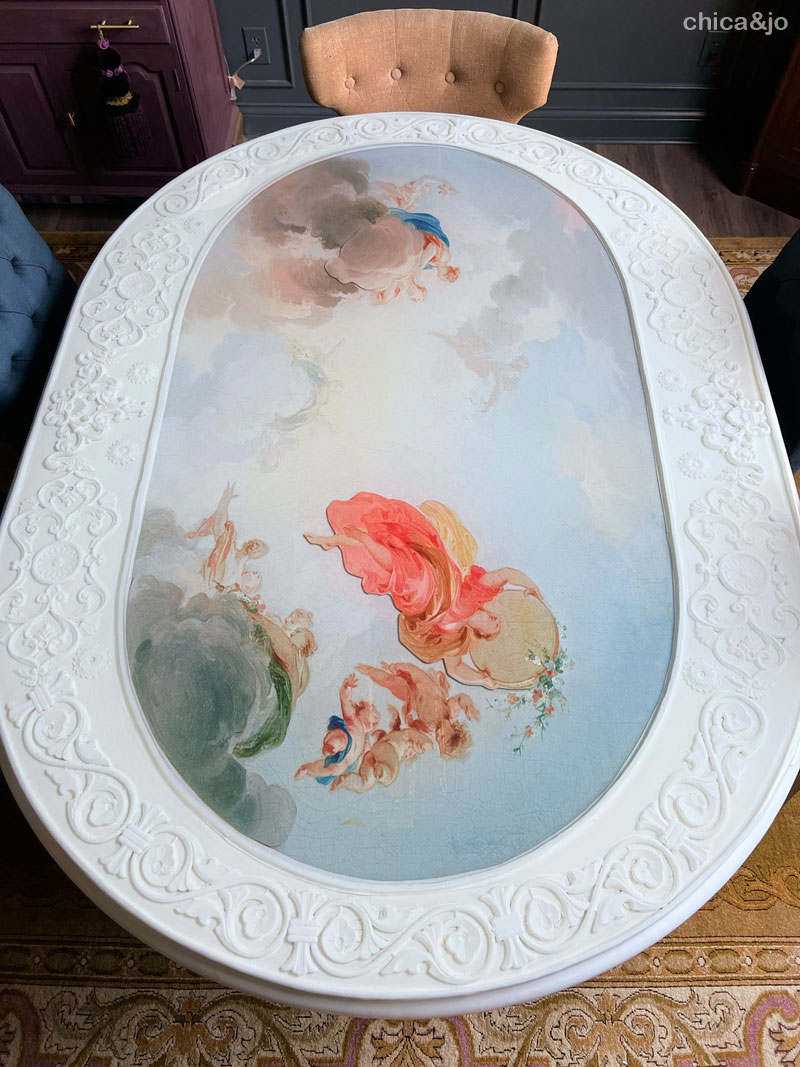
I wanted the table to feature a large painted image, in an old world style, and I thought a wallpaper mural would be the easiest way to accomplish that. After extensive searching through many lovely images, I fell in love with the Apotheosis of Flora design by Limitless Walls.
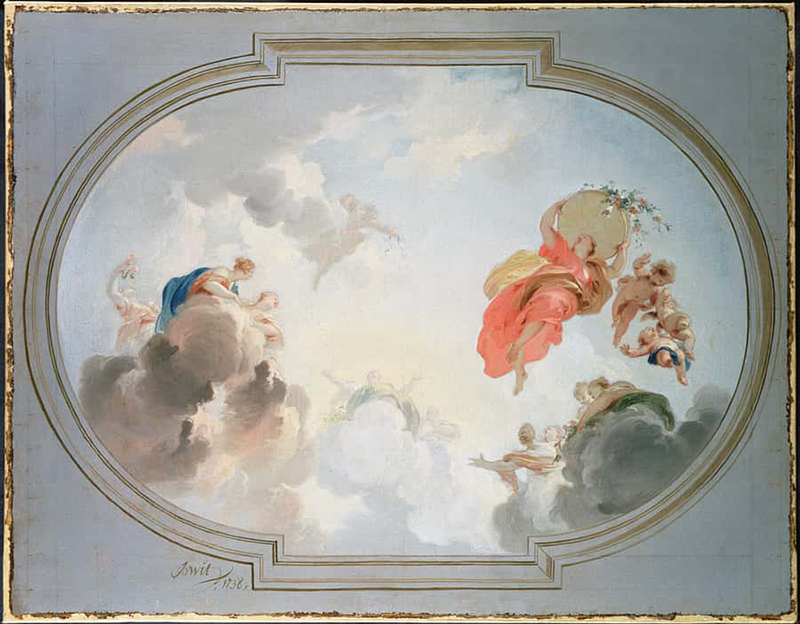
This image had the look I wanted and was already the general oval shape of my table. It was also simple enough that I could select a few elements to cut out for my 3D layering technique. I made sure to order two copies of the mural — one for the overall base design, and one I could cut shapes from for the layered pieces.
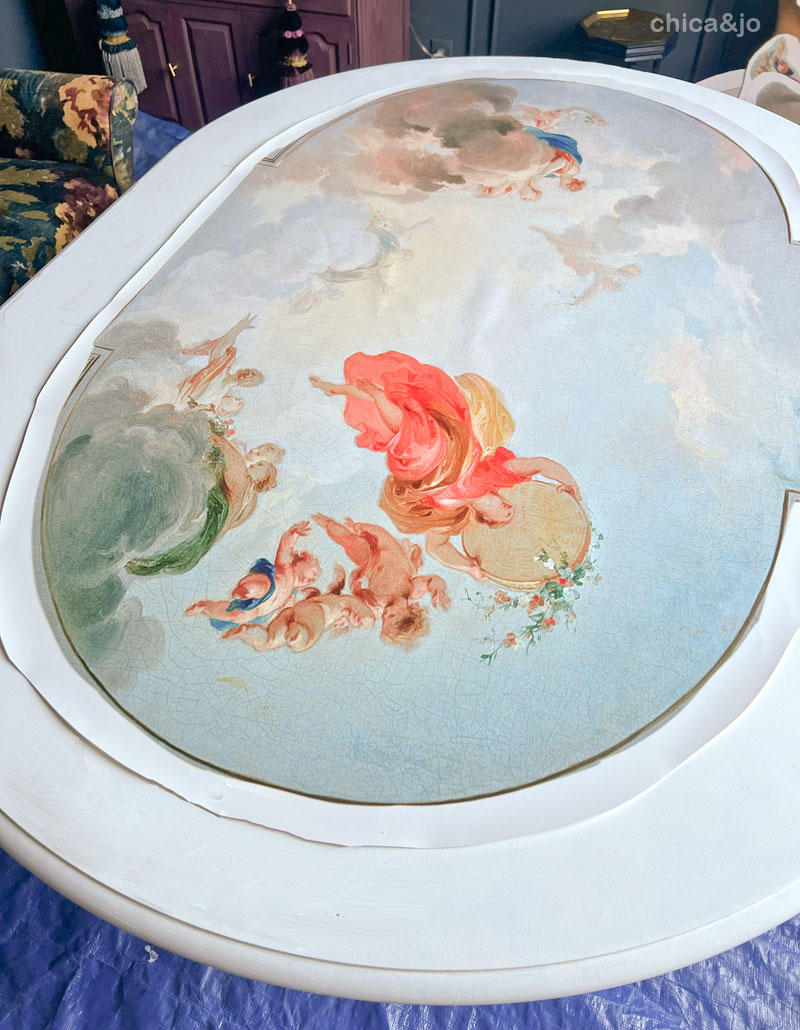
I trimmed down the first copy of the mural to size for the middle of the table to be sure the scale was going to work. It was perfect, with a nice wide edge for a border later.
Then I cut out some of the main design elements from the second copy of the mural, and started playing around with placement, to see which ones would be raised by a layer of resin, for the 3D look. I was certain I wanted the large angel holding the basket of flowers, and I also cut out some clouds and the smaller angels, to experiment with.
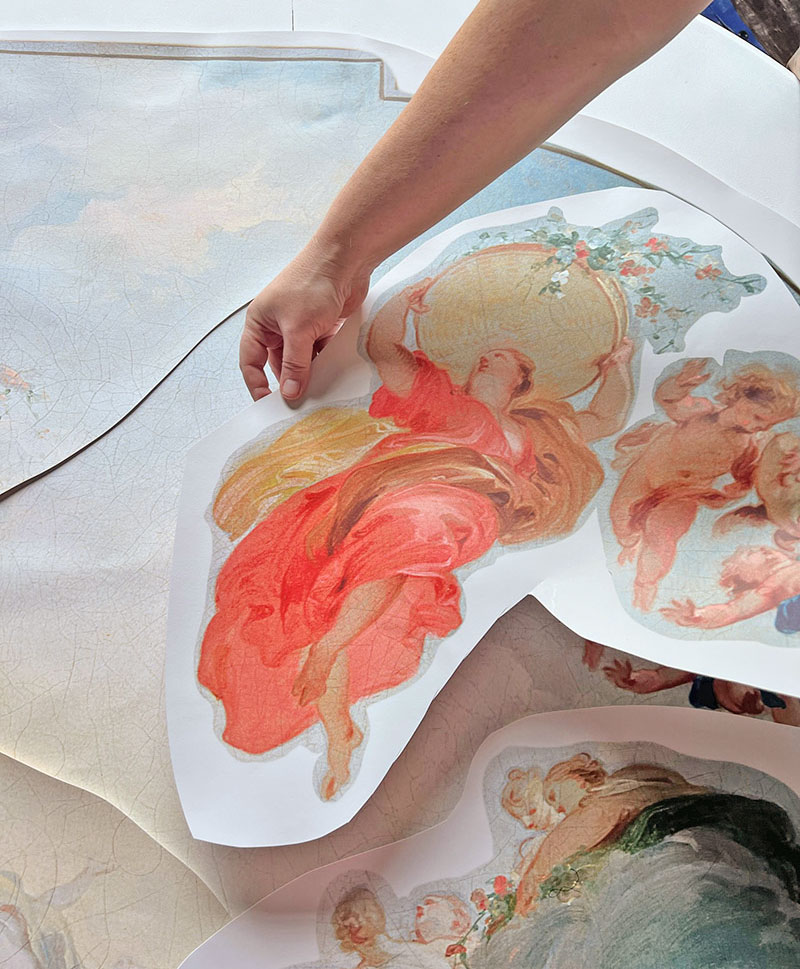
Being able to experiment with different pieces and try layering them was critical to coming up with a final design that I loved. I ended up cutting out six elements but only using three.
Creating the base layer and frame
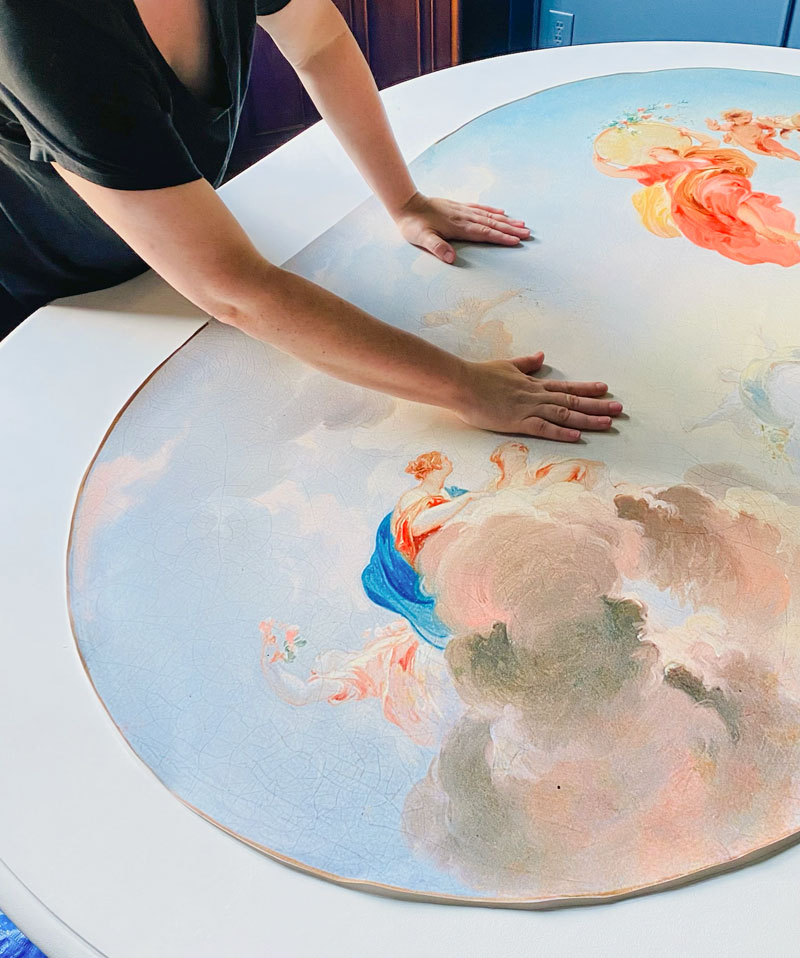
Having finalized my design, it was time to start creating the first layer. To make sure the main mural piece didn't shift or get bubbles when I poured the resin, I sprayed the whole back side with some spray adhesive.
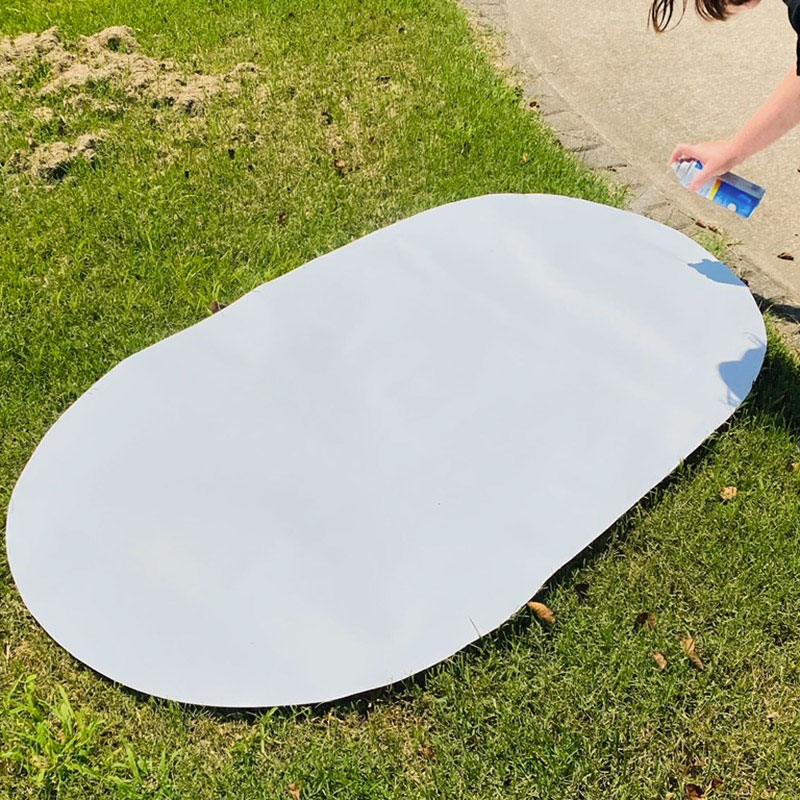
Then I centered it on the table and smoothed it out carefully, to get rid of any air bubbles and fully adhere it to the table.
Next I wanted to create a clearly-defined frame/border on the table, and that meant adding some sort of molding or trim around the oval design as well as around the edge of the table. Unfortunately I couldn't find anything affordable in the trim section that was flexible enough to work for the big curves I wanted.
After wandering the aisles of Home Depot for awhile, I came across the perfect creative solution in a package of foam window seal.
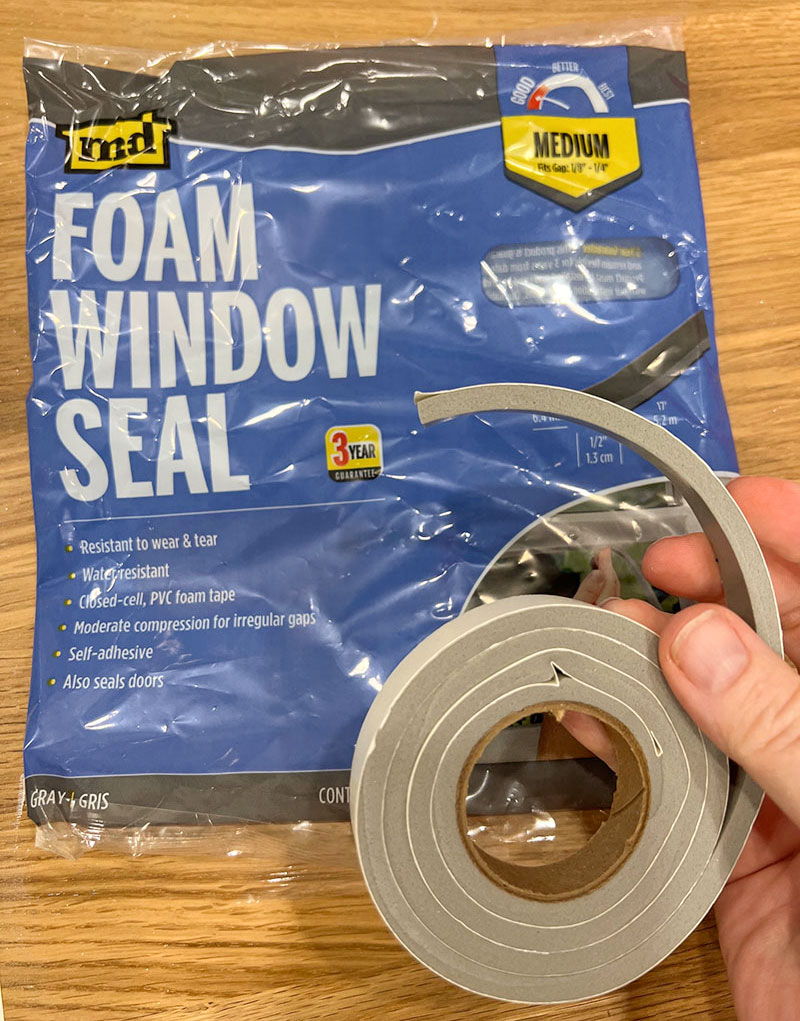
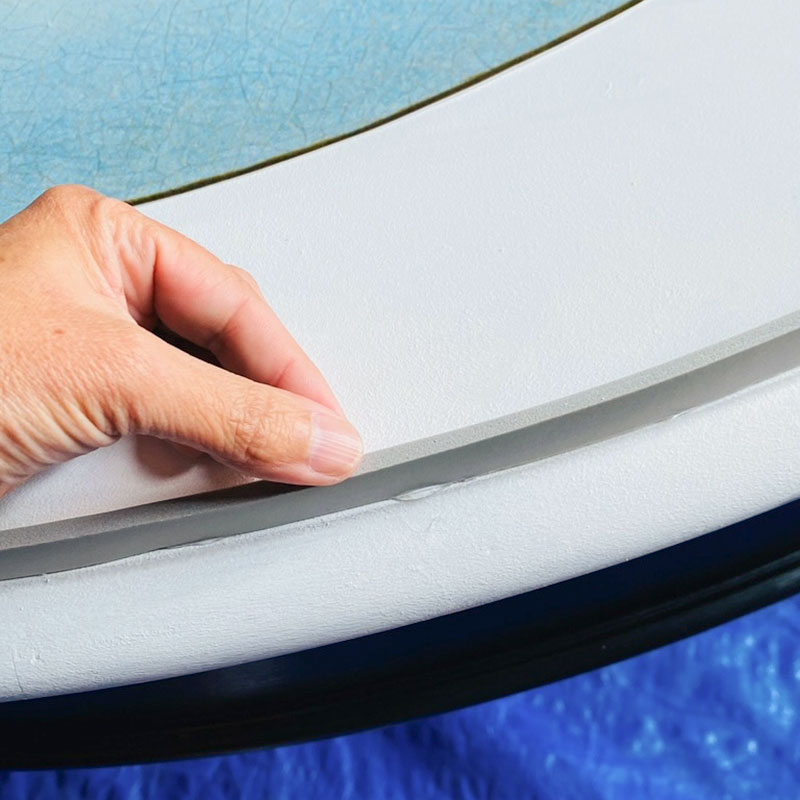
Stood up on its short side, this foam was plenty flexible enough to handle my wide ovals, and super affordable, too. I used my hot glue gun to tack it along the edge of the table and along the edge of the mural, creating quick and easy trim that will serve two purposes. It will hold the resin in place when I pour it, and it will give the border a luxe, 3D look.
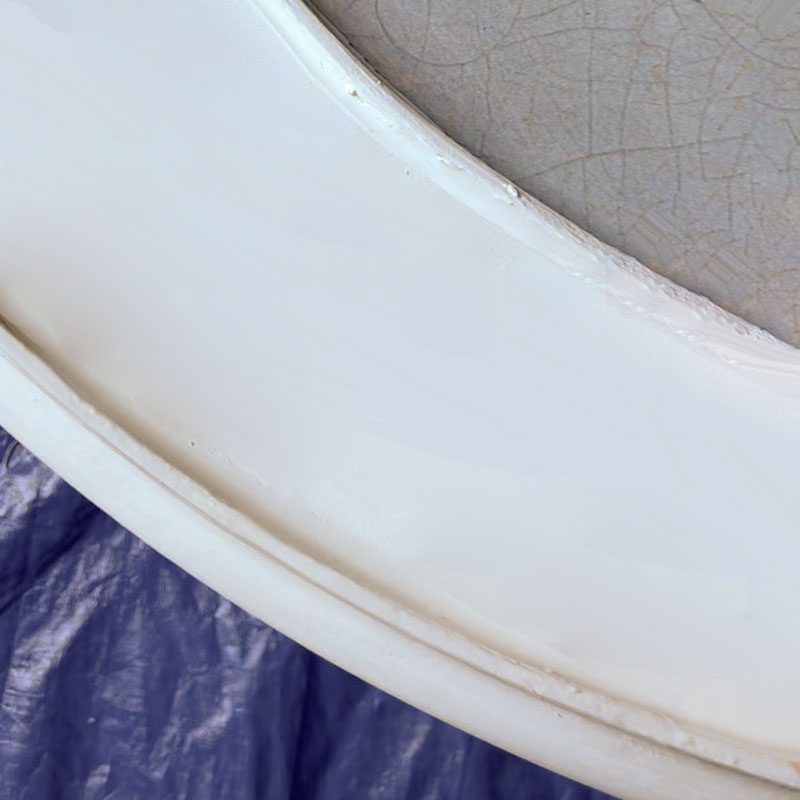
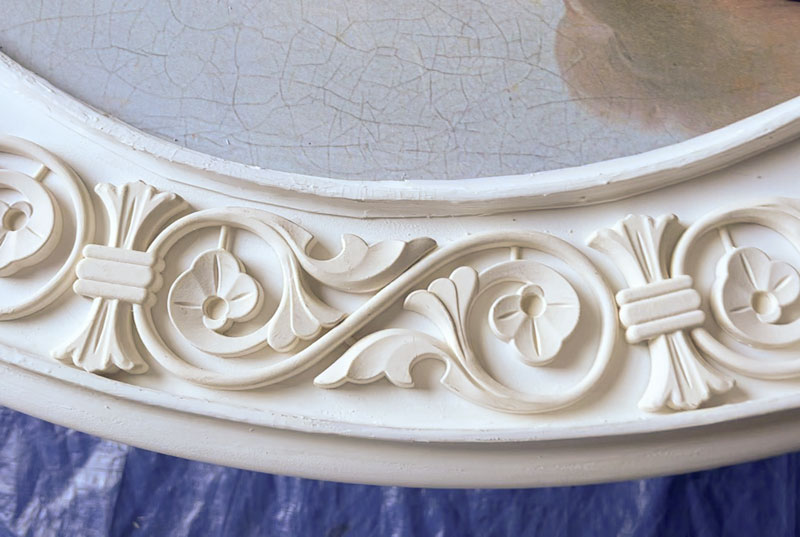
But how did I turn this flimsy foam into something sturdy enough to hold resin? I covered it with two coats of paintable caulk, that I just smoothed on with my finger. Not only did the caulk add the stability that the trim needed, but its less-than-perfect finish also looked just like plaster molding.
Now that the frame had a good border, it was time to fill it. I had a ton of plastic molding pieces that Chica and I got at a flea market ages ago, so I played around with them until I got just the layout I wanted. I went overboard here, stuffing the frame with as much ornate trim as I could, and it definitely paid off.
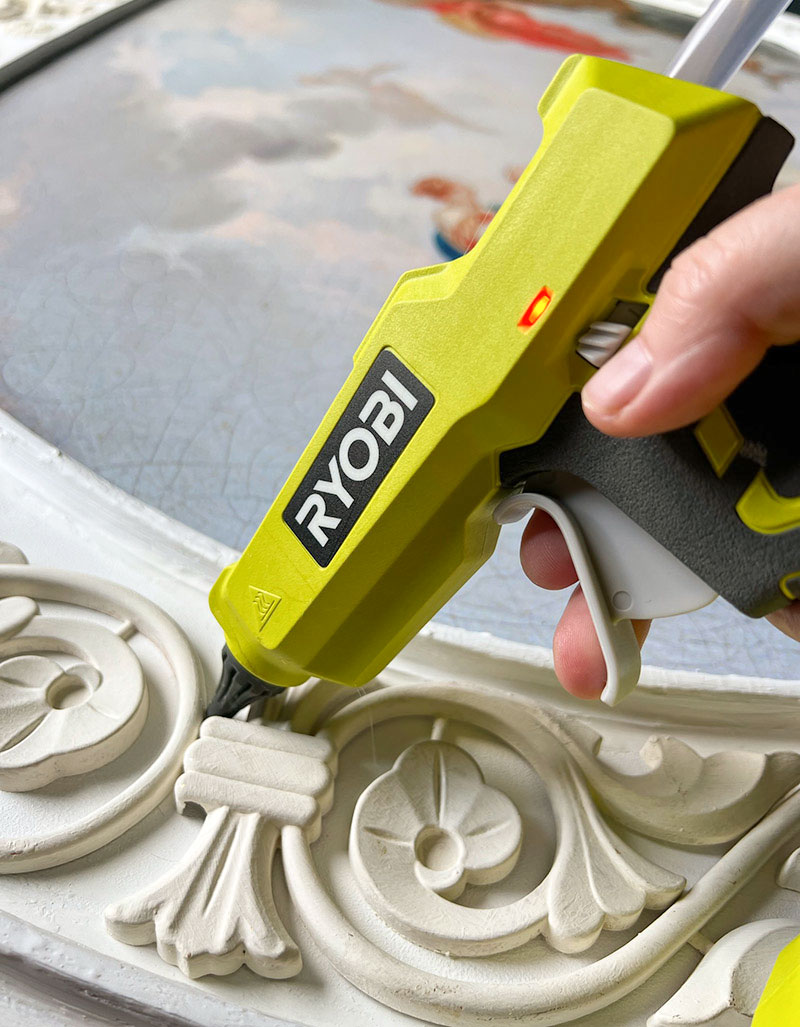
I used my Ryobi cordless glue gun to attach all my decorative moulding pieces securely to the table.
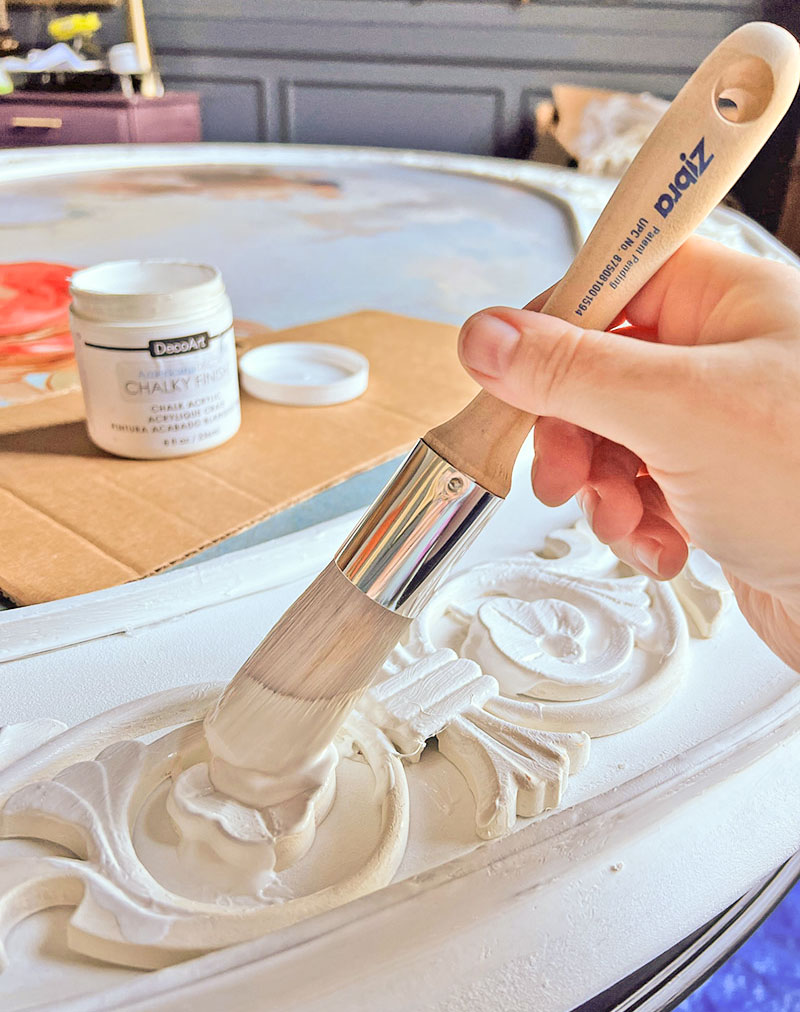
To make the trim pieces seamless with the tabletop, and look more like finished plasterwork, I used more white Americana Decor Chalky Finish and my Zibra brush to paint the trim. I applied it liberally over all the trim, purposefully making thick areas that might crackle and globs that might pool, so that it would look more like rough, aged plaster.
Pouring the first resin layer
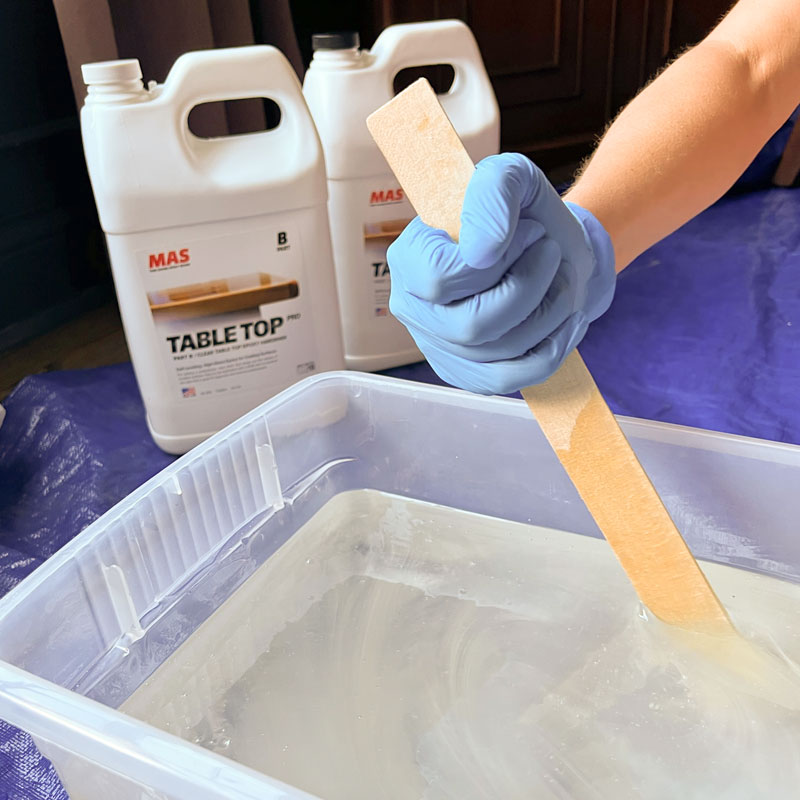
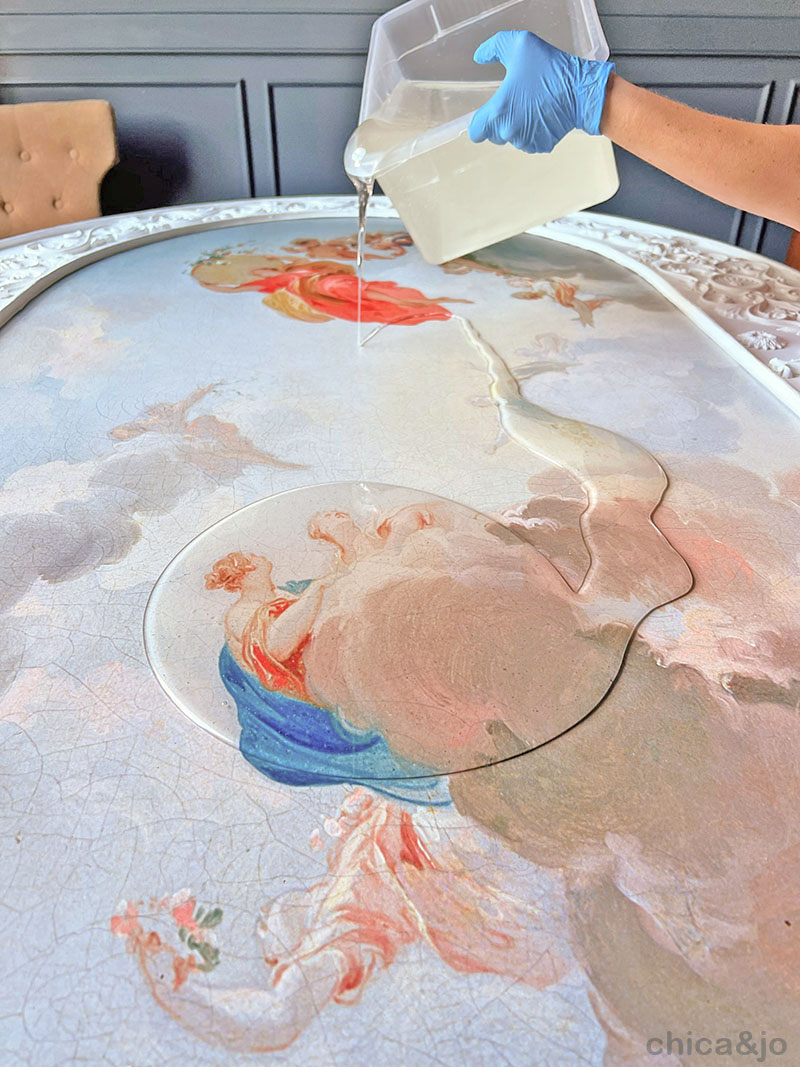
Once everything was thoroughly dry, it was finally time for the very first pour of resin. I admit I was really nervous doing this, because it was definitely a "no turning back now" moment. I used Mas Epoxy Table Top Pro Epoxy (Enter coupon code CHICAANDJO for 10% off), which was a great formulation for this project. I mixed the 2 gallon kit according to the label instructions.
Once the resin was thoroughly mixed, it was time to pour. I started the pour in the middle of the table.
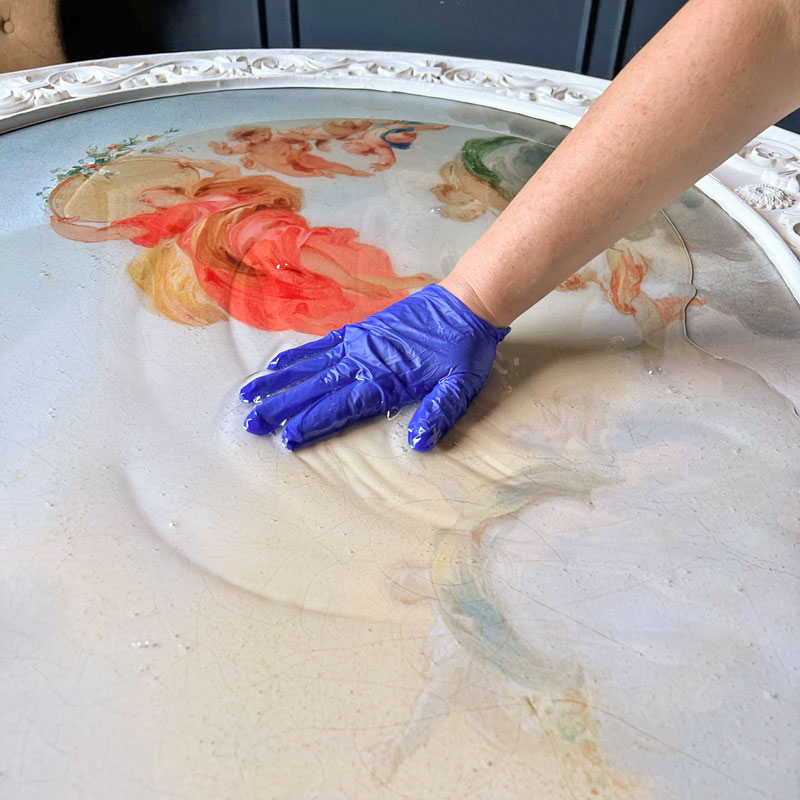
I found it easiest to use my gloved hand to spread the epoxy across the surface, to help get a nice thin coat over everything without having to tilt the table.
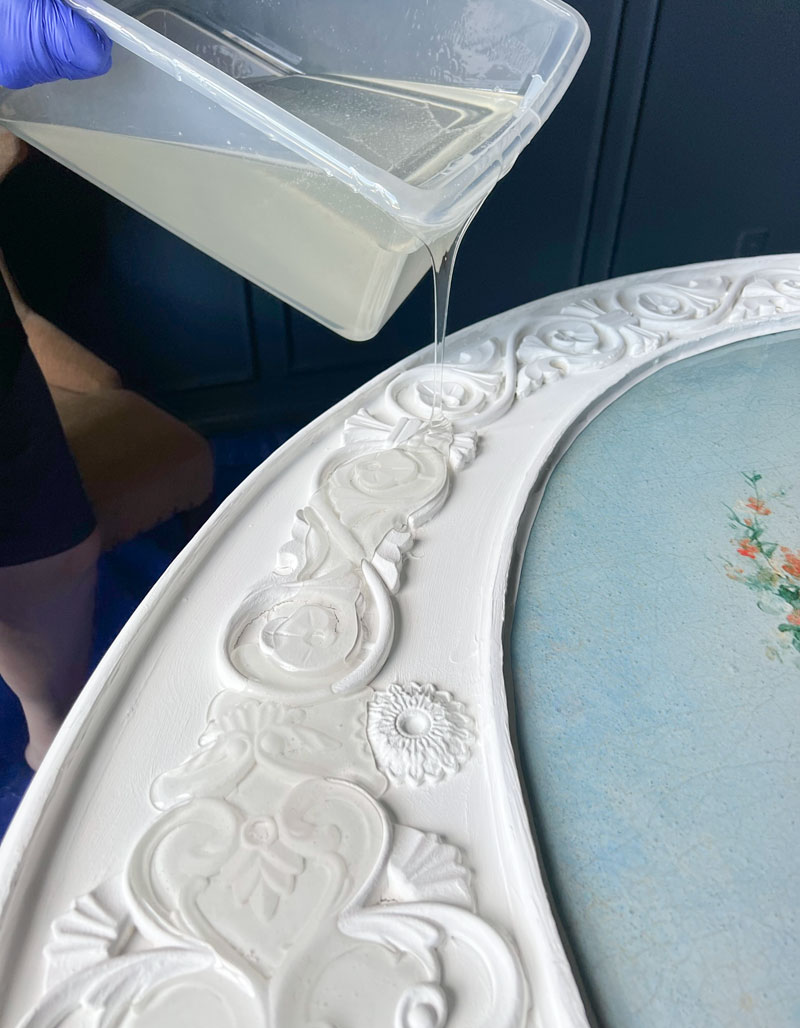
I also poured some resin into the border/frame around the edge, letting it ooze in between the trim pieces, in a thin layer. I resisted the temptation to completely fill this space at once — this resin cures best at thin depths, so a multi-layer, multi-pour approach would give the best results.
When the resin was all poured, I hit it with my Wagner heat gun, which serves two purposes. First, the heat will warm up the resin so that it flows evenly and levels out to a smooth surface. Second, it will pop any air bubbles that might appear in the resin.
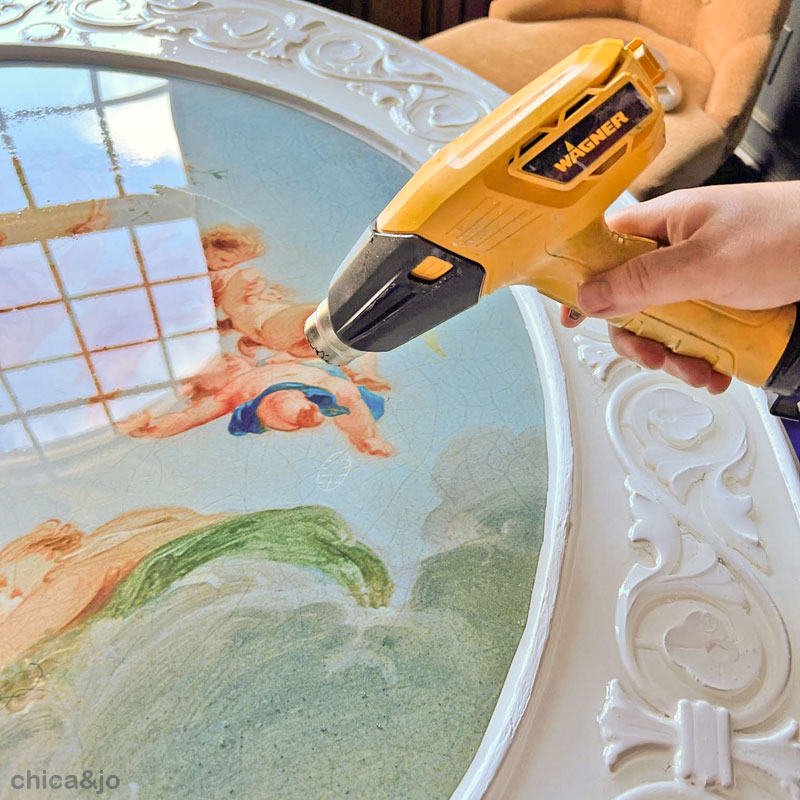
I made sure to revisit the resin with the heat gun every few minutes for about an hour, checking for air bubbles and popping any that I saw. This is crucial for a clear finish on your resin.
Adding the second layer of images
Once the first layer of resin was fully cured, I was able to add the second layer of mural images. I poured a very thin coat of resin just where the images would go, then carefully placed the pieces, making sure to line them up exactly with the design on the first layer below.
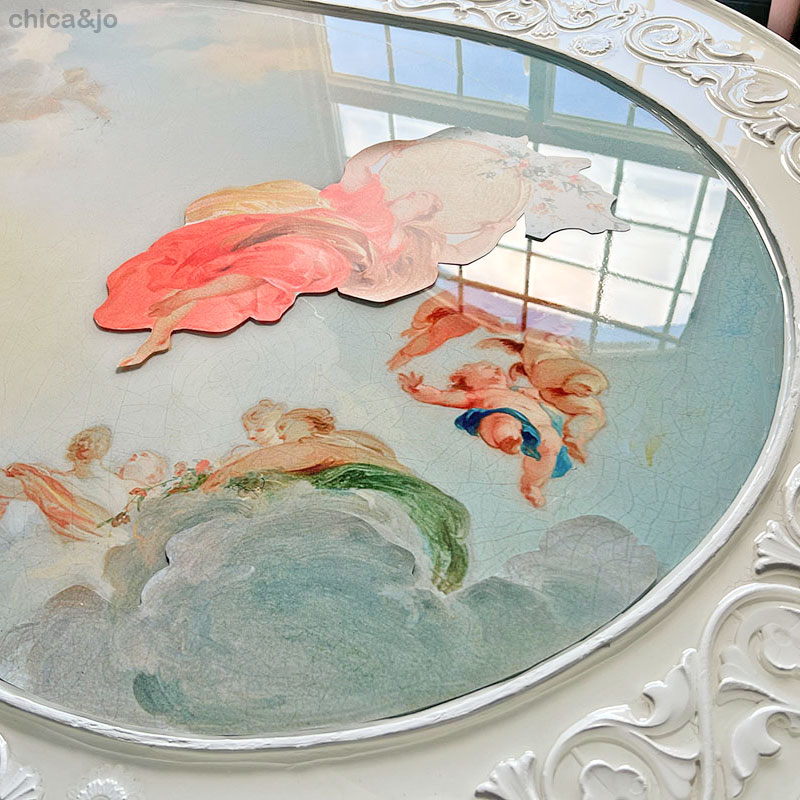
When the "glue" resin had dried on the second layer of images, I covered the whole middle with another thin coat of resin to fully seal them in. It was so satisfying to see the 3D effect from the second layer of images. They pop right off the surface and give the overall design such depth!

After this layer of resin cured, and for all layers going forward, I used my Ryobi cordless sander to quickly scuff-sand the surface before pouring more resin. This helped the two layers of resin adhere to each other and also let me get rid of any imperfections or bubbles I might have missed. After each sanding, I was careful to thoroughly clean up all the dust before applying the next resin layer.
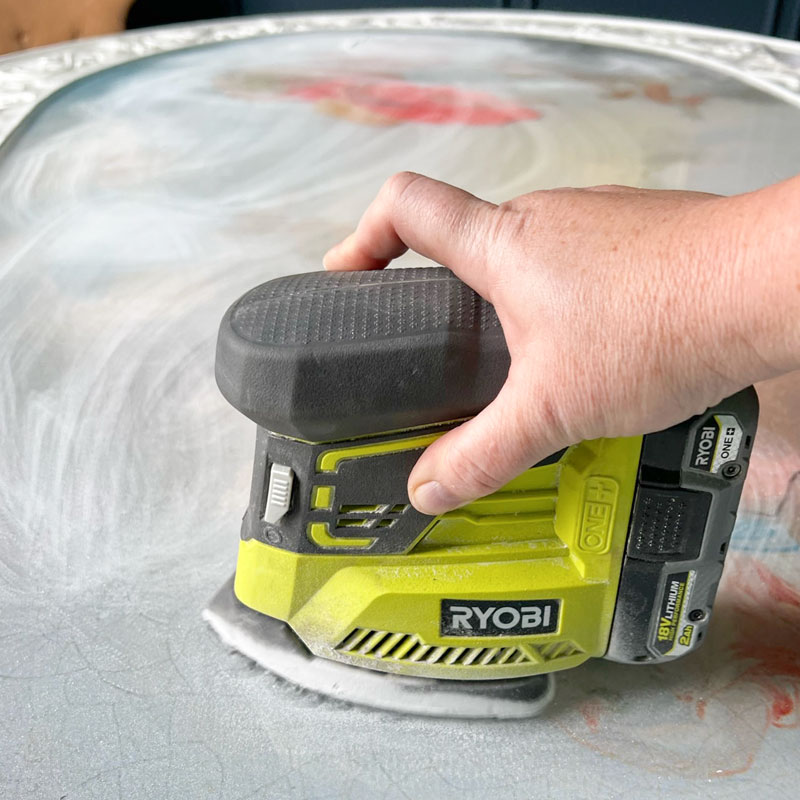
Don't worry — the next layer of resin will soak right into all those scratches and you'll never know you had roughed it up. (Just make sure you don't sand the very last coat of resin!)
Finishing the resin layers
With all the tricky 3D elements done, all that was left was to fill the remaining space with more resin. Because the Table Top Pro Epoxy (Enter coupon code CHICAANDJO for 10% off) does best in thin layers, I took my time with this and poured multiple thin layers until the space was filled.
The border/frame in particular took five pours to fill in, since the molding was all pretty thick and needed to be completely covered. Eventually, though, I got the perfectly smooth, glass-like finish I was aiming for.
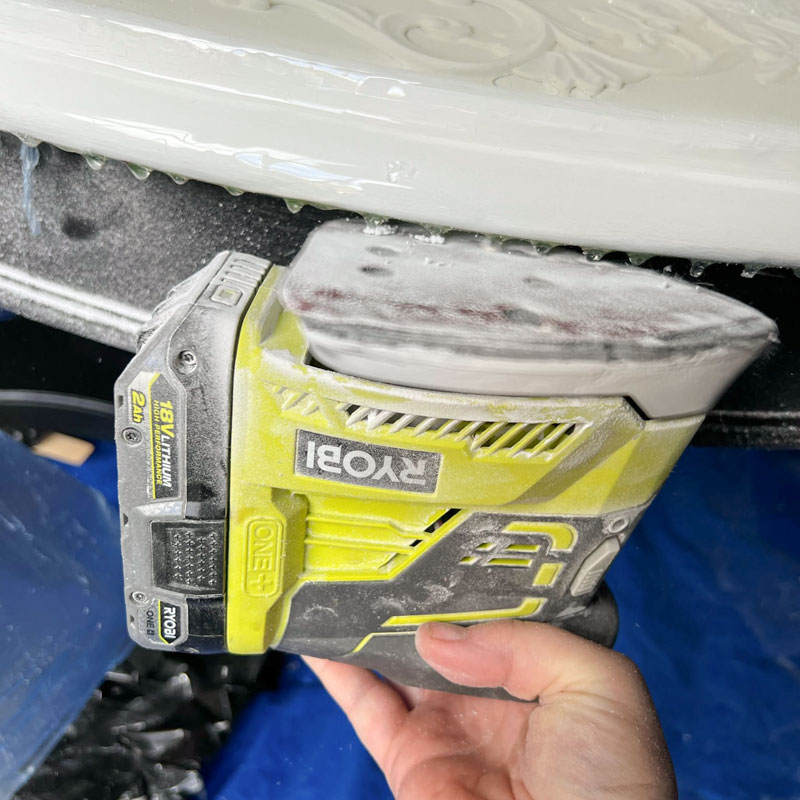
Once everything was full to the brim with resin and fully cured, I had some drips along the edge that need to be cleaned up. This only took a few minutes with the sander, and the edge was smooth and neat.
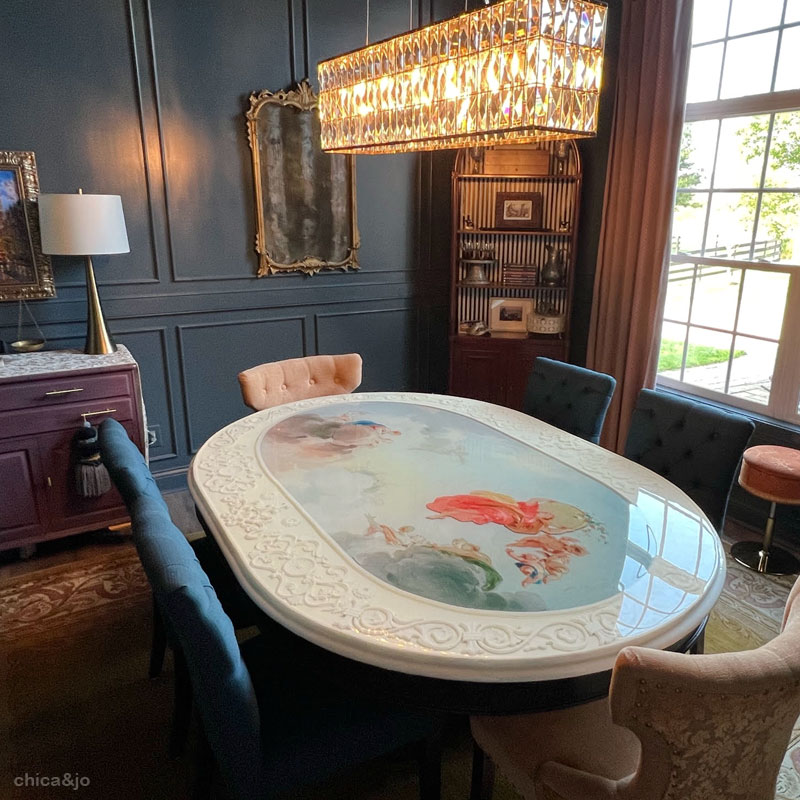
The finished table
I could not be happier with the finished table. It's everything I hoped and dreamed, and exactly how I imagined it in my head.
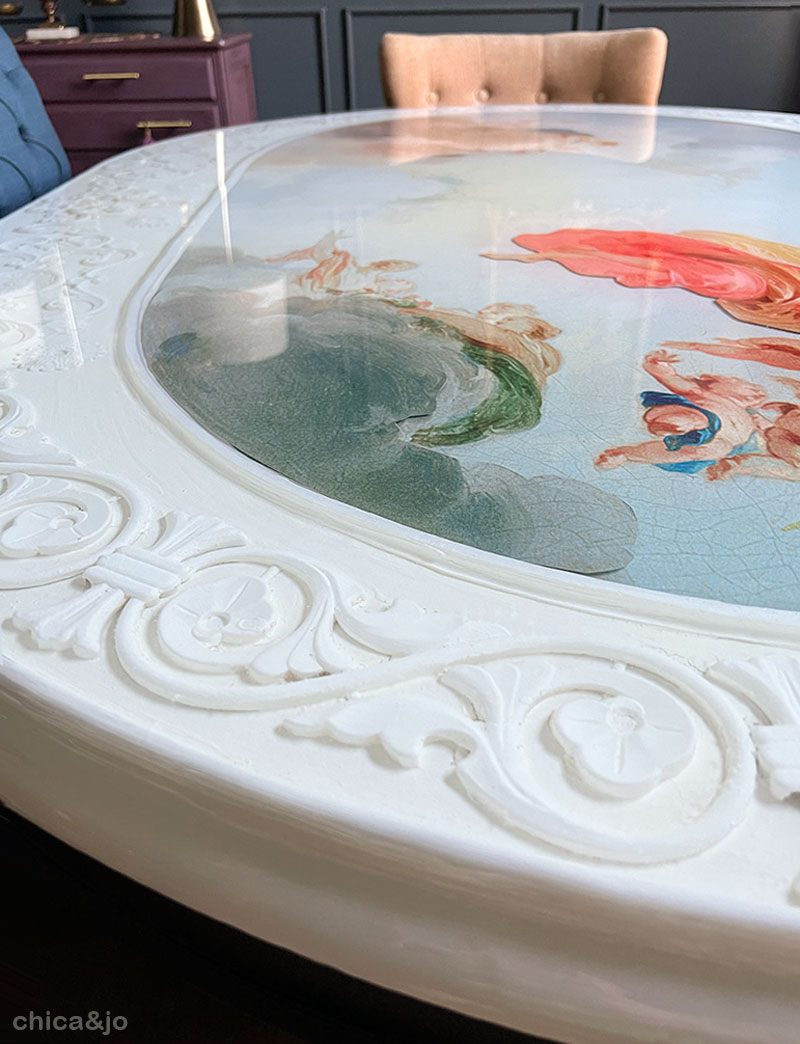
Just look at that beautiful glossy finish! And the molding and trim has so much depth that to me, it looks like I plucked it right off an Italian ceiling.
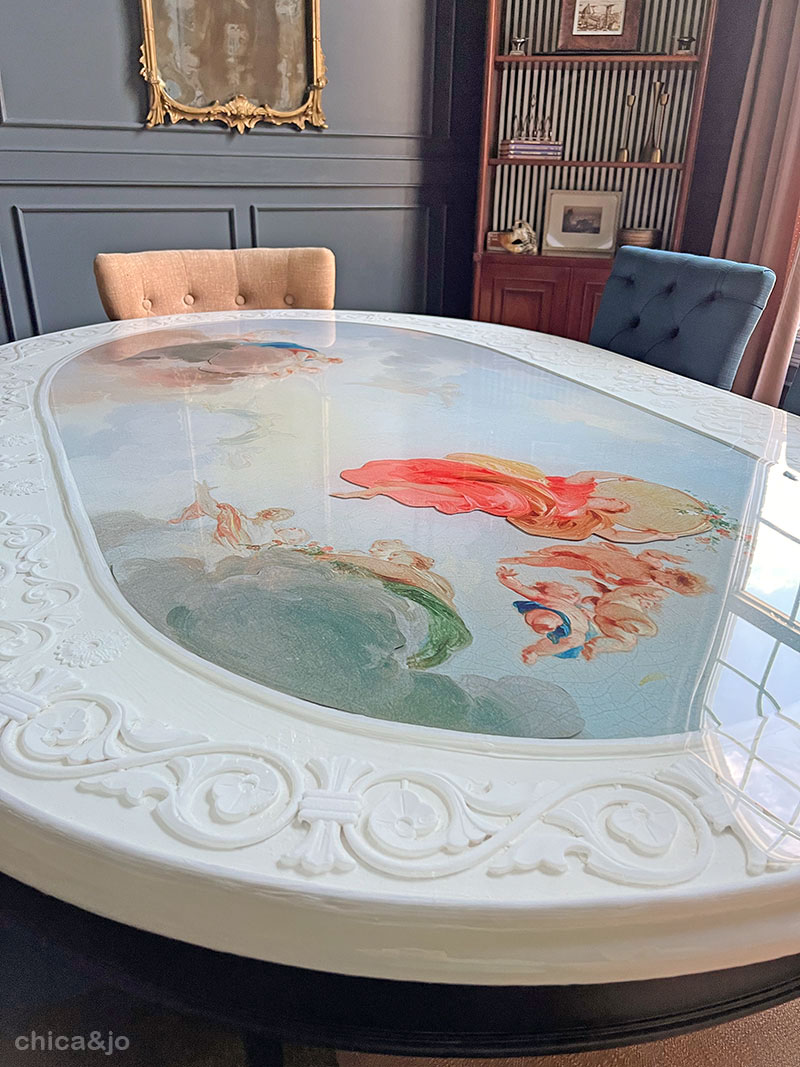
The areas with doubled-up images, which are slightly separated between layers of resin, are my favorite parts of the table. The shadows that are cast within the resin makes it look so dimensional. This angel's basket looks like the flowers are falling right out of it into the sky behind her.

It looks so glorious in my dining room that I simply can't wait to have my first dinner party in here. It should make every meal so much more special on this beautiful surface. I'll need to shop around for some pretty Italian trivets so I can protect it from hot dishes or pans, but that will just make the table setting even more beautiful.
Would you try something like this on a table?
similar projects

Painted Rainbow Layered Resin Art

IKEA Hack: Sola Wood Flower Resin End Table
Transitional Dining Room Style Inspiration


