


DIY Poolside Storage Cabinet for Sunscreen and Summer Essentials

; "Pinterest")

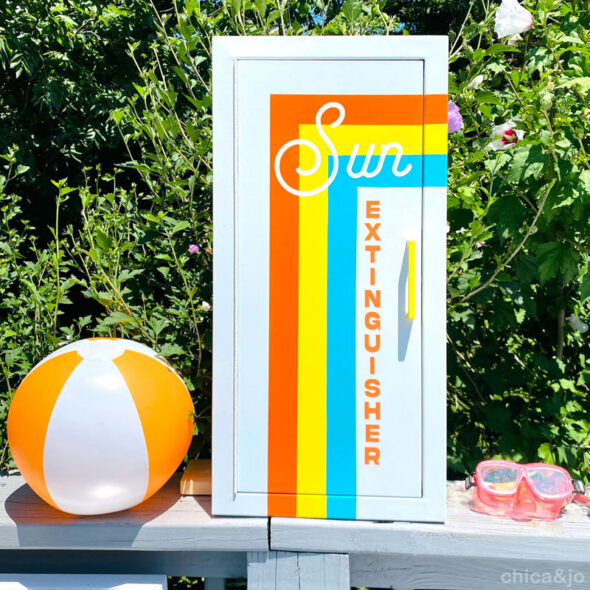
One of the biggest key factors to making poolside enjoyable for long summer days is having plenty of sunscreen on hand. So we designed a special storage cabinet to store sunscreen and summer essentials and display them in a DIY storage cabinet that is convenient and fun.
Why every pool needs a storage station
Encouraging the kids (and adults, let's be honest) to use sunscreen can be a challenge. Having plenty of options readily available, easy to access, and presented in a fun manner will make it that much easier to avoid the burn.
And if you're going to bother organizing everything to store poolside, why not go the extra mile and upcycle a thrifted cabinet to make it extra fun?
Upcycling a fire extinguisher cabinet
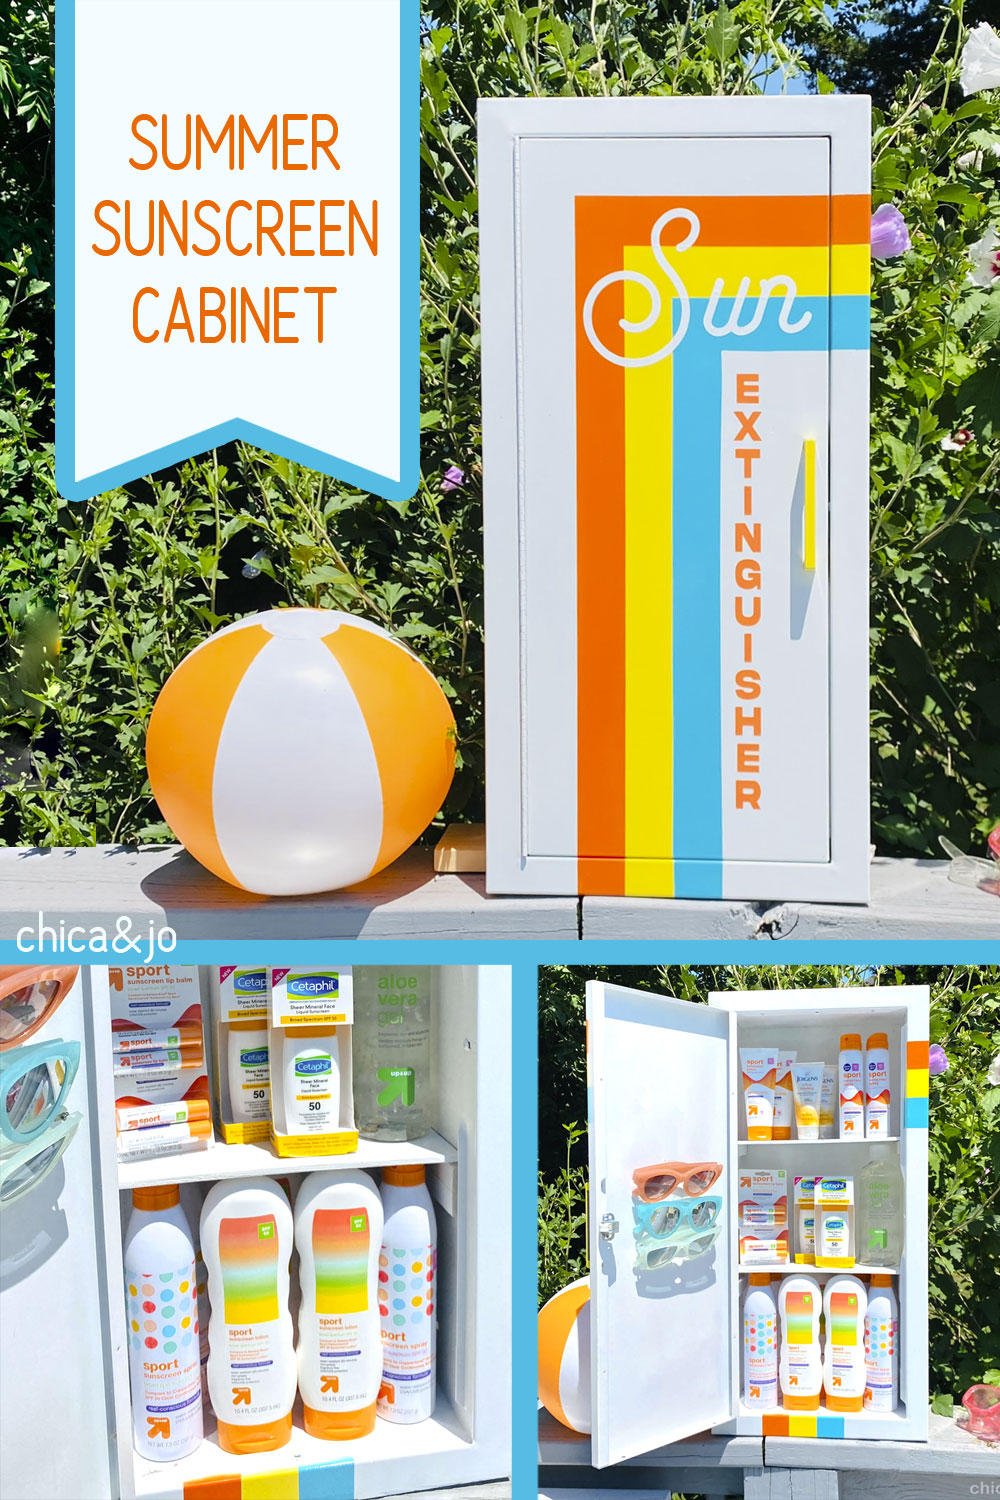
We made our sunscreen cabinet from a vintage fire extinguisher cabinet that we found at the thrift store. The durable metal and convenient door were just right for this project.
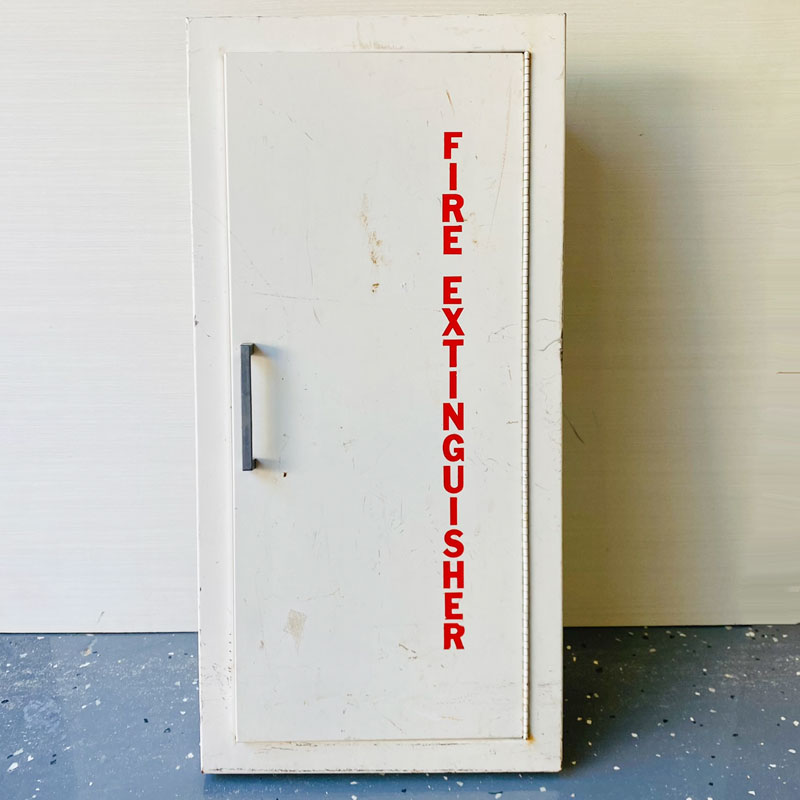
And the bonus inspiration came from the "fire extinguisher" writing on the door. We knew right away that labeling our cabinet as a "sun extinguisher" would be the perfect fun callback to the original use.
Our sunscreen choices to put in our cabinet
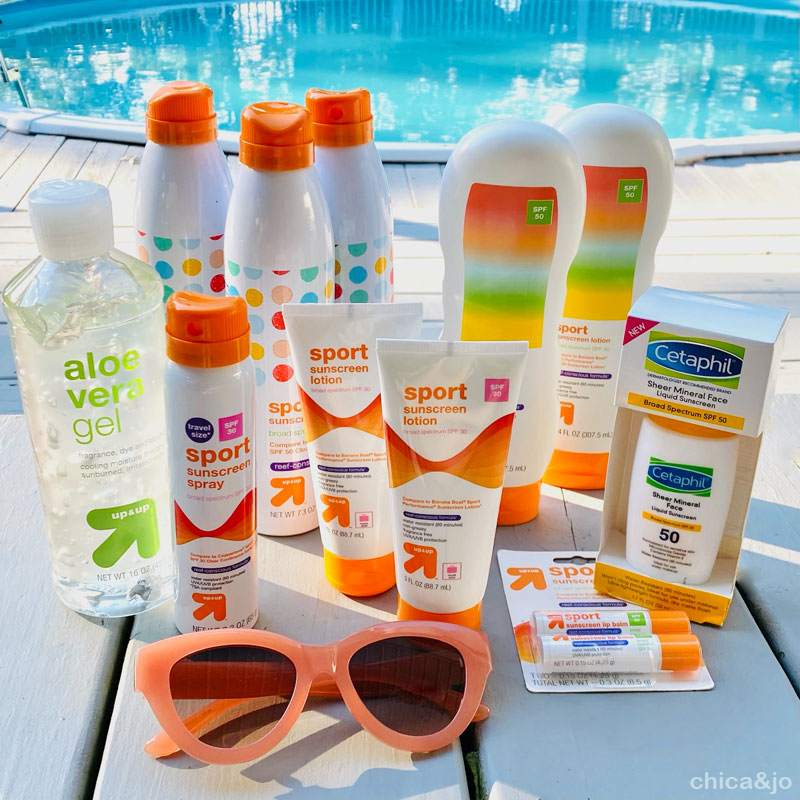
We purchased a ton of supplies to put in our cabinet, including:
- Sunscreen spray
- Sunscreen lotion
- Sunburn relief gel
- Sunscreen face stick
- Sunscreen lip balm
- Bulk sunglasses in bright colors
How we made this DIY poolside storage cabinet
Supplies needed
We completely transformed our cabinet with bright colors and a fresh new look. Here are the supplies we used:
- Wood scraps
- 2-part epoxy glue
- Rust-Oleum 2X Ultra Cover spray paint in White, Real Orange, Sun Yellow, and Seaside
- Heat gun and scraper
- Frog Tape for Delicate Surfaces
- Plastic bags for masking
- Silhouette Cameo or other electronic cutting machine
- Adhesive vinylin white and orange
- Gridded transfer tape
Step 1: Add shelves
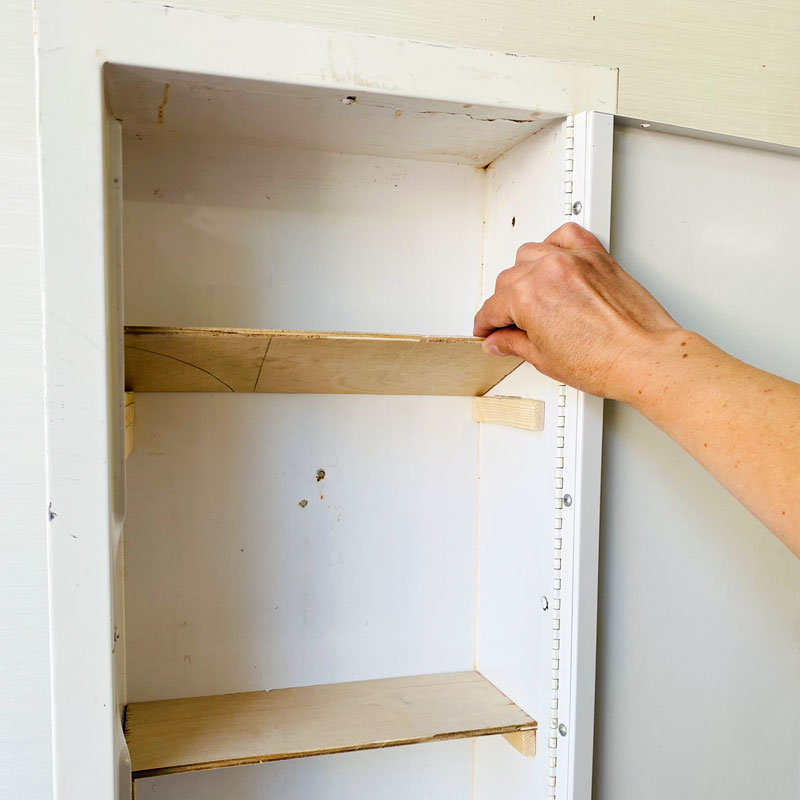
The first thing we did was to remove the brackets inside the cabinet and replace them with a couple of simple shelves to hold all the goodies.
The cleats are just strips of wood that we attached with 2-part epoxy glue. Then we cut some 1/4" plywood to size for shelves to sit on top of the cleats.
Step 2: Remove the old letting
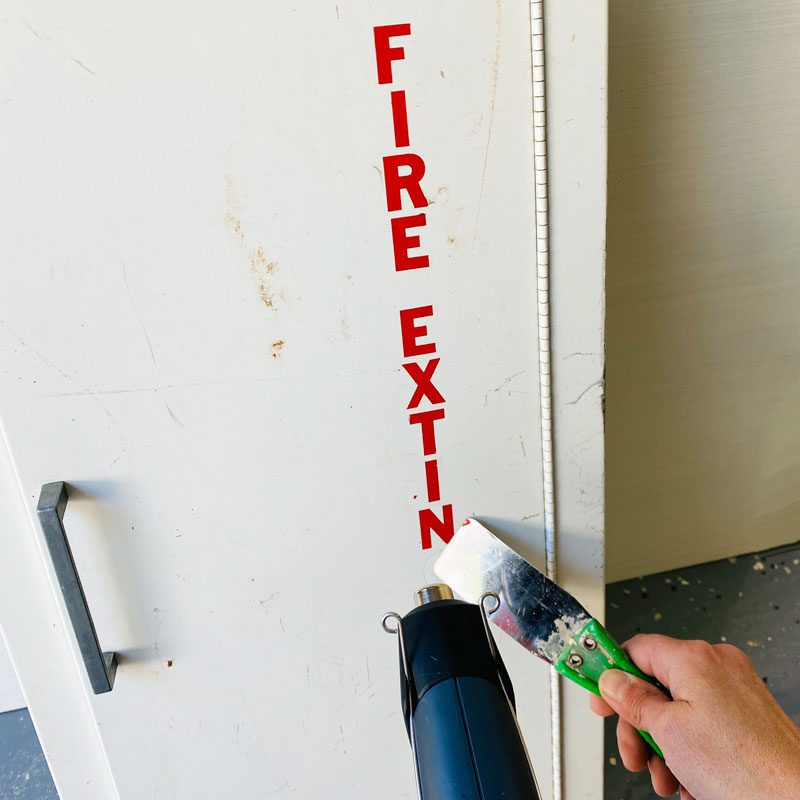
We used a heat gun to soften the existing vinyl lettering and scraped it away. It was important to NOT leave this cabinet labeled as a fire extinguisher, as that could have been a dangerous assumption in case of an emergency.
Step 3: Paint everything white
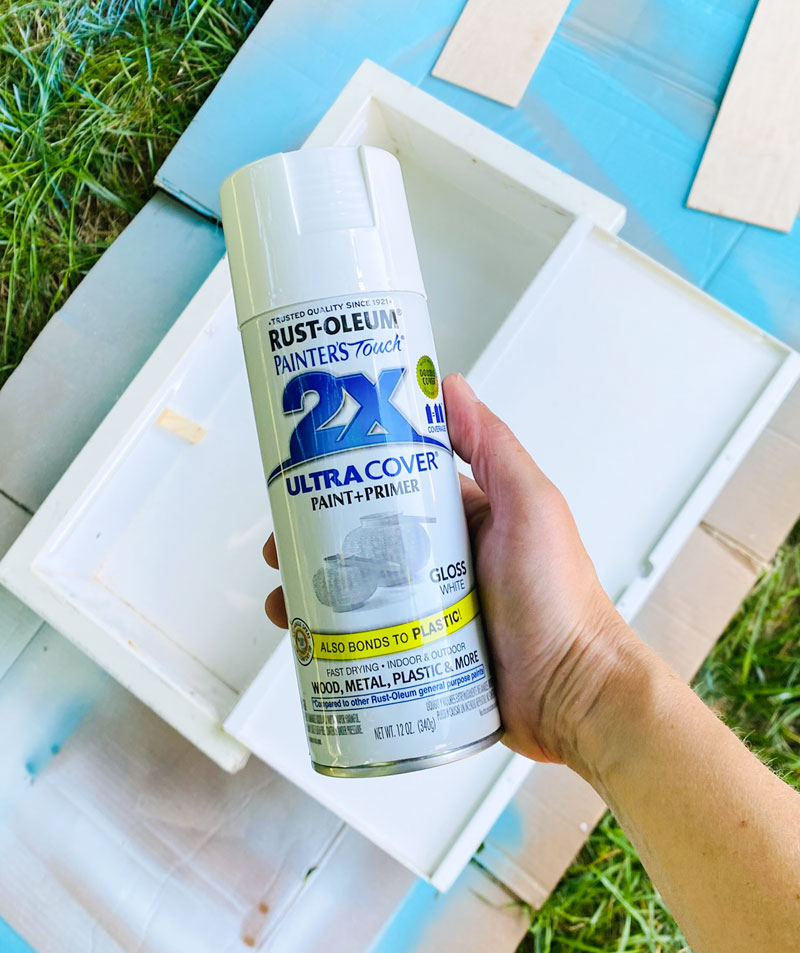
After giving the cabinet a good cleaning, I sprayed everything with a coat of Rust-Oleum 2X Ultra Cover in Gloss White to freshen it all up. Oh what a difference a coat of paint can make!
Step 4: Add the decorative stripes
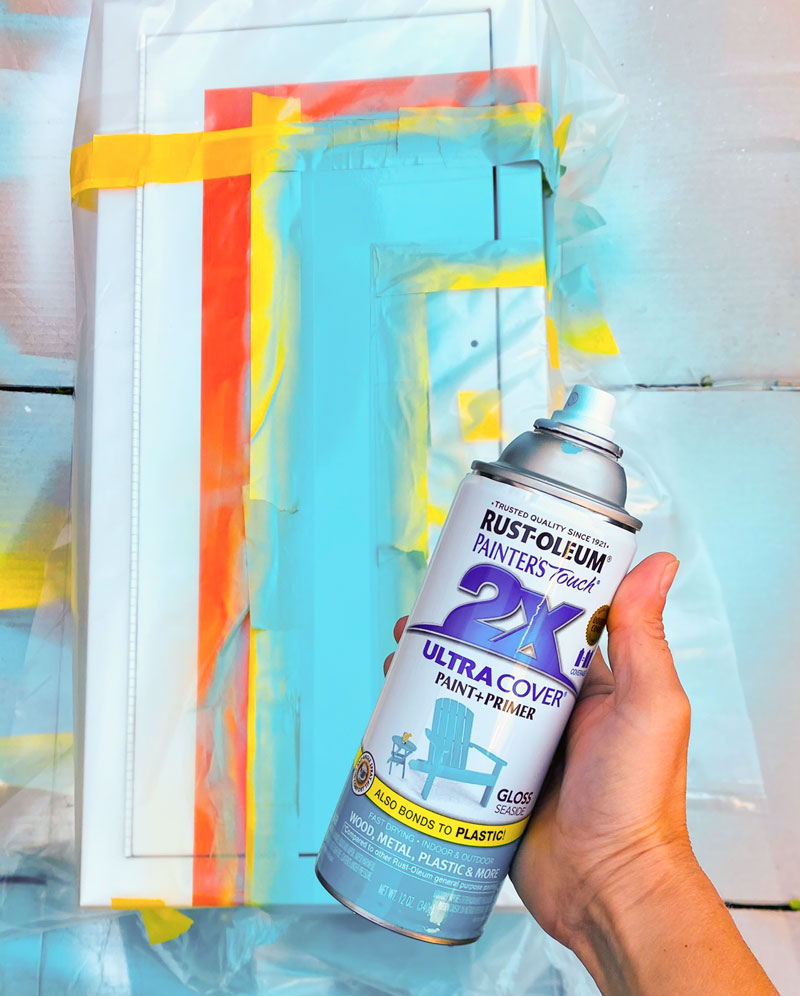
When the white basecoat was fully dry, I moved on to adding the decorative stripes on the cabinet, using plastic bags and Frog Tape for delicate surfaces to mask off the areas that didn't need paint.
I painted the first stripe in Real Orange and the next one with the aptly named Sun Yellow.
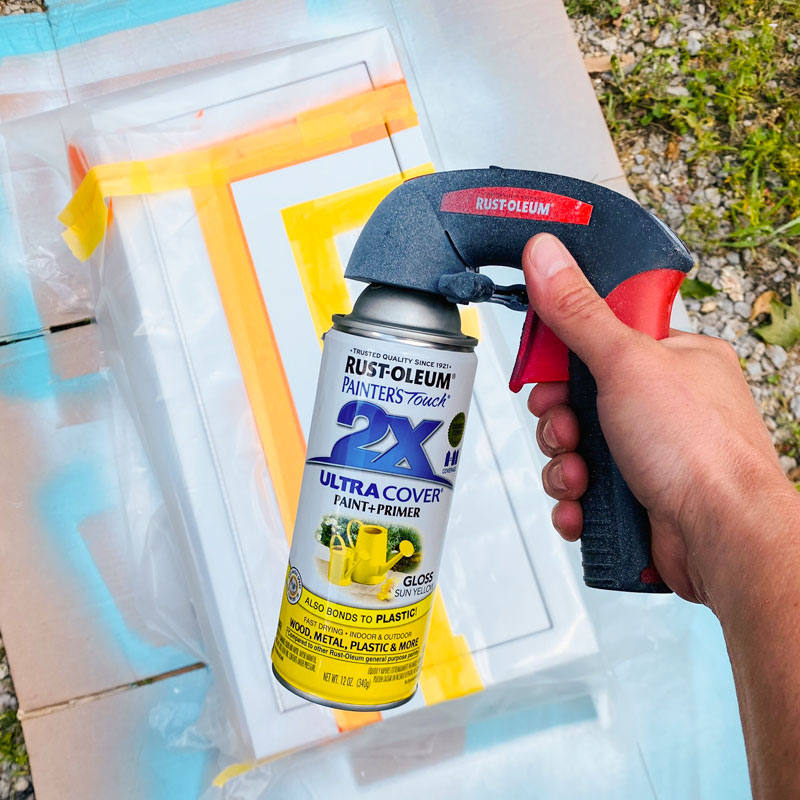
These stripes were so easy to do, but actually took several days because I needed to let each color cure fully before taping over it to paint the next stripe. When I finished up with the the last color — Seaside — I was so excited to peel the tape away and see the results!
These retro colors and this simple stripe design just scream summer to me.
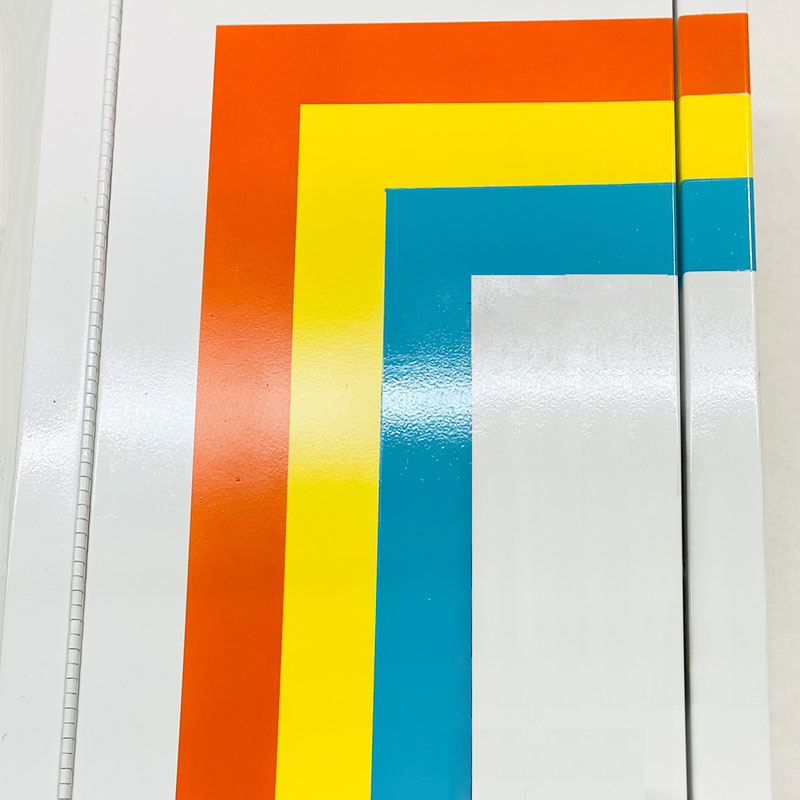
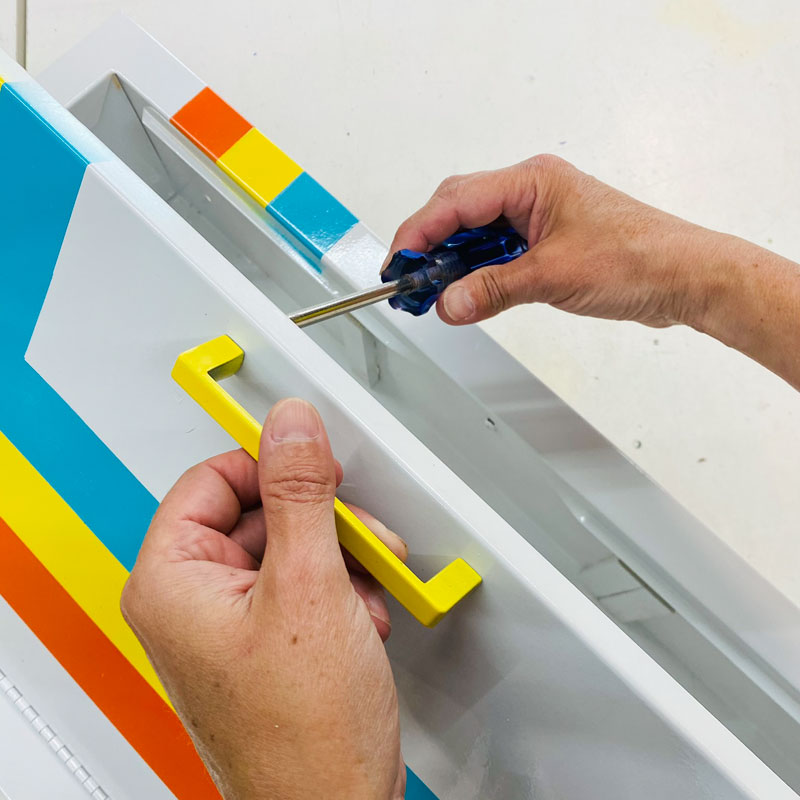
I also painted the original handle with Sun Yellow to match and added it back to the cabinet door.
Step 5: Add the vinyl lettering
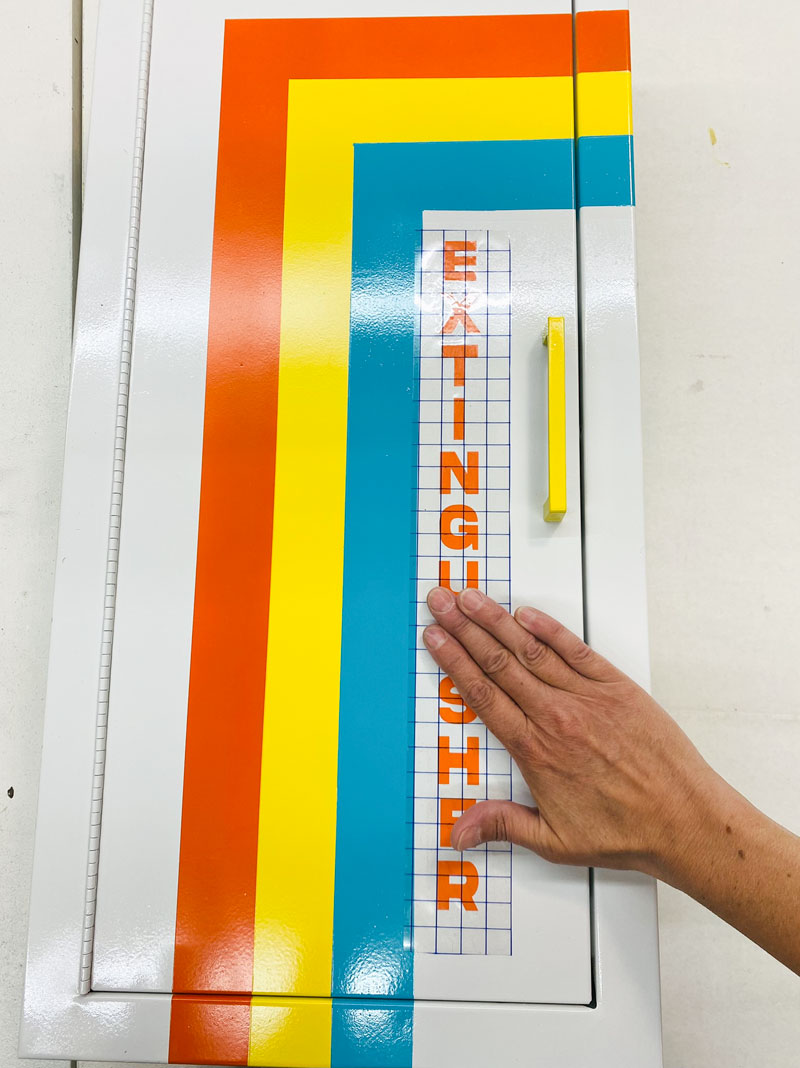
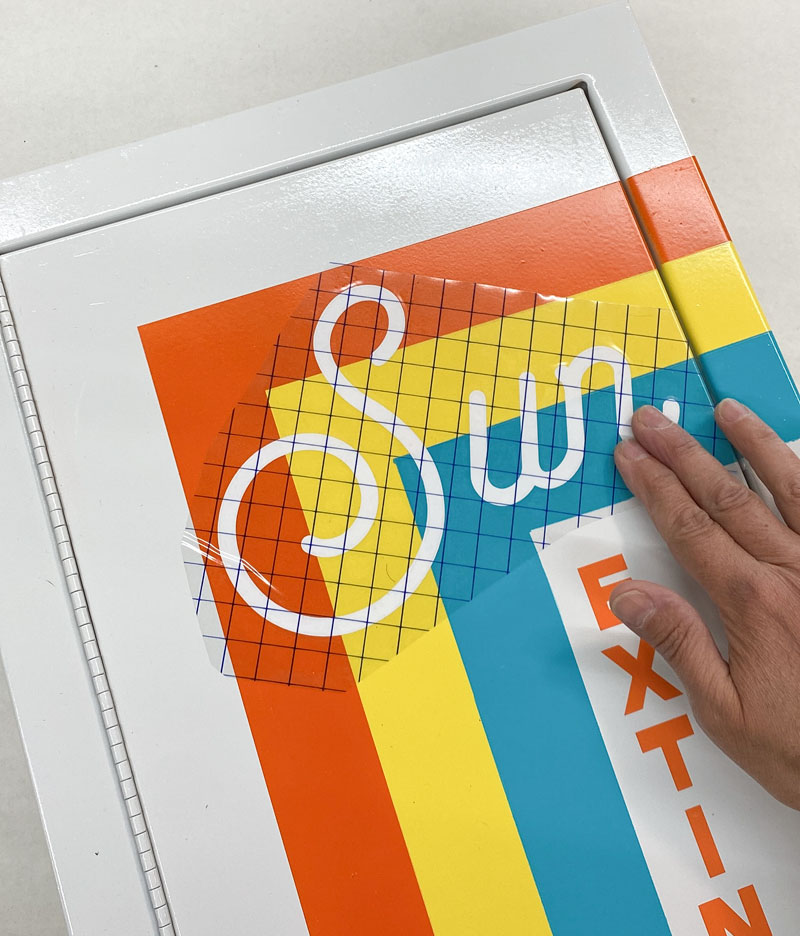
Then I used my Silhouette Cameo to create some new vinyl lettering to add to the cabinet, to give it that nod back to its original fire extinguisher duties.
First, I put the word "extinguisher" in orange adhesive vinyl down the front, and used gridded transfer tape to help me apply it nice and straight. (Here's my free "extinguisher" .studio file if you want to make your own.)
Then I put a large "Sun" above that, in bright white vinyl. (Here's my free "Sun" .studio file if you want to make one too.) The clear transfer tape was key to helping me align this just right!
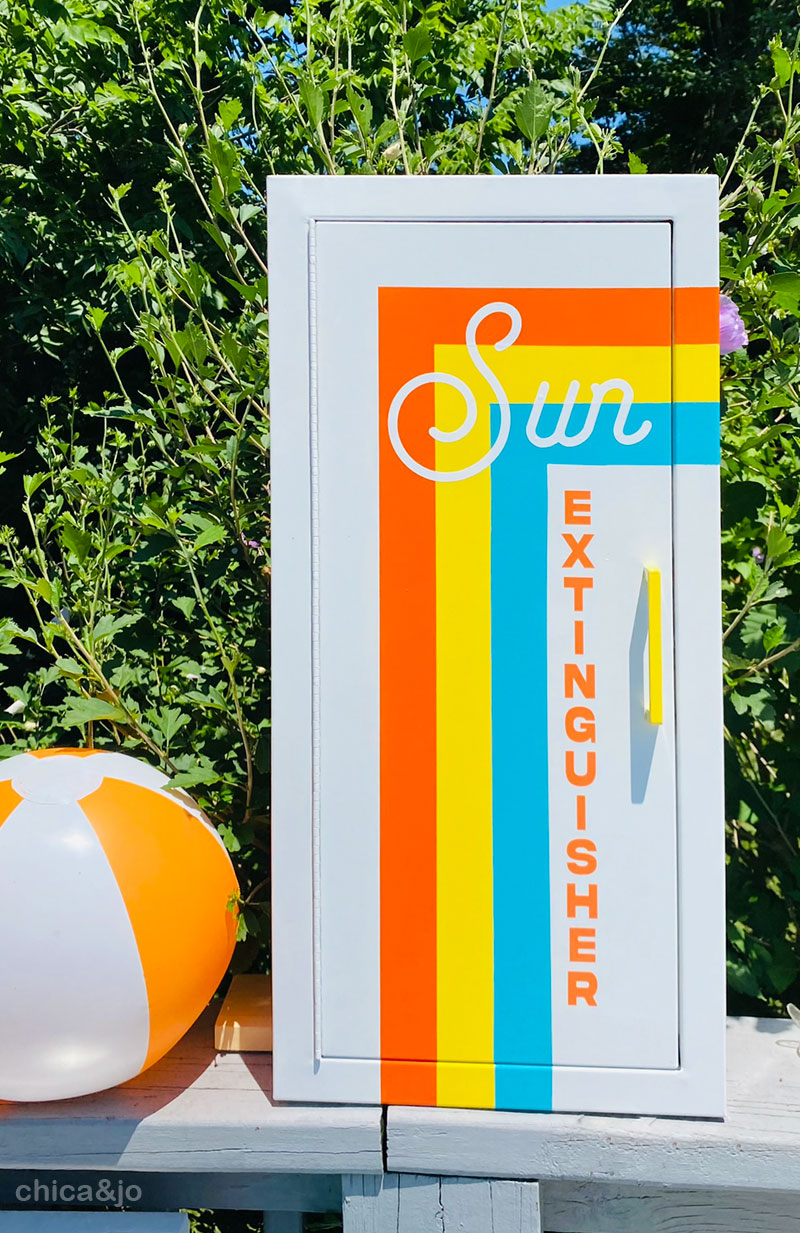
The finished cabinet
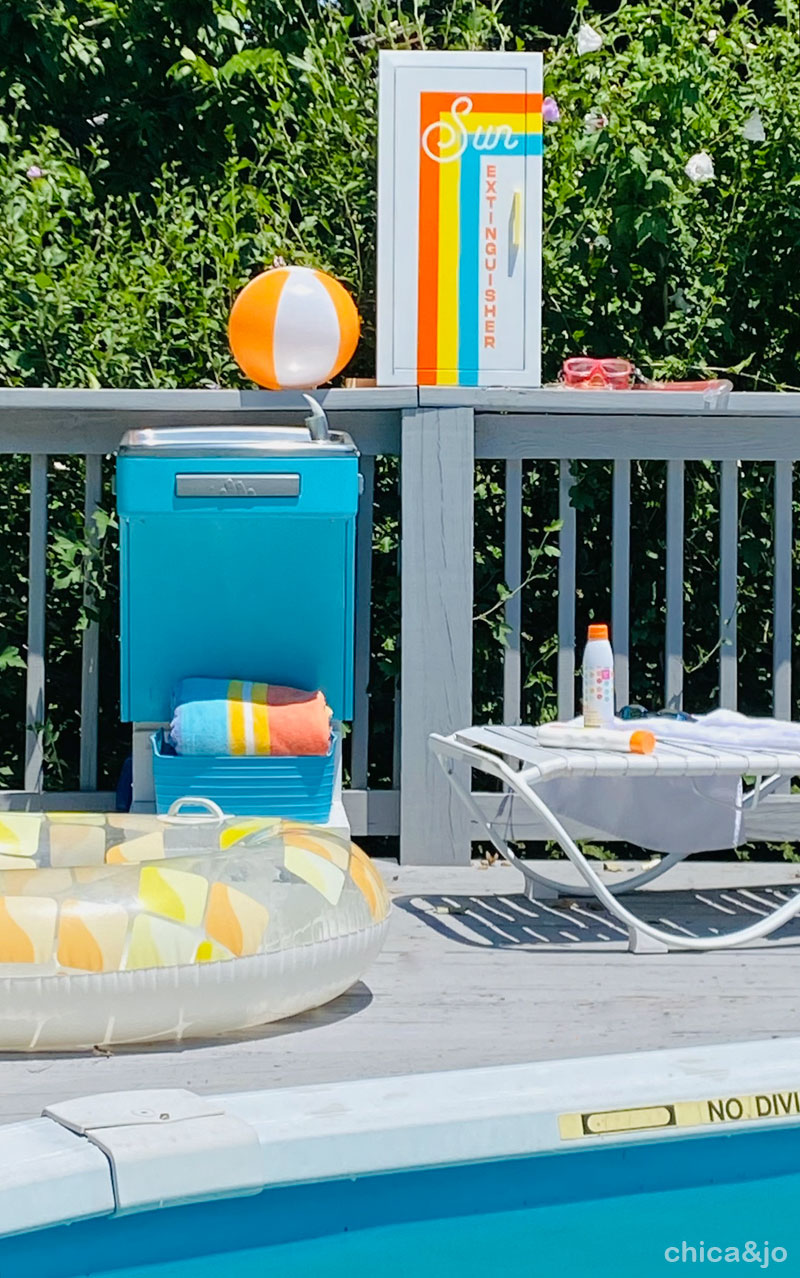
And with that, it was done. The cabinet is so bright and fun and looks great outside on my deck.
What we keep in our poolside sunscreen station
As cute as it is, the real magic comes when you open the door to reveal what's inside.
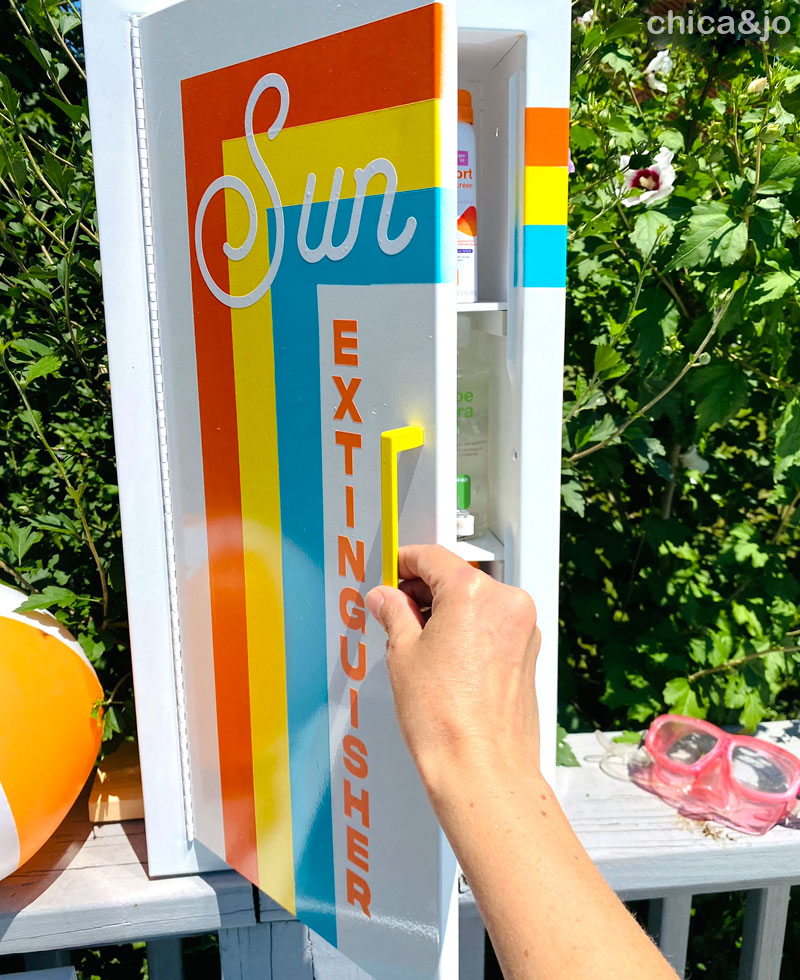
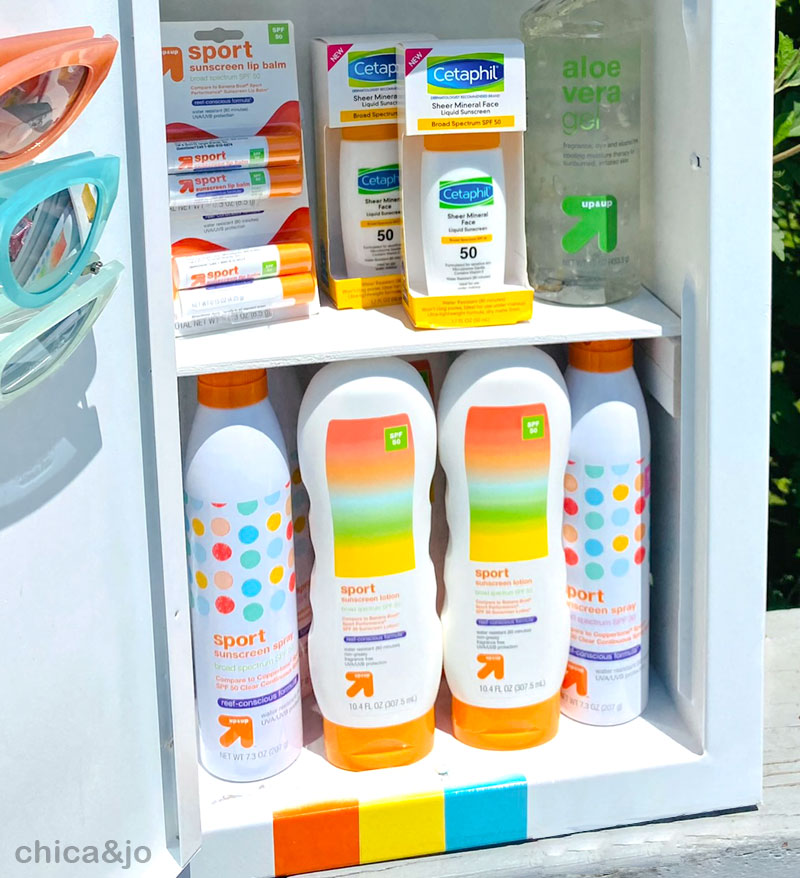
So much sunscreen! We filled the cabinet with sunscreen sprays and lotions, aloe vera gel, sunscreen sticks, and even a few pairs of sunglasses in bright colors.
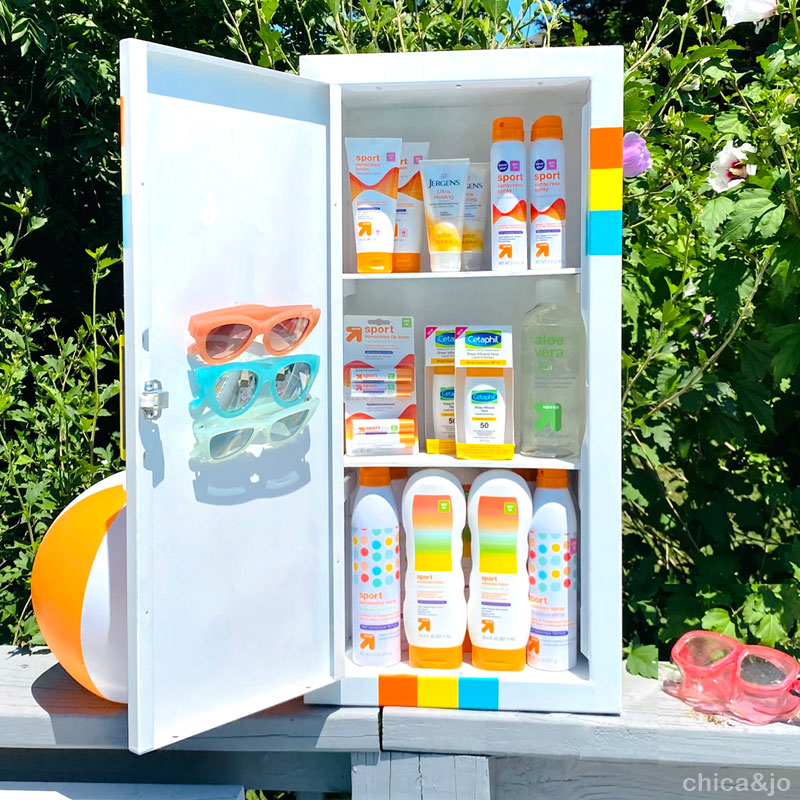
Most of these products are from Target's Sport line, and the colors match our retro vibe perfecty. With such easy and fun access, no one has any excuse not to reapply.
Tips for outdoor sunscreen storage
This is now a regular fixture by my pool, nestled under an umbrella next to the chairs and floats. And doesn't it look great with my matching blue drinking fountain? Check out our TikTok or Instagram Reel to see more about that.
There are definitely some things to keep in mind when storing sunscreen outdoors, so be sure to remember these tips:
- Keep the cabinet in the shade if possible
- Bring the cabinet inside when not in use (or at least bring the supplies inside) so it's not exposed to daily heat
- Avoid storing aerosol cans in direct heat
- Use waterproof paints and vinyl for decorative elements
similar projects
56 Guest Room Essentials in an Amenities Cabinet
DIY Hardware and Spray Paint Organizer Cabinet
DIY Bar Cart from a Vintage Sewing Machine Cabinet


 info@chicaandjo.com