


DIY Hardware and Spray Paint Organizer Cabinet

I've been struggling for ages with how to store and organize my random hardware. Screws, nails, nuts, and bolts are scattered around my garage in various boxes and bags. When the TV show The Home Edit came into my life this summer, I was inspired to finally get it all organized. I used several of Clea and Joanna's basic principles, applied my woodworking skills to the challenge, and came up with the perfect solution. I created a beautiful and functional way to store hardware, as well as spray paint. And I'm here to share with you the complete plans and measurements to make your own DIY custom hardware organizing cabinet.
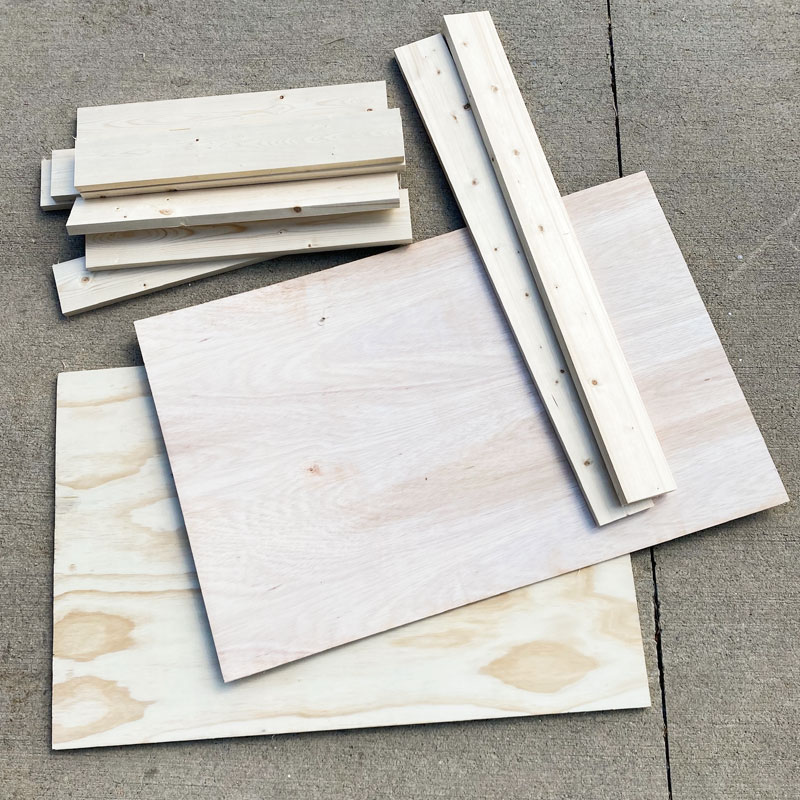
To make this cabinet, you will need some lumber. In particular:
- 2 pieces of 1/2" plywood cut to 23" x 35"
- 2 pieces of 1x4 board cut to 35" long
- 8 pieces of 1x4 board cut to 21.5" long
NOTE: common 1x4 boards actually measure 3/4" x 3-1/2"
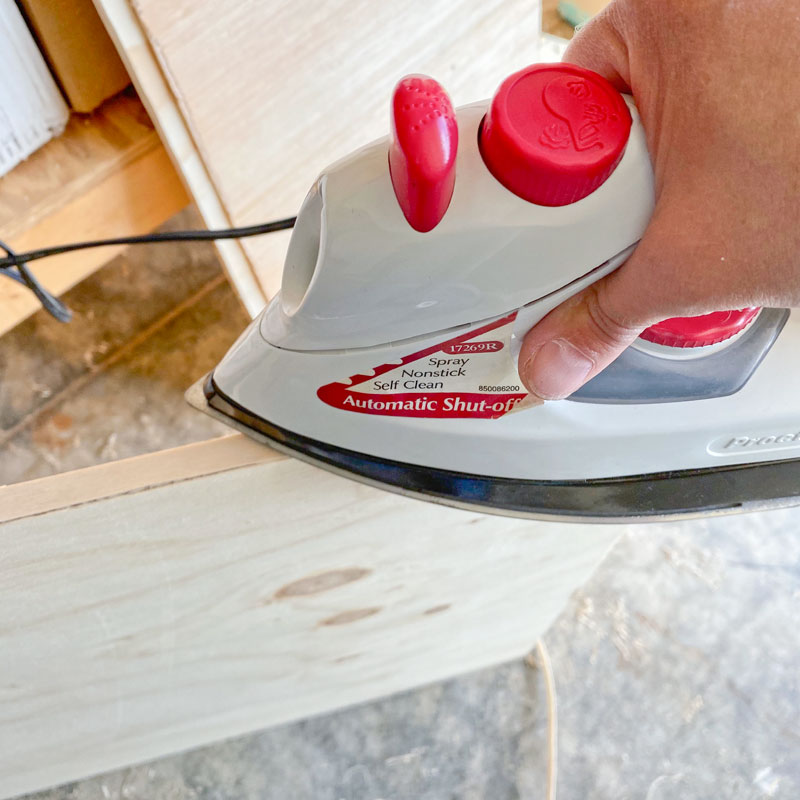
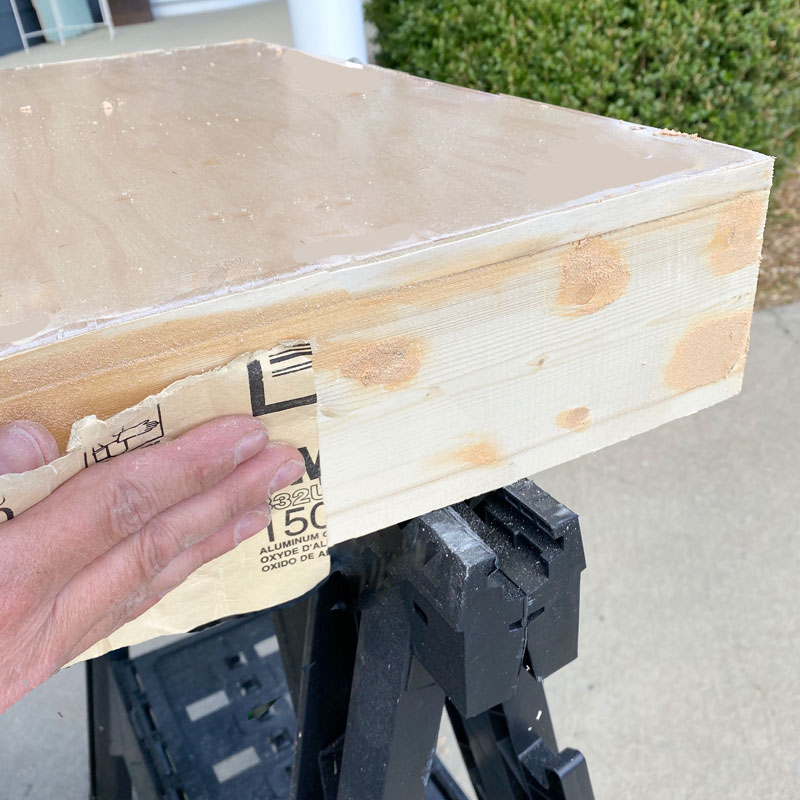
To make the two large pieces of plywood have nice, smooth edges instead of the default layered roughness, you can use an iron to apply edge banding to all the edges. This step is optional, but it's worth it to me because I really like the smooth result.
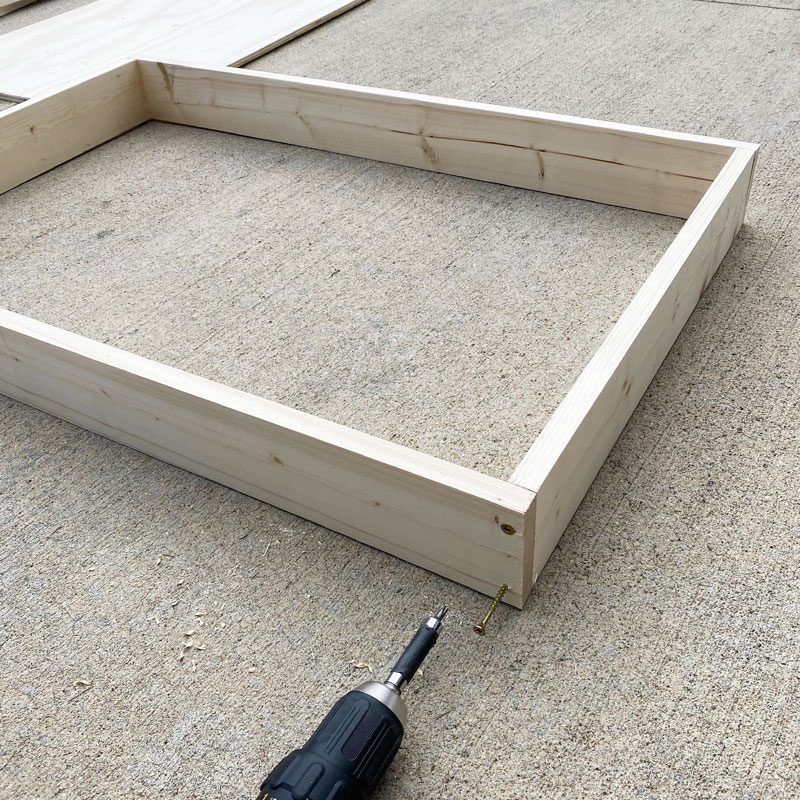
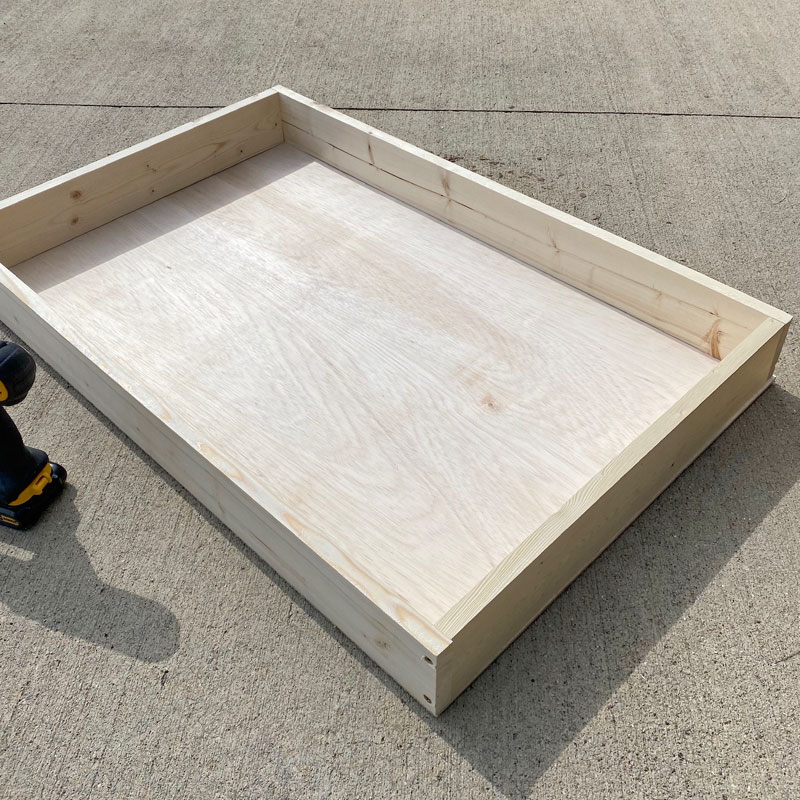
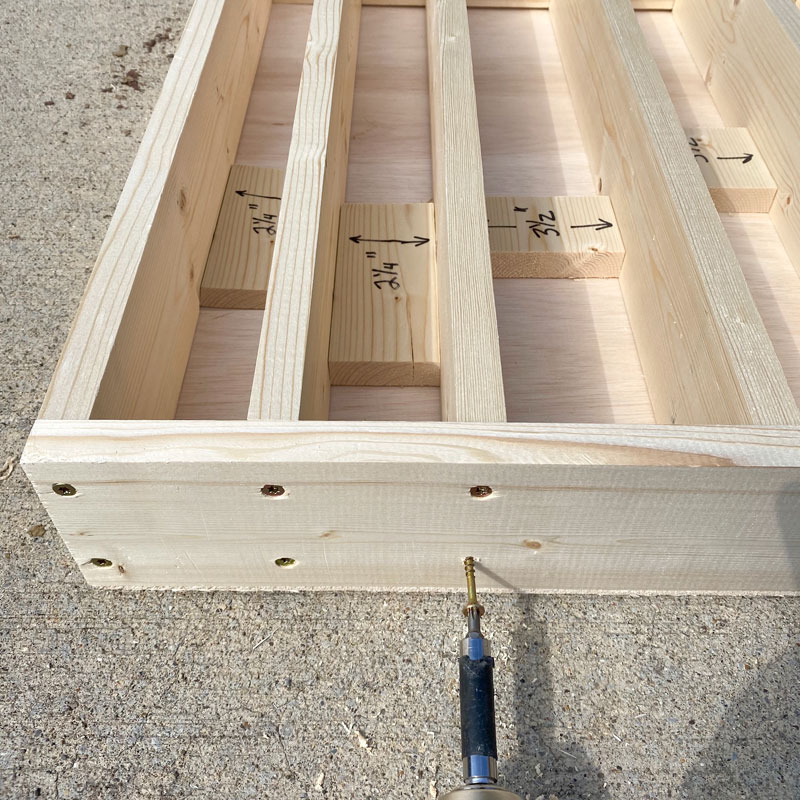
Then start building the cabinet by placing two short boards between the long boards, and screw them together, forming a rectangular frame. Make sure the short boards are between the long ones, or else your measurements won't work out right.
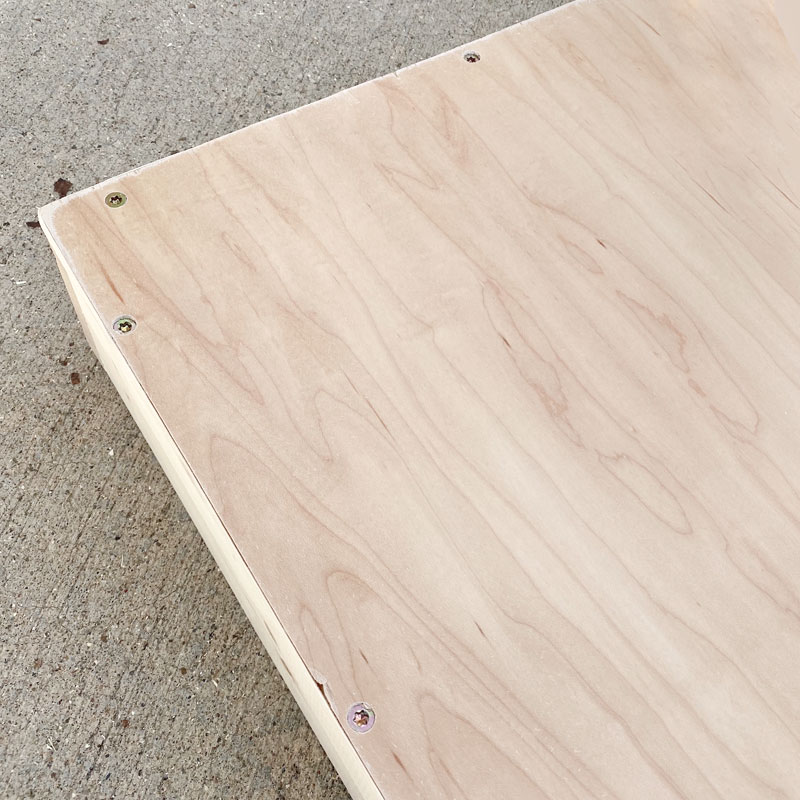
Next, place one of your large plywood pieces on top and put one screw in each corner, pushing the frame as needed to make it square and flush against the plywood. Only screw in the corners for now.
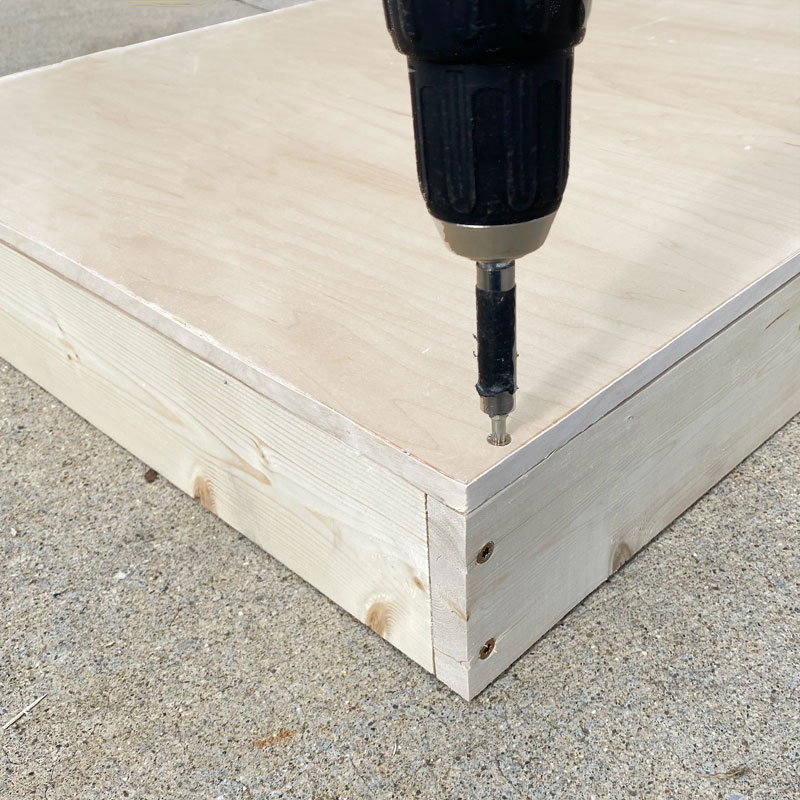
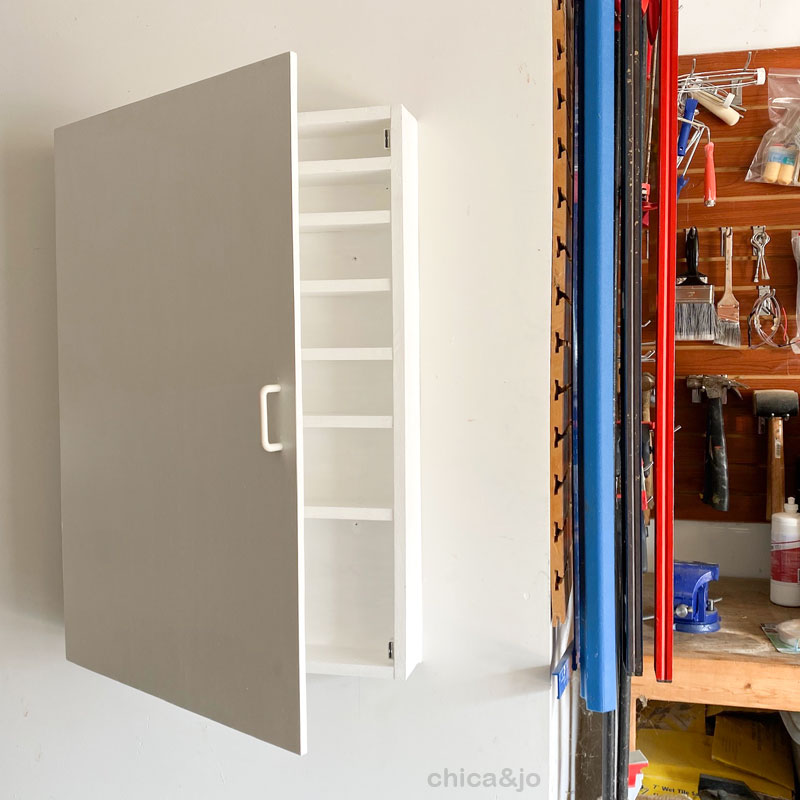
Flip it over and you have the beginnings of your cabinet!
Place your remaining 6 boards inside the frame, dry-fitting to be sure they are the right length.
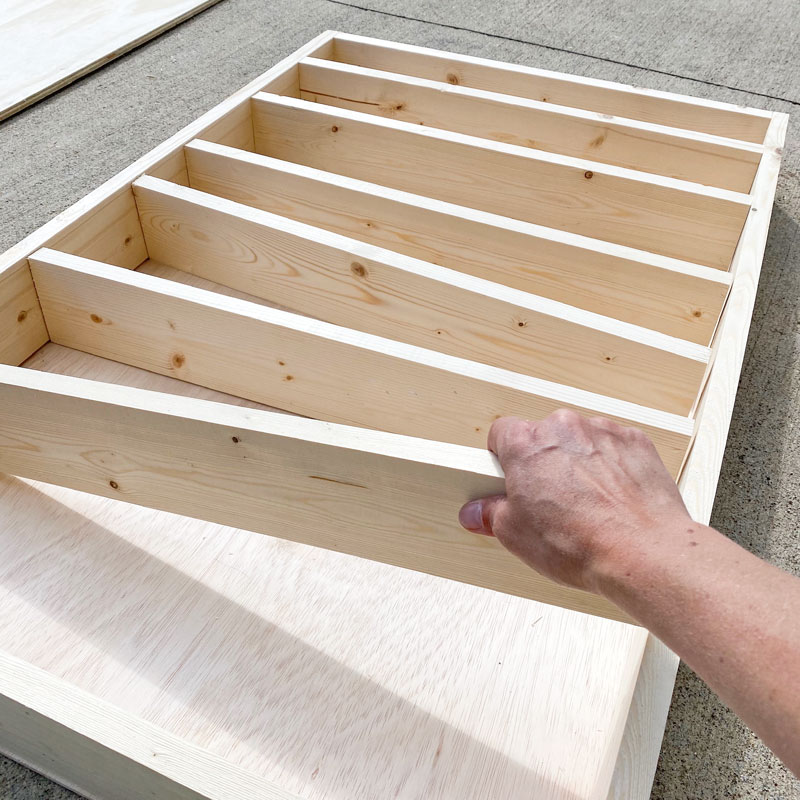
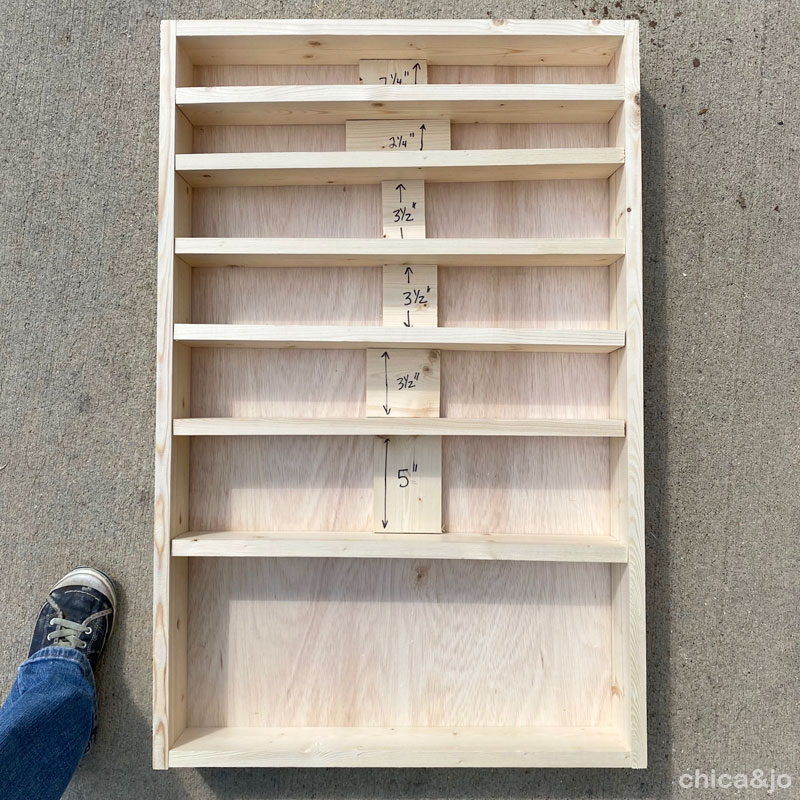
Next, you need to space the shelves carefully so that the organizing items you'll put in later will fit exactly. Starting from the top, you need to space them as follows: two 2-1/4", three 3-1/2", one 5", and one 9". I found it helpful to cut spacers from scrap wood to these sizes, so I could easily push the shelves into position without having to mess with a measuring tape as I worked.
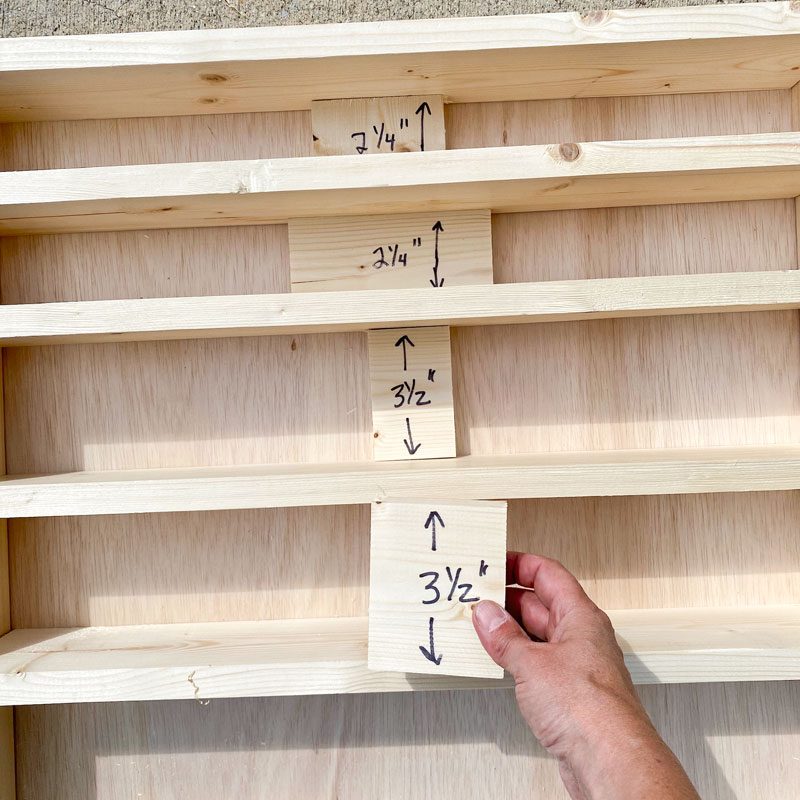
If you get the first six spacers right, your remaining shelf space at the bottom should be 9" tall.
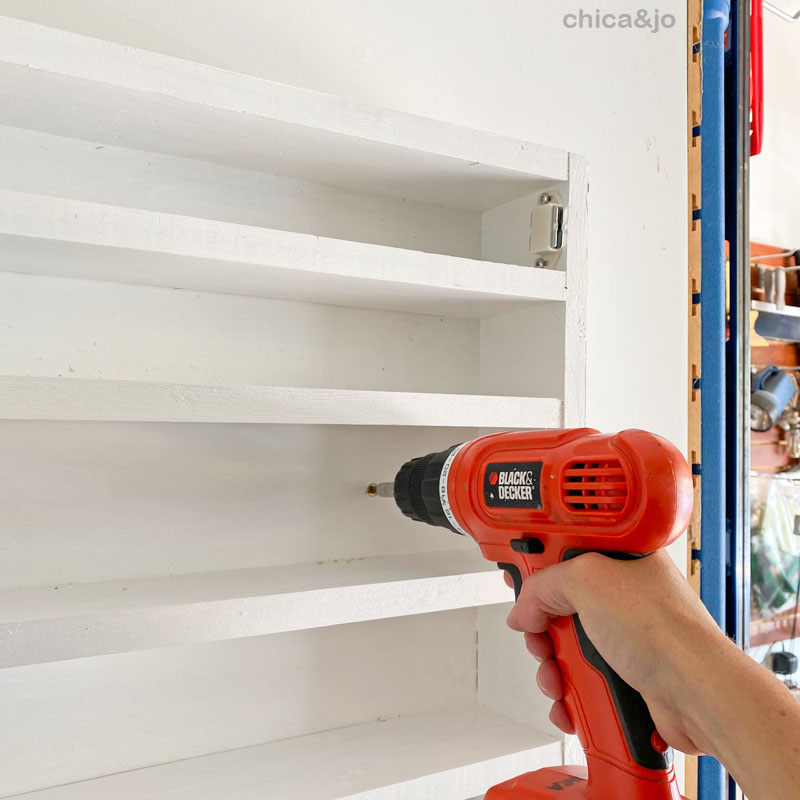
When everything is set, secure the shelves from the side with screws.
Now flip it over and add more screws to the back, around the edges, to secure it to the frame.
Use wood putty to fill the screw holes and sand smooth.
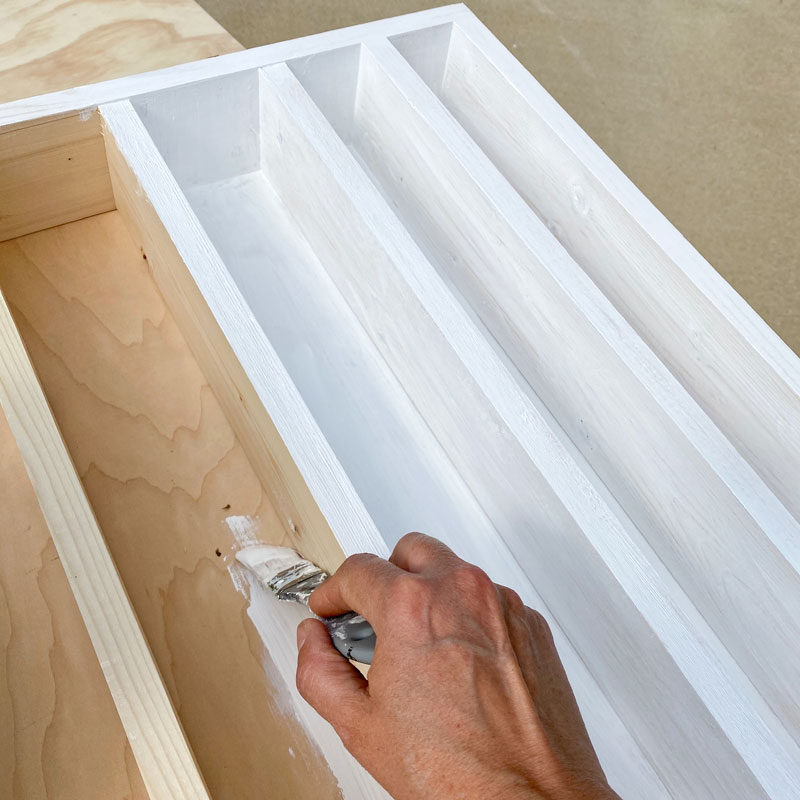
Then it's time to paint! I used some white semi-gloss I had from my spa guest bathroom makeover, but you could use whatever you've got on hand. Don't forget to also paint the other piece of plywood that will become the door.
When the paint is dry, add hinges to the front of the cabinet and attach the door.
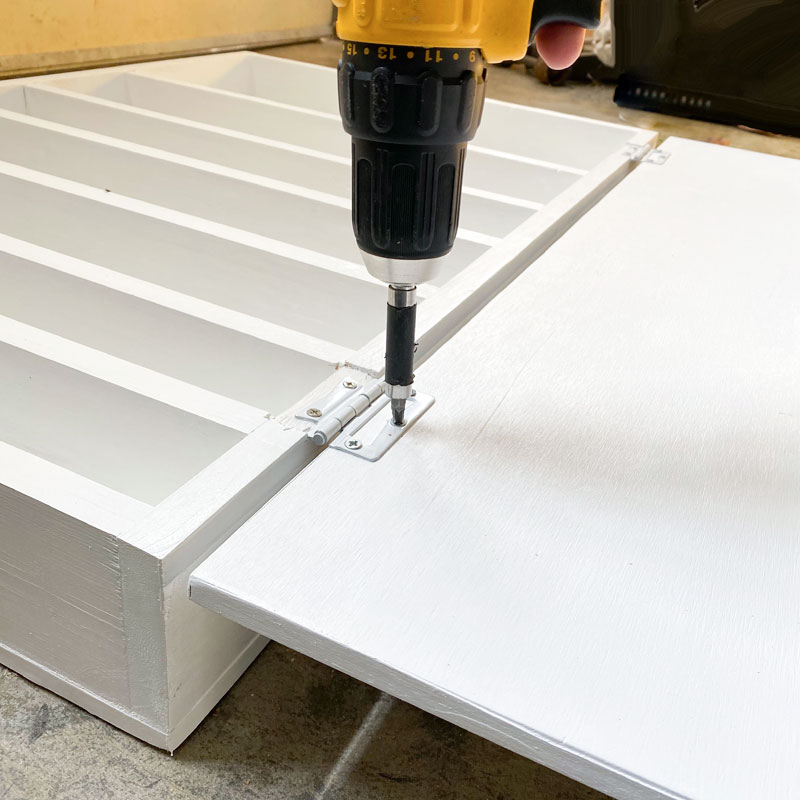
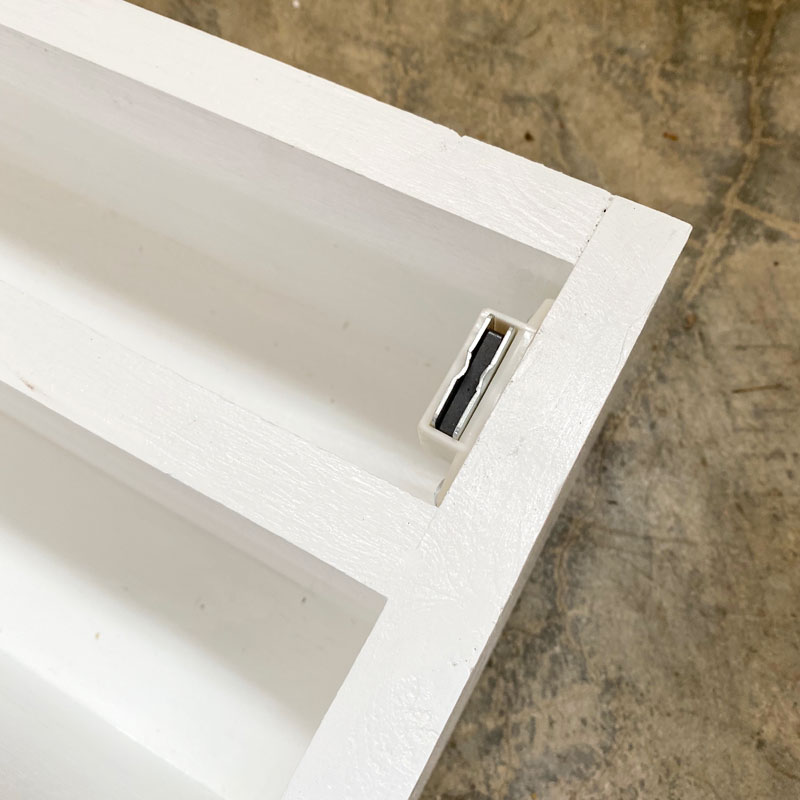
To make the cabinet close securely (to keep sawdust out), attach magnetic cabinet catches to the top and bottom corners, on the opposite side as the hinges.
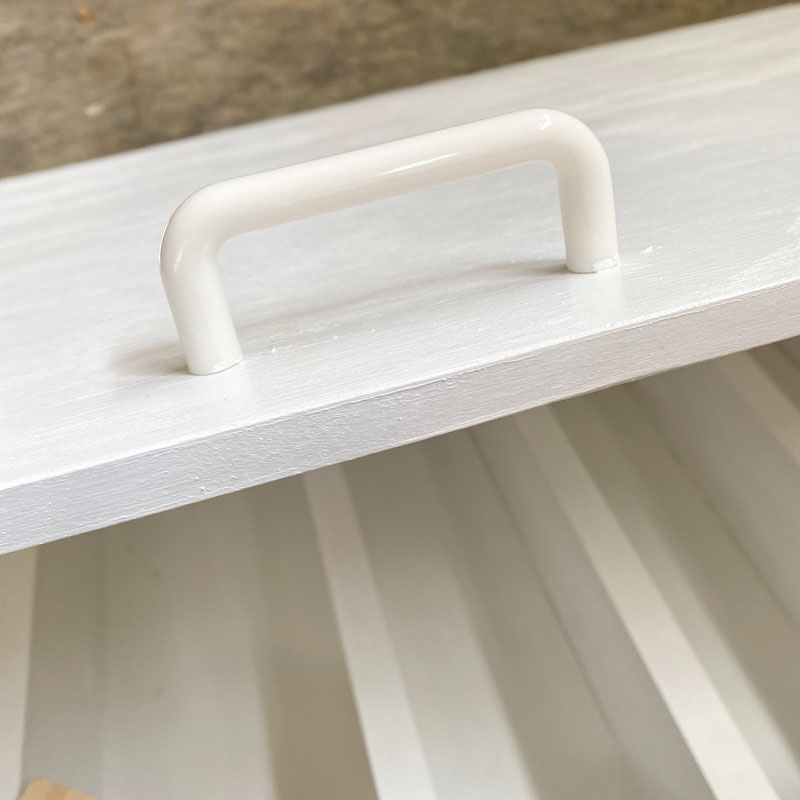
Finally, add a handle to the door.
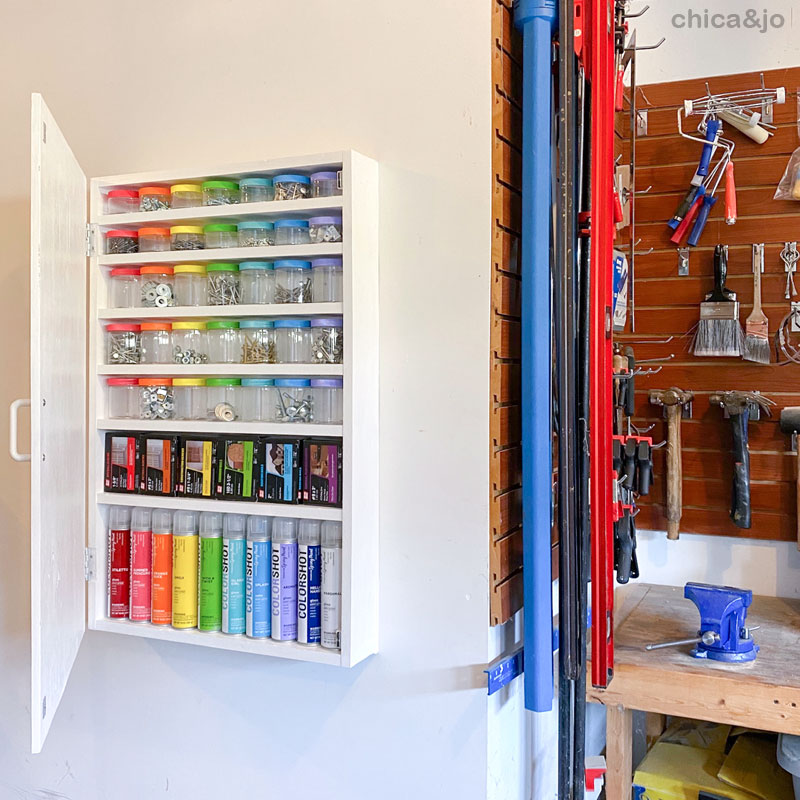
And with that, your cabinet is done and ready to hang! Secure it to the wall with four screws, one in each corner, making sure you go into studs so that the heavy cabinet is properly supported.
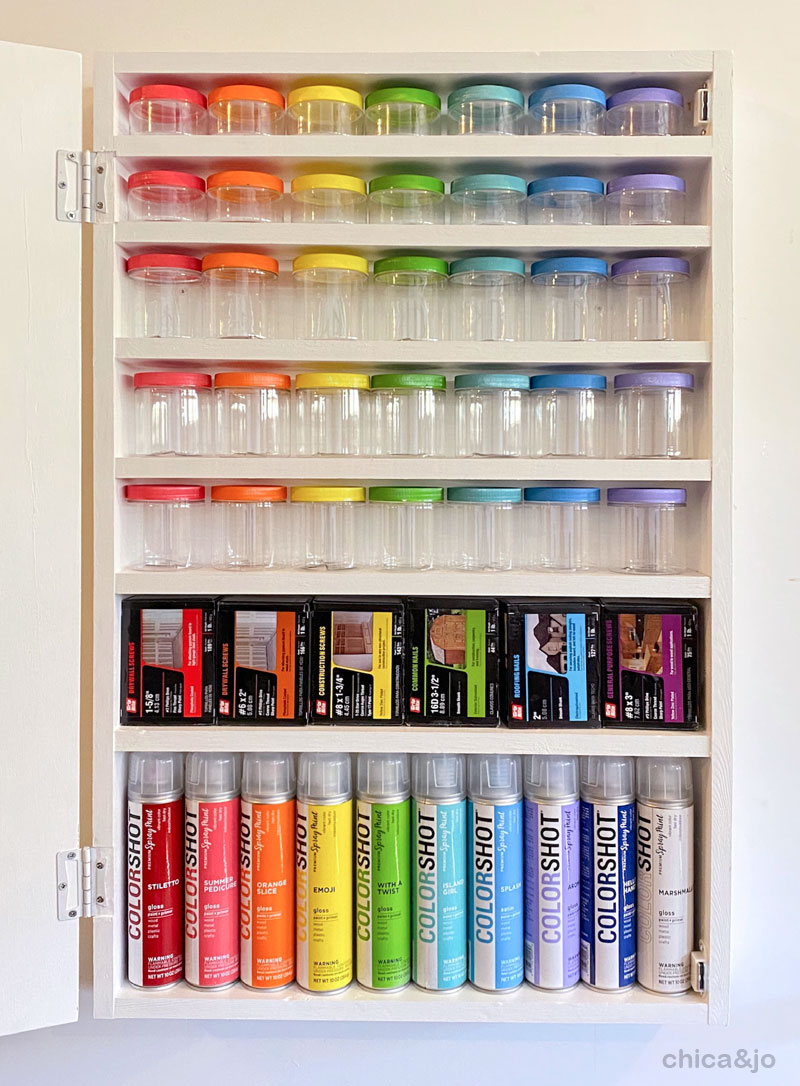
Now that the pretty white cabinet is installed, let's get working on what goes inside!
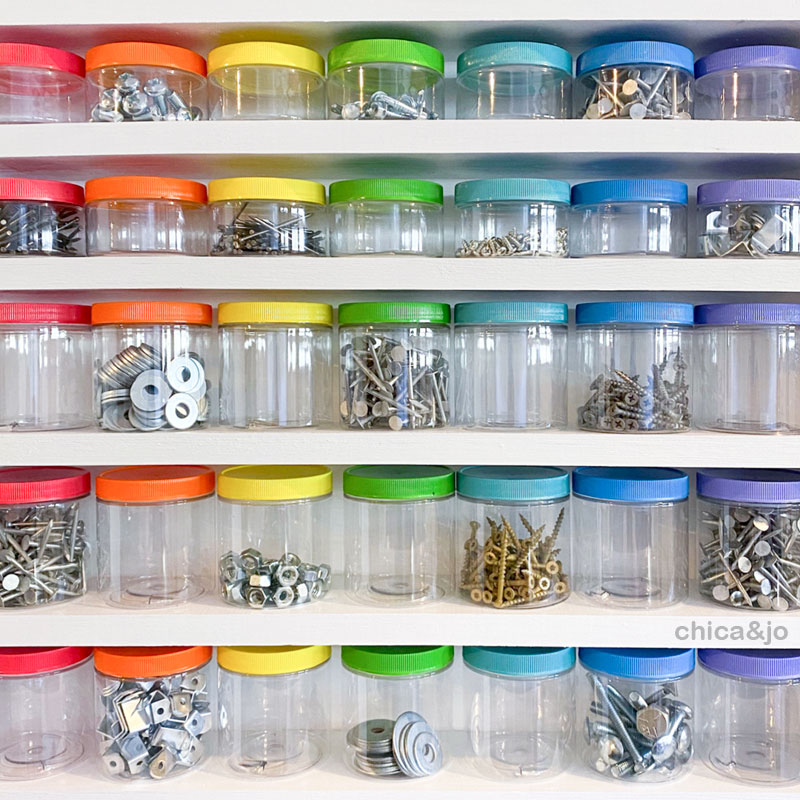
The shelves are spaced perfectly for some very specific storage product. The first two shelves, are designed to hold our 4 oz plastic storage jars and the next three shelves are a perfect fit for our 8 oz plastic storage jars, with seven jars fitting on each shelf.
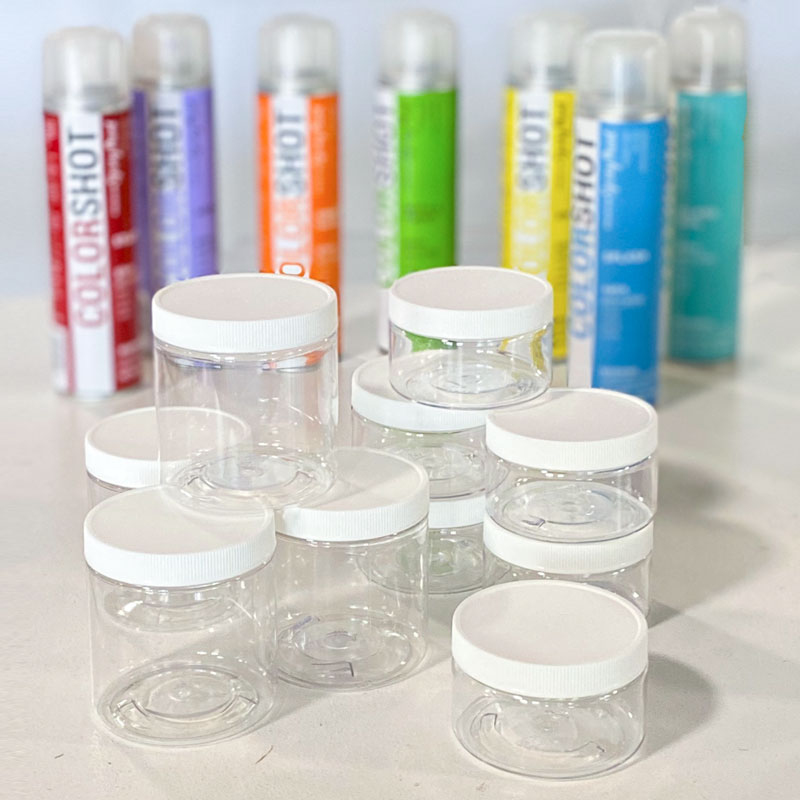
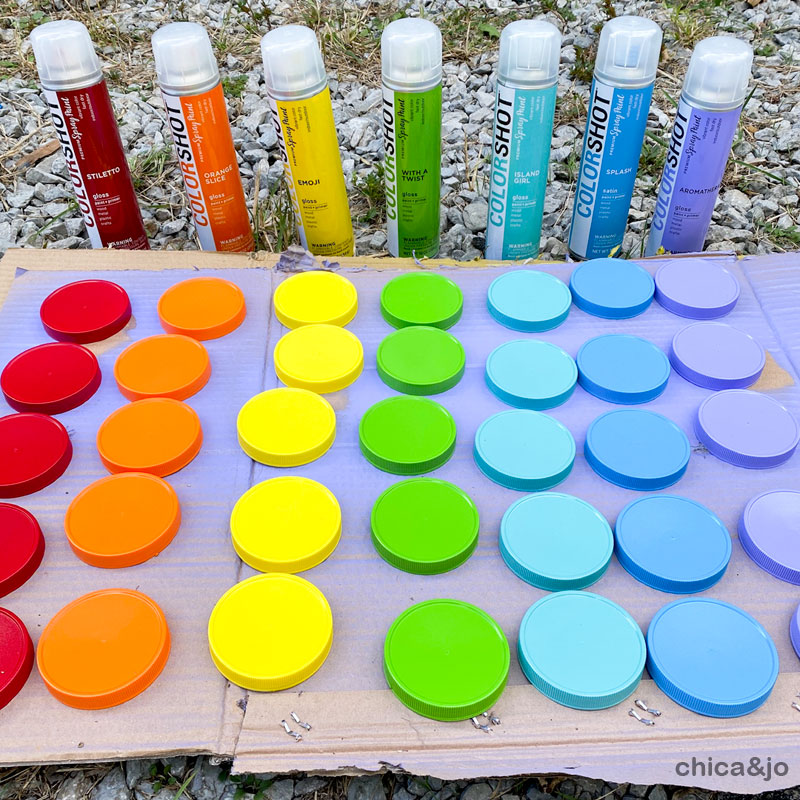
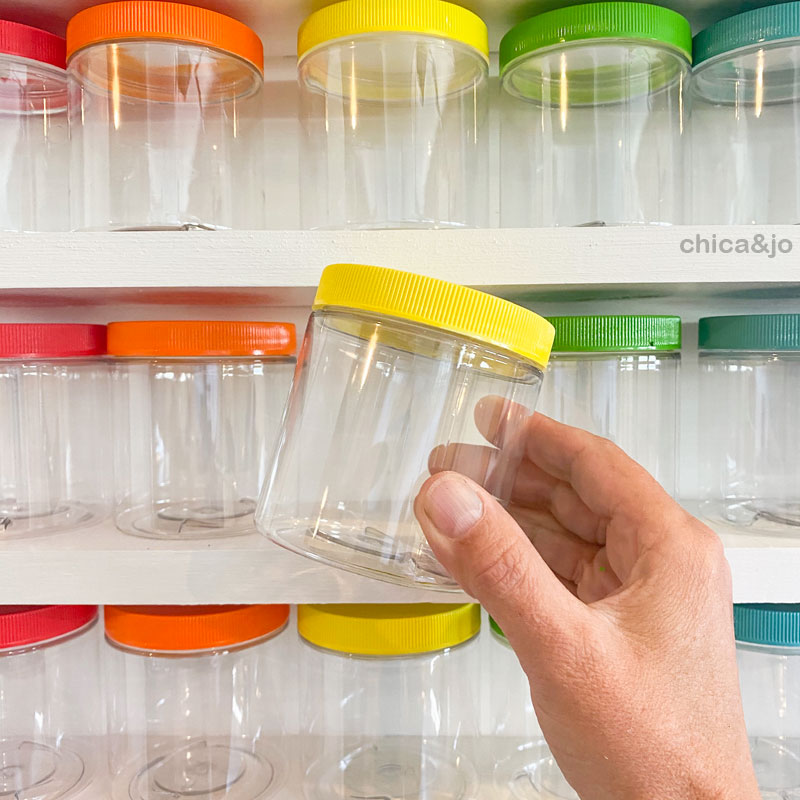
These jars will be perfect for storing all sorts of hardware, but those boring white lids don't jive with the Home Edit's rainbow approach to organization, so I decided to spray paint them.
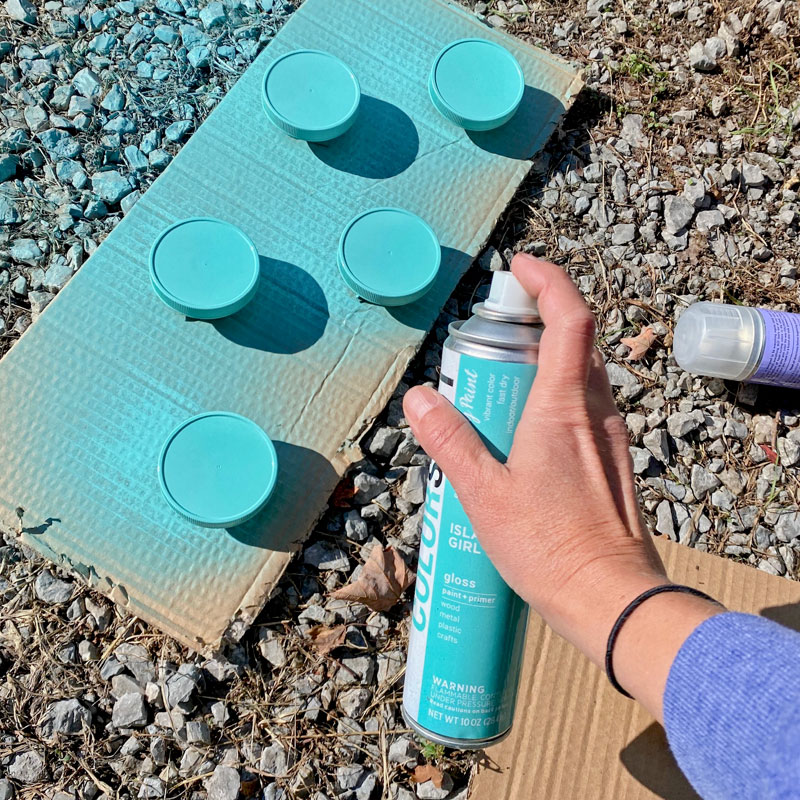
I used a rainbow of ColorShot spray paint to paint five lids each in seven different colors.
With colorful lids in place, the small jars fit perfectly on the top two shelves...
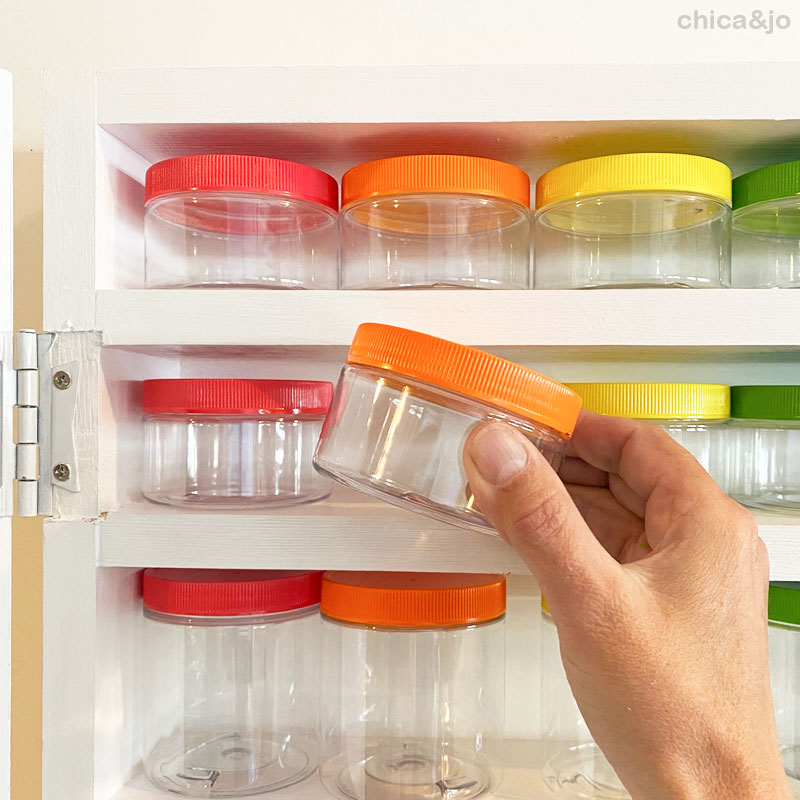
...and the large jars fill the next three shelves.
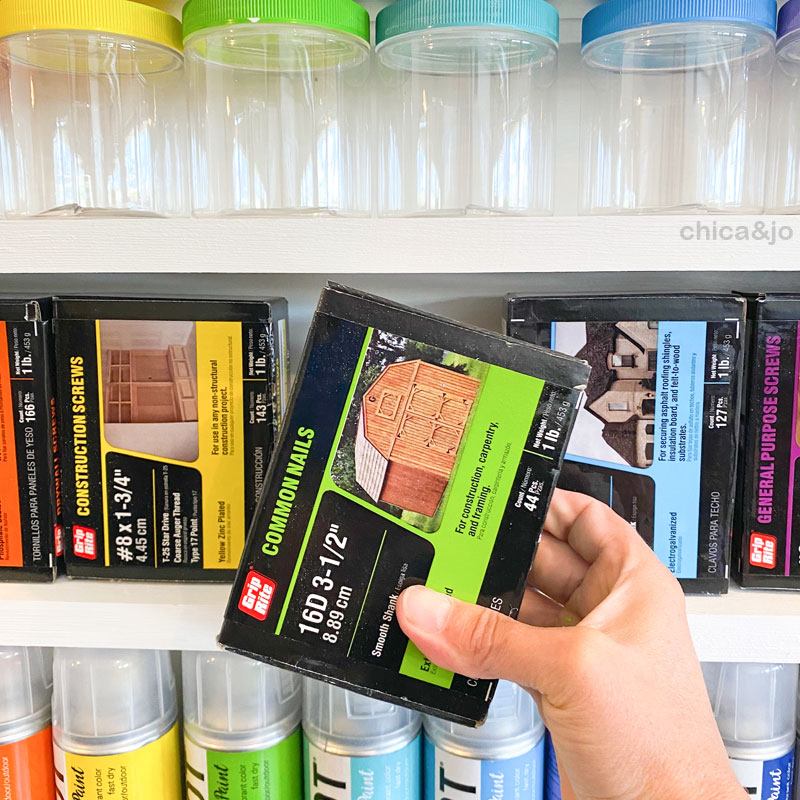
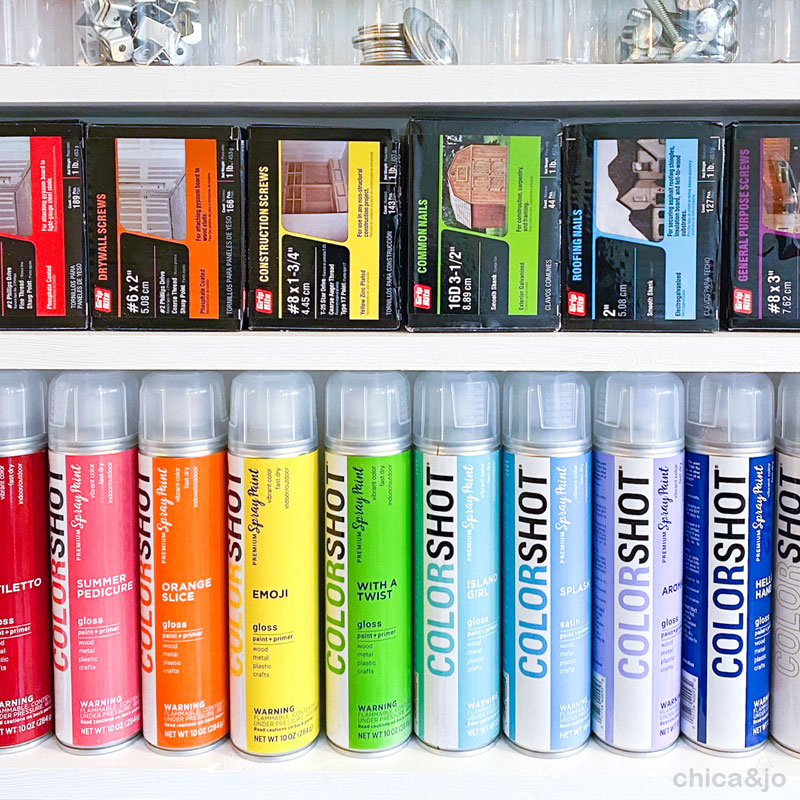
The next shelf is sized to fit boxes of Grip-Rite screws and nails, which — would you believe it — are also available in a rainbow of labels!
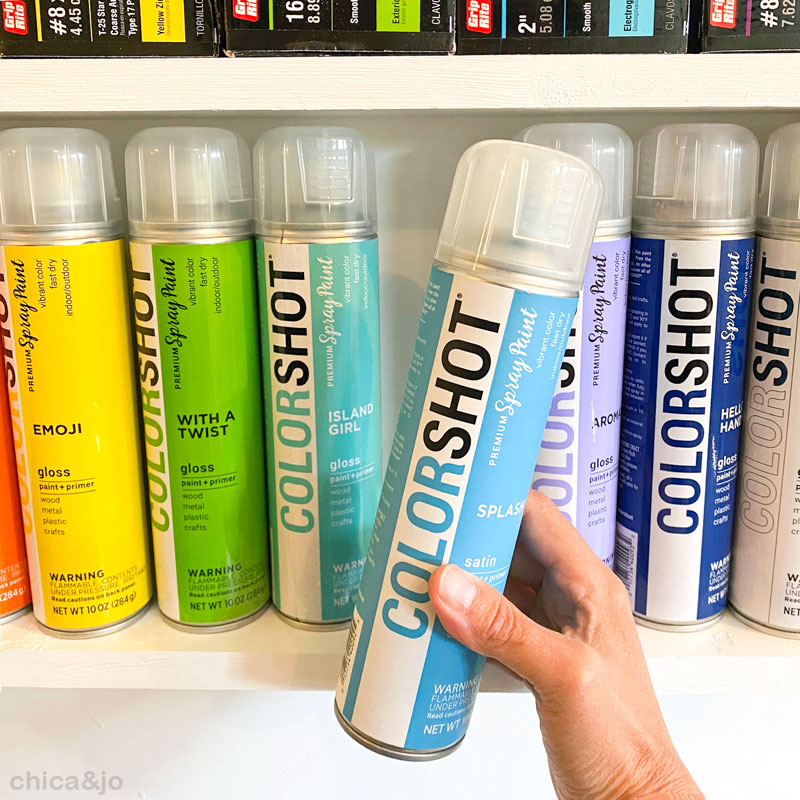
The last shelf might be my favorite of all, because it's sized perfectly for spray paint. It will hold 10 narrow ColorShot cans or eight standard-sized spray paint cans.
The result? A beautiful, organized, cabinet!
I've still got lots to do to sort through my hardware stash, but so far the jars are working out great for storing nails, screws, and such. I think I will embrace the rainbow approach to organizing and assign colors to different types of hardware, such as red for screws, yellow for nails, etc. That way I'll know exactly where to find everything and will put it away in the right place when I'm done.
The boxes and cans are also a joy to look at, and now I will know exactly what I have on hand, and what I'm running low on when I use up my supplies.
And the tight-fitting door works great for keeping saw dust out of the cabinet when I get to working on projects on the workbench right next to it. Although I have to admit, it's sort of sad to close the door and cover up all that beauty!
similar projects
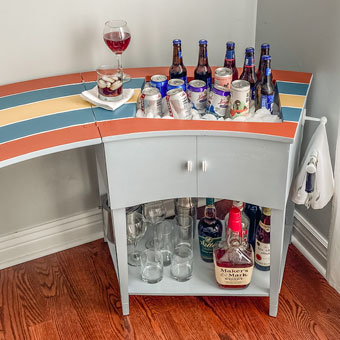
DIY Bar Cart from a Vintage Sewing Machine Cabinet
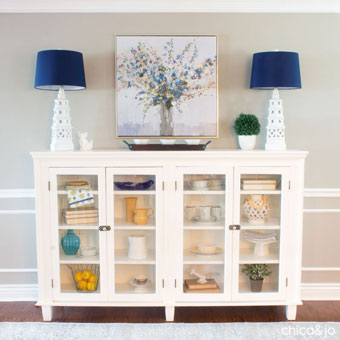
Restoring an Antique Hutch Cabinet

DIY Cooling Face Mist Spray Bottles with Printable Labels


