


Slumber Party Invitations

My friend's little girl is turning 9 this month, and is having a slumber party to celebrate. She wanted a unique invitation for her sleepover party, so when I saw her last weekend, we brainstormed ideas. Together we came up with a really unique and adorable invitation that includes a tiny little sleeping bag. I'm so thrilled with how these came out, and I can't wait to show you.
There are two parts to the invitation -- the sleeping bag and the insert. I'll get to the insert later, but first I want to show you how to make the little bags!
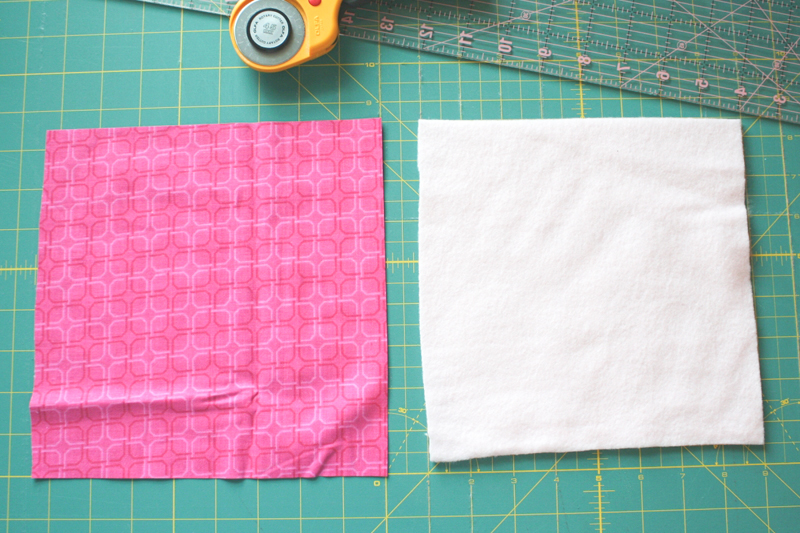
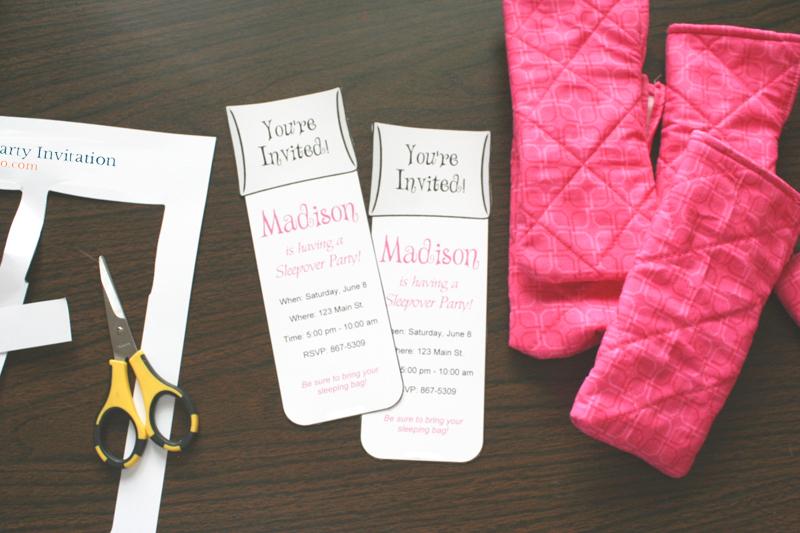
For each invite, you'll need a piece of fabric that measures 8.5" x 8.5" and a piece of coordinating fleece that measures 8" x 8". We had fun picking out a bright pink fabric, but you could easily customize this to suit your party.
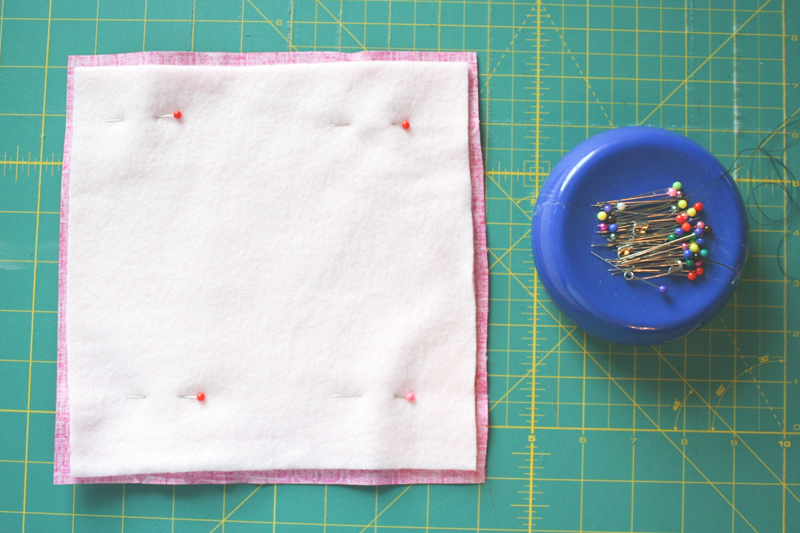
Put the fabric face down on the table and then put the fleece on top, centering it. Pin in place.
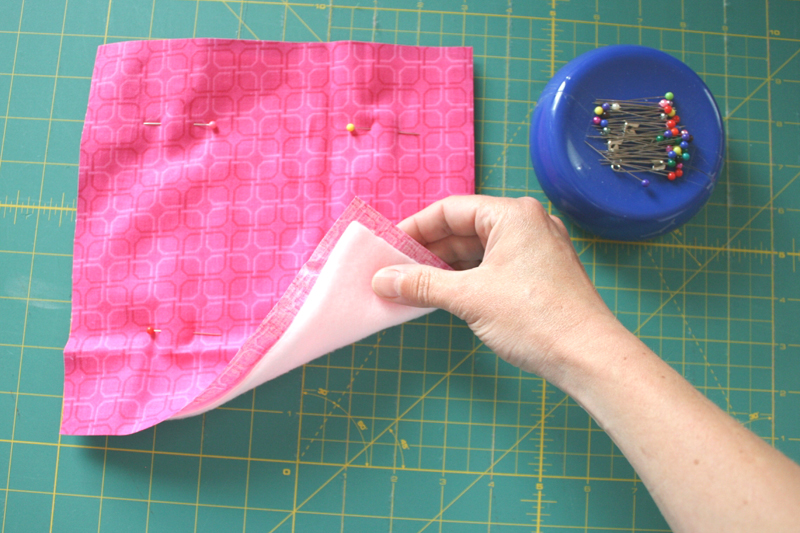
Then flip it over.
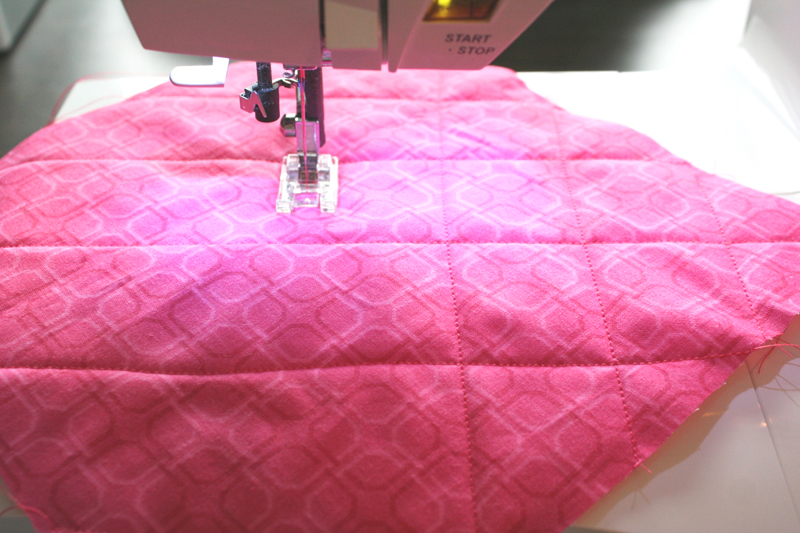
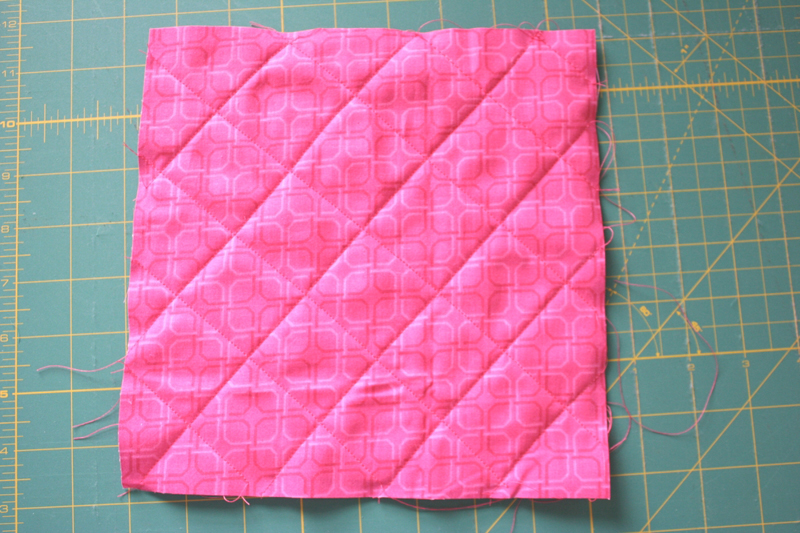
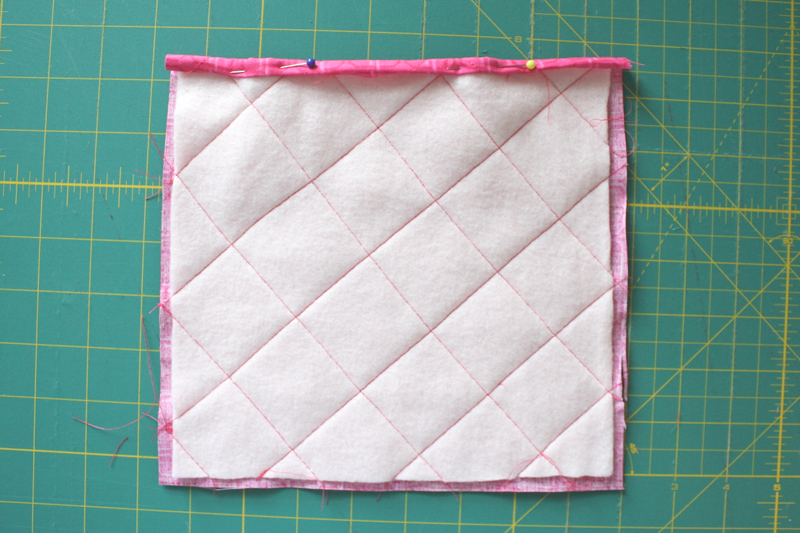
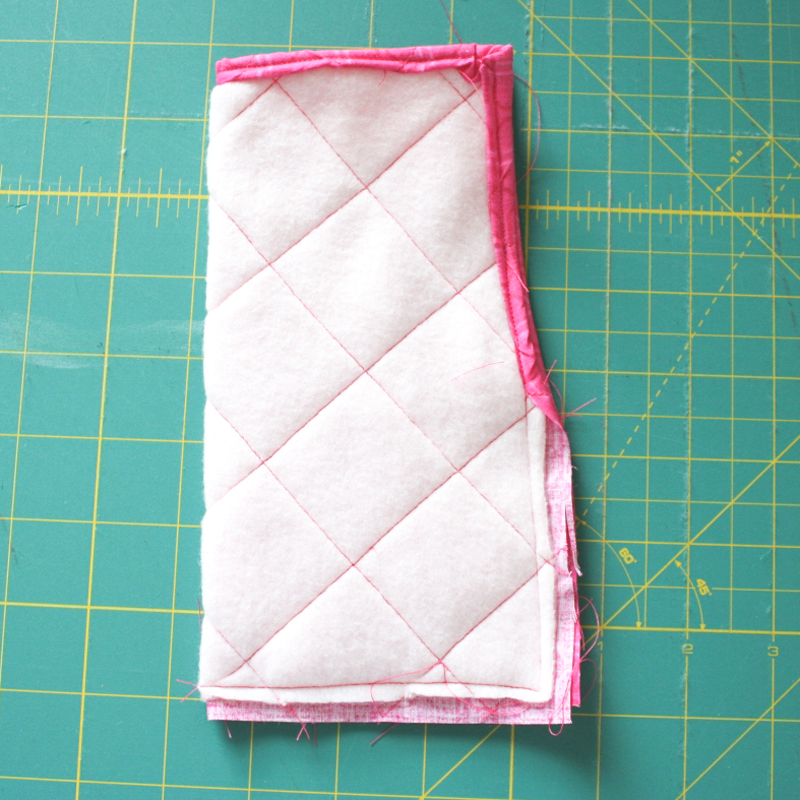
To make this look like a sleeping bag, you need to quilt it. Run it through the sewing machine at a diagonal several times until there are rows of stitches across the whole thing. To make this go faster, set your stitch length long and space the rows about 1.5 to 2" apart.
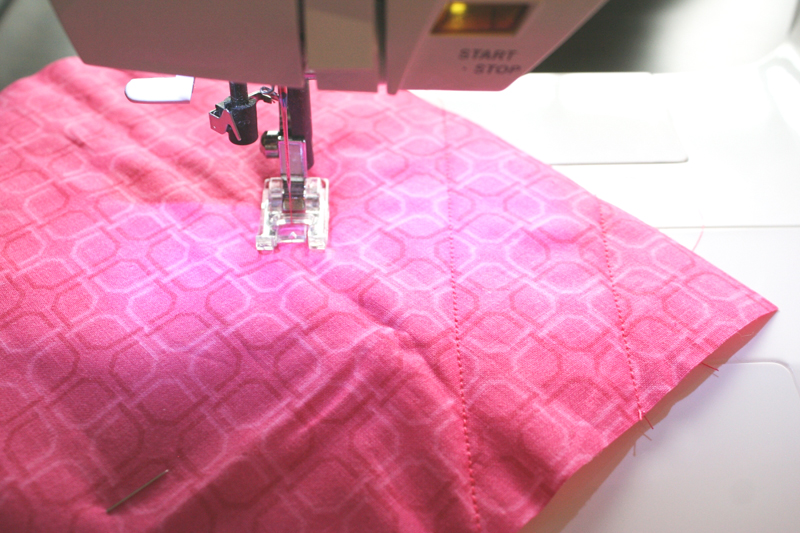
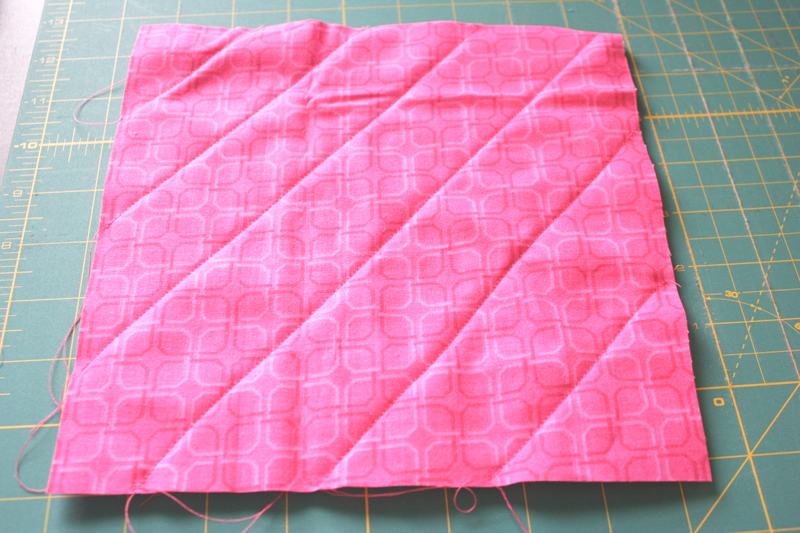
Then run it back through in the opposite direction, so that the rows of stitches cross and create a diamond quilted pattern across the whole piece.
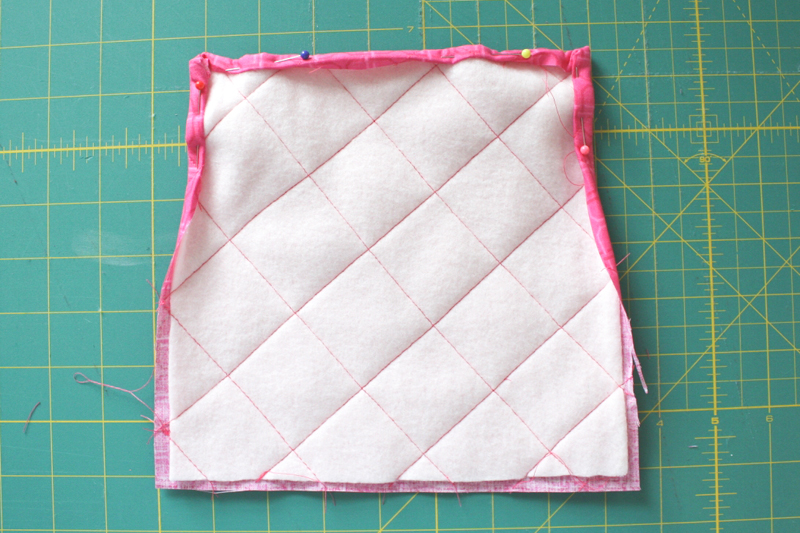
Next we need to get rid of those ugly edges. Fold the top of the fabric over the edge of the fleece, then fold it again, so that the cut edge of the fabric is completely hidden.
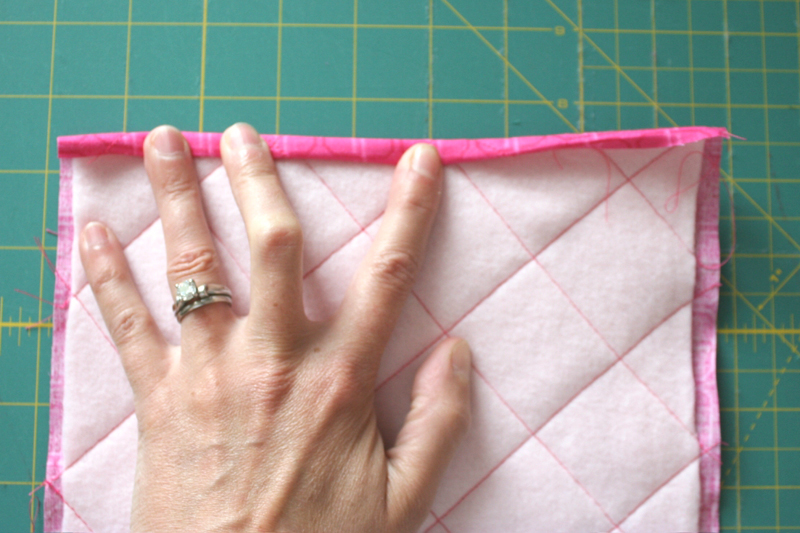
Pin the double-fold in place
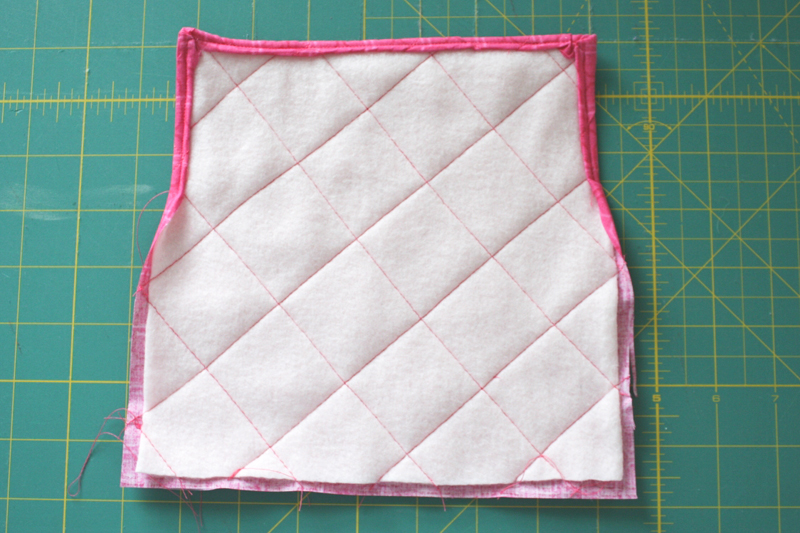
Do the same folding technique for the two sides, but only fold/pin down about 3 inches. The corners will be a little tricky, but just pinch and fold and do your best.
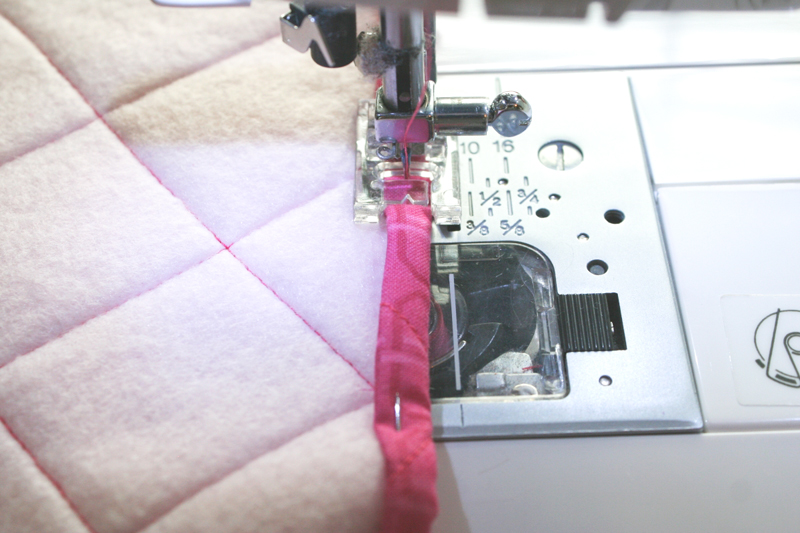
Use your sewing machine to top-stitch the folded edges in place.
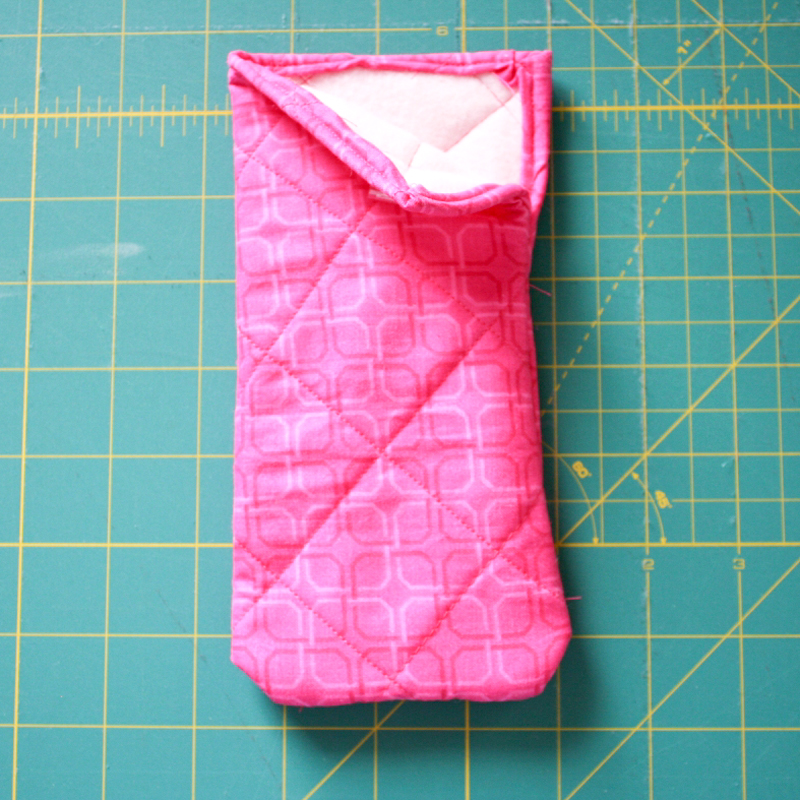
Now fold the bag in half, with the fabric side touching itself and the fleece on the outside, and the long sewn edge on the top. Sew down the rest of the right side and the bottom, encasing it so that it becomes a little bag.
Flip it inside out and ta-da! You have a mini sleeping bag! (And hey -- this would also make a pretty cute little case for eyeglasses, wouldn't it?)
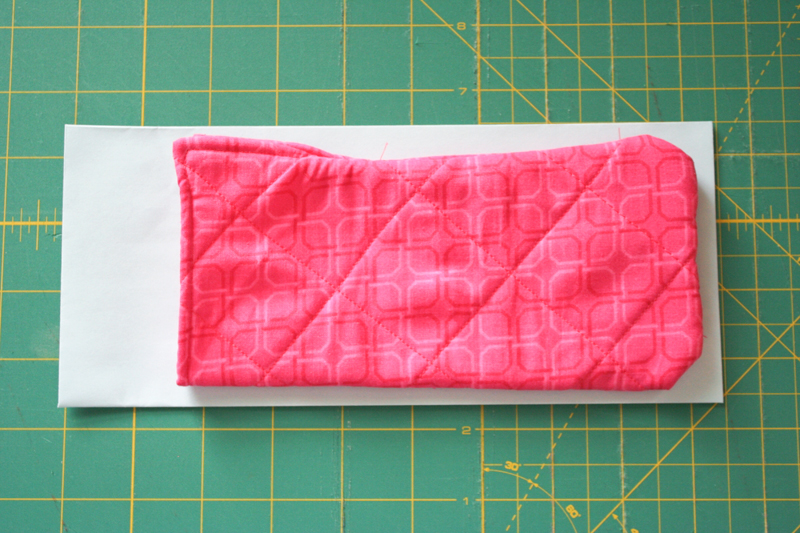
Now before you make any more sleeping bags, do yourself a favor and test to be sure the first one fits in the envelopes you're going to use. I'd hate for you to realize there's a problem after you've made a bunch! They should fit perfectly in a standard #10 business envelope (4 1/8" x 9 1/2"), which you can find in lots of fun colors these days.
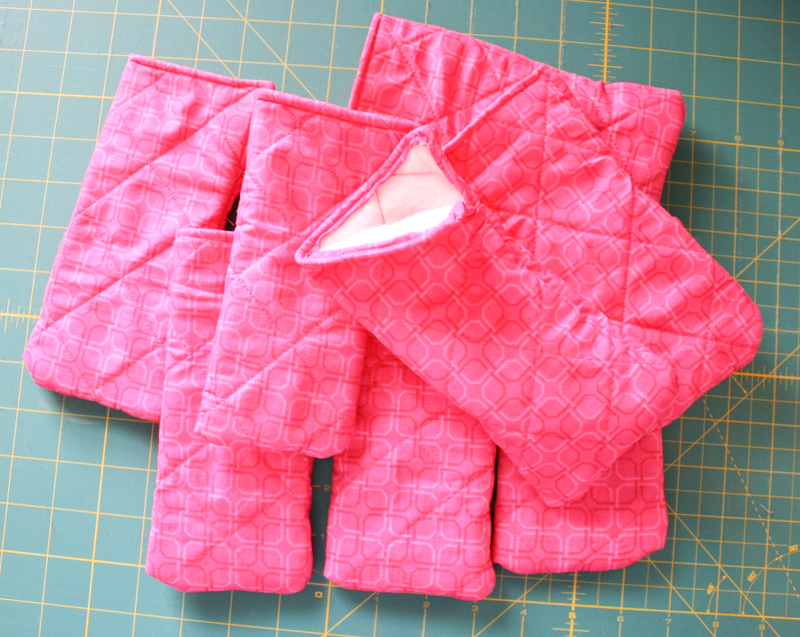
Once you're sure you've got the right fit, head back to the sewing machine and make the rest. I had an army of tiny pink sleeping bags by the time I was done!
Now it's time to create the insert with the party details, and for that you'll need the template I told you about earlier. Just download our slumber party invitation template to start.
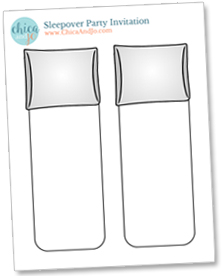
Once you've downloaded the invitation, open it in Word and customize it using whatever text, fonts, and colors you want. You can get really creative here and match your party. Then print the invitations onto white cardstock and cut them out.
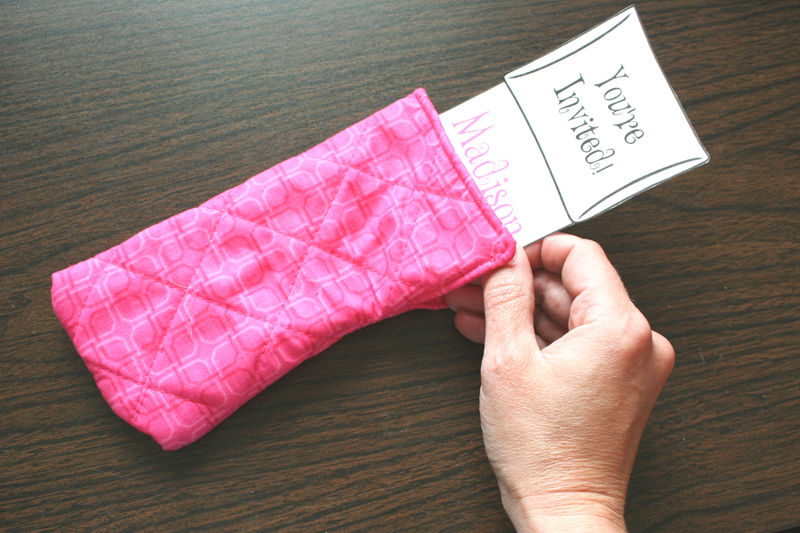
Just stick the insert down into the sleeping bag, letting the pillow stick out the top. It's ready for the envelope and then to be delivered or mailed!
Madison loved her invitations and couldn't wait to hand them out to her friends. I think it really sets the mood for what a fun party it's going to be!
similar projects
Chili Cook-off Party Invitations
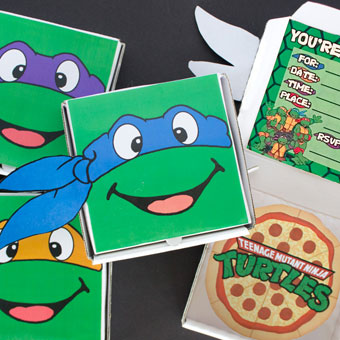
Teenage Mutant Ninja Turtles Party Favors and Invitations
Easy DIY Wedding Invitations


22 comments so far:
Those are the absolute cutest things I have seen in a very long while!!! How incredibly creative!!! Makes me wish I could turn back the clock a few years to make them for my daughter :-)
Thanks, Marlene! This same invitation could also be used for a camping trip or scouting event, and could be adapted to a boy's party easily by choosing the right fabric.
You come up with the CUTEST ideas! I would have been beyond excited to receive one of these when I was little. Thanks so much for sharing such a great idea and printable- I'll be linking!
Thanks, Rachel!
This idea is so cute!
cute!! where can i make the acutlle invitation paper?
Jada, we made a customizable invitation template that you can download and print. You'll find a link to it in the middle of the tutorial and at the top of the page.
Wow i love this idea im turning 11 and i want a sleepover party and this idea is really cool. Awesome invitation
These worked perfectly, how creative!
This sleeping bags are mesure in inches or centimiters. ?
Coni, the measurements are in inches (as indicated by the " character)
Love the idea! (and the phone number reference ;) )
Thanks, Kaya, and glad somebody got the joke!
This was so cool for my daughter! Thanks so much, Chica and Jo!!!
Can you provide a template with a customizable pillow? Mine's printing gray and I'd like it to match the sleeping bag we made. This is such a great idea!!
Melissa, the text on the pillow is already customizable. Just click on it and you'll go into editing mode. You can change the font, text, and color. Enjoy!
Thanks you for sharing such a lovely idea. It saved me a lot of head scratching for ideas and hours tying to produce something on Gimp/Photoshop.
Great also that the templates are fully customizable
My daughter's friends will be thrilled to receive such a lovely invitation.
Thanks again
OMG so cool! I cant wait to persuade someone to make me them!
Thanks so much for the free printable! I am so excited to plan my son's 9th birthday party! What a wonderfully creative idea!
Super cute and super easy! Thank so you much for the template too.
Thank you for this my daughter and i are making these today!
A few years passed. A new wave of 9-year olds making their first slumber party. A new generation of left-handed mums taking out the old sewing machine of their grandma... It suprisingly turned out nicely - I am so grateful for your idea: thank you!