


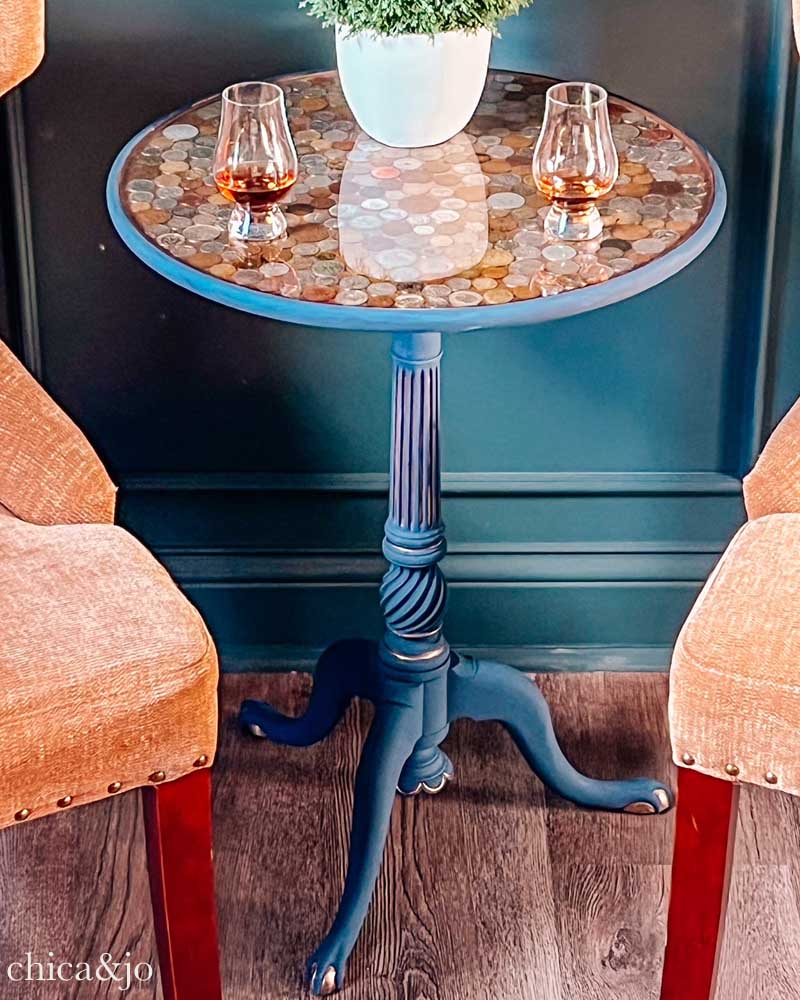
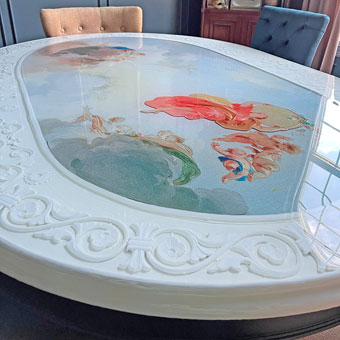
Resin Topped Side Table with Embedded Coins

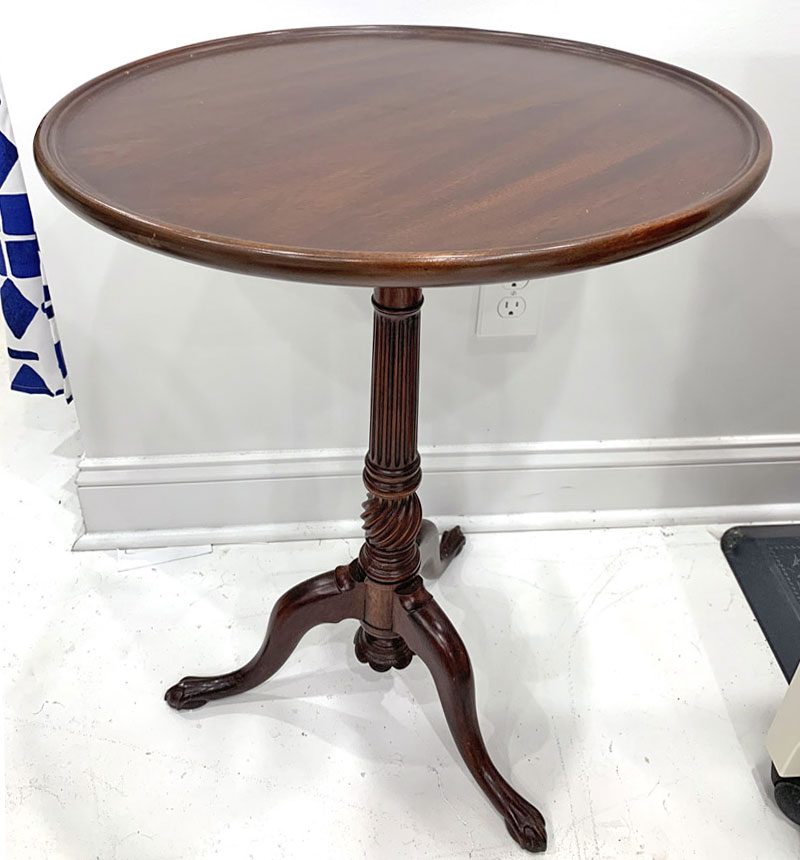
Chica recently asked me to sell a round side table for her on Facebook Marketplace, but I ended up just buying it myself. I needed a small table to add to my dining room makeover and this one would work perfectly. The slight lip around the edge gave me the perfect idea for how to make it mine — I could add my foreign coin collection from all of my favorite travels and then cover it all with a topcoat of resin!
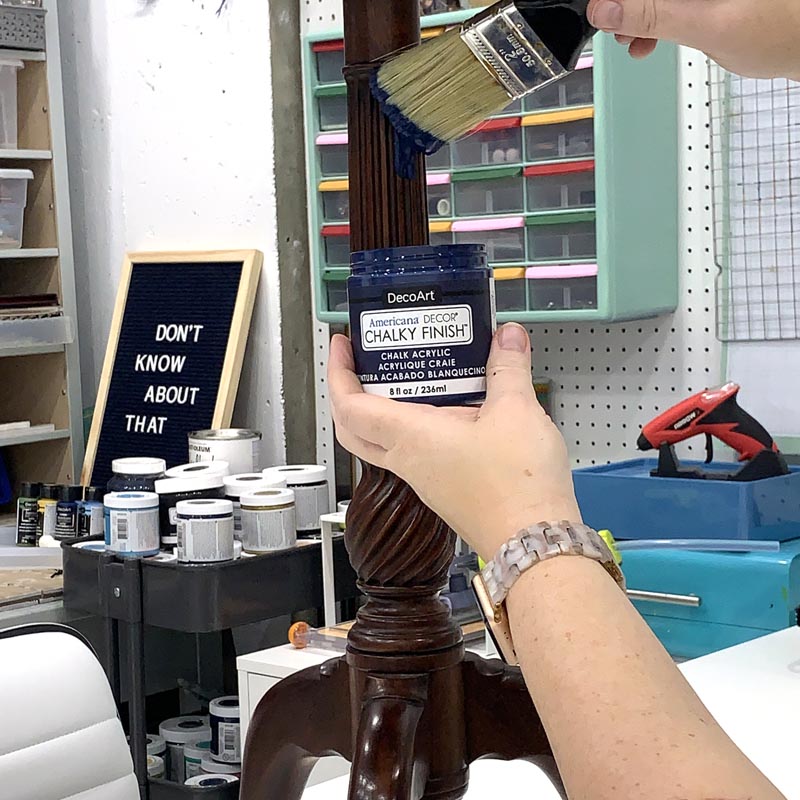
I started out painting the table's base with Americana Decor Chalky Finish in a lovely navy color called Honor.
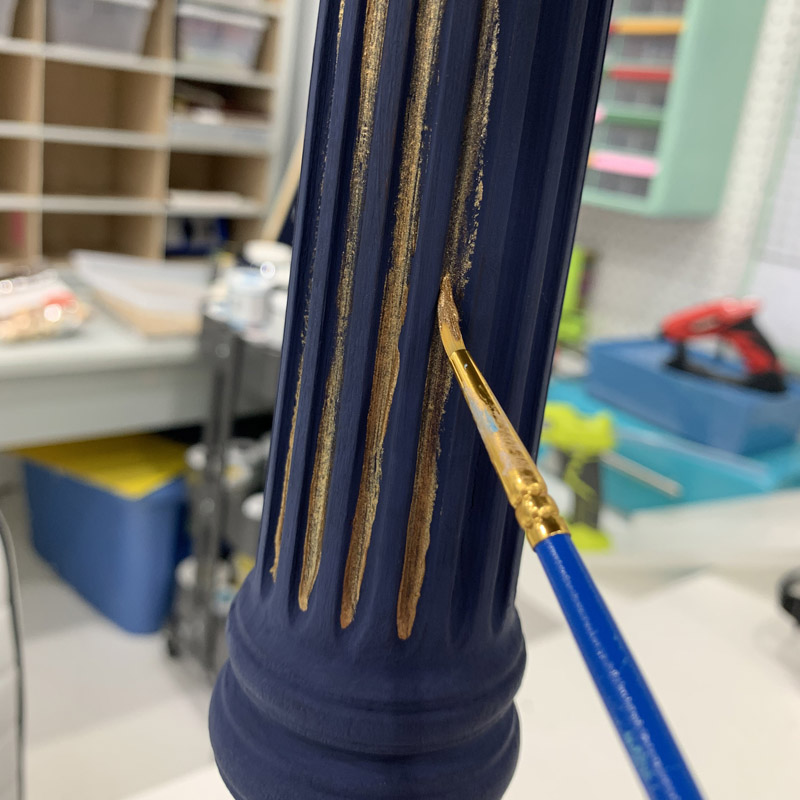
Once it dried, I highlighted some of the fluted details on the pedestal with a touch of gold paint.
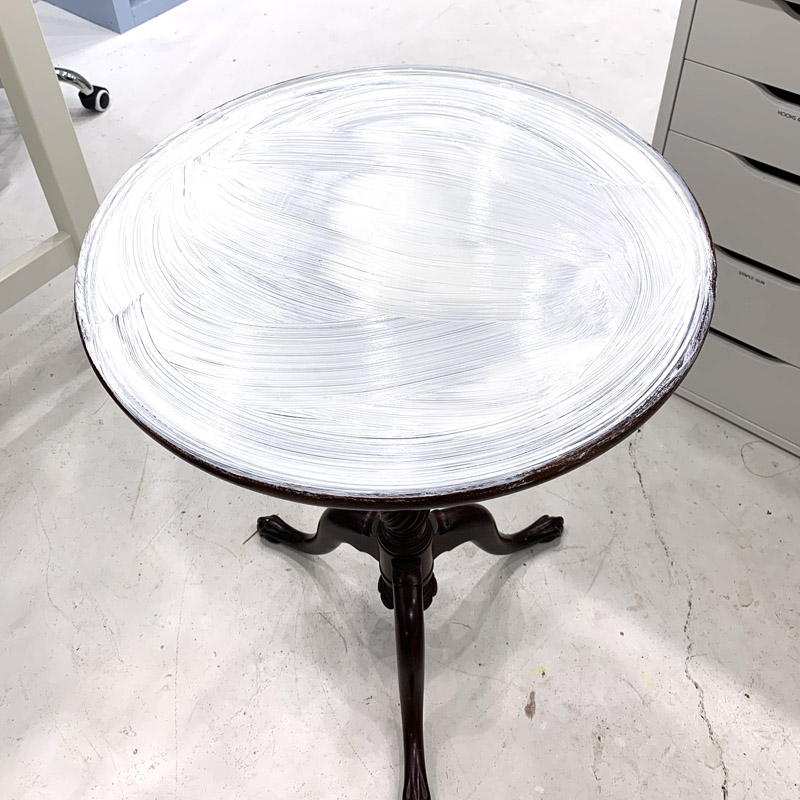
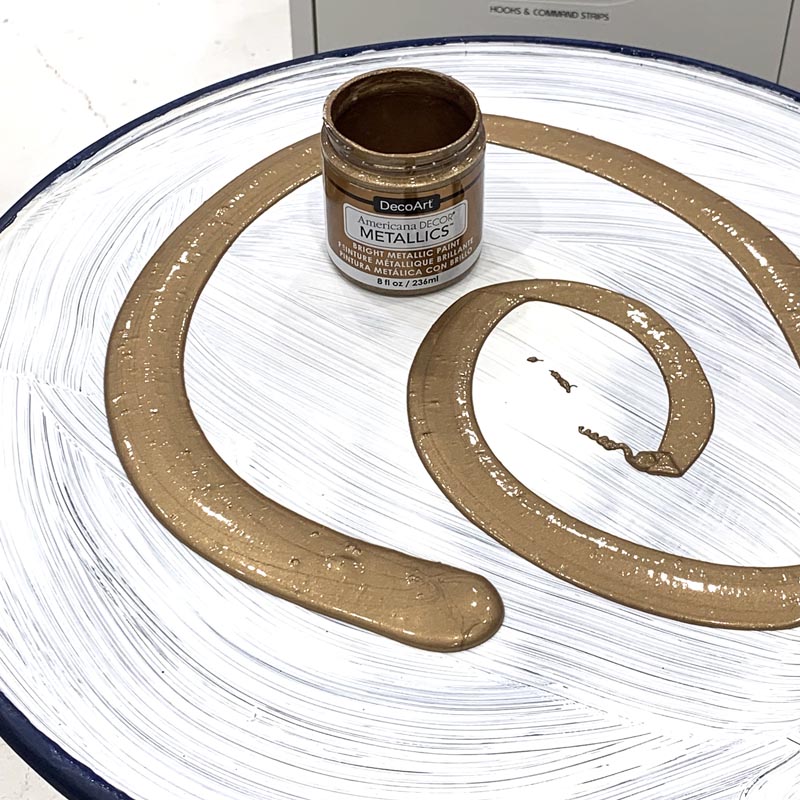
To address the tabletop, I started with a basecoat of white. I didn't worry about brush strokes or anything, because I just needed to lighten up the dark brown surface for the next step.
Over the white basecoat, I added Americana Decor Metallics paint in the same gold I used on the fluting. These metallic paints pop better when applied on top of a light or similar colored finish.
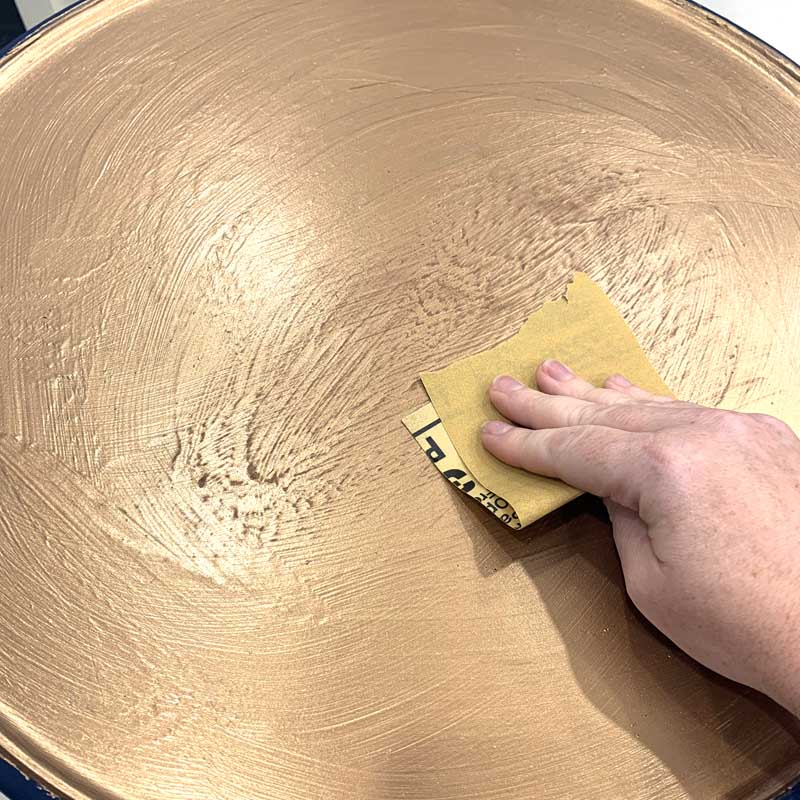
After it dried, I sanded and buffed it a bit to even it out and give it a shine. Again, I was not too worried about brushstrokes because most of this is going to be covered by the coins.
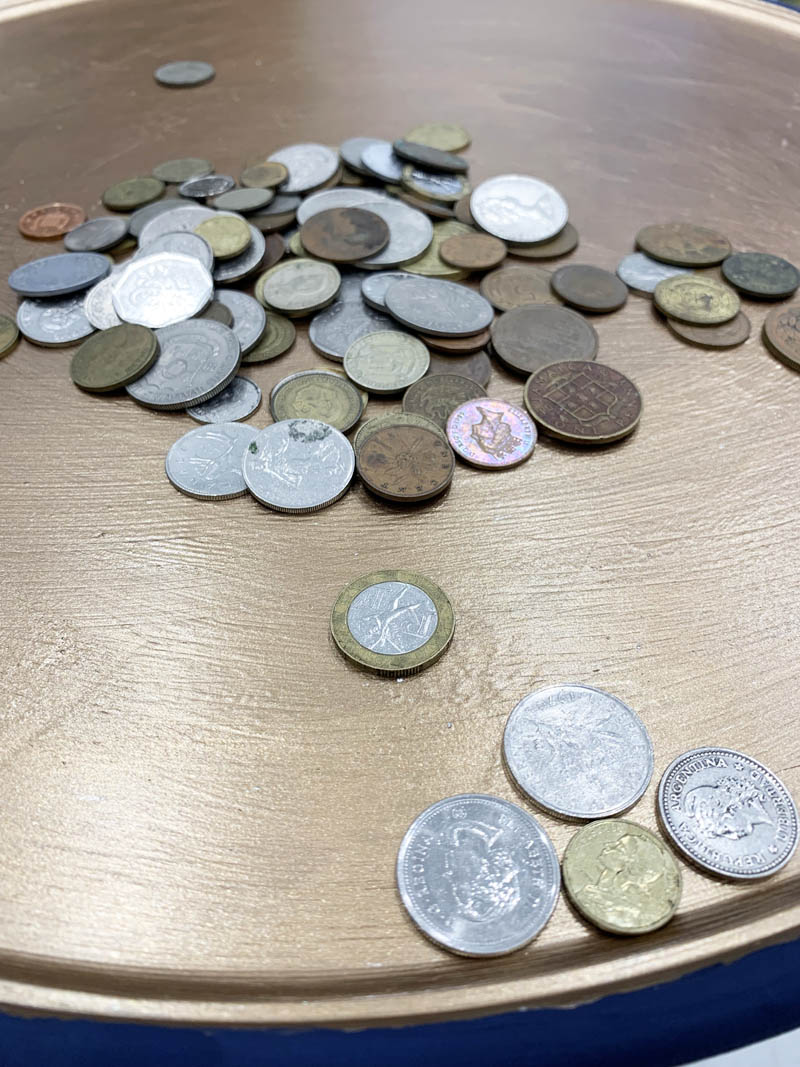
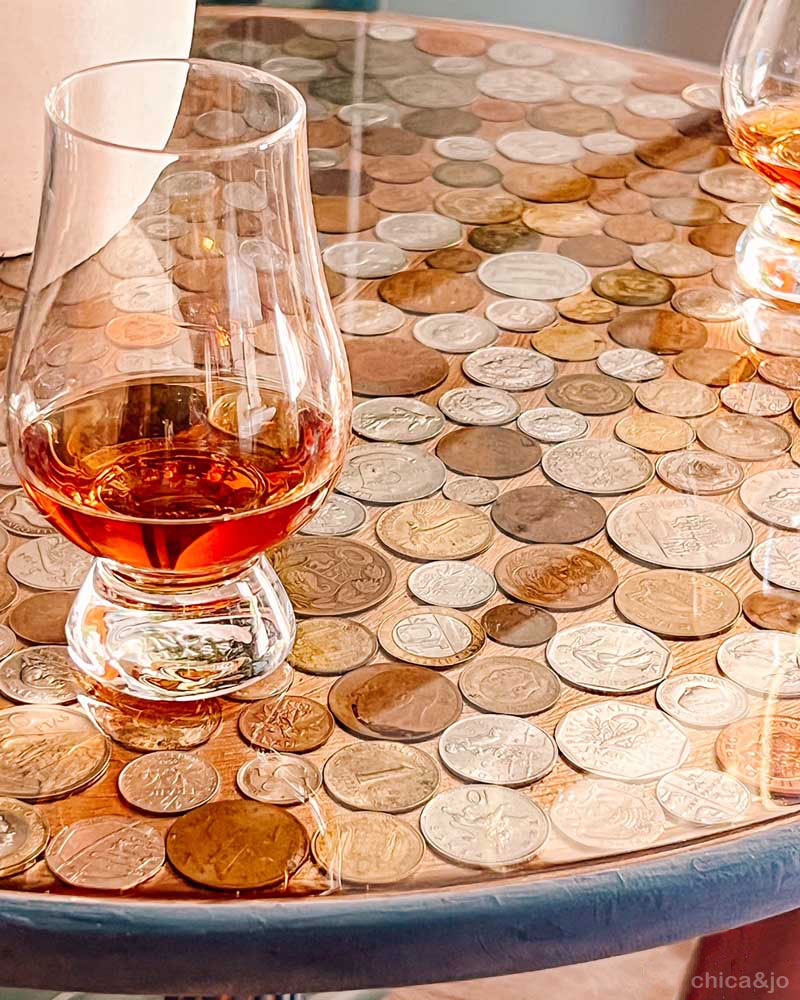
Here's the fun part and what makes it truly personal. I gathered up some low-value foreign coins my husband and I have collected on our travels, plus a few additional ones from friends and family. I spread them out evenly, trying to get them as tight as possible. Round coins will never provide complete coverage, though, so that's why the metallic background paint was so important.
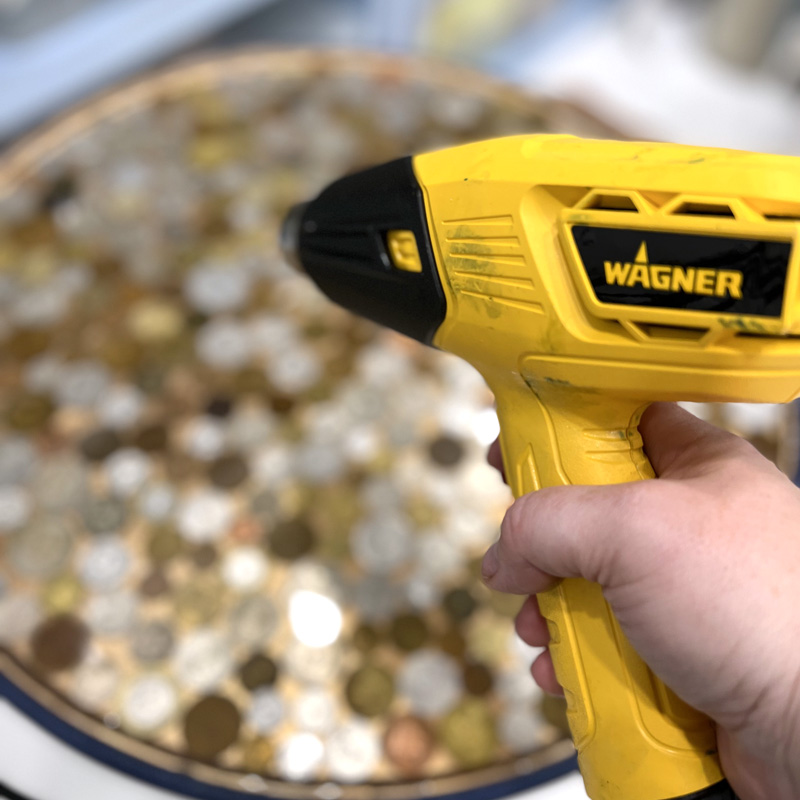
Next, I mixed up some Total Boat MakerPoxy Resin and poured it over the coins. The layer of resin is pretty thin and the coins are heavy so I didn't really have issues with anything floating around, but if you want to pour a deeper layer, you might want to glue the coins down first. See all those air bubbles? Not to worry, we are about to take care of those.
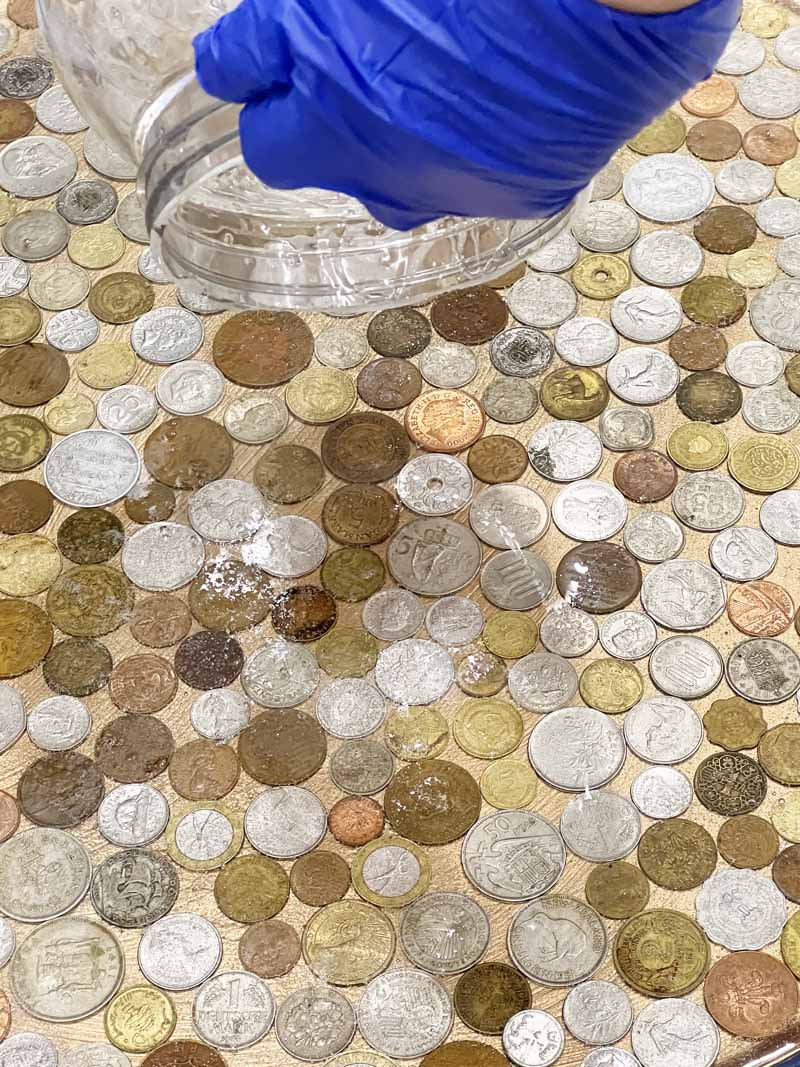
A quick blast with my Wagner heat gun was all it took to pop the air bubbles. I was diligent and returned to the table every twenty minutes to zap away any new bubbles that appeared. Since this was such a thin pour, it worked great and I ended up with a perfectly clear finish.
I love how the coins look embedded in the resin. Now, we can enjoy them on display rather than tossed into a box on a shelf.
Look at how crystal-clear that resin is!
It's a perfect spot for this Kentucky girl to enjoy a glass of bourbon.
similar projects

IKEA Hack: Sola Wood Flower Resin End Table
Rattan Side Table Makeover
Unique Layered Resin Dining Room Table


