



Paper Clover Wreath for St. Patrick's Day


; "Pinterest")

This spring I decided to try my hand at making paper clovers for St. Patrick's Day, but I couldn't find any paper clover tutorials that were quite what I wanted. So, I came up with my own technique for DIY wired clovers that are easy to make and easy to decorate with.
And I put a whole bunch of them together to make an adorable St. Patrick's Day wreath that's perfect for celebrating the luck of the Irish.

Supplies needed to make paper clovers
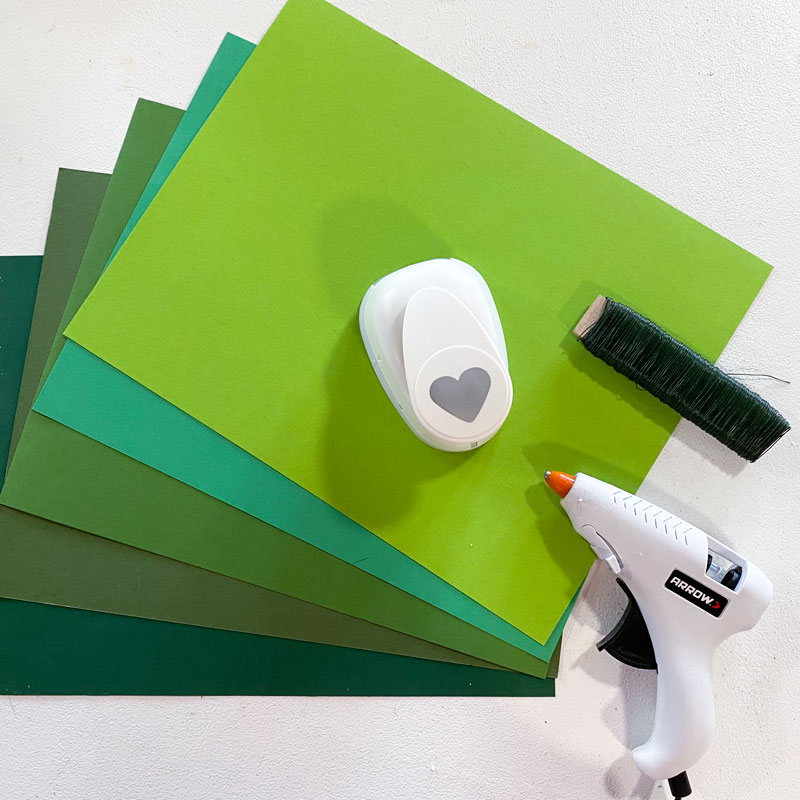
You only need a few simple supplies to make these paper clovers: various shades of green cardstock, a large heart paper punch, some thin floral wire, and a glue gun.
VIDEO: How to make paper clovers
Here's a video I created to show you how to make the paper clovers that cover this wreath.
If you prefer step-by-step written instructions, keep reading!
How to make paper clovers
Step 1: Punch out paper hearts
To create the clovers, start by punching out a bunch of heart shapes with a heart paper punch. I used this 1" heart punch but if you want a different size, you can choose from any large heart paper punch.

Step 2: Crease the hearts down the middle
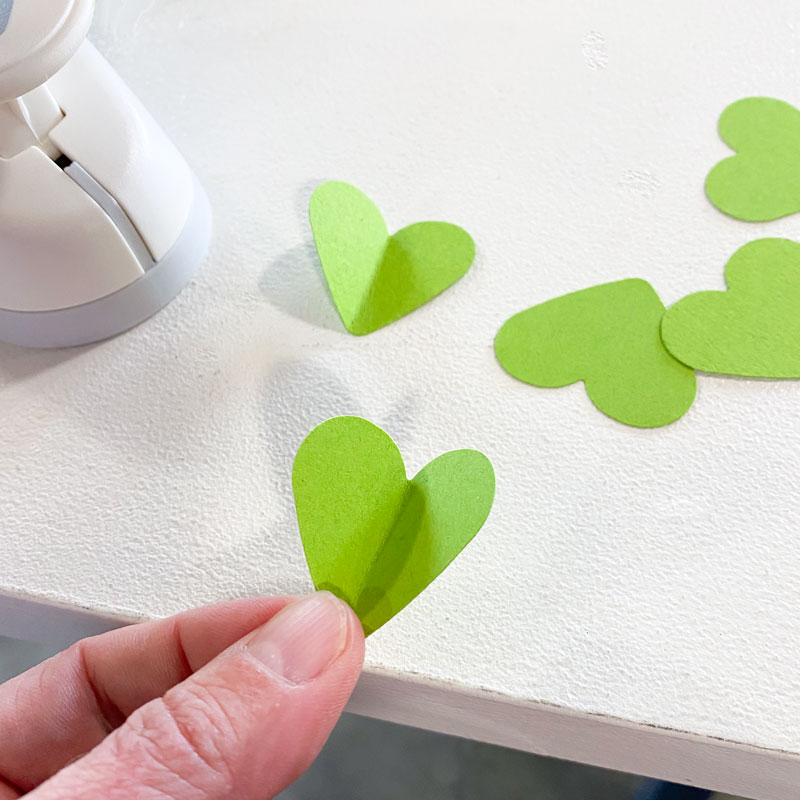
To add dimension, you need to fold each heart down the middle. You can do this with a straight edge and bone folder, but for something so numerous and tiny, I like to use a different trick that I came up with instead. Using a tabletop (or scrap of wood) with a nice square edge (not rounded), line up the heart on the edge, then press down with your thumb to crease the paper.
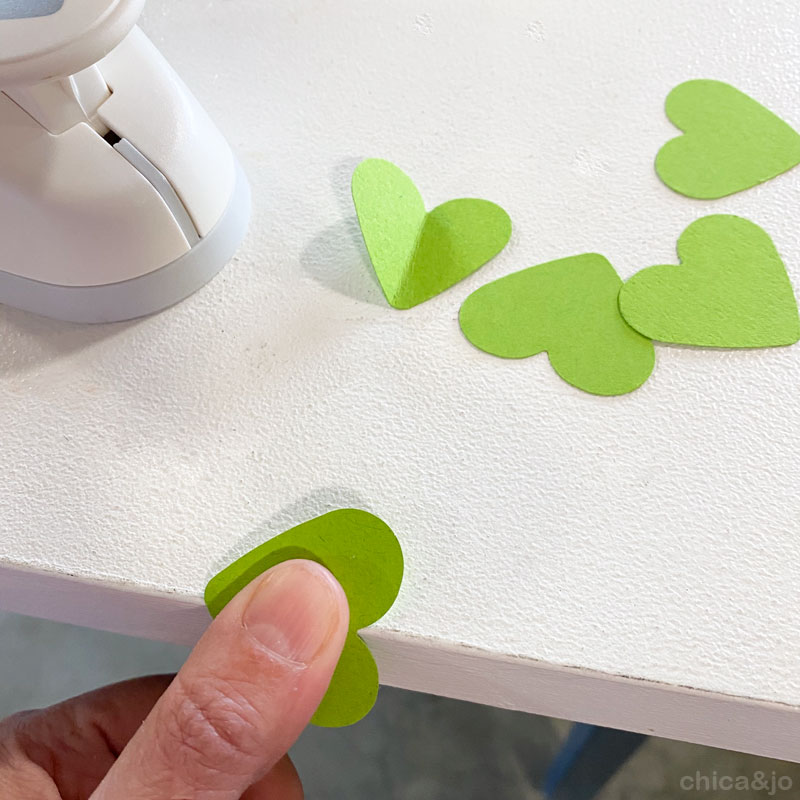
This perfectly sets the crease, nice and straight! To reinforce it, you can give it a quick fold by hand. This is such a fast and easy way to get a perfect fold without having to mess with tools, especially when you're dealing with hundreds of tiny pieces like this project requires.
Step 3: Add wires to the hearts
Once all the hearts are folded, you can start turning them into clovers. Each one needs three hearts (unless you decide to make four-leaf clovers!) and three pieces of thin green floral wire. Be sure to choose a wire that's thin enough to twist easily (I used 20 gauge).
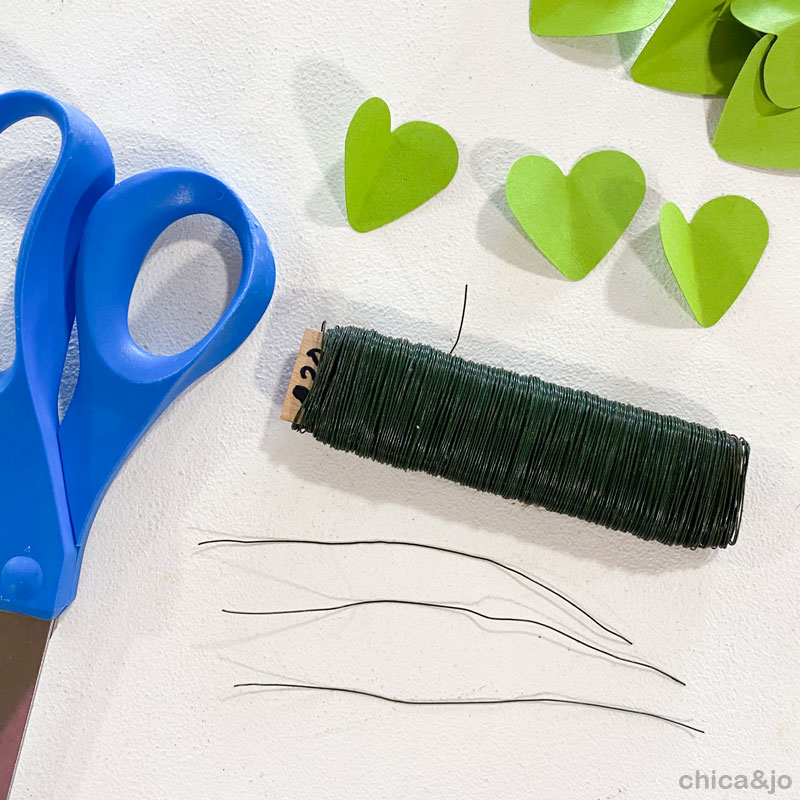
Use a hot glue gun to put a little dab of hot glue on the back of each heart...
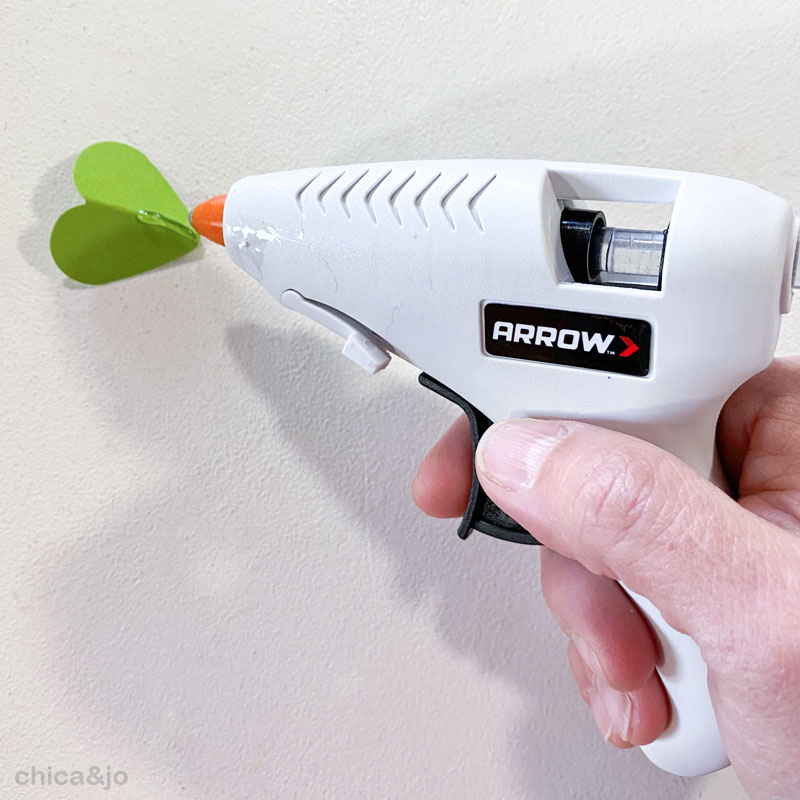
...then add a piece of wire, and hold it a few seconds til it sets up.
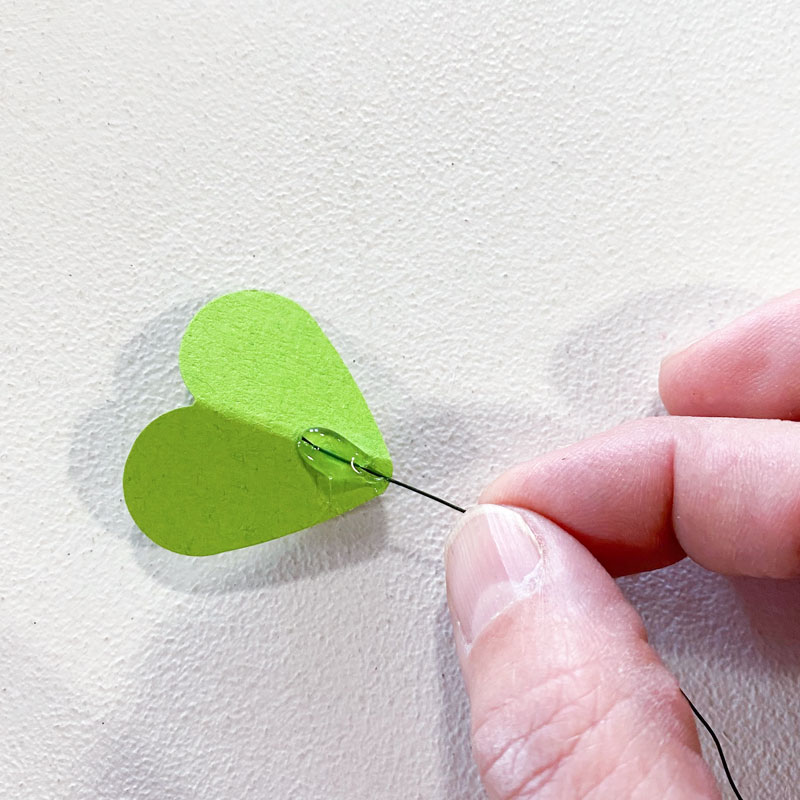
Step 4: Assemble the petals into a clover
When three petals are done and the glue is cooled, they are ready to assemble.
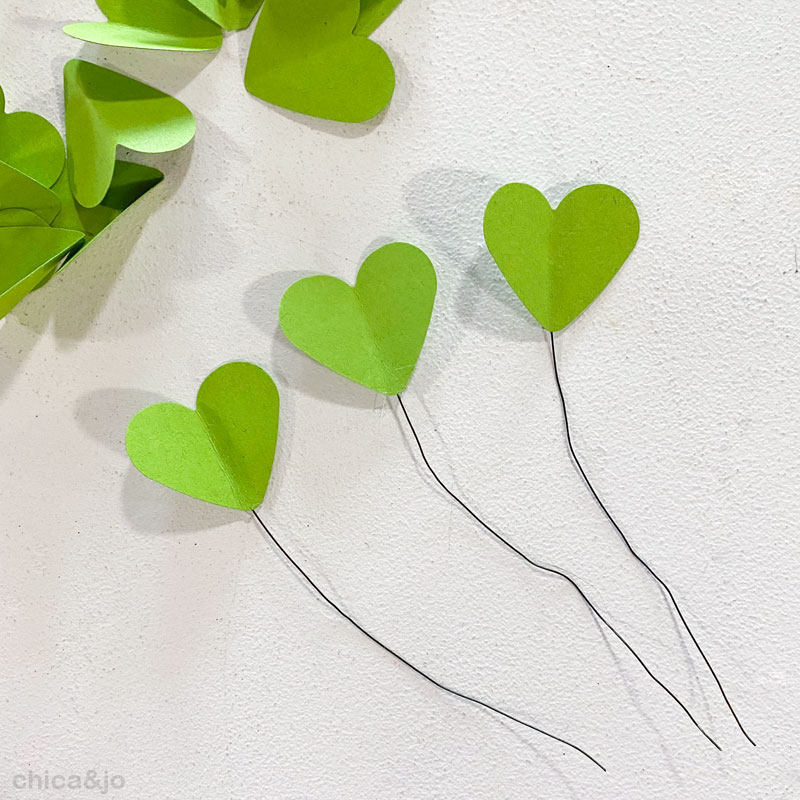
To make the clover, stack three petals together, nesting them into the creases.
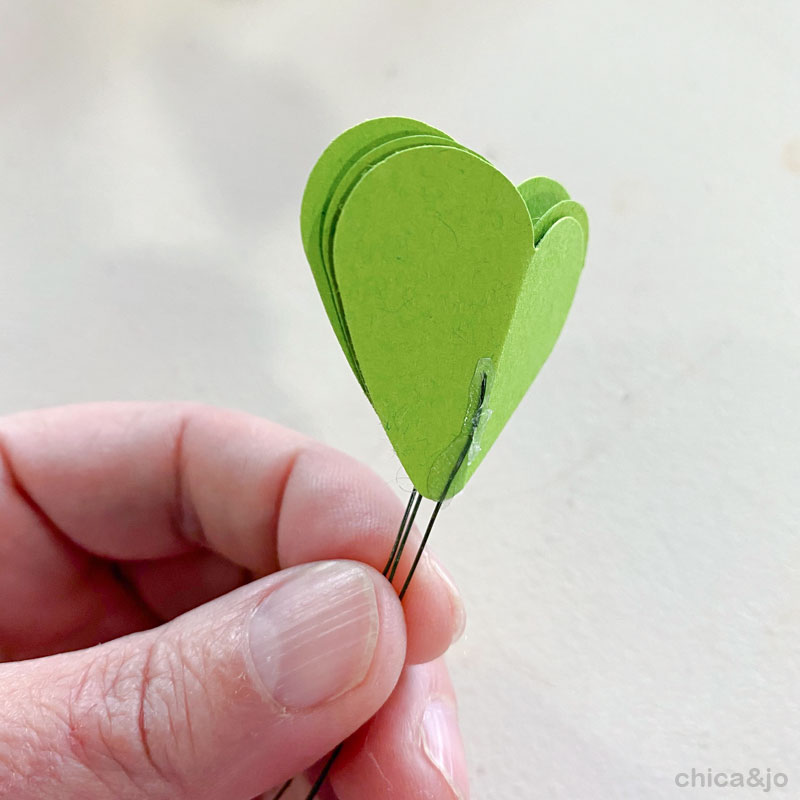
While holding the hearts firmly, twist the wires together, forming a single strand.
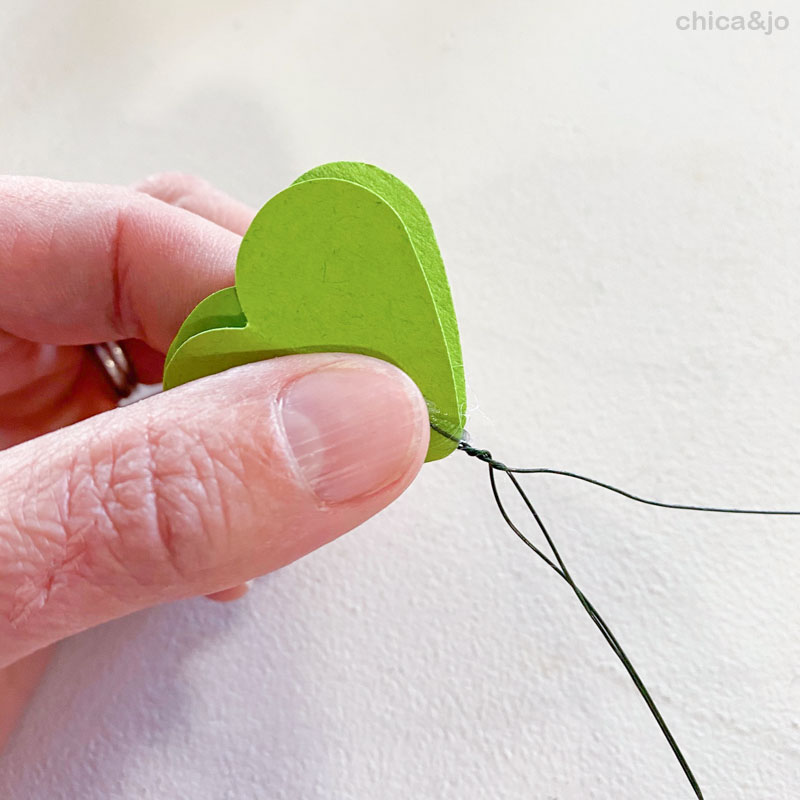
Twisting the three wires together gives you a good sturdy stem. This is why it's so important to use thin wire to start off — thick wire would be hard to twist and would make too bulky of a stem.
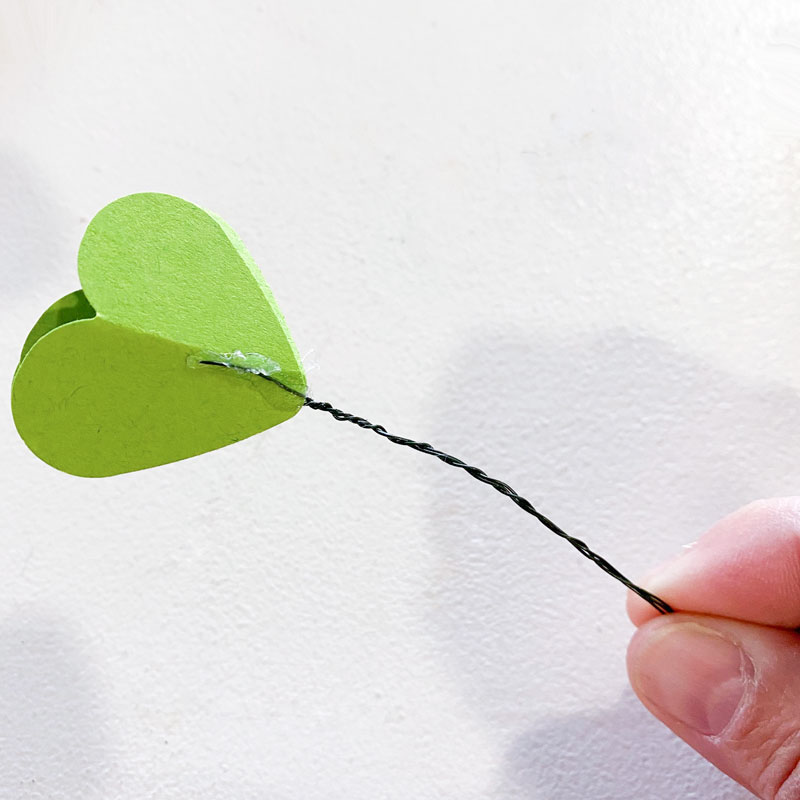
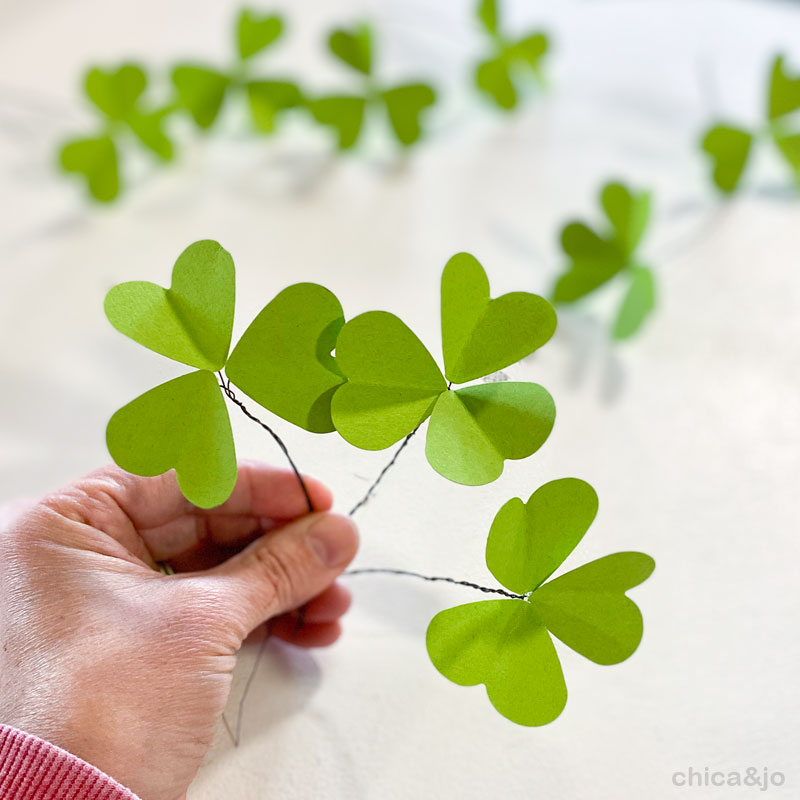
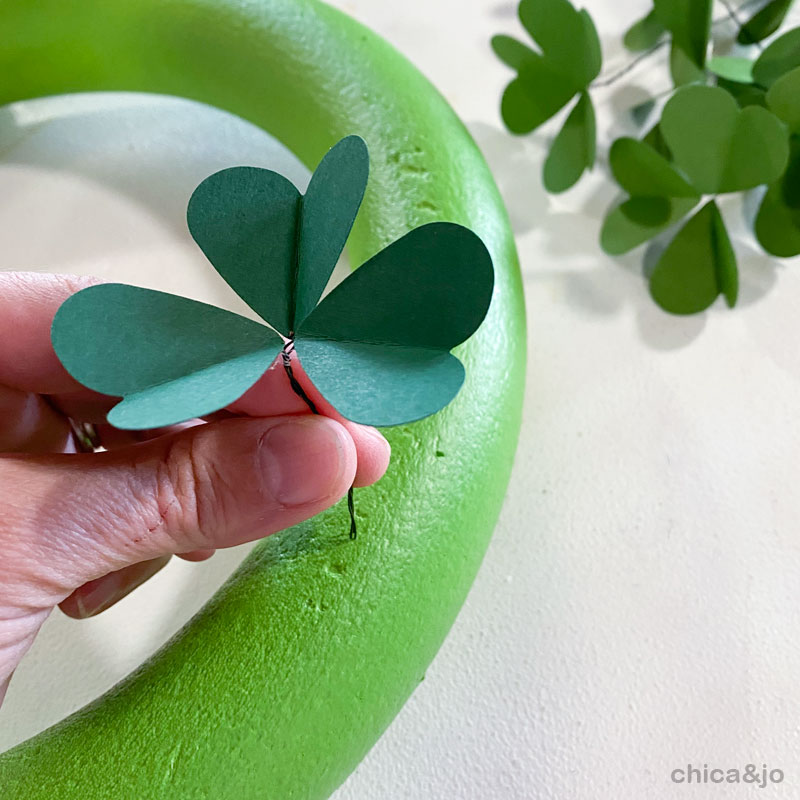
Now the fun part! Pull each petal out, forming them into the perfect clover shape.
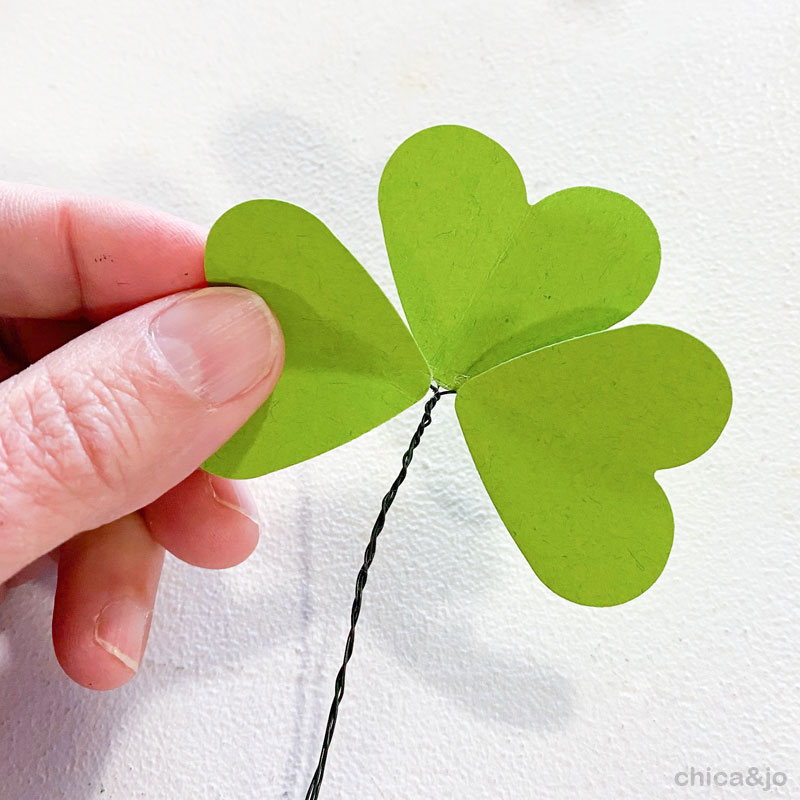
These little wired paper clovers are so adorable. And the wire lets you position each petal exactly how you want it, with natural, subtle twists.
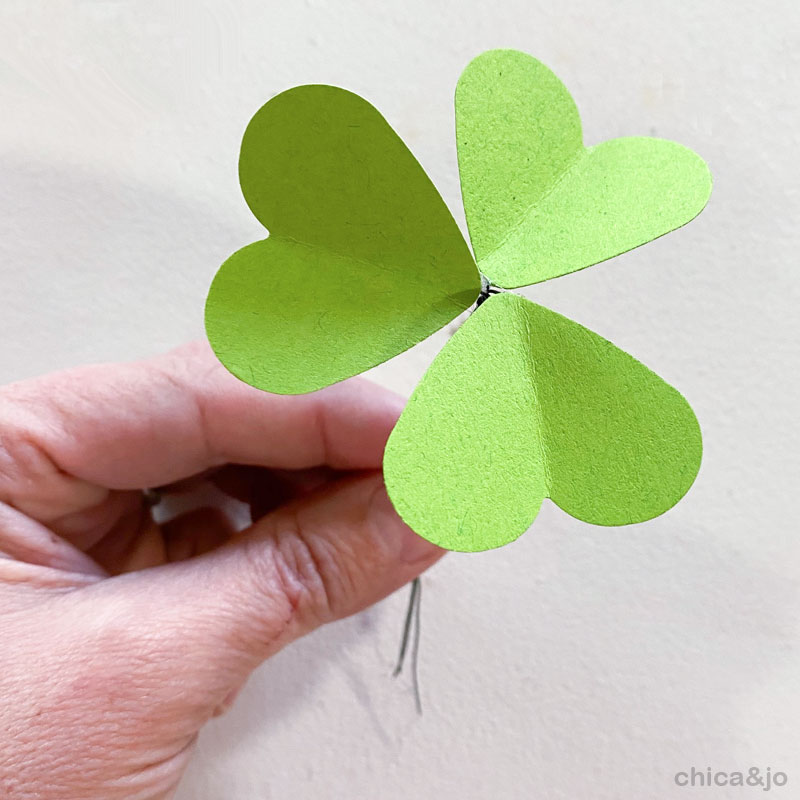
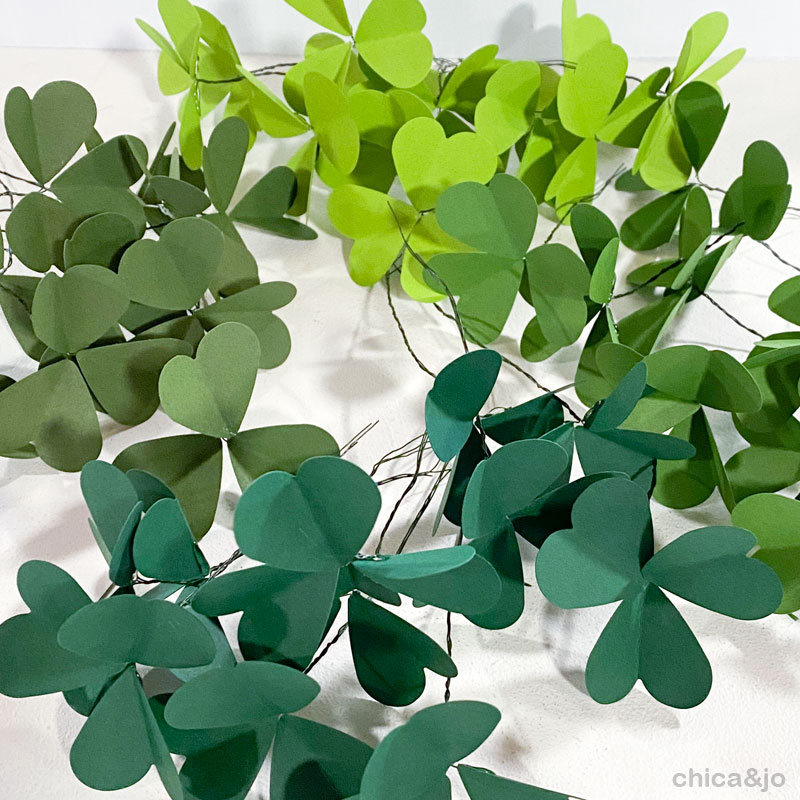
I made about 50 clovers in all, in four different shades of green.
Step 5: Add them to a wreath
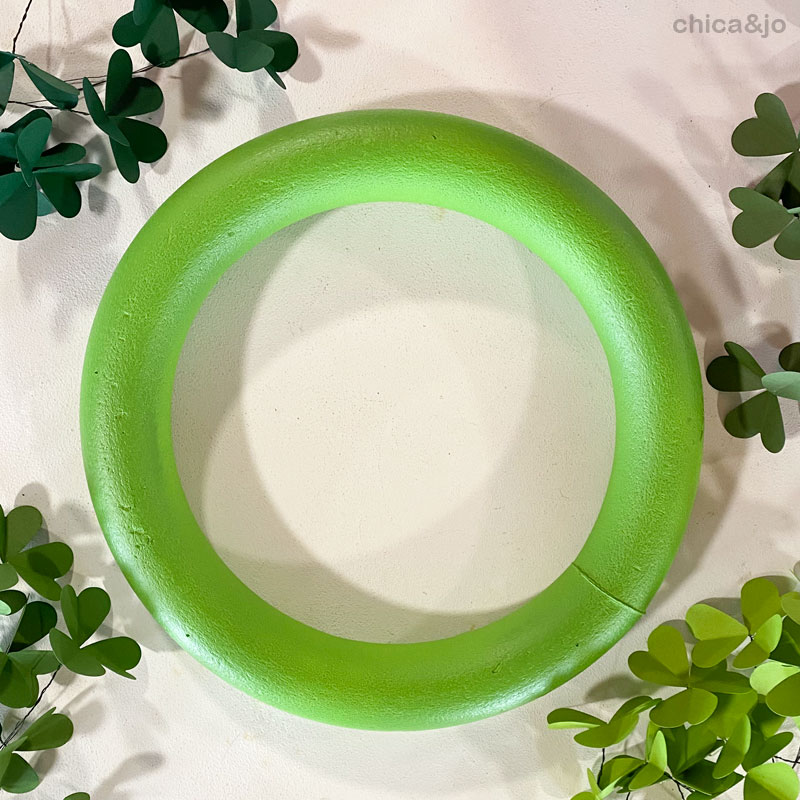
All these cute clovers were destined for a wreath, so I grabbed a 12" polystyrene craft foam wreath. It was a stark white color and I didn't want that to show through, so I quickly painted it a bright green to match the lightest clover color.
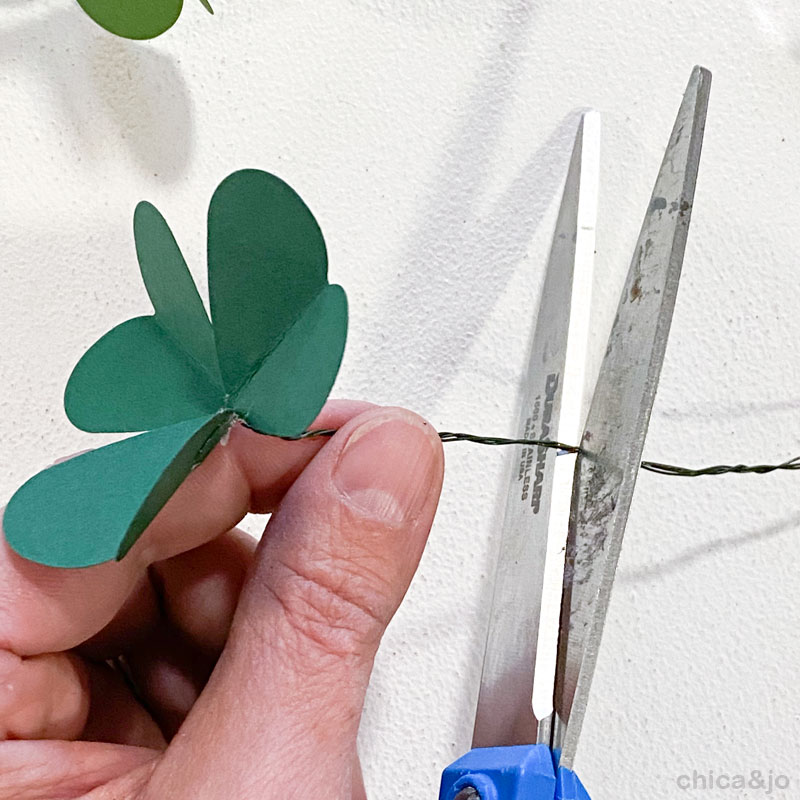
To attach the clovers, first trim the wires to about 2" long.
Then just stick them into the wreath. The polystyrene should hold them securely without a need for glue, but if you use a different type of wreath form, you might need to add a dab of hot glue to each wire as you insert it.
Be sure to space your different colors out evenly across the wreath.
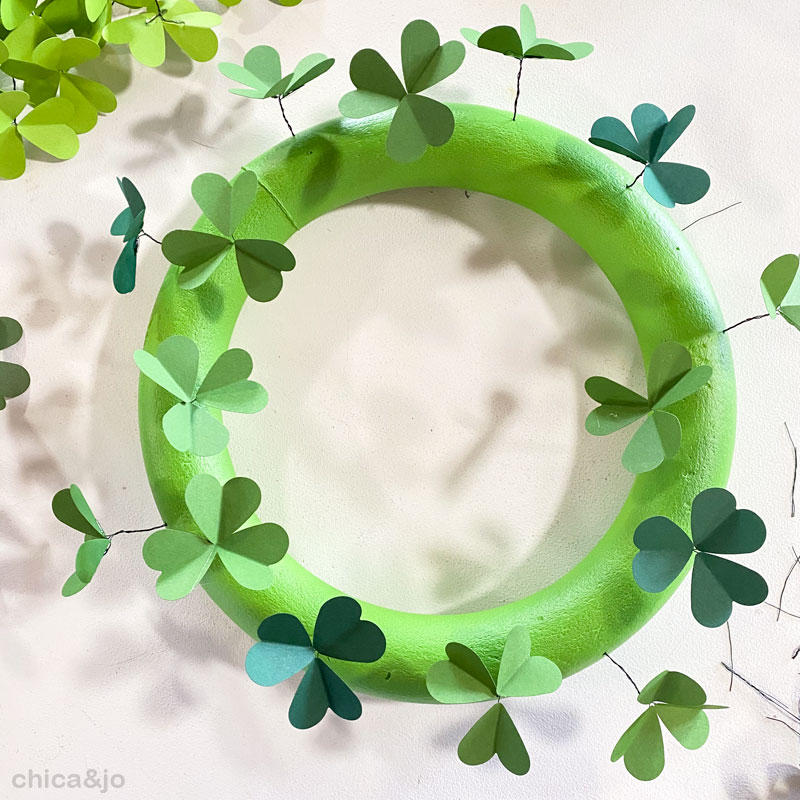
I found it such fun to tuck the clovers into the open spots, and the individual wires on each petal made it really easy to adjust them as needed.
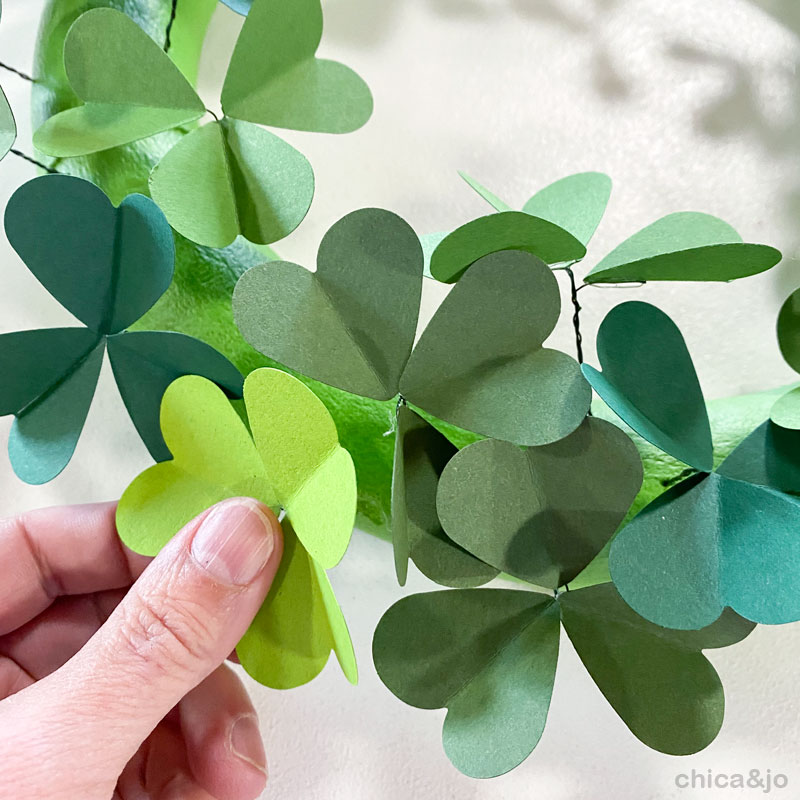
The finished paper clover wreath
The result was a charming paper clover wreath that is perfect St. Patrick's Day decor on the wall or on a door. I love it so much!

similar projects

Shamrock St. Patrick's Day Wreath with Four Leaf Clover

St. Patrick's Day Place Cards Made with Real Clover

Make a Paper Flower and Clothespin Wreath






5 comments so far:
This is a terrific project! And so cute! Good job!
So cute! What would you suggest for making it outdoor proof? Spray it with something afterward or use different paper to begin with? Thank you!
GB, I can't think of a spray that would protect paper well enough, but you could try laminating the paper before cutting the pieces out, or maybe use a thin craft foam instead of paper.
I love your idea! It's very clever and it looks great! If I'm lucky I might just have a 1" heart shaped punch in my craft stash and get started right away!
Joanie, I hope you do! It's so fun to make those little clovers.