


Make Your Own MyPlate Food Pyramid Plate

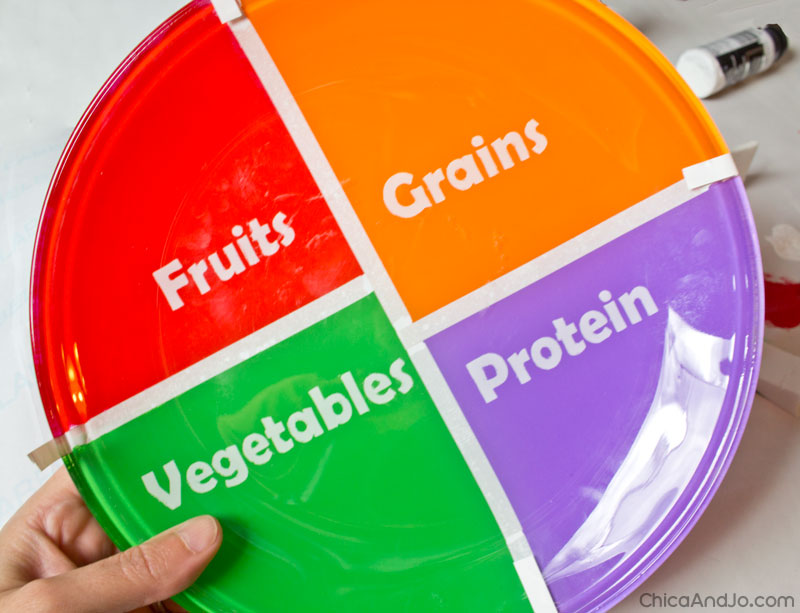
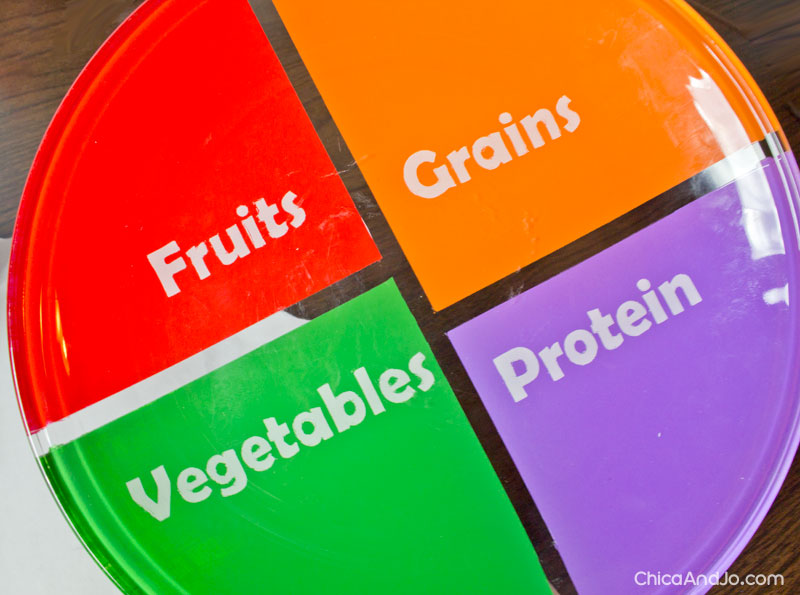
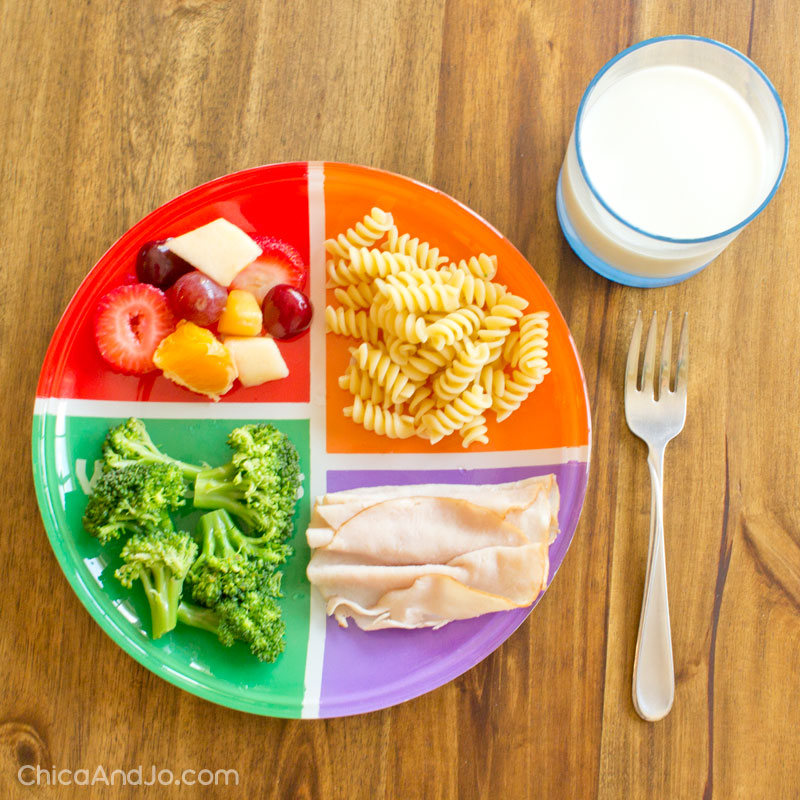
I found out recently that the old food pyramid we learned about growing up is no longer the preferred guide for teaching kids how to eat healthy. There's a new game in town, and it's called MyPlate. The MyPlate concept was released by the federal government and the USDA in 2011 with the goal of helping kids visualize how much of each food group should be on their plates, in a very easy way. The plate is divided into areas for fruits, grains, vegetables, and protein, with dairy on the side, depicted by a glass of milk.
I love the idea, and thought it would be fun to create an actual plate with the colors on it for my niece. Besides being a great reminder of how to eat better, it would also be fun and colorful!
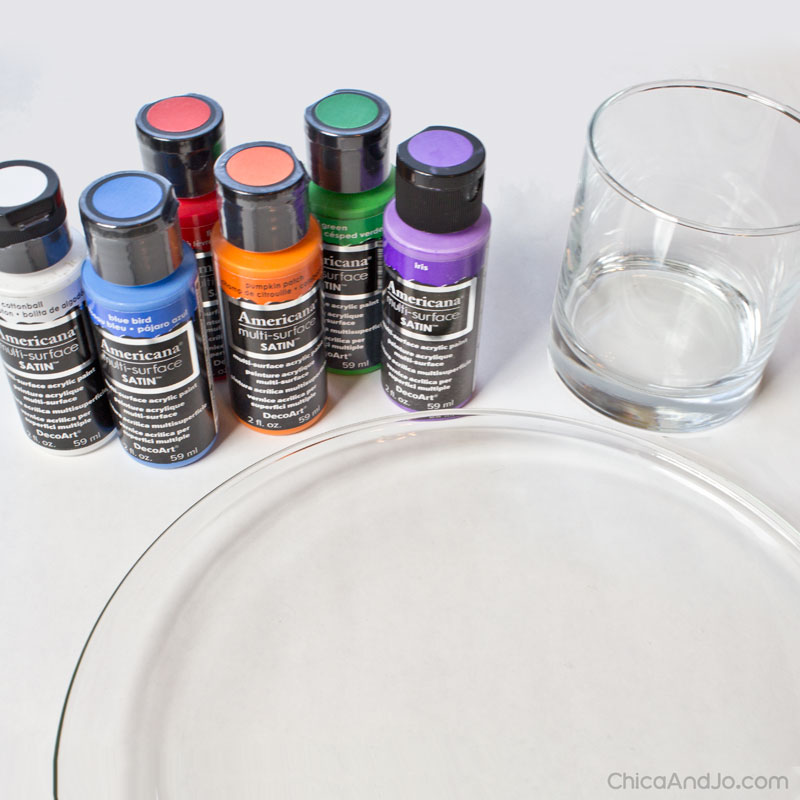
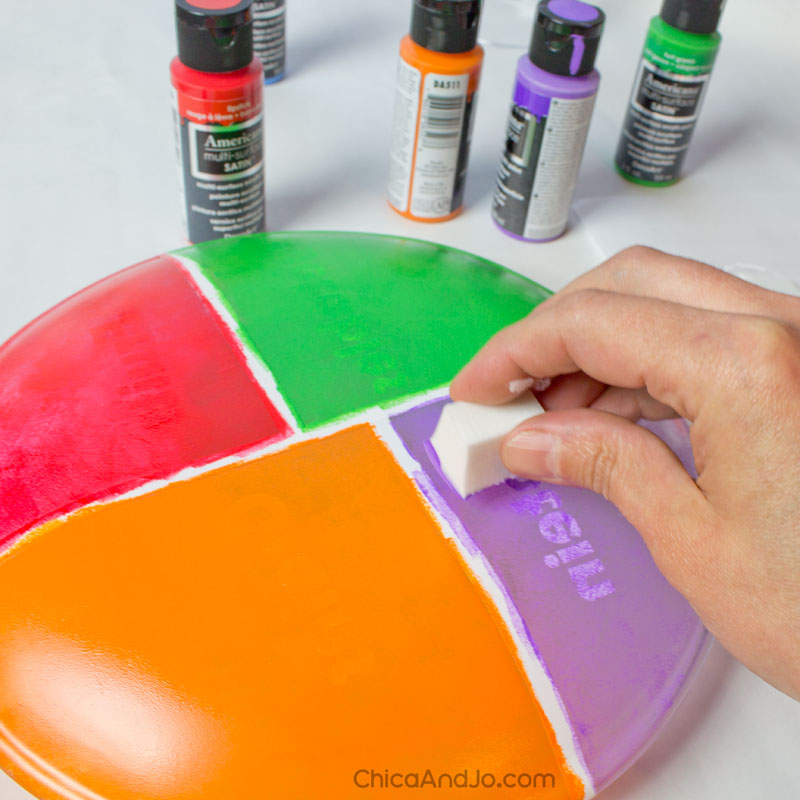
To make this plate, I first picked out colors of Americana Multi-Surface Satin paints to match — Blue Bird, Pumpkin Patch, Lipstick, Iris, Tuff Green, and Cottonball. To make sure the dishes would be food-safe, I chose a clear glass plate and glass, so I could apply the paint to the back/bottom, so it wouldn't come in contact with the food.
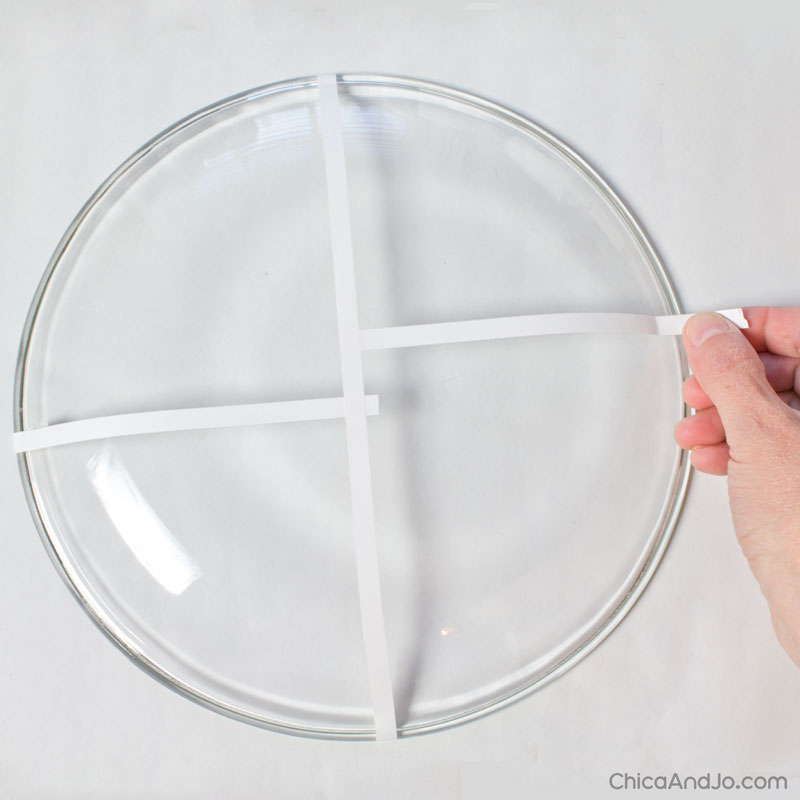
To start, I cut some thin strips of sticky vinyl about 1/4" wide and stuck them to the back of the plate to section it off for the food groups.
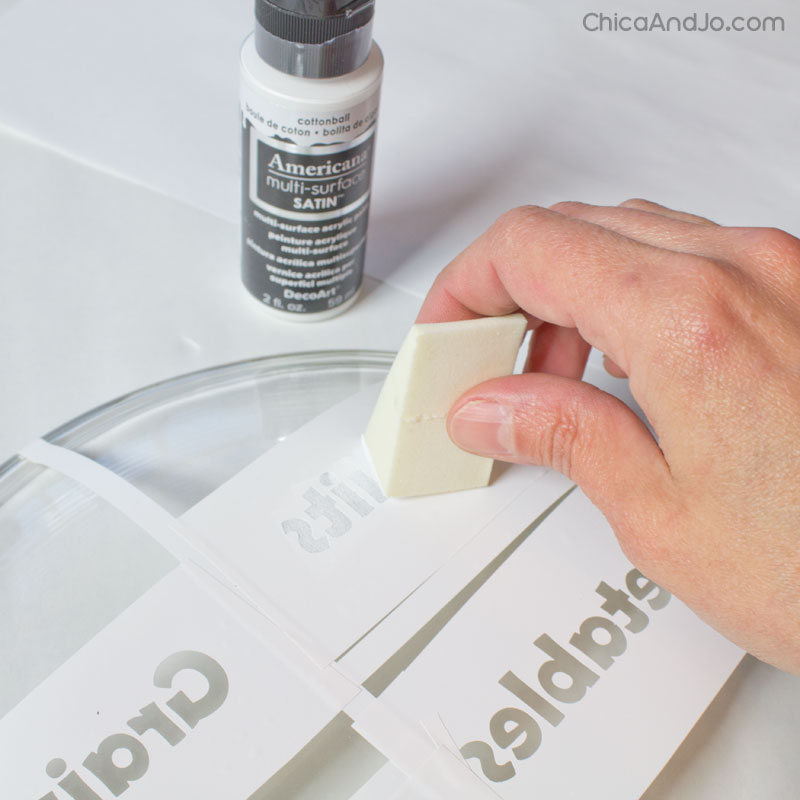
Then I used my Silhouette electronic cutting machine and sticky vinyl to make some stencils for the words, and I added them to the bottom of the glass and plate.

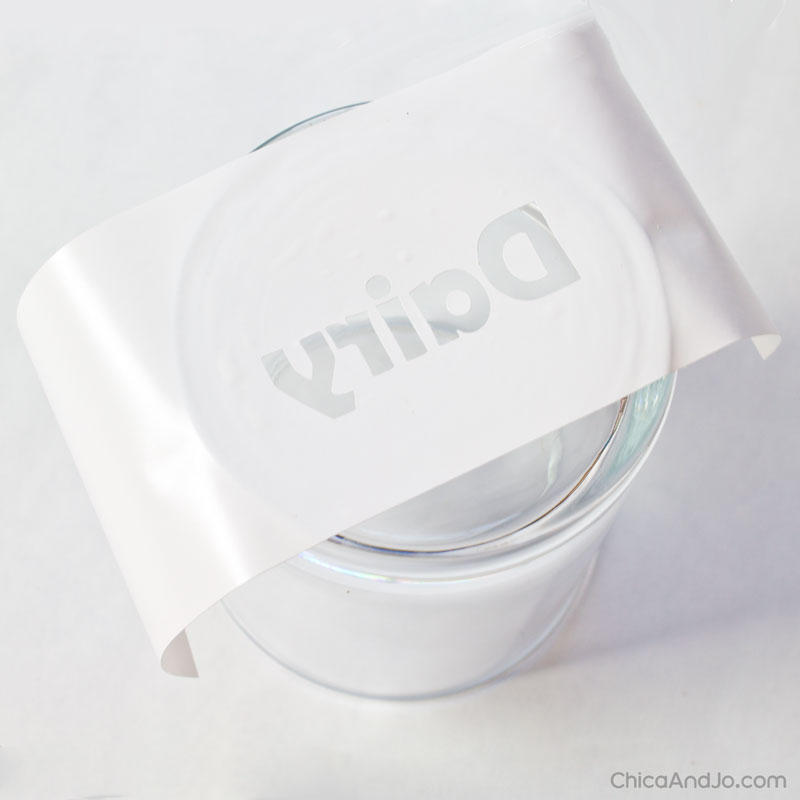
Since I was adding the words to the bottom/back of the dishes, I made sure to reverse the text before cutting, so they would still be readable on the finished piece.
After pressing the stencils firmly in place, I cleaned both pieces with rubbing alchohol to remove any oils or fingerprints. This is a critical step to ensure the paint sticks well.
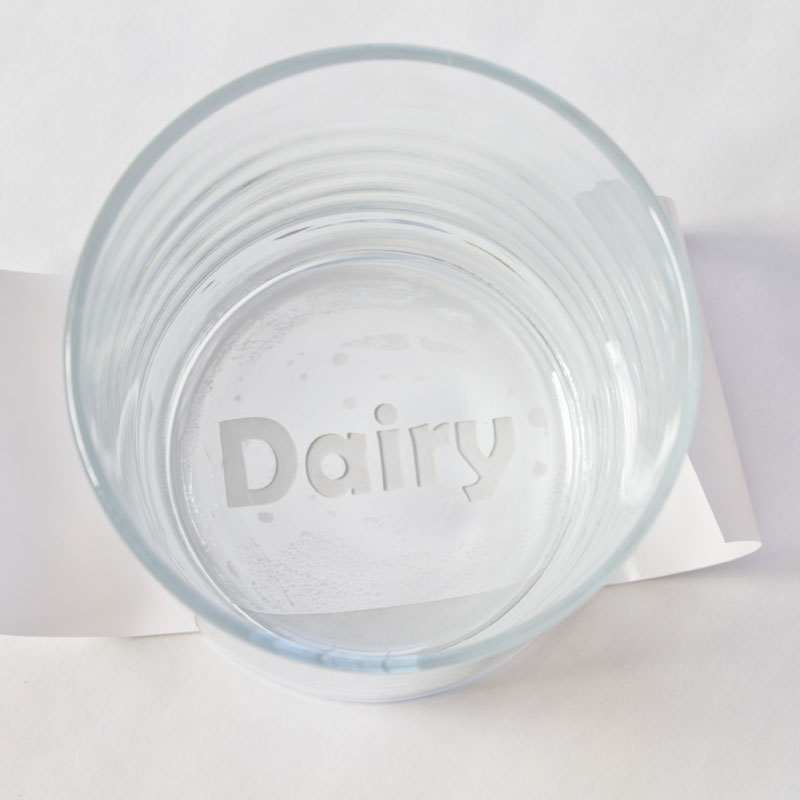
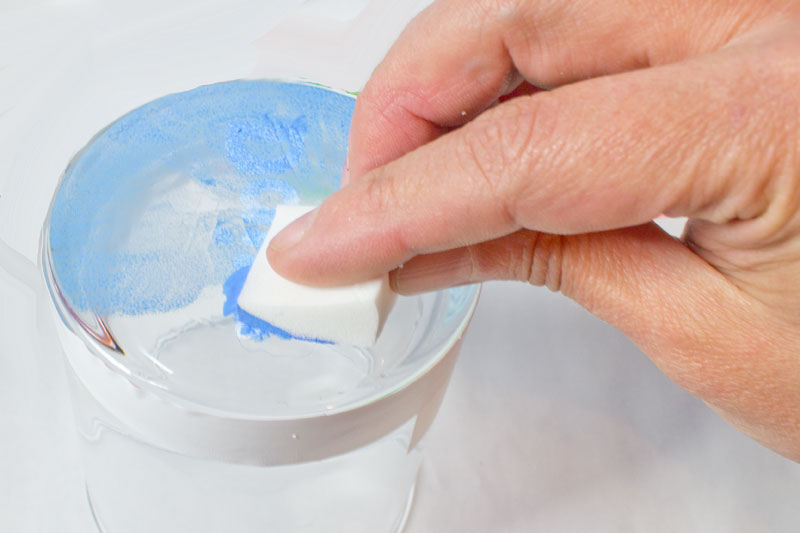
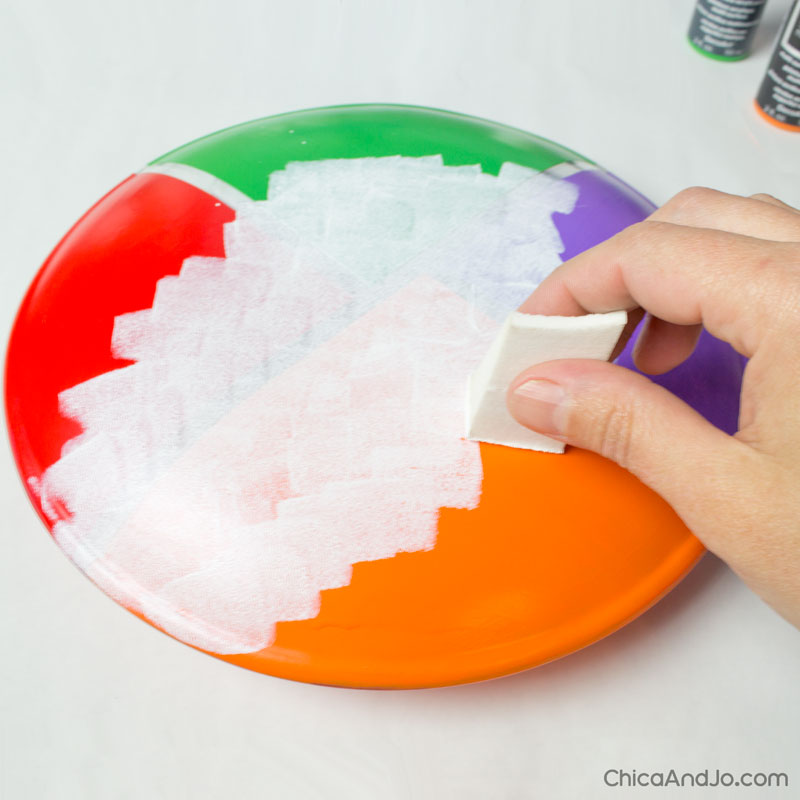
With the surface prepped, I started applying white paint (Cottonball) to the words. I used a cosmetic sponge to dab it on so that I'd get a smooth, even coat with no brushstrokes. I applied several coats (allowing it to dry between each) until I had a nice, solid coat of white.
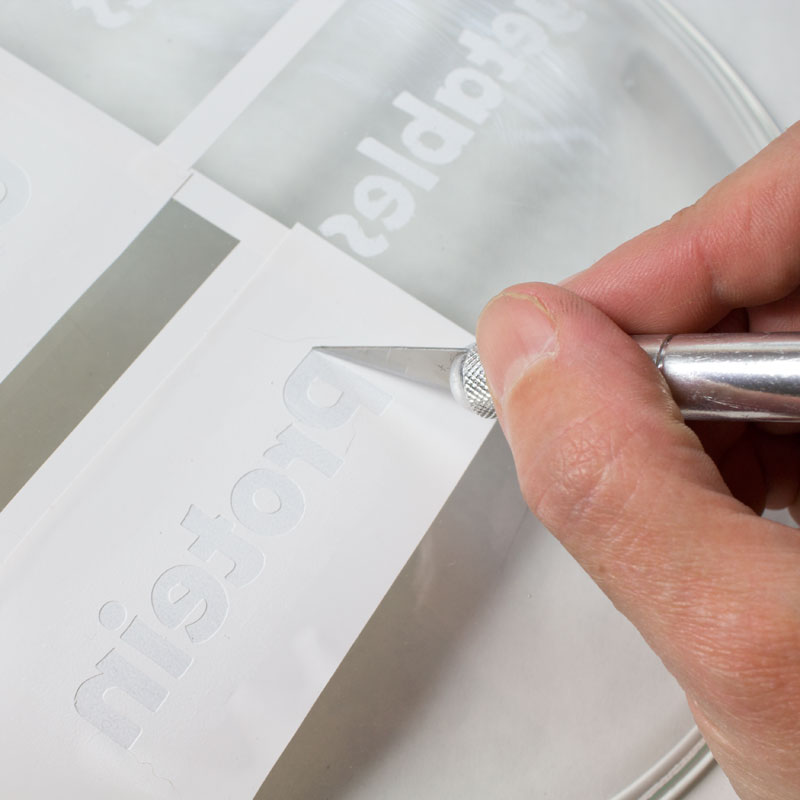
There's a big "gotcha" to keep in mind when working with this multi-surface paint. It sticks to almost anything, and that includes the vinyl stencil. If you want to do several coats to get nice thick coverage, you'll find when you're done that that paint has bonded with the stencil, and if you try to peel it off, the paint will come, too. To keep that from happening, I took a craft knife and gently outlined each of the letters, to separate the paint from the stencil. Effort well worth it because it gave me crisp, sharp lines.
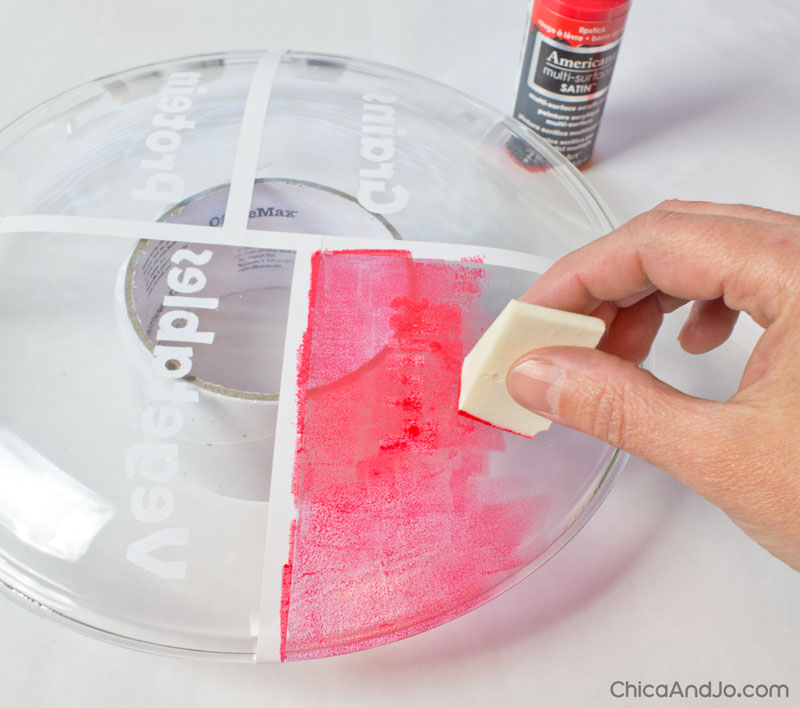
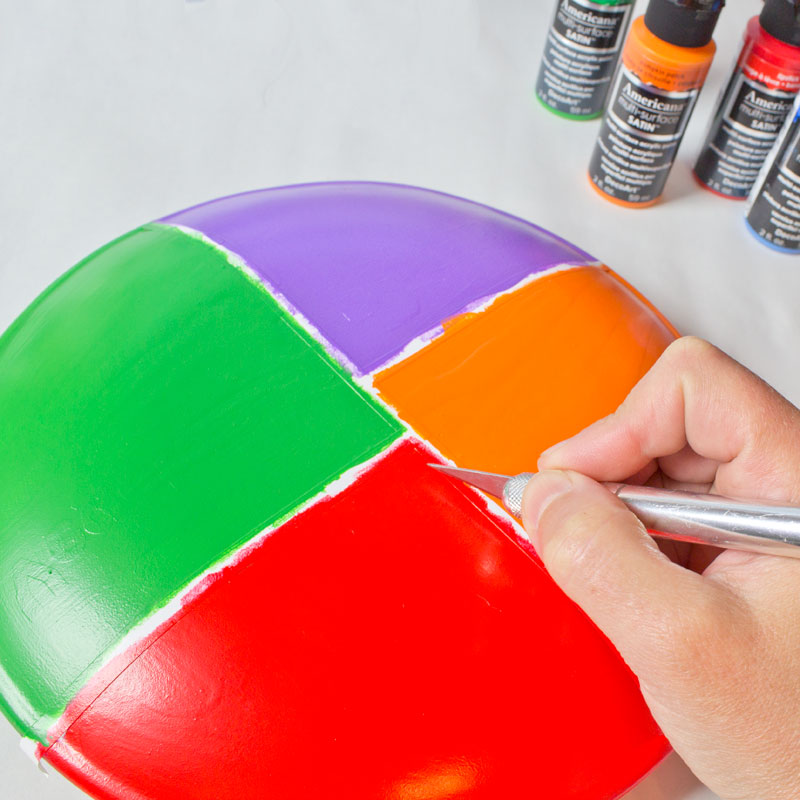
Then I peeled of the word stencils — but kept the straight lines in place — and started painting the sections in the different colors. I painted right over the white words.
I painted the glass the same way, but I added a band of vinyl around the sides to keep the paint on the bottom.
I kept applying paint until I got the solid coverage I wanted and I could no longer see through the plate.
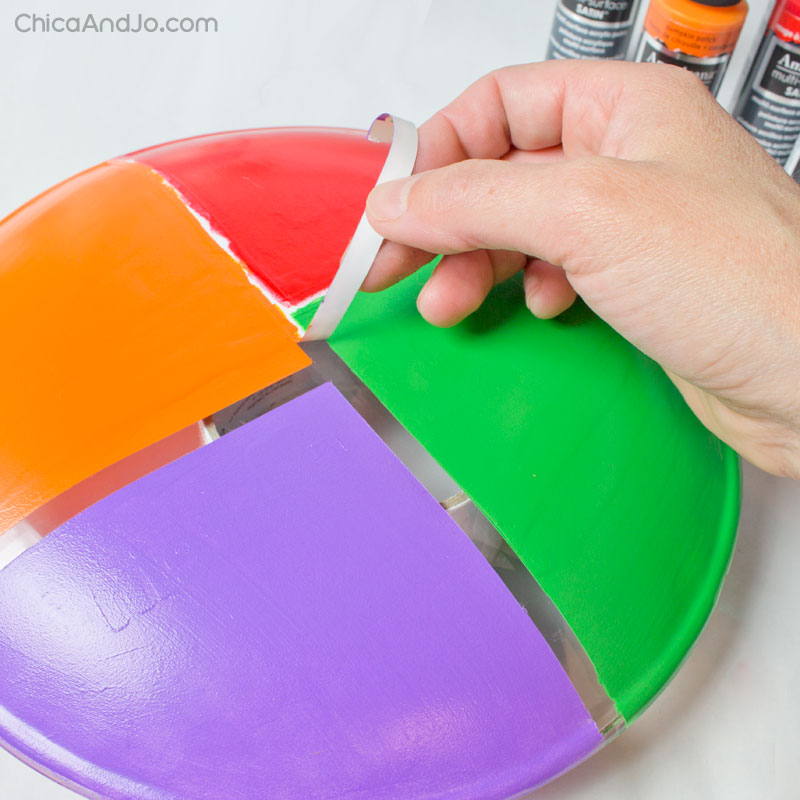
Once again I used a craft knife to separate the paint from the vinyl sectioning strips.
Then I carefully peeled the strips away, revealing the clear glass plate underneath.
Looking good!
The last step was to paint the strips white, and I decided to just paint the whole back white so that it would look nice.
After a satisfactory number of coats to get good coverage, I let the dishes cure for 7 days and then baked in the oven, per package directions. This made the paint dishwasher-safe.
I am pleased as punch with how the whole thing came out, and can't wait to give it to my niece. No excuses for not filling up the plate in a healthy way now!
similar projects
Kentucky Derby Party Food Recipes
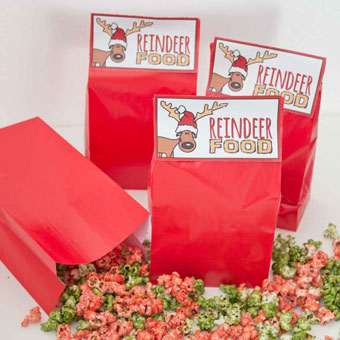
"Reindeer Food" Christmas Popcorn Treat Bags
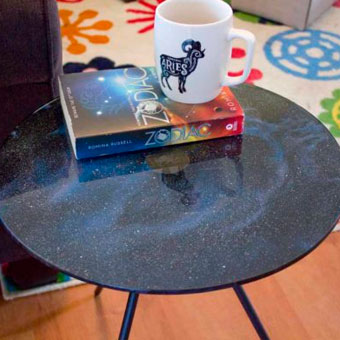
Galaxy Print Paint Pour on a Glass Table


2 comments so far:
Any suggestions ? If you do not own a cutting machine like the sillouette or Cricut
Jackie, if you're really handy with a craft knife, you may be able to make your own stencil by cutting the letters out by hand. Try using clear contact paper and laying it on top of a bold black printout, so you can hopefully see the letters through the vinyl. Or just leave the words off entirely and paint the areas solid colors.