


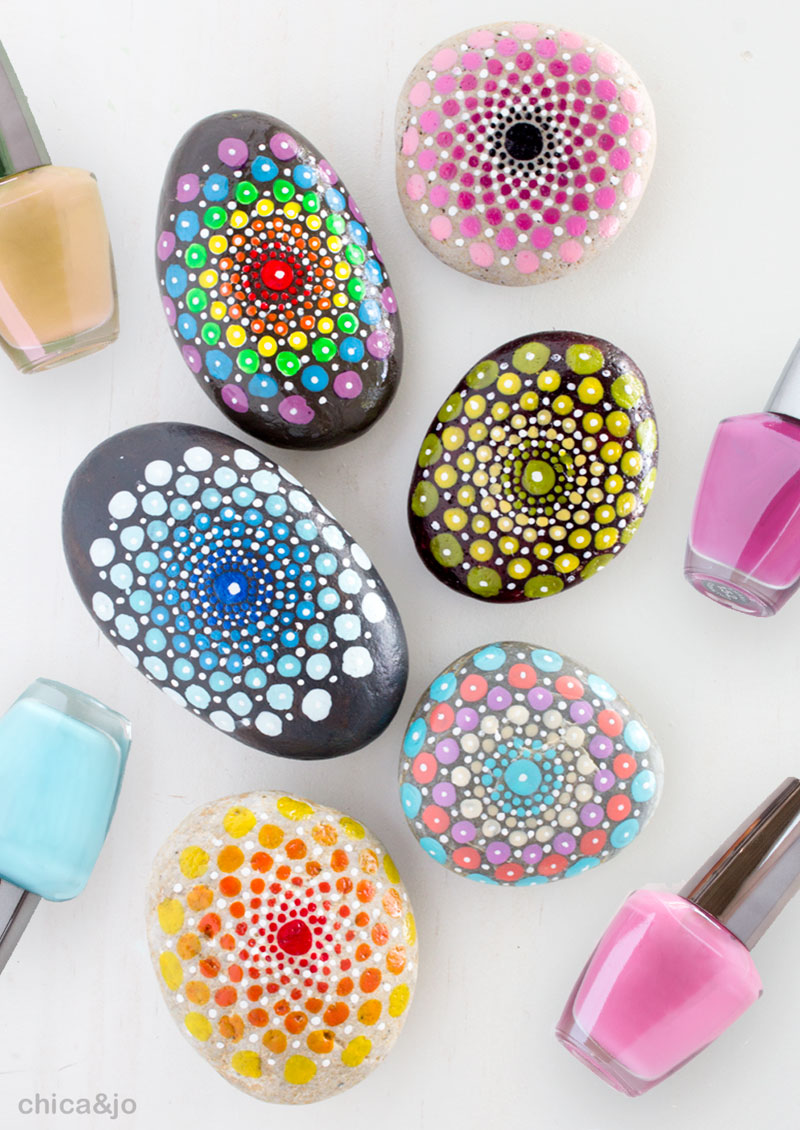
How to Paint Mandala Rocks with Nail Polish

Painting Mandala designs can be an addictive hobby, because the mesmerizing geometric patterns can be applied to almost anything. I especially like to create Mandala rocks, and I make them super durable for indoors and outdoors by using nail polish as the paint. Nail polish comes in a huge array of colors and since you only need a small amount to paint a rock, you've probably already got enough polish at home to create numerous designs.
There are as many mandala patterns as their are artists in the world, all of them seemingly complex but usually made up of simple rows of carefully placed dots. I came up with an easy starburst design that creates amazing effect in any color combination you like.
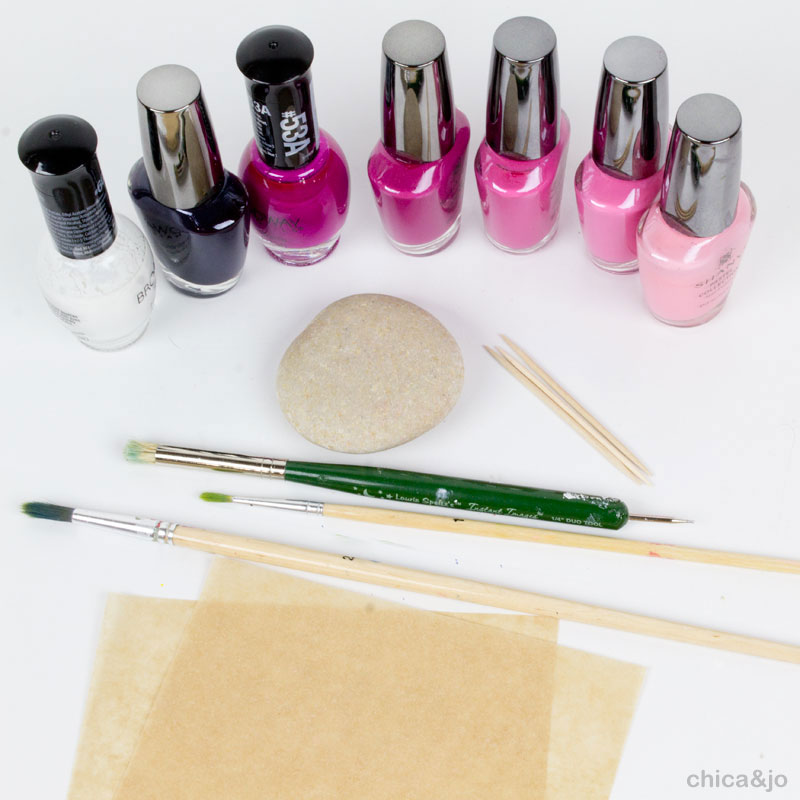
Mandala painting tools
You'll want to start with a nice flat, round-ish river rock or other surface on which to add your design. Then select an array of 5-7 coordinating nail polish colors, including white. To create the dots, you'll need a series of pointed tools in various sizes, such as toothpicks, a stylus, or paint brush handles. Some scrap parchment or wax paper will make a quick palette as you work.
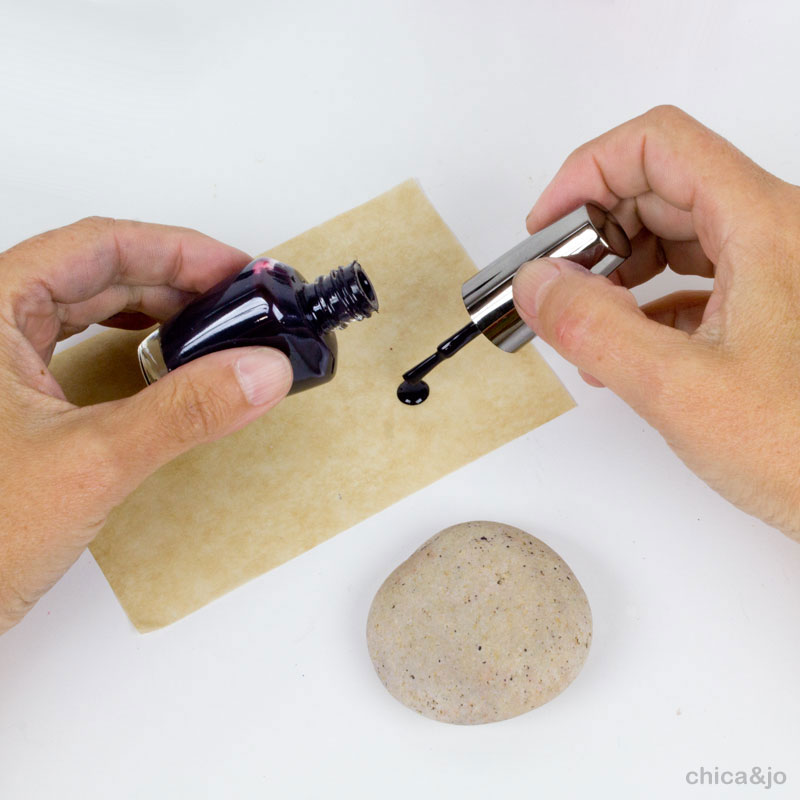
Working with nail polish
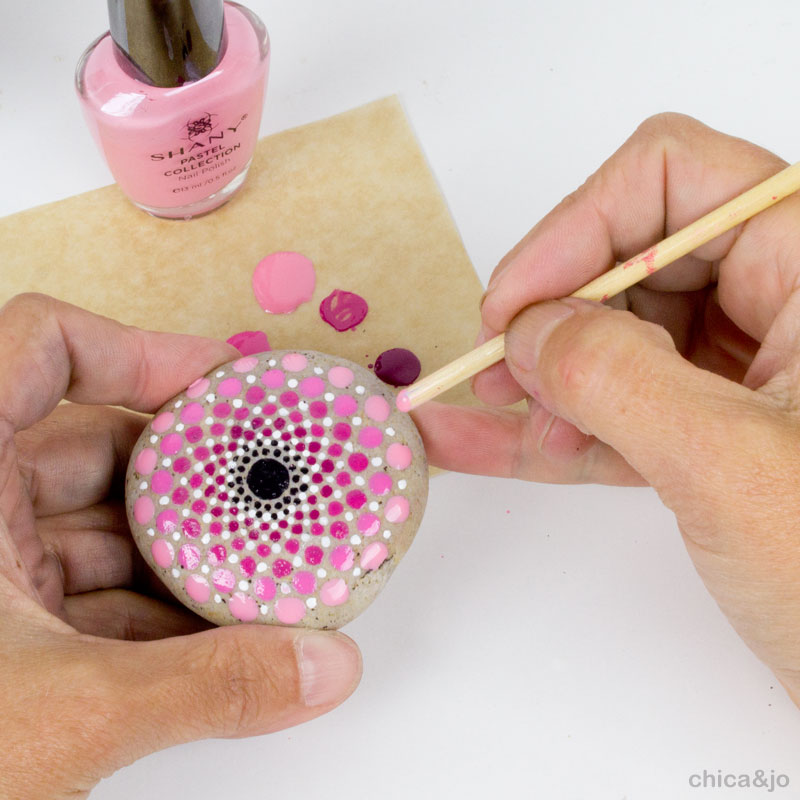
Each time you're ready to use a color of nail polish, use the polish brush to put a dab of it onto a scrap of parchment or wax paper. Since nail polish dries out quickly, don't put more than you can work with in a few minutes' time.
In all the steps below, as you make dots with the various tools, ALWAYS dip the tool into the puddle of polish for EACH dot you create. This will ensure consistently sized dots.
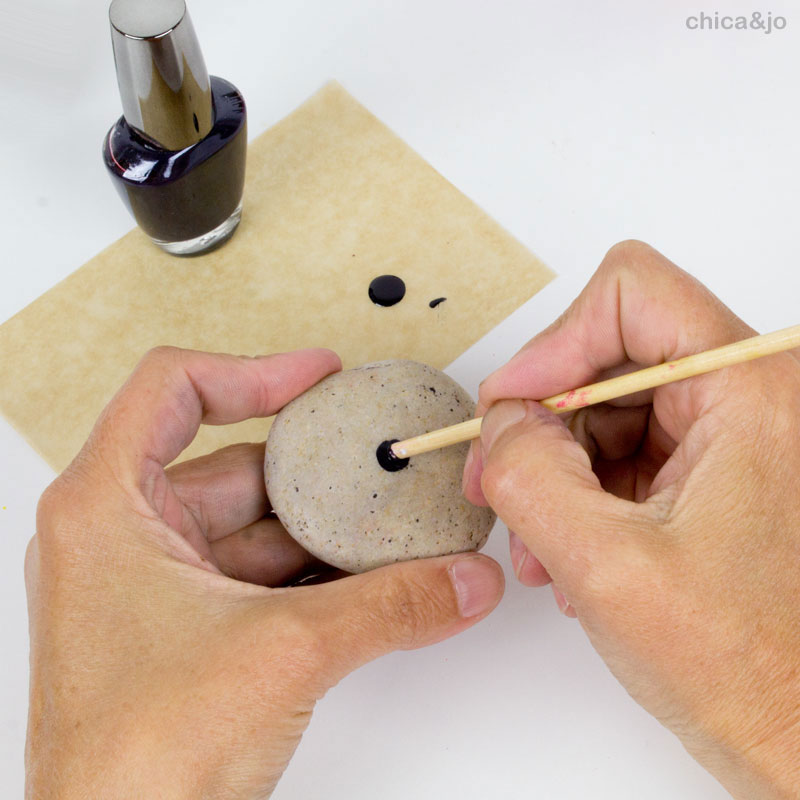
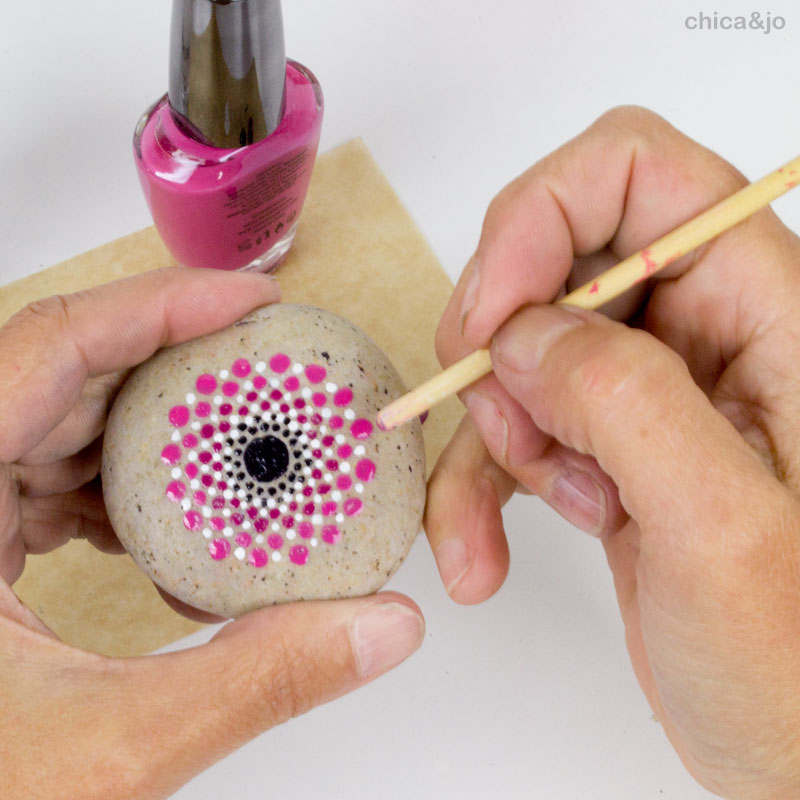
Starting your Mandala center
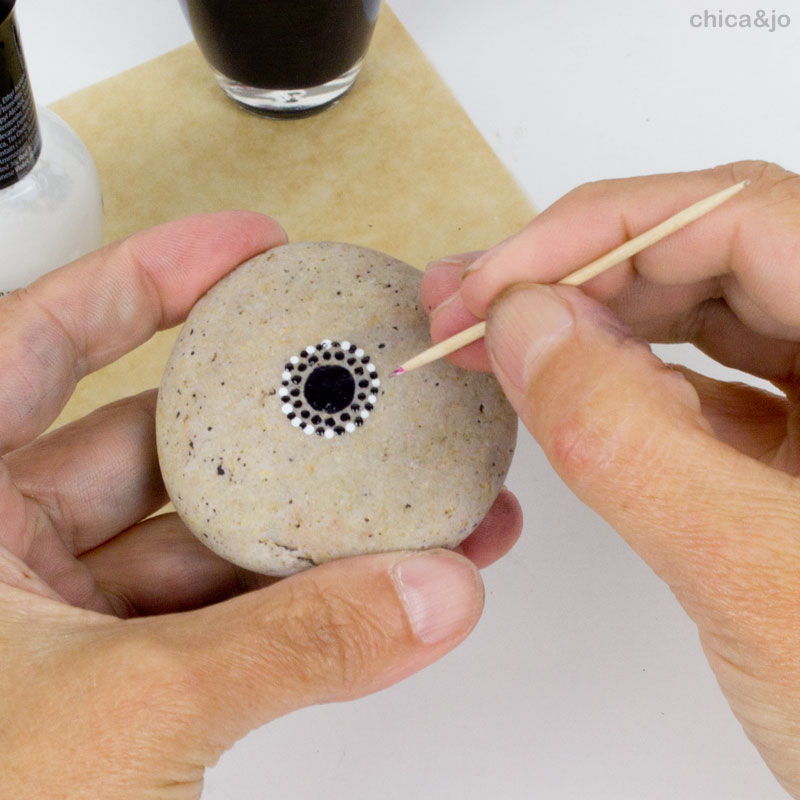
To start the Mandala, use the end of a large paint brush handle to create a large dot in the center of your rock. This should be with the darkest color of polish in your array.
Then switch to a toothpick and, using the same dark color, make a circle of tiny dots around the large center dot.
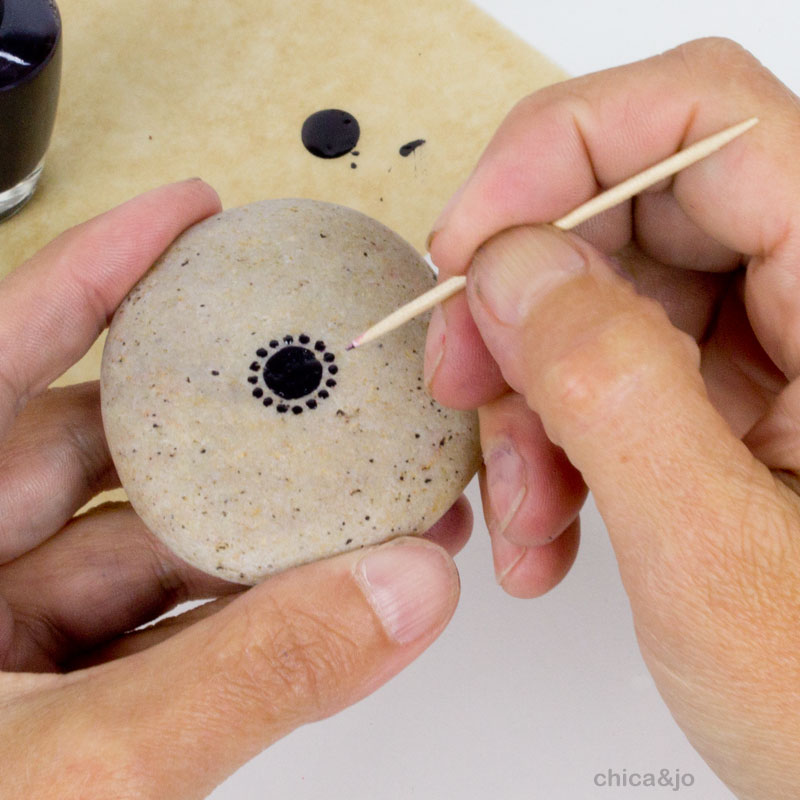
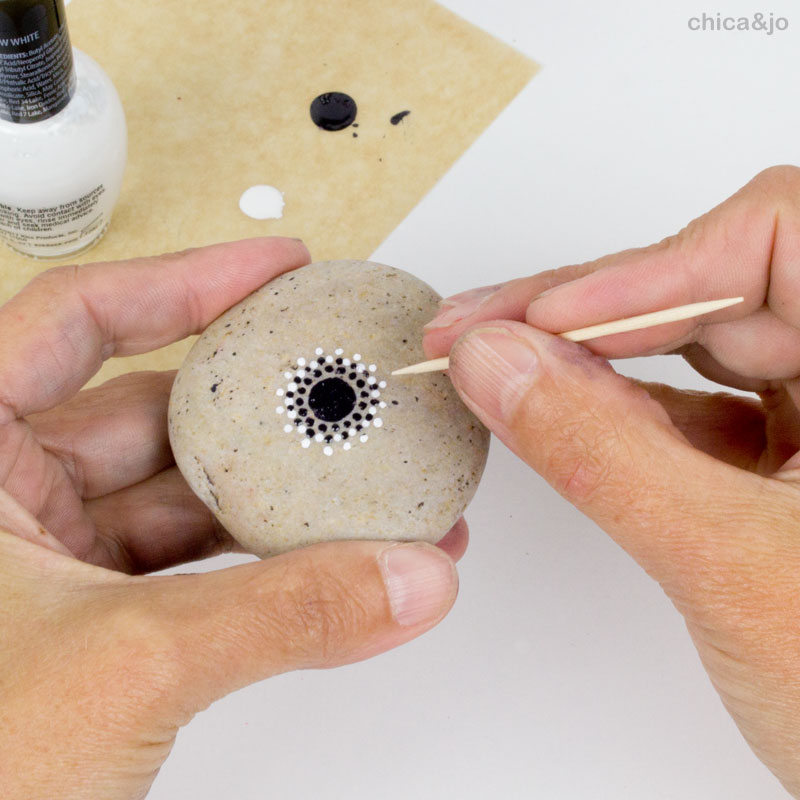
Using a toothpick dipped in white polish, make another circle of tiny dots, lining each one up exactly behind one of the dark dots.

Switch back to the dark color and use a toothpick to add tiny dots between each of the white dots.
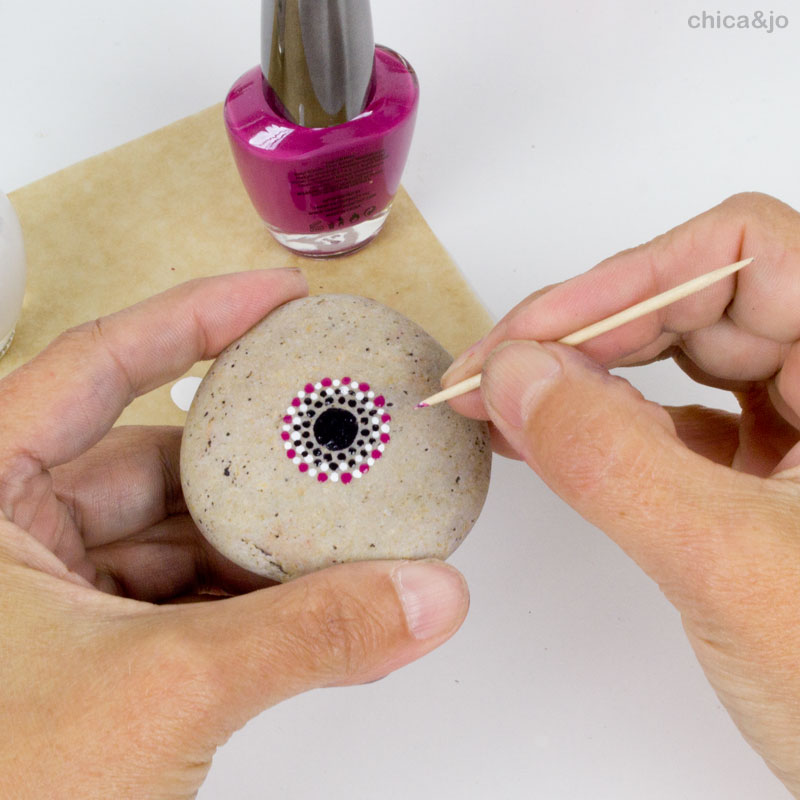
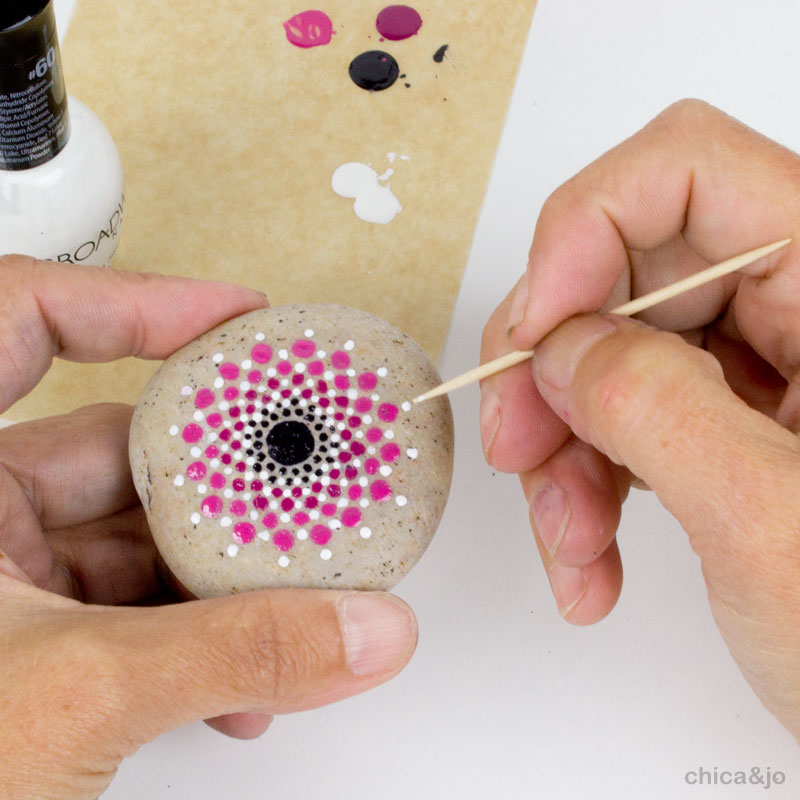
Switching to the next color
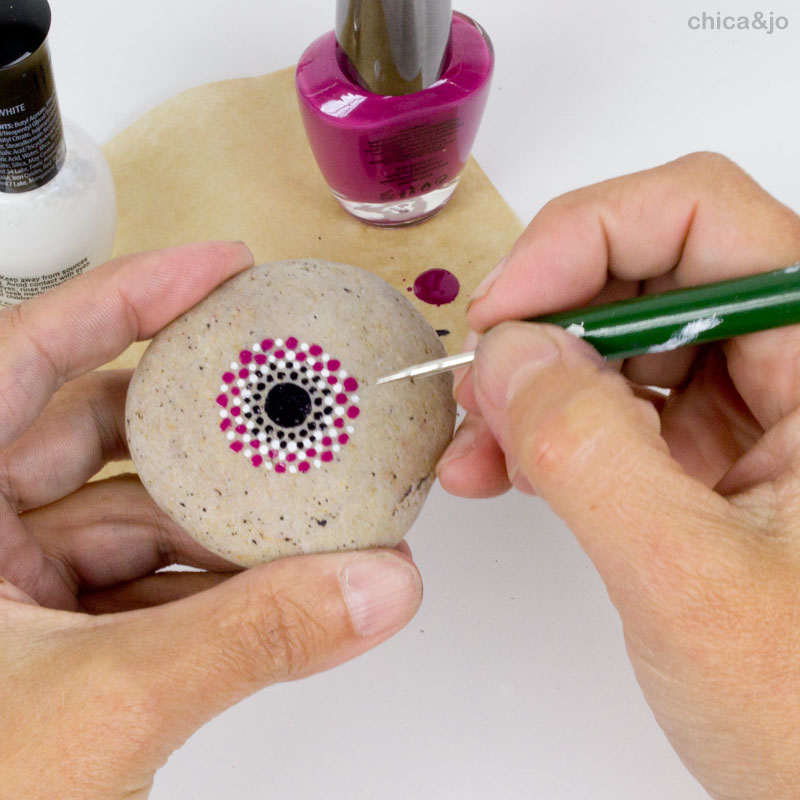
Create the third row by once again using a toothpick dipped in white polish to make a circle of tiny dots, each one lining up exactly behind one of the dark dots from the second row.
Now, using a toothpick and the next lightest color in your array, add tiny dots between each of the white dots, thus completing row #3.
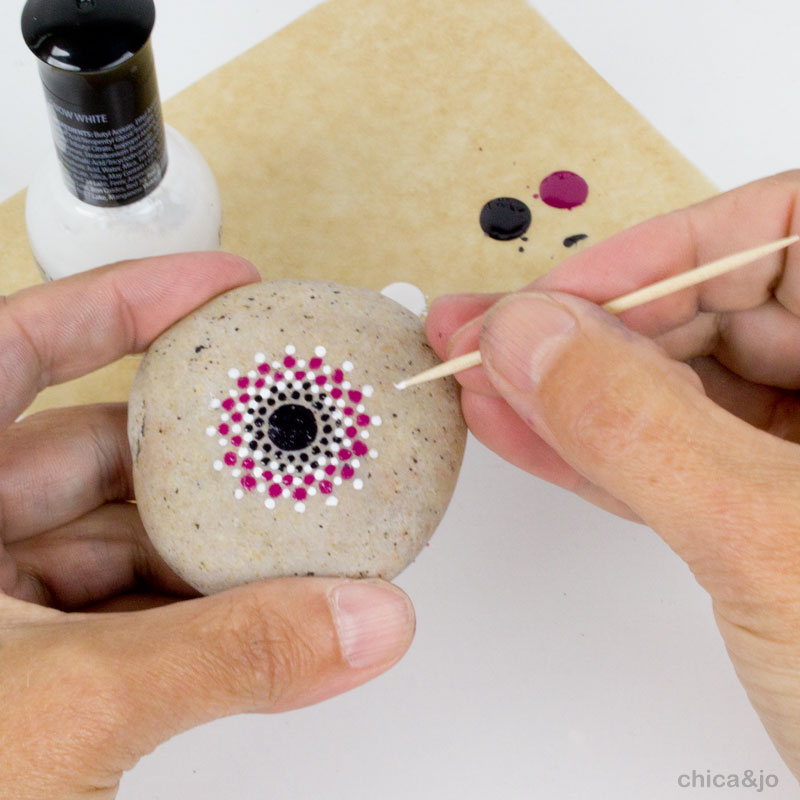
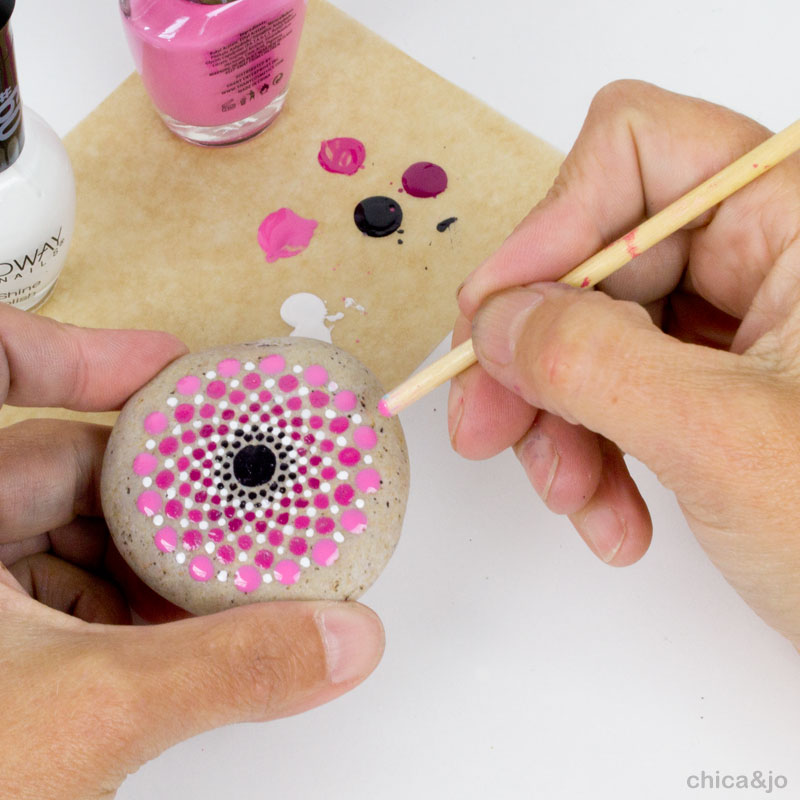
Create row #4 as before, using a toothpick and white polish to create a row of tiny dots, each one lining up behind the colorful dot in row #3.
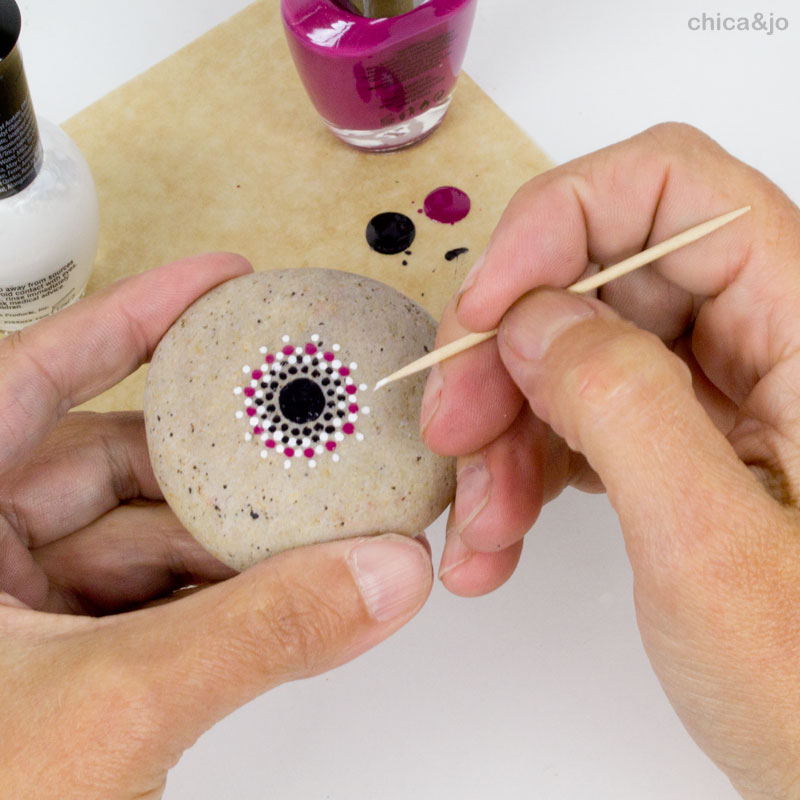
Your colored dots will need to be a little larger now, so switch to a stylus or other tool slightly larger than the toothpick to fill in with a row of colored dots between the white ones.
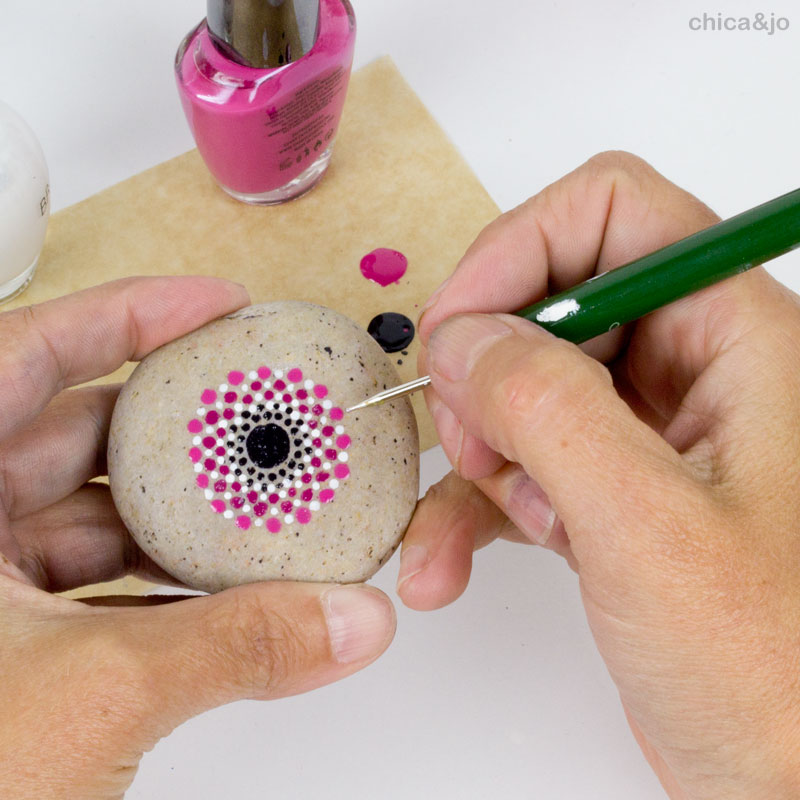
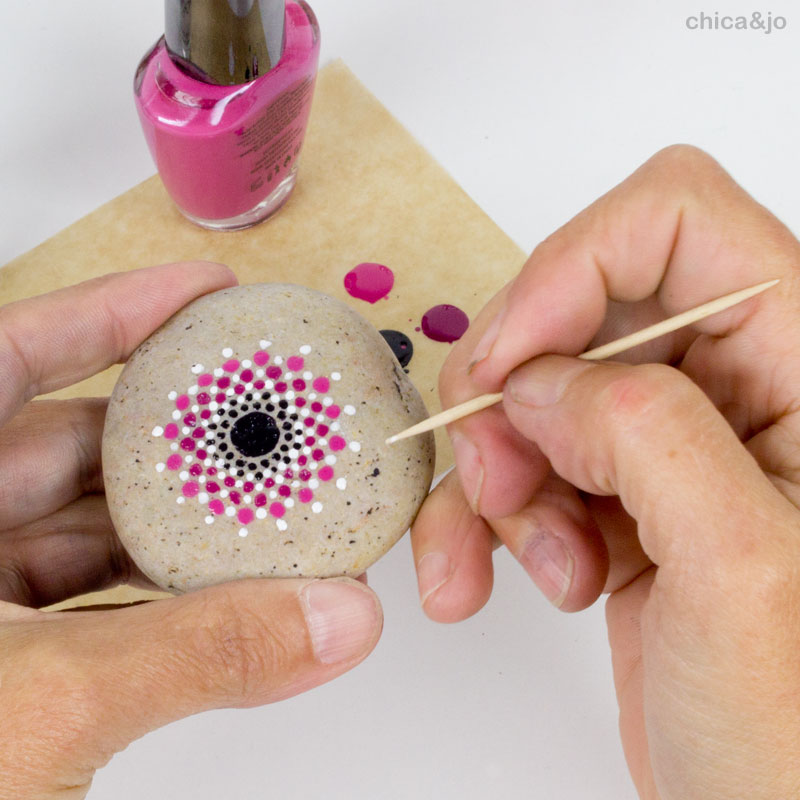
Repeat until the rock is covered
Repeat the steps for creating new rows, changing to a lighter polish color after every 1-2 rows, until the rock is covered. ALWAYS use a toothpick for the white dots so they stay small and consistent. As you work out from the center, there will be more space between the white dots, so increase the size of the tool you use for the colored polish as needed to make larger dots to fill the space.
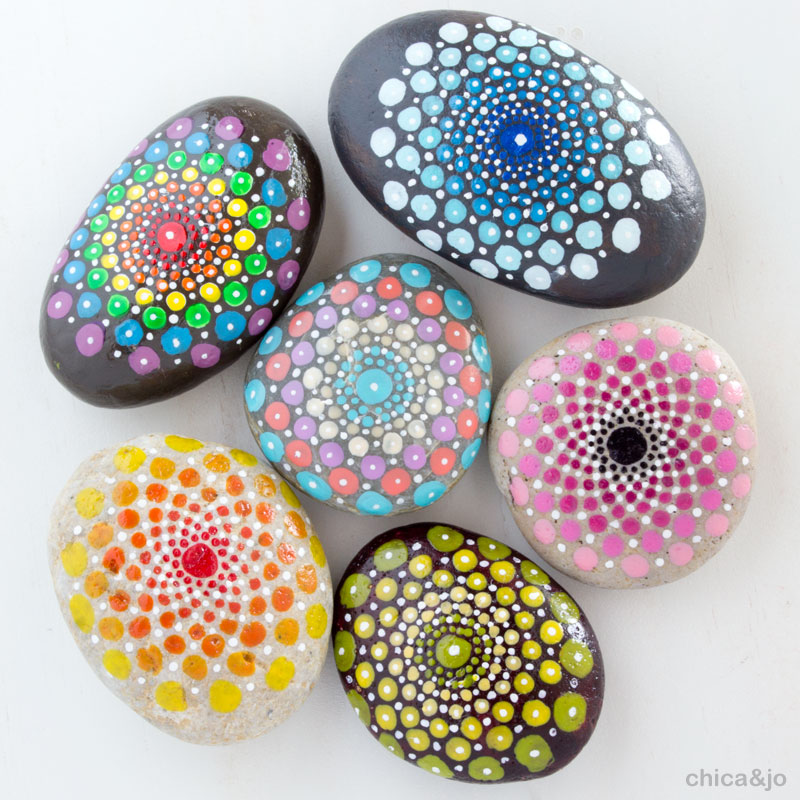
The finished starburst pattern
Once your rock is covered, step back and behold the pattern you created! You can get many different designs with this same technique, just based on color selection. Experiment with starting dark in the center and working out to light, or the reverse. Choose a rainbow of colors or completely different coordinating shades for a totally different look.
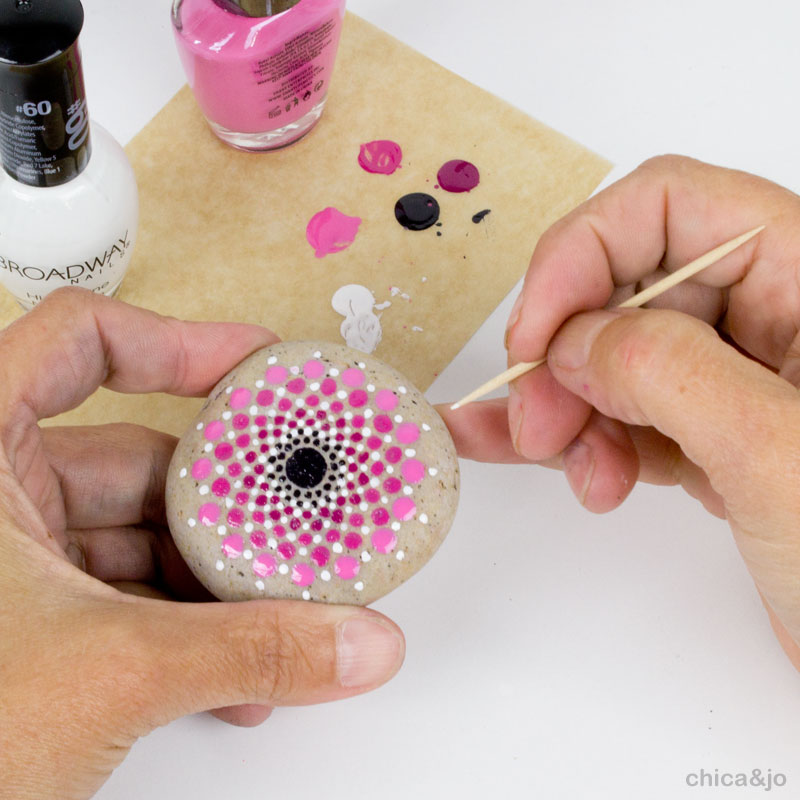
OPTIONAL: Add extra white dots
Depending on your color selection and preference, you may wish to add more white decorative white dots to the design... some patterns stand out better with the dots, some without! Just use a toothpick to add a small white dot to the center of the larger colored dots, giving them more dimension.

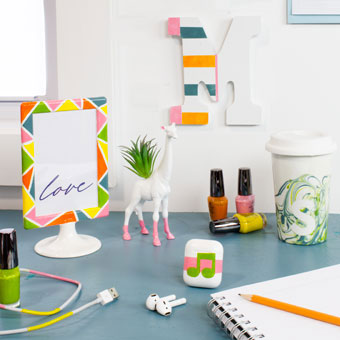
Chica and Jo Craft With Nail Polish
Want more nail polish crafting ideas? Check out our NEW BOOK available on Amazon for 20+ step-by-step projects that use nail polish to create customized items with unique flair.
Our instructions and photos will walk you through easy DIY projects for using nail polish to add colorful flair to glasses, mugs, jewelry, decor, planters, and more. Learn techniques like marbling, paint pouring, masking and stenciling. Order your copy today!


similar projects
How to Craft with Nail Polish
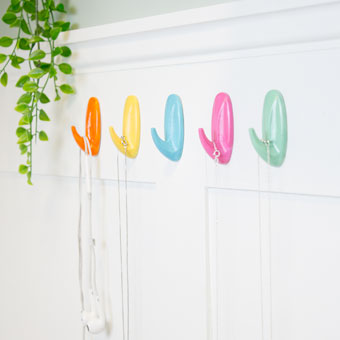
Create Custom Colors of Command Hooks with Nail Polish
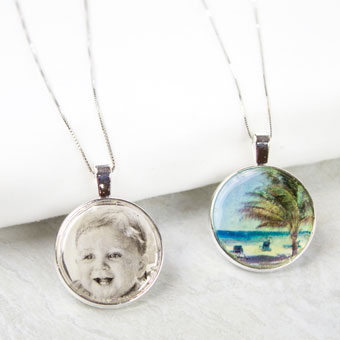
Faux Resin Pendants Made with Clear Nail Polish


7 comments so far:
I love this tutorial! Your painted rocks are so pretty! I will definitely be trying this out! Thanks for sharing!
Lauren, we'd love to see what you create! Tag us @chicaandjo if you share online.
I love these rocks! I’m planning to try these myself today. I bought the book at Ollie’s store and my husband came across it and donated it!! I'm glad to see you online with some of the ideas from your book. I hope you ladies have a great day crafting as I will. :-)
Joanne, thank you for buying our our book, and we're glad to hear we inspired you to create some fun nail polish projects. We'd love to see what you create, so please tag us @chicaandjo if you share pics on social media!
I was about to throw out a bunch of old nail polish and something told me to see if I could paint rocks with it! Glad I found this during my search. Your mandala's are gorgeous and your tutorial is fantastic and followable, even for someone who only reads the photos part of the time!
Cecilia, we're so glad you found us and found a new way to use that old nail polish. If you share your creations online, be sure to tag us @chicaandjo so we can see how they came out!
Your work is SO FUN!