


How to Marble with Nail Polish

Marbling, also known as hydro-dipping, can provide amazing marbled and watercolor effects with minimal effort. When you marble with nail polish, you have an endless array of colors to choose from, and nail polish is super durable and sticks to just about anything!
Nail polish marbling is a perfect way to add a splash of color to an ordinary white item, and works especially well on non-porous surfaces like porcelain and plastic. To give you the best chance of success, be sure to check out our nail polish marbling tips section at the end of this post before you get started.
Nail polish marbling supplies
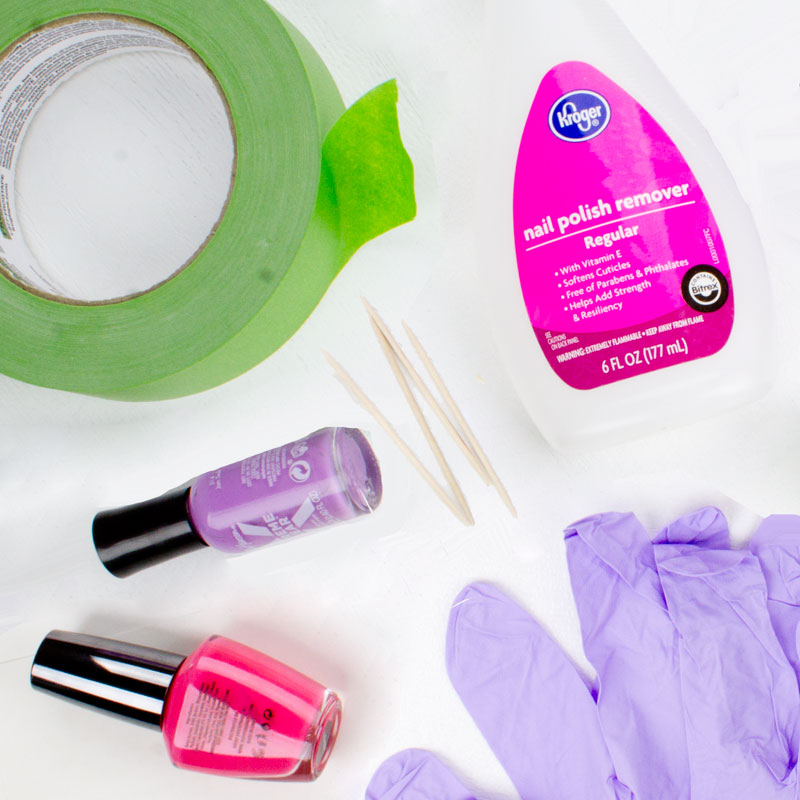
To marble with nail polish, the main things you need nail polish, of course, and a large, disposable container that's deep enough to have room to submerge the objects you want to marble.
You should also grab some toothpicks for swirling the polish in the water. Optionally, you may want to get some acetone (for cleaning up messes), masking tape (for masking off areas you don't want to marble), and disposable gloves (to keep your hands clean).
Basic nail polish marbling technique
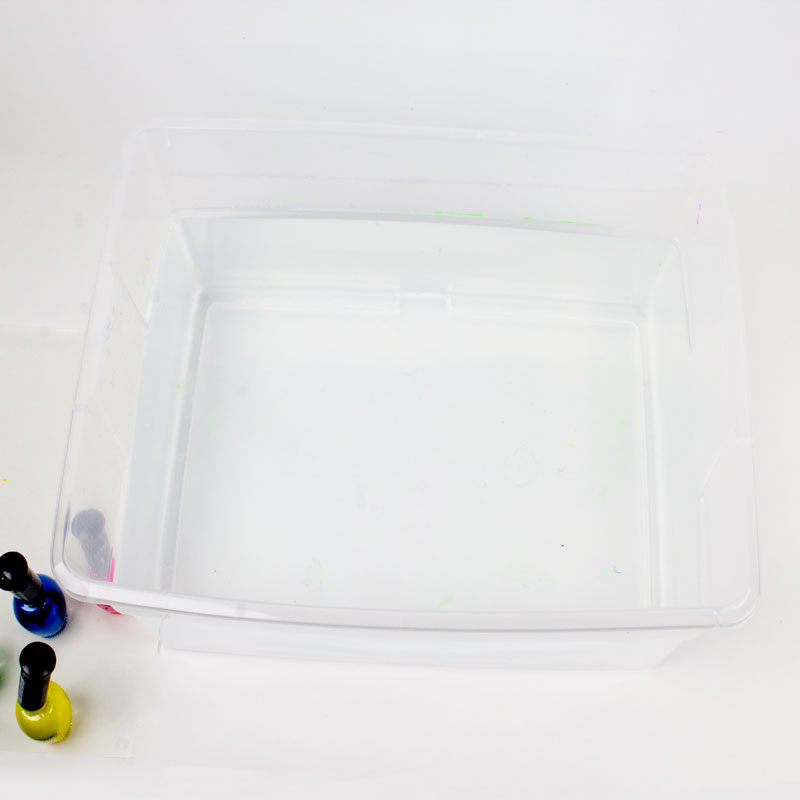
Fill a large, deep container with fresh, cold water and get all of your polish bottles open and ready to go. Nail polish dries quickly, so it's very important to have everything set up so you can work quickly.
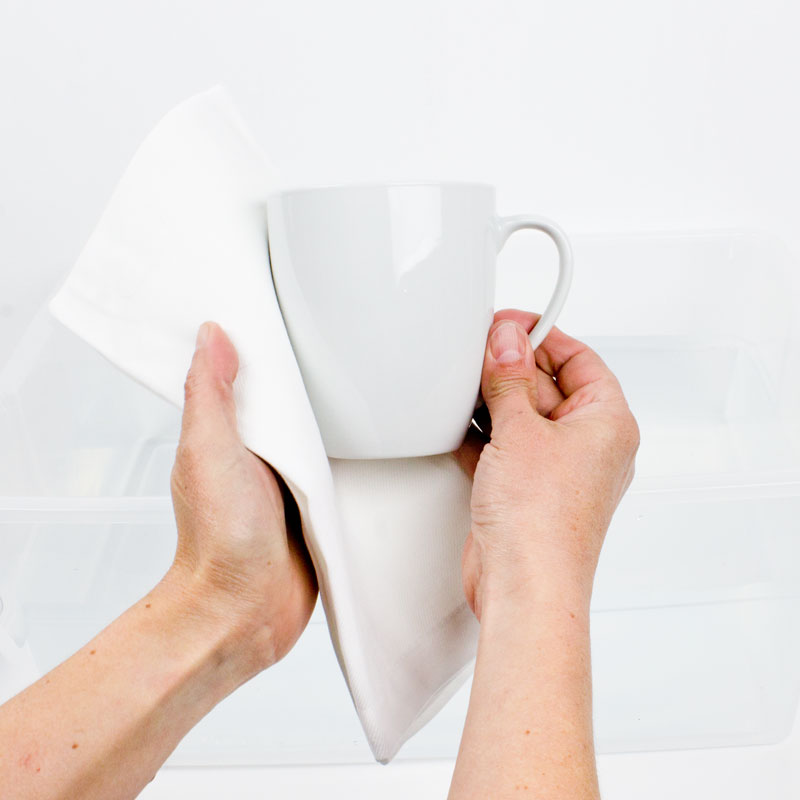
Clean the mug or other item you want to marble well, and dry it thoroughly.
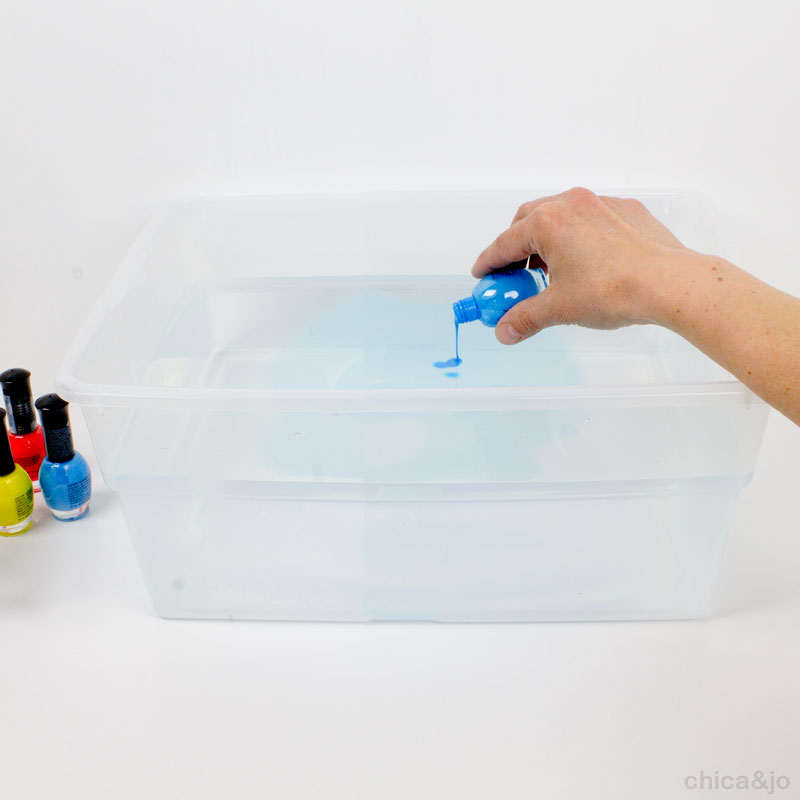
Working quickly, drizzle one or more colors of nail polish close to the surface of the water. Optionally use a toothpick to pull your color into a marbled design.
Dip your item straight into the color, aiming for the parts of the design you like best. Be sure to avoid getting polish onto areas that may come in contact with your mouth.
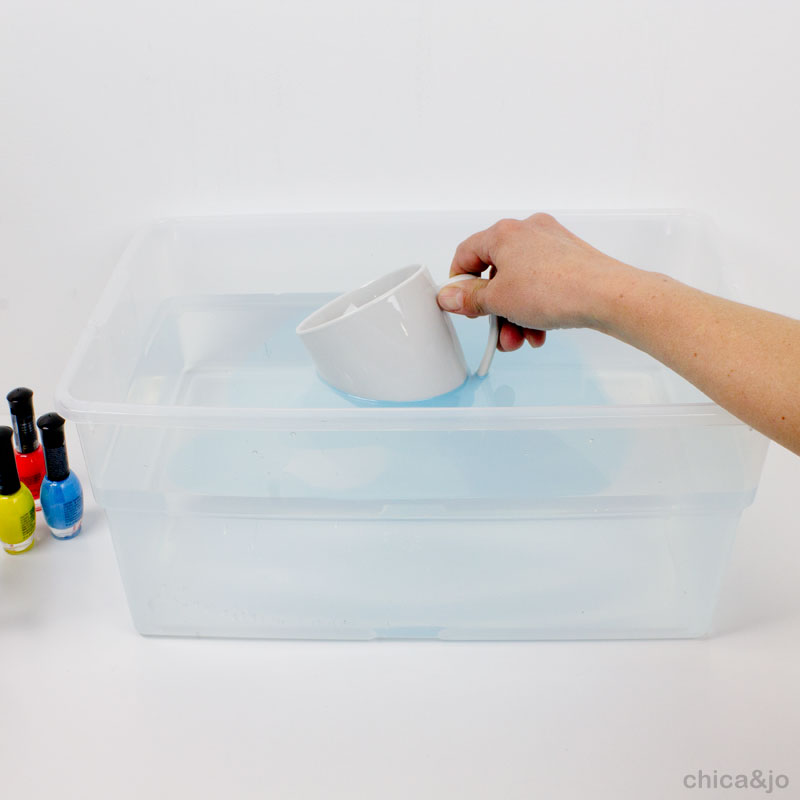
Hold the item in place under water for 2-3 seconds to allow the polish to adhere. Move it underwater to an area where there is no polish floating on top, then lift it out of the water.

Leave upside down on parchment paper or wax paper until dry.
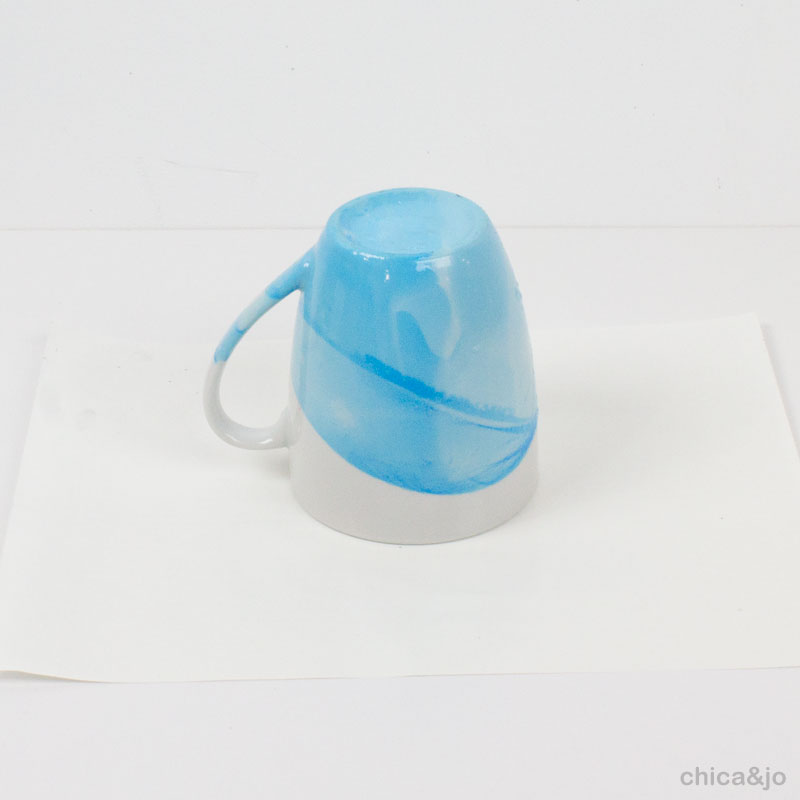
The result will be soft, wispy swirls of color that give a dreamy look to your mug or other item.
Advanced nail polish marbling — using multiple colors
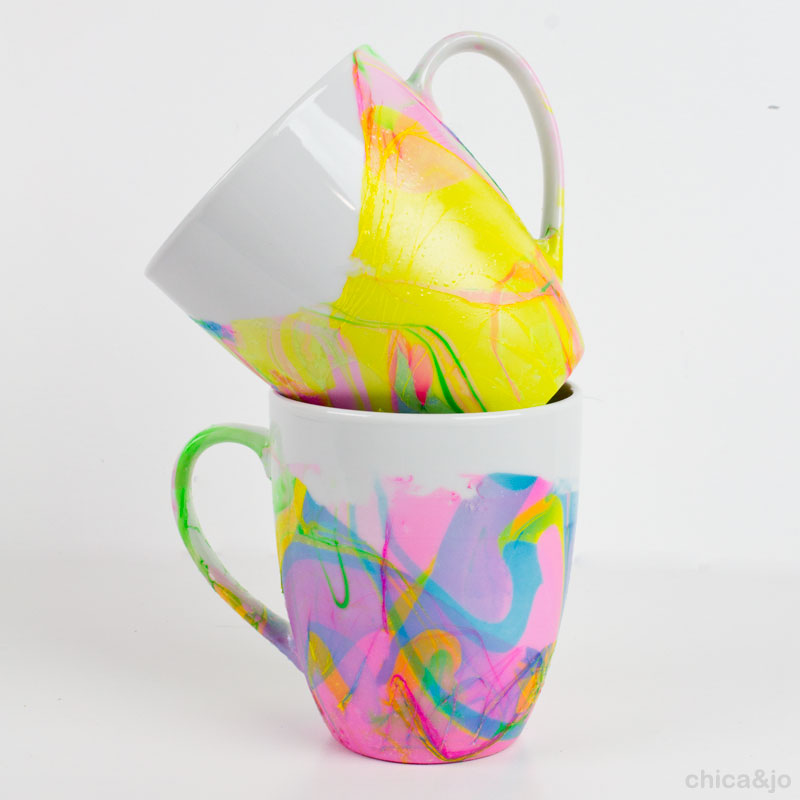
If you're after a super colorful marbled effect, you may want to try using multiple nail polish colors on a single item. No problem! Just pour your colors one after the other onto the surface of the water.
Use a toothpick to swirl the colors together, but remember to work quickly so it doesn't dry before you get a chance to swirl it.

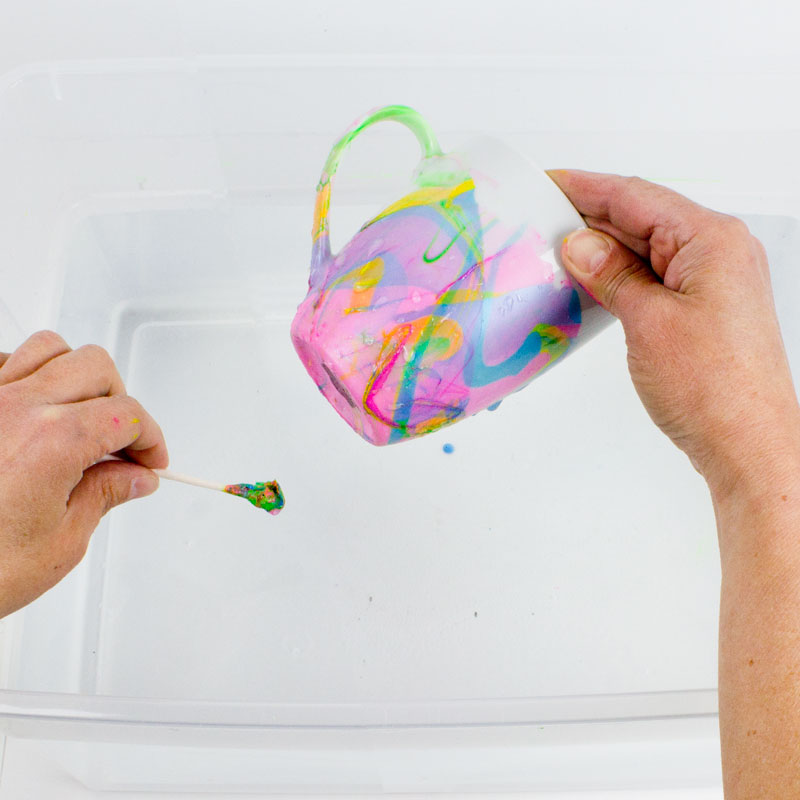
Dip your mug or other item into the swirl and hold it underwater while you use a cotton swab or craft stick to remove the excess color from the surface.
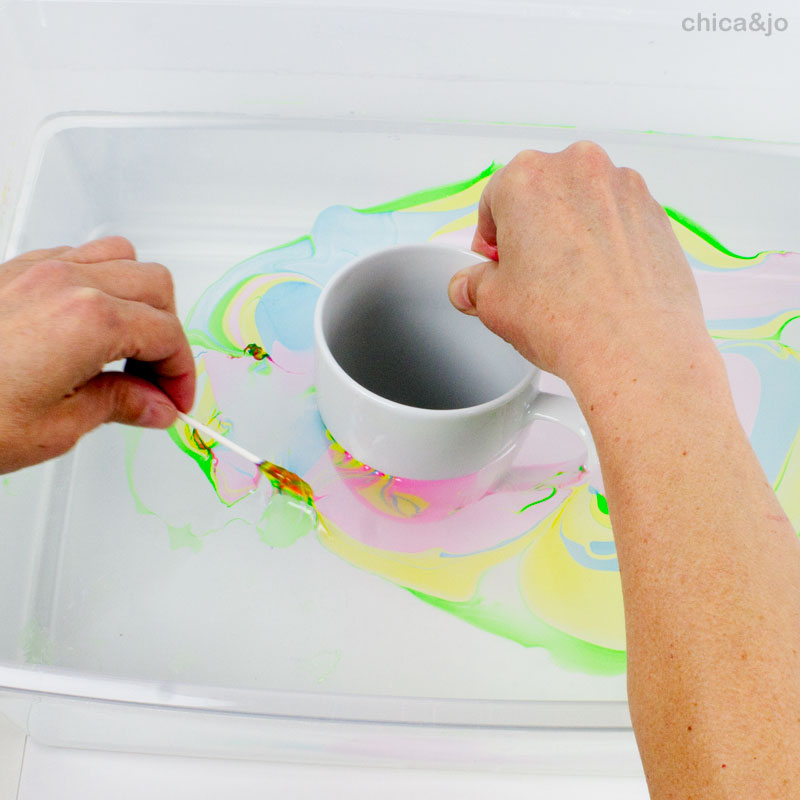
Then pull the item out, revealing a clean design with no double-dipping from that excess polish you removed.
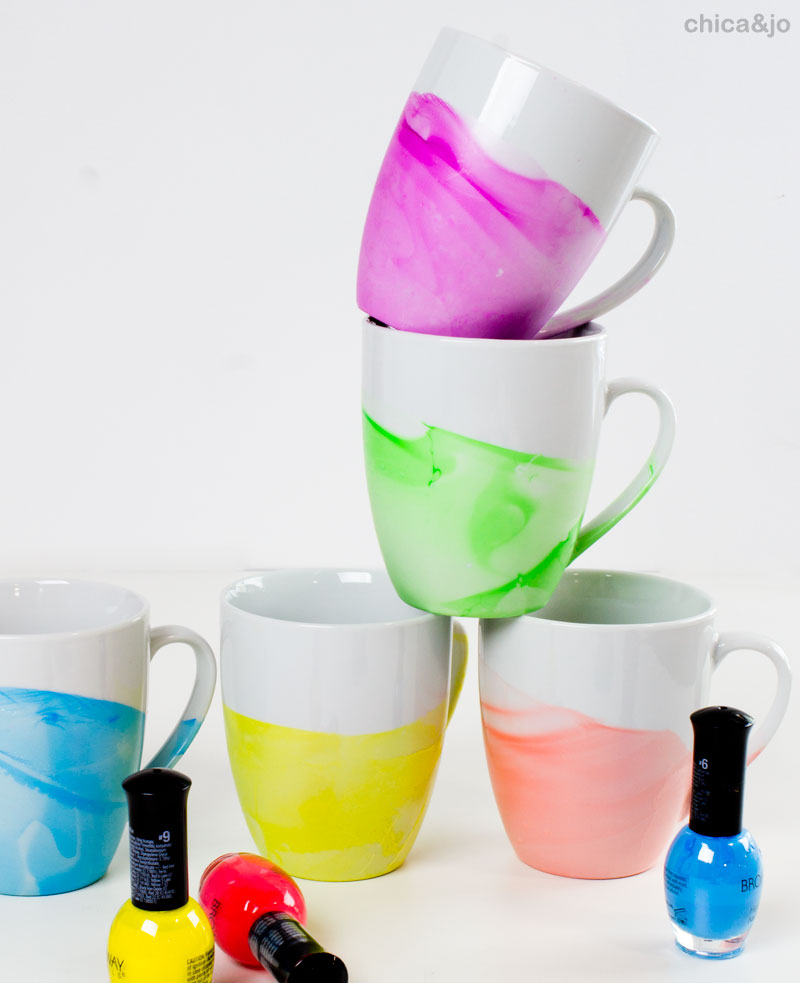
By using multiple colors — and even overlapping them on multiple dips — you can achieve amazing results!
Advanced nail polish marbling — achieving crisp, separated swirls
Most marbling attempts will result in soft, wispy lines, but if you're after crisp, separated streaks of color, the normal marbling technique just won't do.
We have developed an exclusive technique for creating crisp, separately swirls on nail polish marbling! Just look at these amazing results.
You can find our exclusive tip in our new book, Chica and Jo Craft With Nail Polish, available now on Amazon.
Nail polish marbling tips
As free and easy as the results make it look, nail polish marbling can be a very particular craft to master. Don't get discouraged if your piece doesn't come out the way you envisioned. Just clean it off with some nail polish remover and start again!
To help you master nail polish marbling, be sure to read our list of tips carefully, and take advantage of the lessons we learned the hard way.
- Make sure the pieces you dip are clean and completely dry.
- Use fresh water with each dip or take care to remove all excess film before dipping again. New polish will not disperse across the surface of the water if there is already a film left behind.
- The polish will set up very quickly, so have all supplies ready to go before you start, including removing the caps from all of your polish bottles.
- Always use cold water for your marbling. The warmer your water is, the faster your polish will dry and form a skin, making it impossible to swirl or blend colors. Cold water will extend your working time and allow for more control.
- Not all polish brands and colors work well for marbling. Test on white plastic cups or white card stock before dipping your finished piece.
- Be sure there aren't any fans blowing directly onto your water, or else the skin will form too quickly.
- To help colors disperse across the surface quickly, gently tap the sides of your water container.
- Keep polish away from any edges of cups or mugs that your mouth might come in contact with during use.
- Use masking tape to protect any areas you don't want to receive color.
- To protect the design on home decor items, seal the finished piece with a coat of clear polish or other clear sealer. For best results, hand-wash only.
- Colors often look different in the bottle than they do on a marbled piece. Before committing to adding color to your piece, test each polish color on a white plastic spoon to be sure you like it.
- Don't use quick-dry polish, as it will form a film too quickly.
Chica and Jo Craft With Nail Polish
Want more nail polish crafting ideas? Check out our NEW BOOK available on Amazon for 20+ step-by-step projects that use nail polish to create customized items with unique flair.
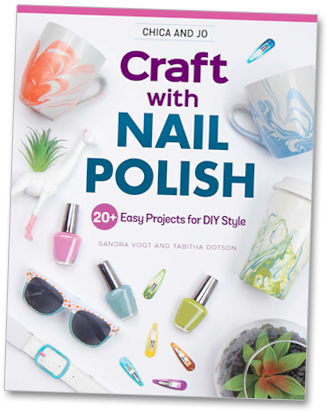
Our instructions and photos will walk you through easy DIY projects for using nail polish to add colorful flair to glasses, mugs, jewelry, decor, planters, and more. Learn techniques like marbling, paint pouring, masking and stenciling. Order your copy today!

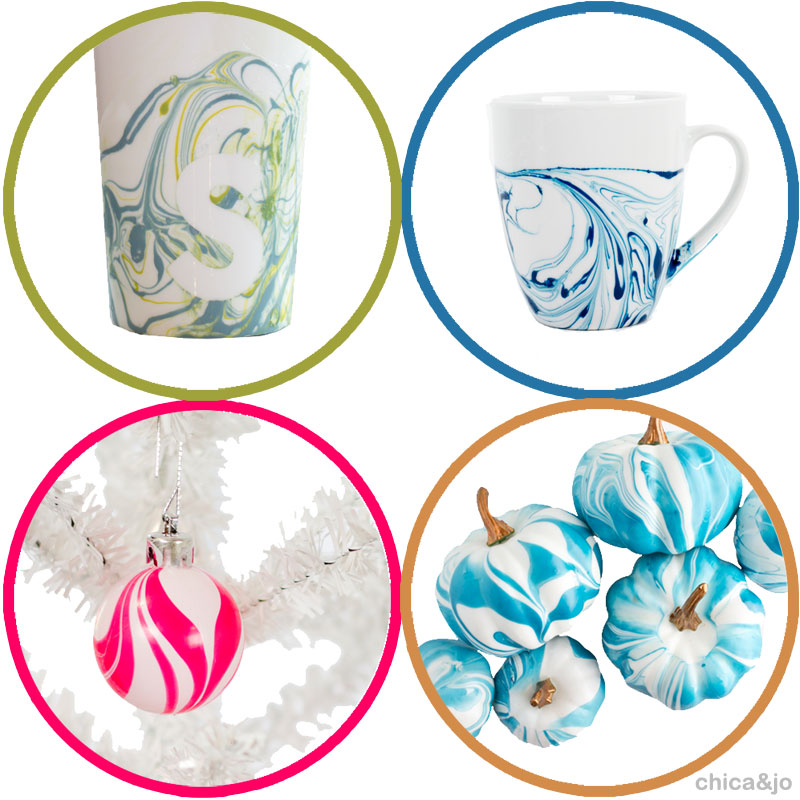
similar projects
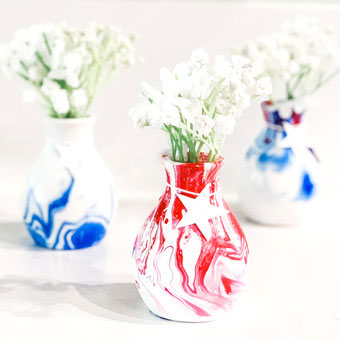
Fourth of July Marbled Vases Made with Nail Polish
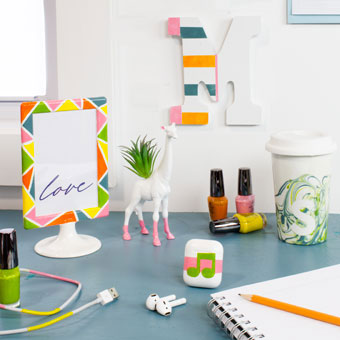
How to Craft with Nail Polish
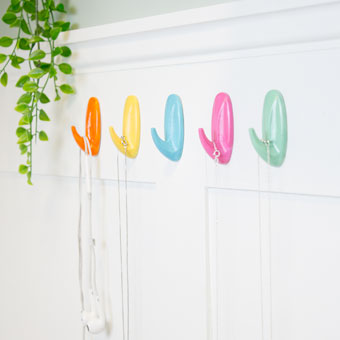
Create Custom Colors of Command Hooks with Nail Polish


8 comments so far:
I have been hydro dipping for awhile now, but recently some of my items have been feeling sticky even though it has been weeks since they dried. Could it be from moisture in the air?
Pamela, it sounds like whatever paint you're using just isn't setting up and curing properly. Moisture could certainly impact that. Try putting it in a warm, dry area and see if it sets. If not, you might need to seal it with a clear coating.
This is a great step by step thanks! I've been trying and I keep getting alot of blobs. It isn't coming out smooth and flat like yours. Any tips please :)
Jude, you might need to try a different brand or color of nail polish. Some of them are too thick to drizzle easily, and will create blobs on the surface. Look for one a thinner one that pours easily, and it should work better for you!
Fantastic Instructions! Thank you for being so through. How long would you say these colors actually stayed on your mugs?
Sandy, I'm glad you liked our tutorial. With hand-washing only, the colors should stay on the mug for months or longer. If it ever starts to chip away, you can use acetone to wipe the remaining bits off and start all over with a fresh marble dip :)
Hello! After reading your article where you said to use fresh water with each dip, I couldn’t find anywhere it talked about cleanup. How do you dispose of the "polish water"?
Deanna, that's a good question! Since the polish floats, you can skim any remaining off the surface of the water with a paper towel, then dump the water. If any polish remains on the sides of your container, you can remove it with acetone.