


How to Make Butter

Making butter at home is really easy and produces a delicious, quality butter that you'll love to eat — and all you need is cream and salt. Knowing how to make your own butter at home can also come in handy with the predicted butter shortage over the holidays this year.
Making butter is also a fun learning activity for the classroom or a way to occupy your kids on a rainy day. It's even a fun recipe for adults, and a great way to use up leftover cream that's about to go bad. And it's super easy to make real butter at home in only about five minutes.
What you need to make your own butter at home
The only ingredients you need to make butter at home is a heavy whipping cream and a pinch of salt. For equipment, you need either a jar with a tight-fitting lid (or a mixer if you're making a lot), and a bowl.
Making single-serve portions of butter
Start by pouring heavy whipping cream into a clean jar with a tight-fitting lid. Make sure you don't fill the jar more than 1/3 full, to leave plenty of room for shaking. If you're making butter with a classroom full of kids, baby food jars are an inexpensive way to give each child their own jar to make one serving of butter to enjoy.

The temperature of the cream needs to be between 50-60 degrees F in order to churn, so let it sit on the counter a bit to warm up. Do not try to make butter from cold cream, or else you'll be wasting your time (and muscles) shaking forever until it warms up enough to actually churn. Test with a thermometer to be sure you're in the right range.
Then just shake the jar vigorously back and forth.
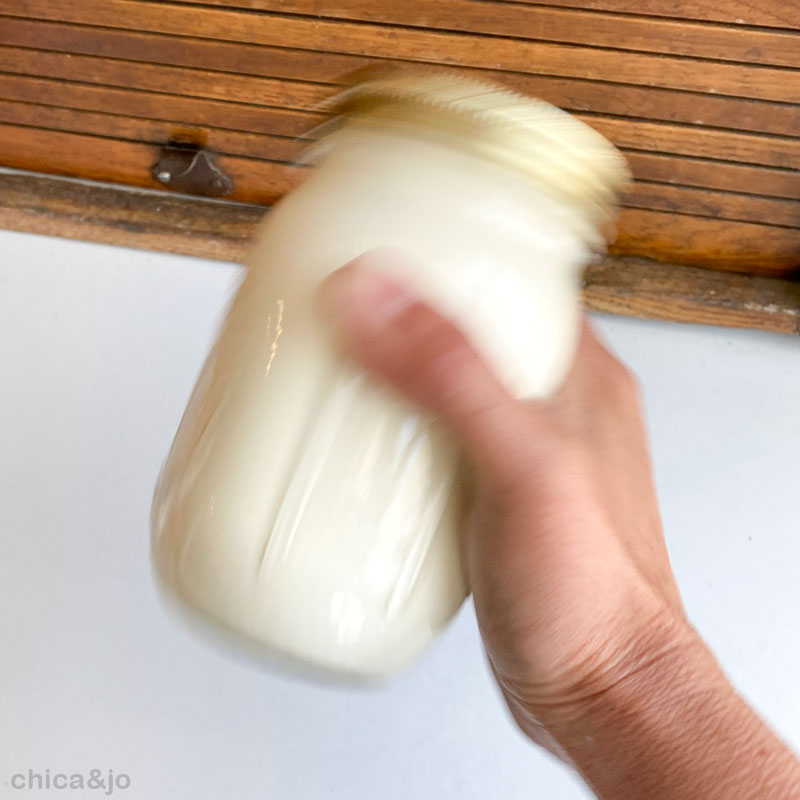
As you shake, you'll notice the cream go through several distinct stages. Feel free to open the jar and take a peak whenever you notice a new texture. It will be fascinating to the kids and will give their arms a break from shaking, too.
The first change you'll see is that the cream gets thick and smooth. It will coat the sides of the jar completely and won't feel like it's moving very much inside. At this point you have whipped cream. (You could actually stop here and add a little powdered sugar and eat it on dessert, but we're going to keep going... we're making butter today.)
Keep on shaking the cream, and you'll see it start to firm up and get quite lumpy and thick. It will start to take on a consistency like ricotta cheese...
... and then like cottage cheese. It will get lumpier and chunkier as you keep shaking.
Then all of a sudden — and I mean within just a few shakes — you'll hear splashing when you shake. The fat in the cream will lump together into a ball of almost-butter and the leftover milk will start separating out. The transformation happens in just a few seconds and is really neat to experience.
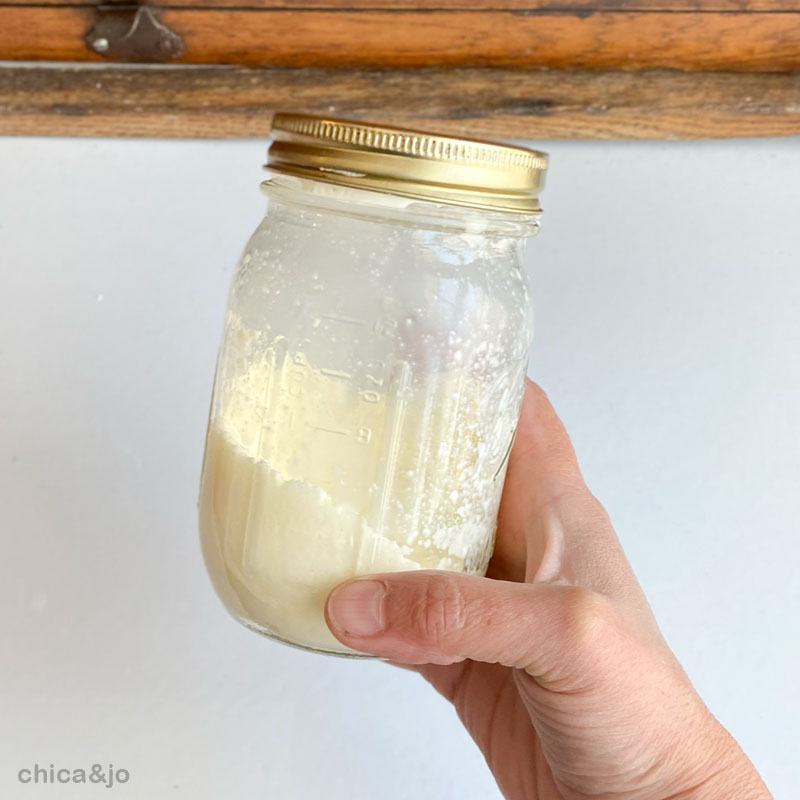
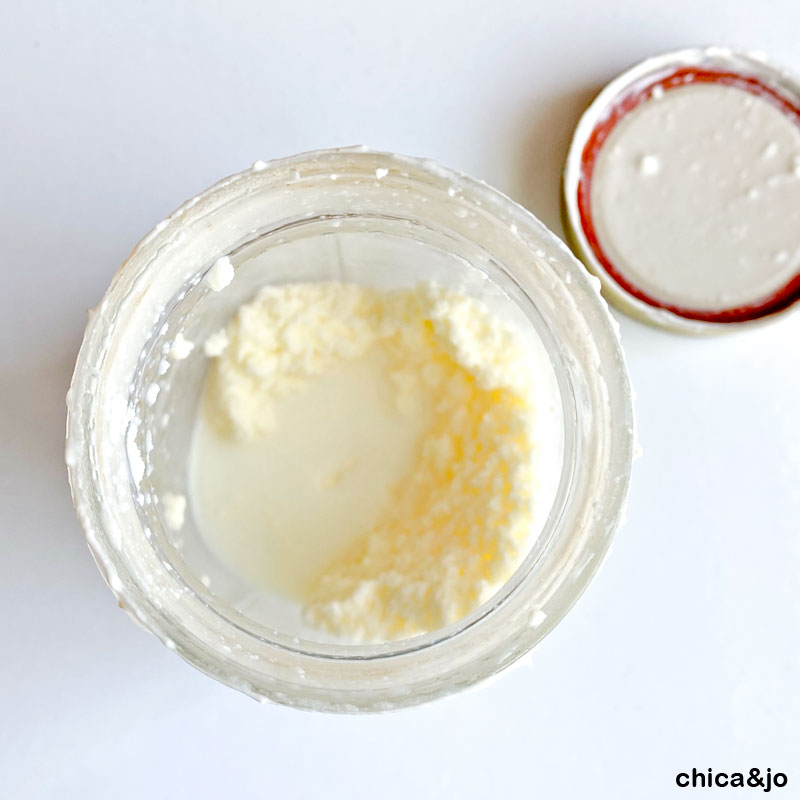
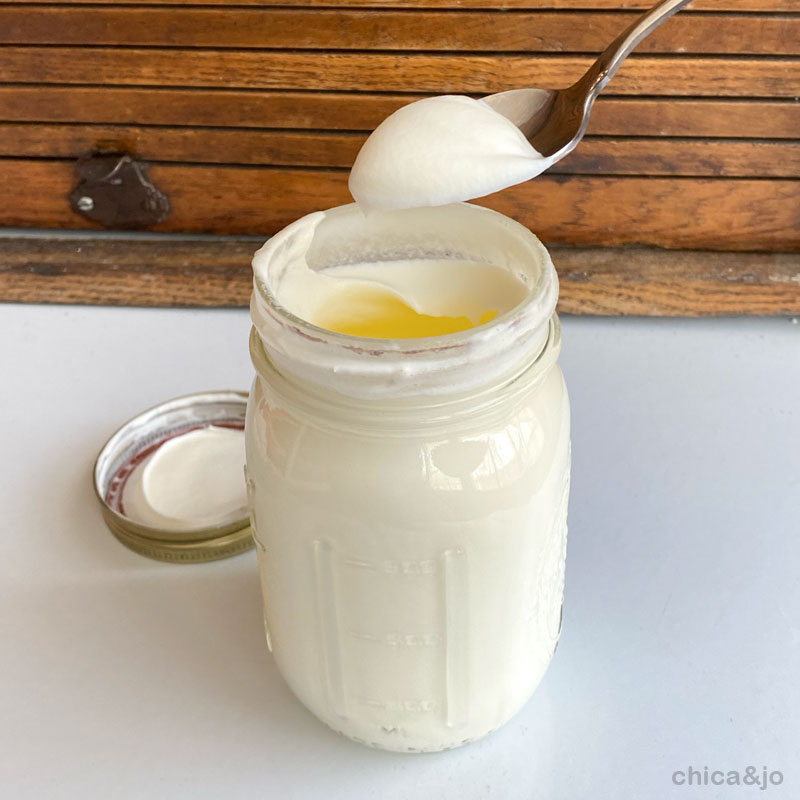
Keep shaking for a minute or so to be sure you've got all the butter formed, and then dump it into a bowl and see what you've got. Look at that. What was once cream is now butter and milk!
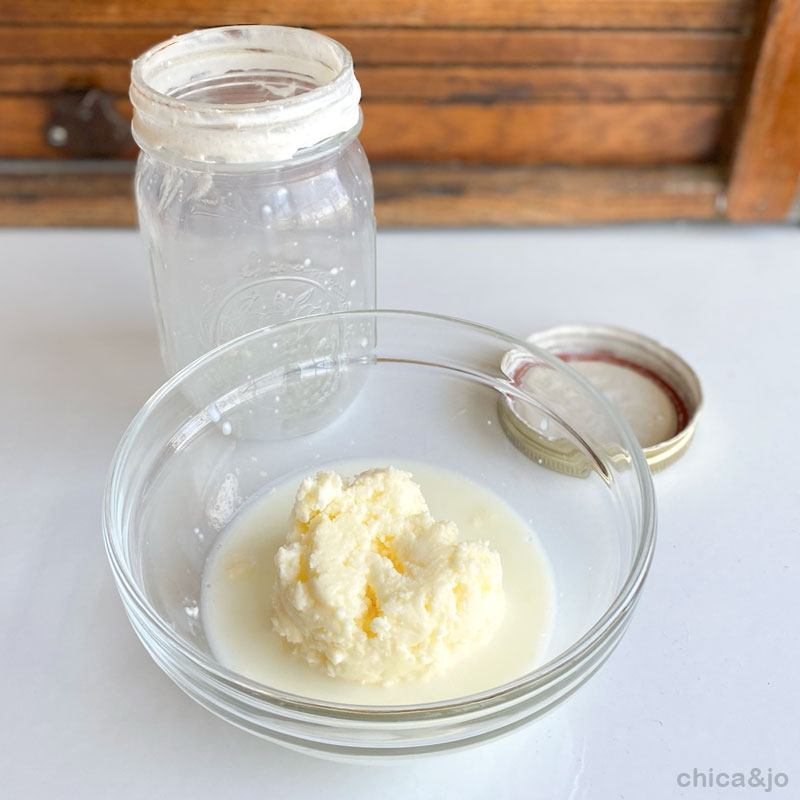
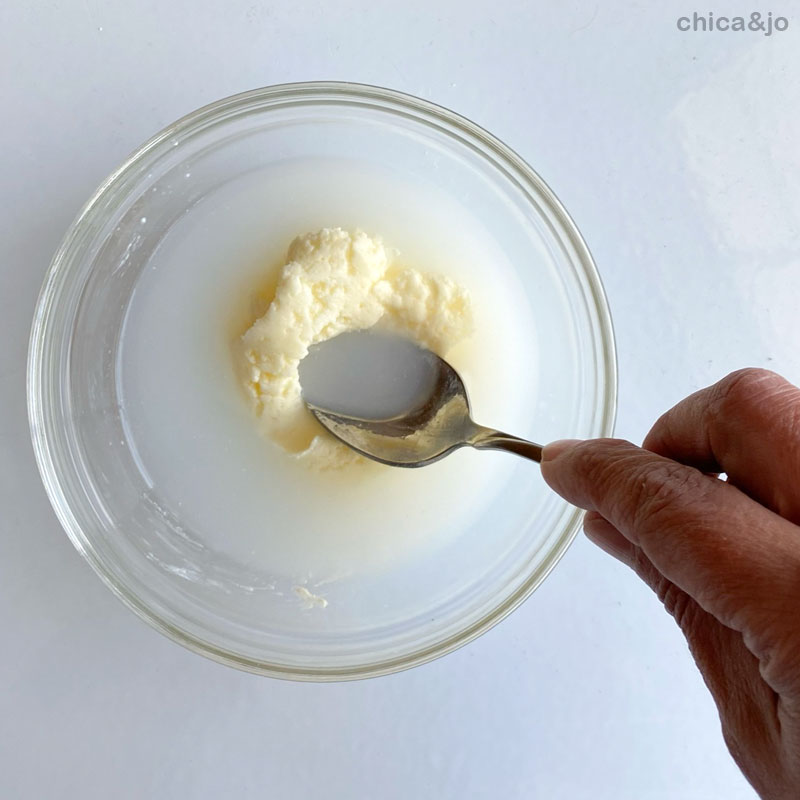
Pour the excess milk out, then take a spoon and press on the butter to release as much of the trapped milk as possible.
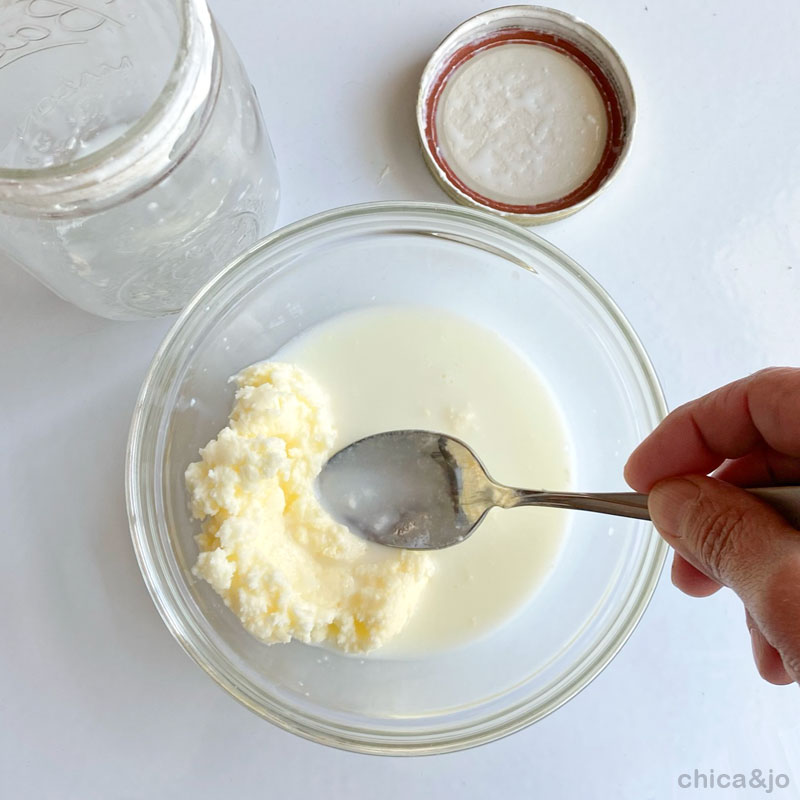
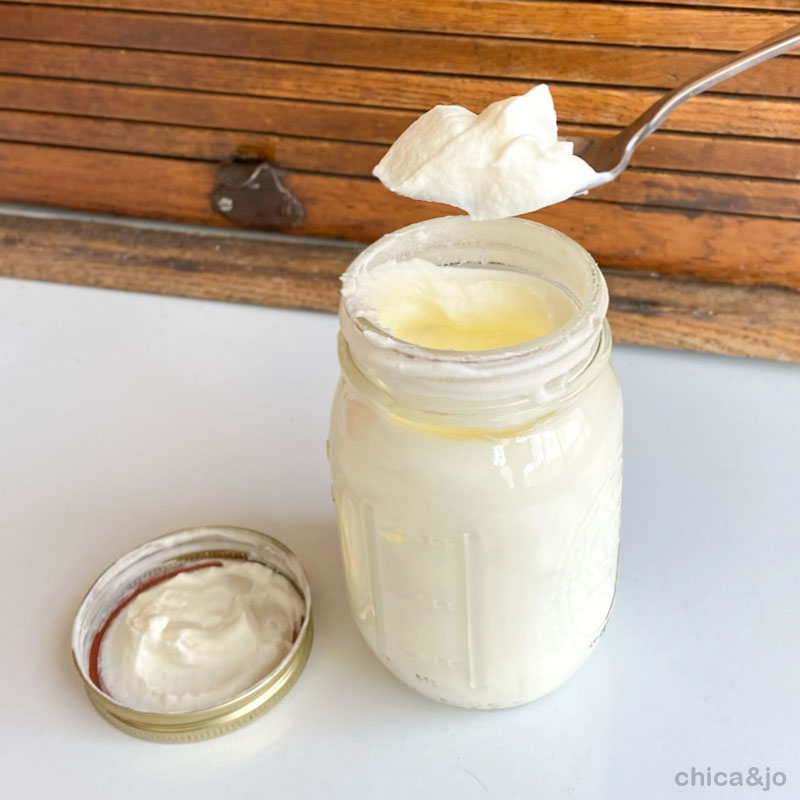
Continue to drain any milk away as you work the butter. Add cold water and continue to press the butter with a spoon to further rinse the milk away. This will help your butter stay fresher longer.
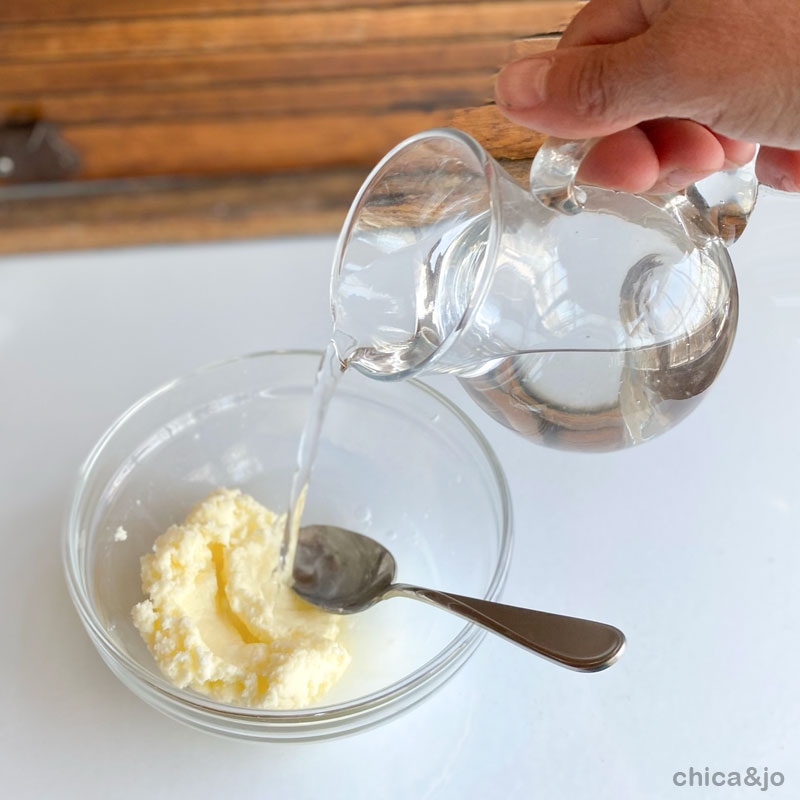
Continue rinsing and draining the butter until the water runs clear, and drain it well.
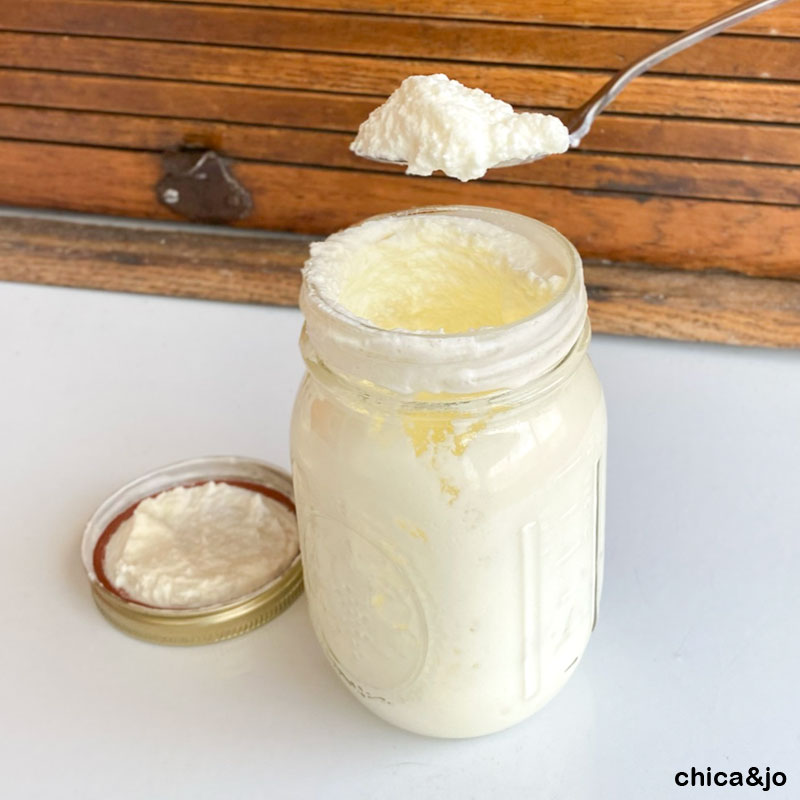
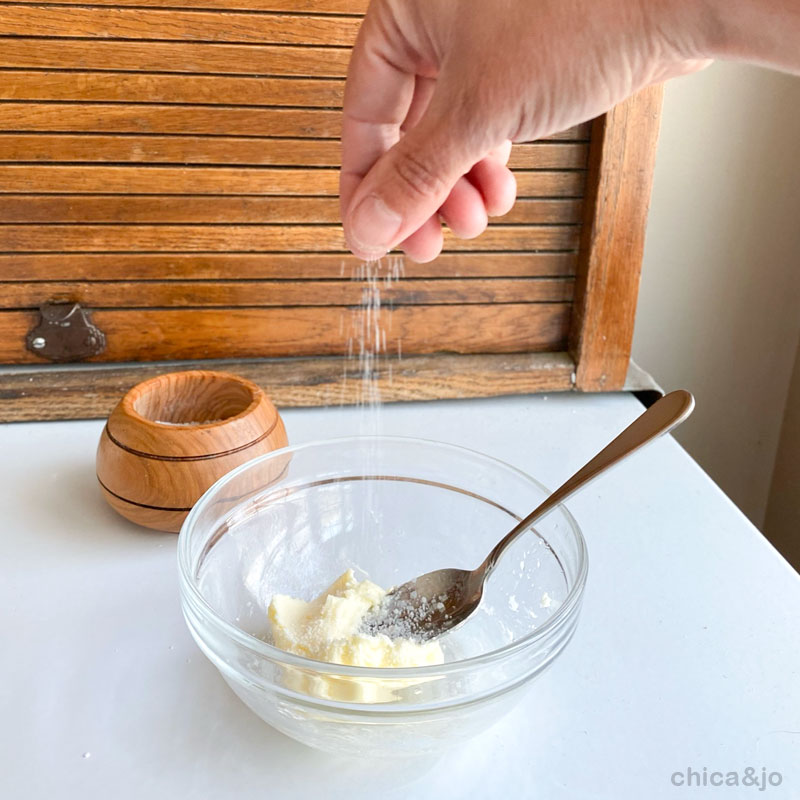
Then add a pinch or two of salt to perk up the flavor of the butter, and stir it well.
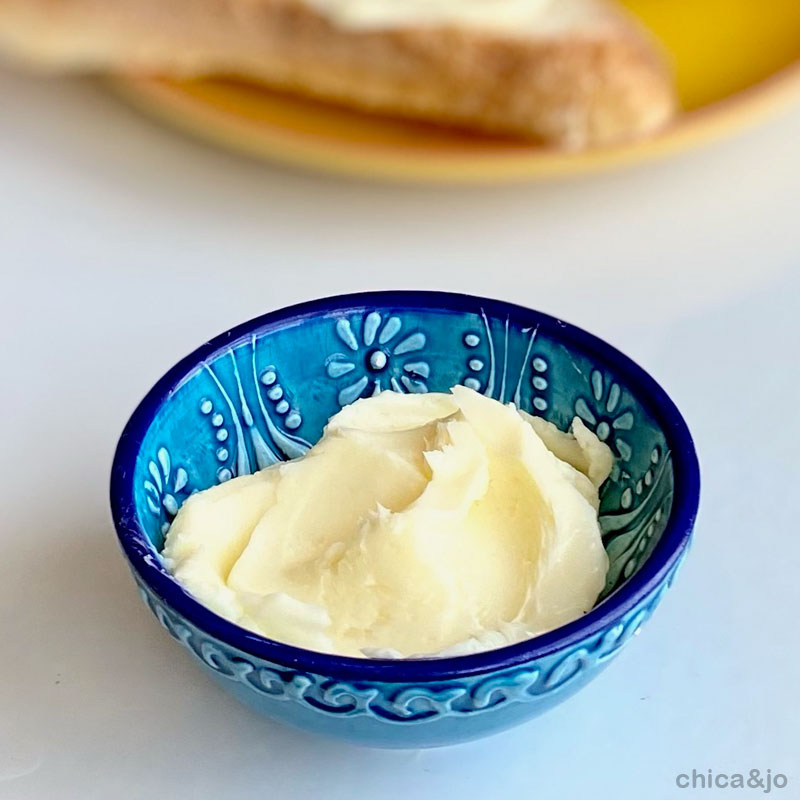
Your butter is ready to eat! One quarter cup of cream will yield about a tablespoon of butter.
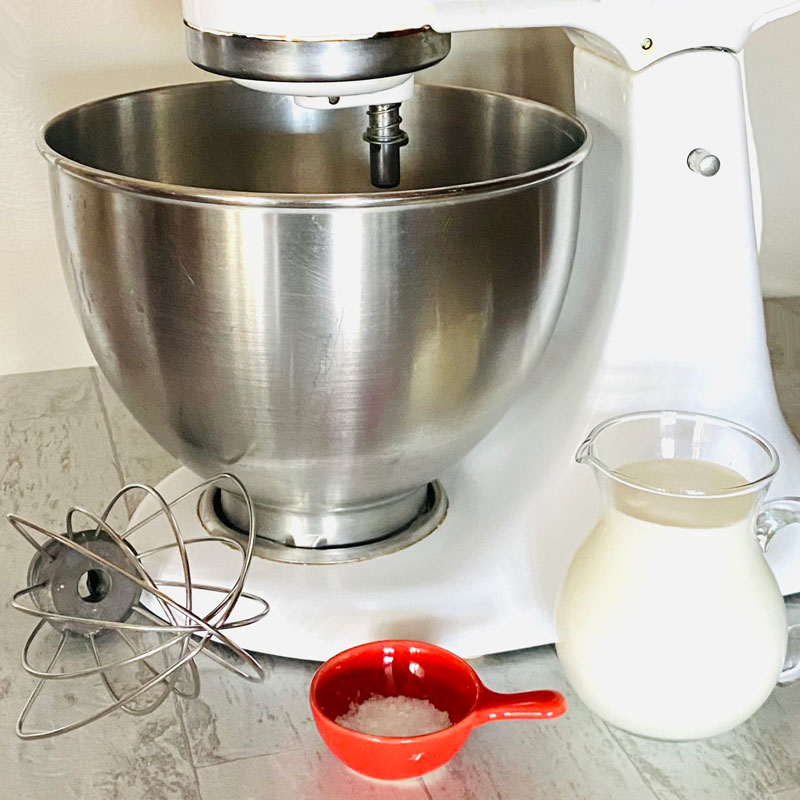
Making large batches of homemade butter
Making butter in larger quantities — without having to shake your arm for hours — is easy to do with the aid of a stand mixer. Just put the cream into the mixer bowl and beat it with the whisk attachment.
The cream will go through all the same stages described above with small-batch butter making, but it will happen faster because of the power of the mixer. Anyone who has ever accidentally over-whipped cream in a mixer knows exactly what I'm talking about!
Why make your own butter?
There are so many fun and frugal reasons to make your own butter at home:
- It's a fun learning activity for kids in the classroom or at home on a rainy day.
- It's an unexpected pre-dinner activity for the family before a big Thanksgiving dinner, when everyone can make their own butter to eat with their meal.
- It's a great way to use up extra cream that's about to go bad.
- Those with dietary restrictions about salt can make their own butter for true quality control.
- It can save you a trip to the store if you're out of butter but have cream on hand.
- It can level-up your butter boards with a gourmet touch.
- What a way to impress a date when you cook dinner and offer your homemade butter!
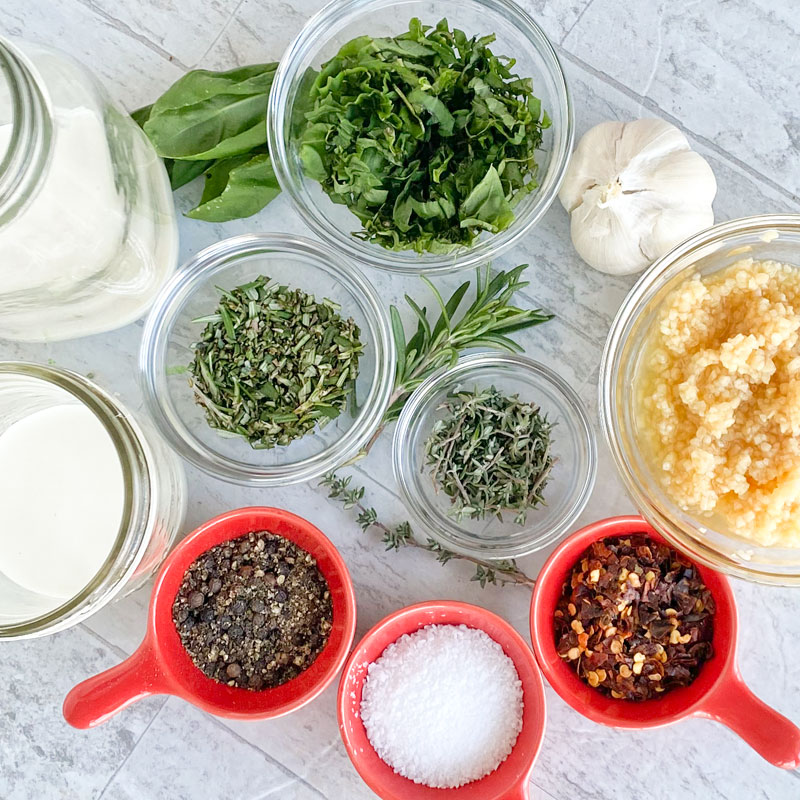
Set up a Butter Bar at your next dinner party
Imagine this... you've got a bunch of family and friends over for a big Thanksgiving or Christmas meal or you're hosting a big dinner party. You need an ice breaker activity for people while they wait for the food to be served. Why not let them make their own flavored butters to eat with dinner?
Just set up a table with jars of cream, little bowls to put the finished butter in, and lots of tasty herbs and flavorings to mix in. Your butter bar will be such a hit as each guest creates their own tasty herbed butter concoction to enjoy with their meal.
Homemade Butter

It's so easy and fun to make your own butter at home, and it only takes two simple ingredients and a few minutes.
Ingredients
- 1/2 cup heavy whipping cream
- pinch of salt
Instructions
- Set cream out for about 10 minutes to warm it to about 50-60 degrees F. (Cold cream won't turn into butter)
- Pour cream into a jar with a tight-fitting lid.
- Shake the jar as needed while the cream goes from thin, to whipped, to curdled.
- As you shake, the cream will suddenly turn into a glob of butter in a splash of milk. Keep shaking until the butter is all in a big lump.
- Use a spoon to press the milk out of the butter and drain it.
- Keep rinsing the butter with cool water and pressing with a spoon until the milk is washed away and the water runs clear.
- Add a pinch of salt and stir to incorporate.
- Serve as is for the freshest taste, or cover and refrigerate for later.
Notes
To make larger batches of butter, you can use a stand mixer with a whisk attachment instead of the jar, and increase the cream amount as needed.
Each 1/4 cup of cream will make approximately 1 tbsp of butter.
So the next time you have a little leftover cream and don't know what to do with it, try making butter. We think you'll really enjoy spreading your fresh butter on a piece of warm break and savoring the flavor and the fact that you made it yourself.
similar projects
The Newest Butter Board Trend - Individual Butter Bowls
10 Best Butter Board Ideas (and How to Make a Butter Board)
Homemade Peanut Butter Dog Biscuits


22 comments so far:
very cool. I've thrown away half-empty containers of cream several times, after using just a little bit for a recipe.
will this homemade butter keep in the fridge, or does it need to be used shortly after being made?
Hi Erin! Butter you buy in the store may have preservatives added to make it last longer. The salt you add to homemade butter will help preserve it a little, but I think a good rule of thumb is to follow whatever expiration date was on the original carton of cream.
Ooh and save the milk part too! It's buttermilk. Put it in your pancakes.
i had a little incident with my stick blender once that turned quite serendipitous - i was trying to make mocha flavored whipped cream, wasn't paying close enough attention and made mocha flavored butter.
was very fast. now instead of making butter in a jar [i used to add a marble to make it go faster] i just use my stick blender
grrlscout, thanks for the tip!
catastrophegirl, what a happy accident :) I like the idea of using a stick blender, and I imagine there are even more techniques for whipping the cream into butter. What I love about the baby food jars is that it's incredibly kid-friendly. You could easily fill a bunch of them and hand them out to the kids.
Mmm, mocha flavored butter...
My kids loved making the butter...and eating the butter and toast afterwards. Thanks!
That's great to hear, Leslie!
Love, love, love the site! Can't wait for a few free minutes to shake some butter with my kiddos! I remember doing butter churning with my grandmother...what a novel idea to shake some up in a jar!
Thanks Michele, and welcome! Please let us know how the butter-making goes :)
I absolutely love this! I remember having homemade butter on a field trip to a farm back in elementary school, and I never forgot the amazing creamy taste. I decided I'd make this yesterday, and it turned out wonderful! Even though I knew what the results would be, I was astounded to see it transform. Now I'm considering making variations like honey butter or butter with chives. Sadly, the cream is spoiled now so I'll have to go buy more and try this again! ♥ ♥ ♥
Hi Caroline. Isn't it wonderful when we remember memories like that? I'm glad you enjoyed making butter yesterday as much as you did as a child. And ooooh, honey butter is my favorite!
I had my class of 2 and 3 year olds do this one day. They LOVED it. I used a plastic bottle (no breaking) and it turned out perfect.
Heather, that sounds great! Thanks so much for sharing with us. The plastic bottle is a fantastic idea with such young kids -- smart thinking :)
Wow! that's amazing!!!
I went to school in the Caribbean and if they did cool stuff like this, I honestly don't remember. I remember finger painting, growing beans and avocado pits into plants, and stuff like that, but never anything as cool - and useful in the kitchen - as this! I can't wait to try this! Thank you!
GioDrakes, you should definitely try this out. It's a lot of fun and is a great way to make really fresh butter for a special meal :)
I was amazed at how quickly it went through the stages, I am doing it right now and beating it against the floor.
I make homemade milk kefir. I'm gonna go buy some cream and put my grains in it for a day to make it probiotic, and then make Kefir butter! Yay, this sounds like fun! and Easy! From now on,I will not let cream go bad in my fridge, I will make butter out of it!!!!
It is so good,I tried it and,it was so good
5/2011 I know this has been out quite a while, as I've seen it before but I notcie that you didn't rinse the butter with cold or ice water to get even more of the buttermilk out. It's not a big deal, but others have said that it wil stay fresh longer in the fridge if you do, true?
Vanessa, thanks so much for pointing this out. I actually have started rinsing my butter with cold water since I first wrote this tutorial years ago. I've just updated the instructions to add this step, AND I added a new tip I've learned about the importance of the cream being the right temperature. Hope that helps everybody!
Oh My gosh! Thank you so much for this terrific idea! My students had a blast making butter during Dr. Seuss week. It was such a great activity to go with "The Butter Battle Book"! Thank you again. Christen Reed 3rd Grade Teacher VES
Christen, we're so happy to hear that our project idea went over so well with the kids. What fun!