


DIY Custom Printed Silverware Bags

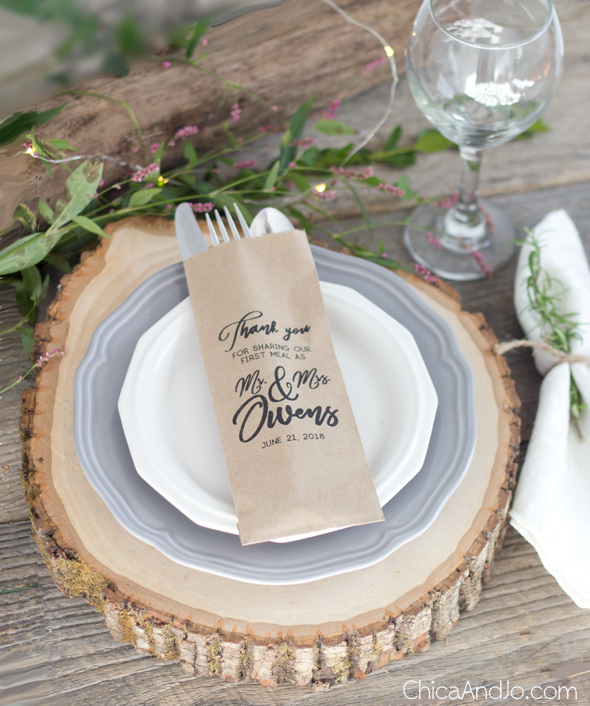
A charming addition to a rustic table setting is having each set of silverware tucked into a cute paper bag. And these bags can be even cuter if they are personalized!
Whether it's with your guests' individual names at a dinner party, the names of the bride and groom at a wedding reception, or the menu at any dinner event, personalized cutlery bags are an impressive touch, and something you can DIY at home, thanks to the tutorial I'm going to share today.
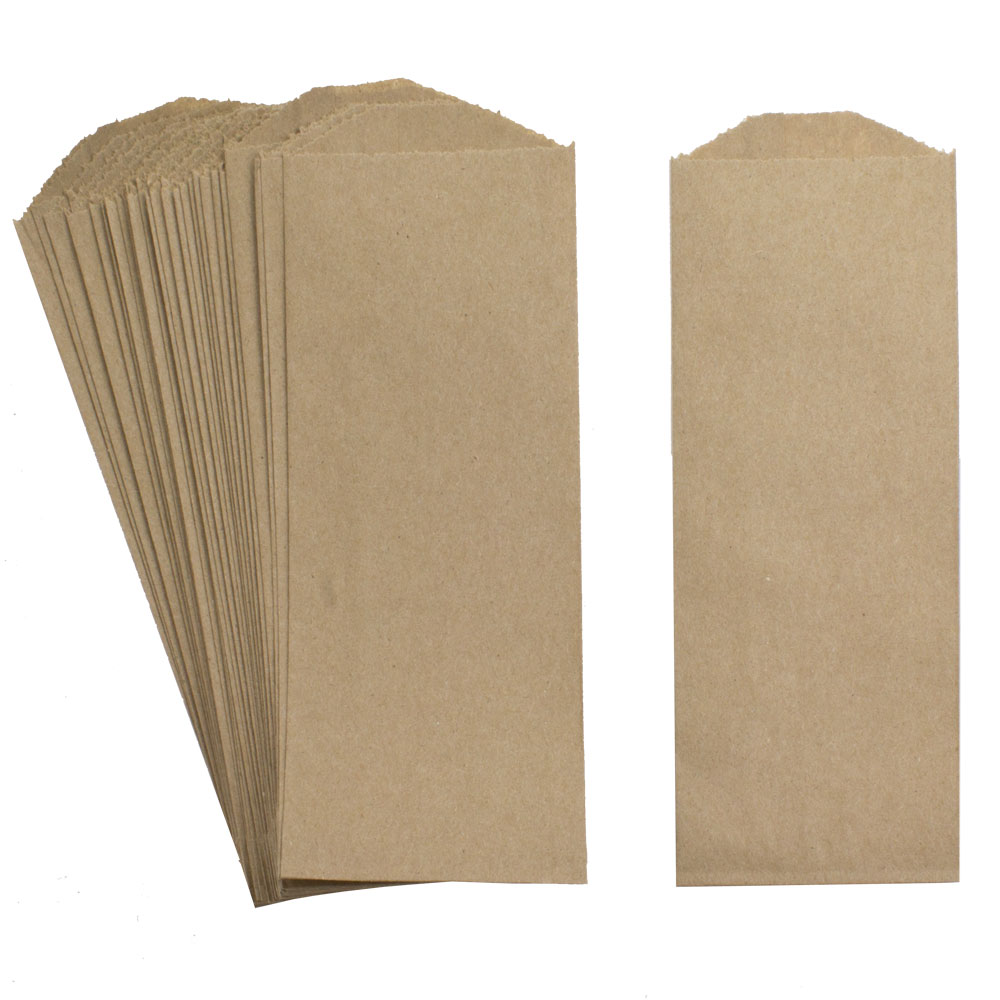
My technique starts with some of our very own kraft cutlery bags, which we designed to be the perfect size for holding silverware at place settings.
I created an editable .DOCX template that you can use to create your own custom bags. Just download my bag printing template, open it in Microsoft Word/Office, and customize according to the instructions below.
VIDEO: Custom Printing on Silverware Bags
Here's a video showing how to use our template to create personalized cutlery bags on your printer at home.
How to print on silverware bags at home
First, take note of how paper goes into your printer and how it comes back out, and which end of the paper gets pulled into the rollers first. You'll need to know this so you can print on your bags later without wrinkling them or getting them stuck in the printer.
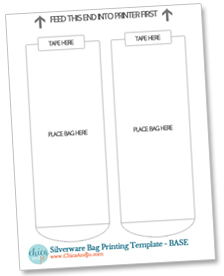
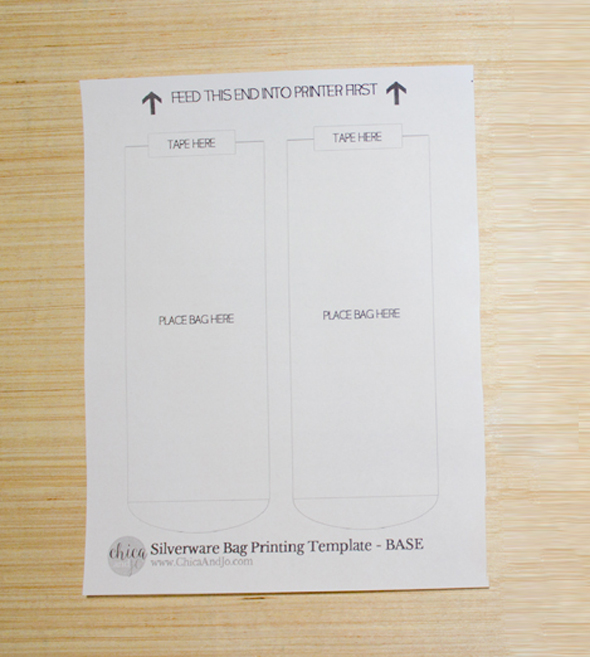
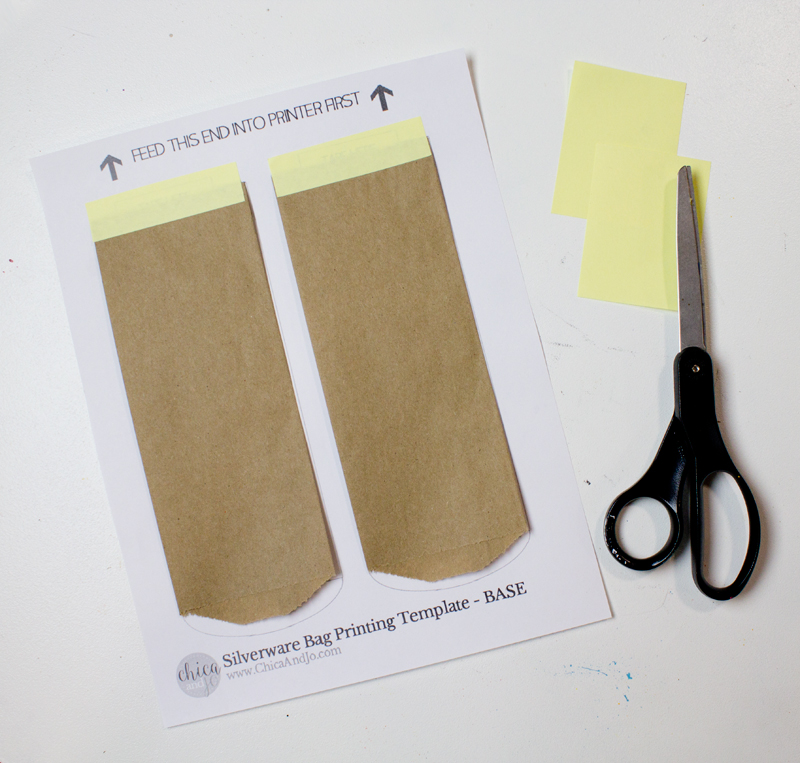
Then print the "BASE" page onto regular paper. This page is going to be the carrier sheet that will let your bags go through the printer with ease. You'll notice it has outlines of two bags, and indicators where you'll tape the bottom of the bag to the paper.
In the Word document, you'll see two OVERLAY pages, labeled #1 and #2, which will be used to print the design on the bags. OVERLAY #1 will print the design right side up, and #2 will print upside down. You'll need one or the other, depending on how your printer prints and how it feeds paper through the rollers. To figure out which you need, you'll have to test.
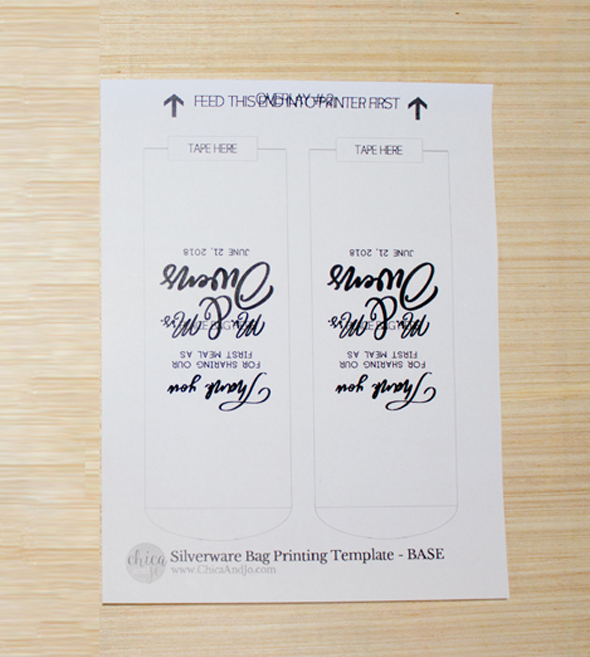
Start with OVERLAY #1 and edit the two text boxes as desired, with your personalizations. Then put your base page back into the printer, making sure that the end with arrows printed on it goes into the rollers first. If the design prints onto the outline correctly, you're good to go! If not, switch to OVERLAY #2 and test again. For my printer, I needed OVERLAY #2 so that my design would print upside down on the BASE — which means right side up on the bags!
On your test page, also take note of where the design prints and make sure it's centered within the outline. If not, you may need to sketch a new outline to accommodate your printer's individual margins and quirks.
Now it's time to print some bags for real! Place two bags on the BASE, face up, and attach the bottoms to the BASE with tape. You'll want to use something temporary, like washi tape or a small piece of masking tape. Or you can use my trick, which was to cut the sticky strip off of a Post-It Note and use that as a tape that holds well and comes off easily.
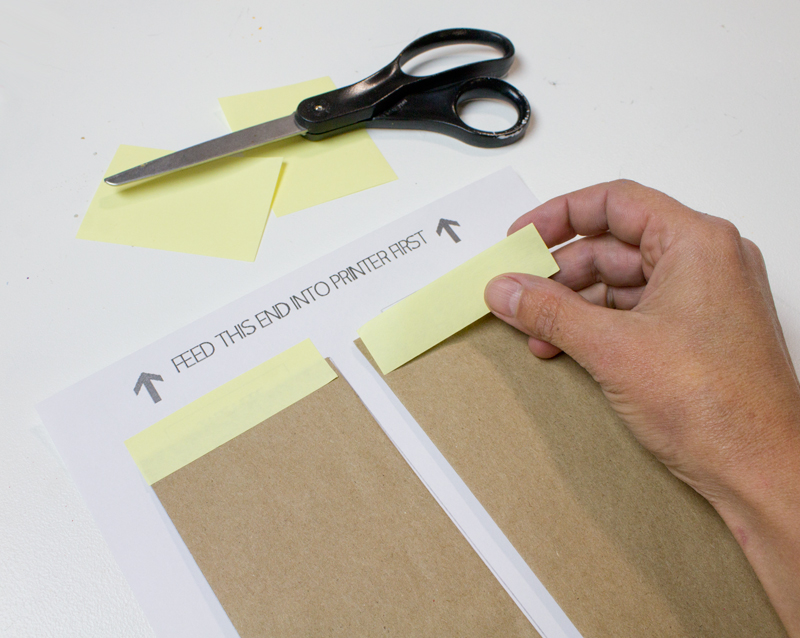
Take note that it's very important that the bags go into the rollers bottom-first, so that they remain flat when they come out. If you feed them through top-first, the bags will likely fill with air and the bottom will pop open as the rollers push the air out.
Feed the BASE back through the printer again, and print your chosen OVERLAY onto it.

Remove the tape and voila! You have two custom-printed bags. Make any adjustments you need to get the design the way you like it, then keep on printing.
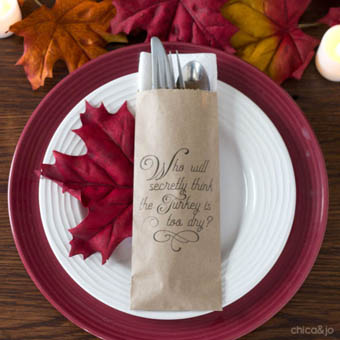
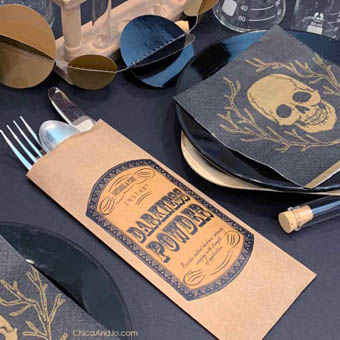
And if that didn't quite make sense to you, here's a quick video showing how I printed some custom designs on cutlery bags to use as Halloween treat bags. Such an easily adaptable idea!
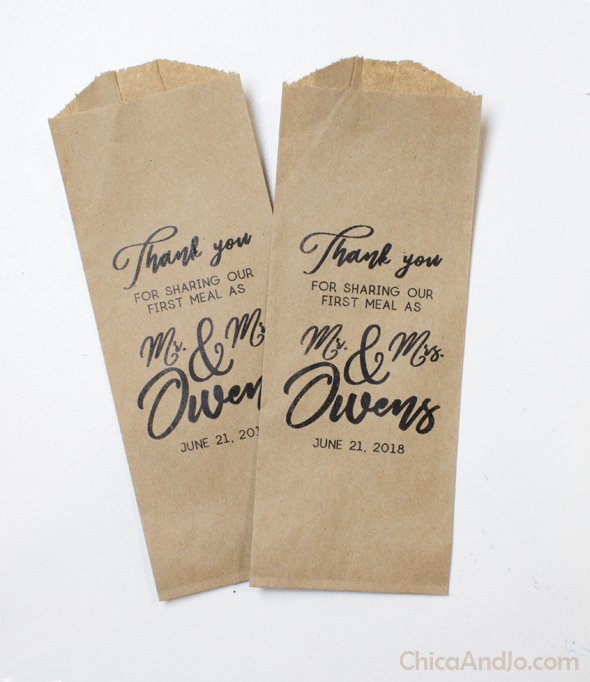
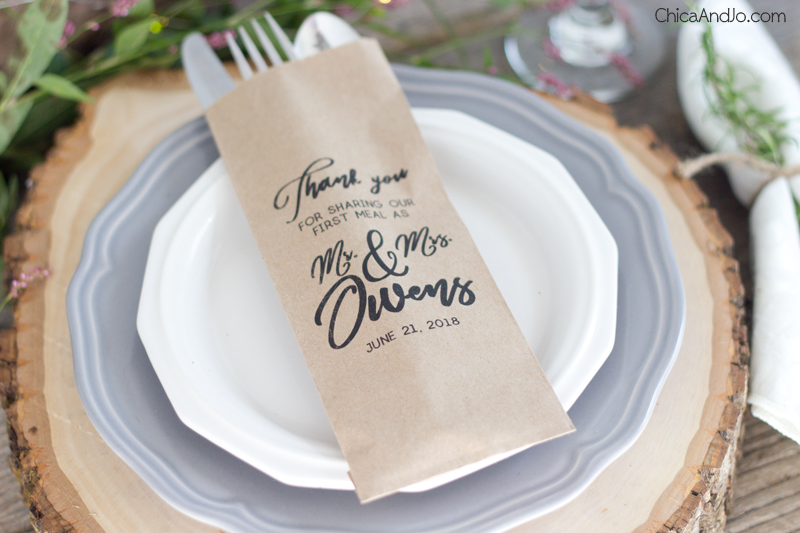
Some friends of ours got married this year and celebrated with a rustic themed wedding reception. I created some of these personalized cutlery packets for their guests. It was the perfect addition to the charming worn wood, greenery, and other rustic table accents of their place settings.


7 comments so far:
I love this idea and thank you so much for sharing. Can you tell me what fonts you used? I love it just the way you have it printed.....except for the last name of course. Thanks so much.
Suzette, the fonts I used were "Lúna" for the plain text and "Cursive Script Alt" for the cursive.
How do I print 200 of these for wedding reception? Do I have to tape each 2 on templet 100 times?
Ellen, because the bags are not a normal paper size that your printer can handle, you'll need to use our technique to tape it to full sheets of paper so that they can feed through the printer. And because only two will fit on a page at a time, yes, you'll need to do it 100 times if you want 200 bags. :)
I love this idea, Thank you for sharing.
Can you please suggest where I can purchase these bags?
Thank you-
Karen, our bags are available at Amazon at the link up in the tutorial. Here it is again for quick reference! kraft cutlery bags.