


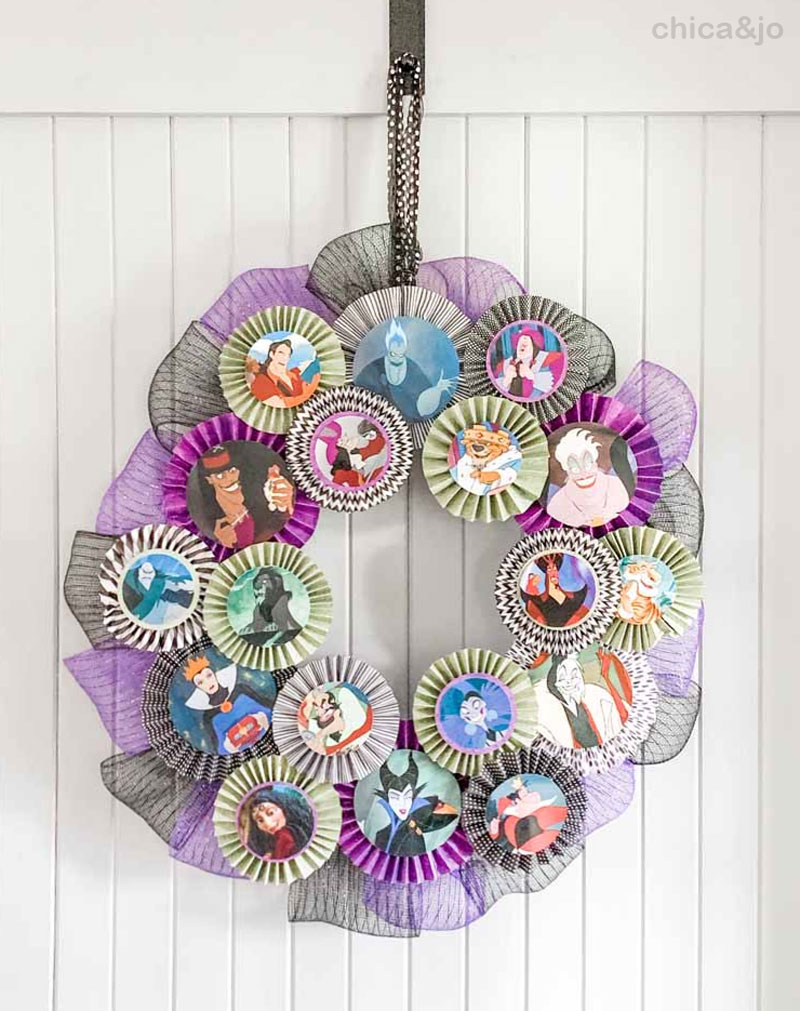
Disney Villains Halloween Rosette Wreath

It is no secret that we are huge Disney fans around here and in particular, we love a good villain. I combined my love of Disney with my recent addiction to paper rosettes and ended up with a really fun Disney villain wreath idea for Halloween.
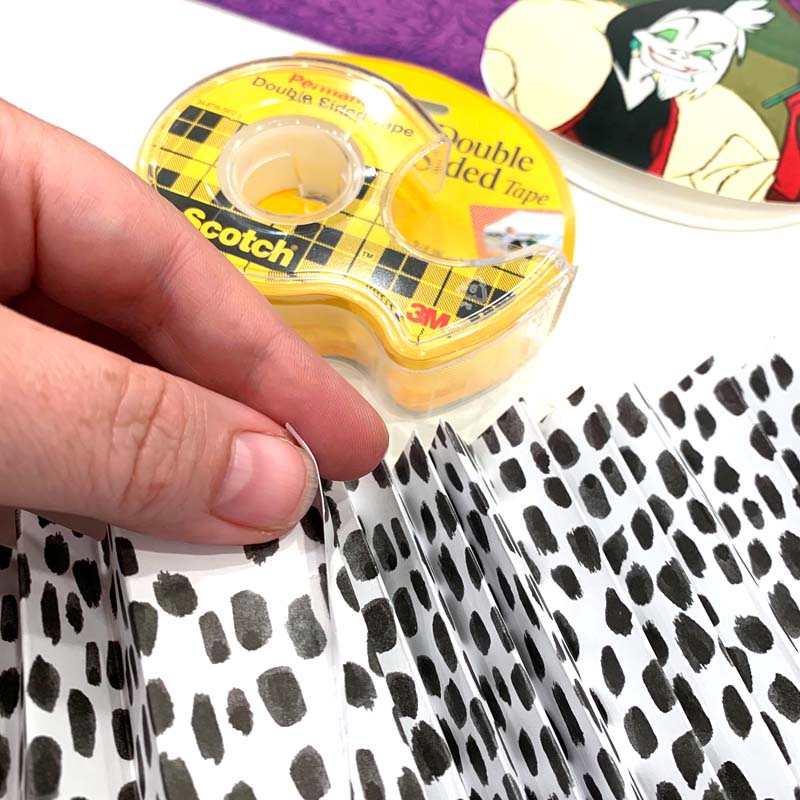
Making rosettes isn't as hard as it looks. Just cut long strips of paper with a width equal to half the width that you want your finished rosette to be. Then fold them up, accordion-style, in 1/2" increments.

If your paper strips aren't long enough, use double-sided tape to attach multiple strips together. The more strips you use for each rosette, the tighter the folds on your final rosette will be.
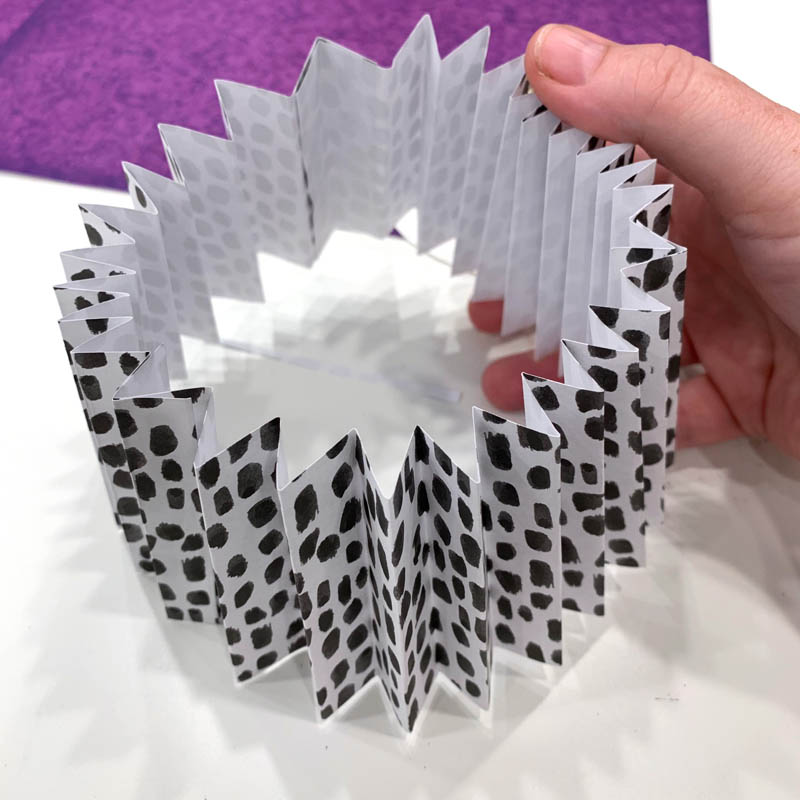
Next, attach the two ends together, forming a cylinder.
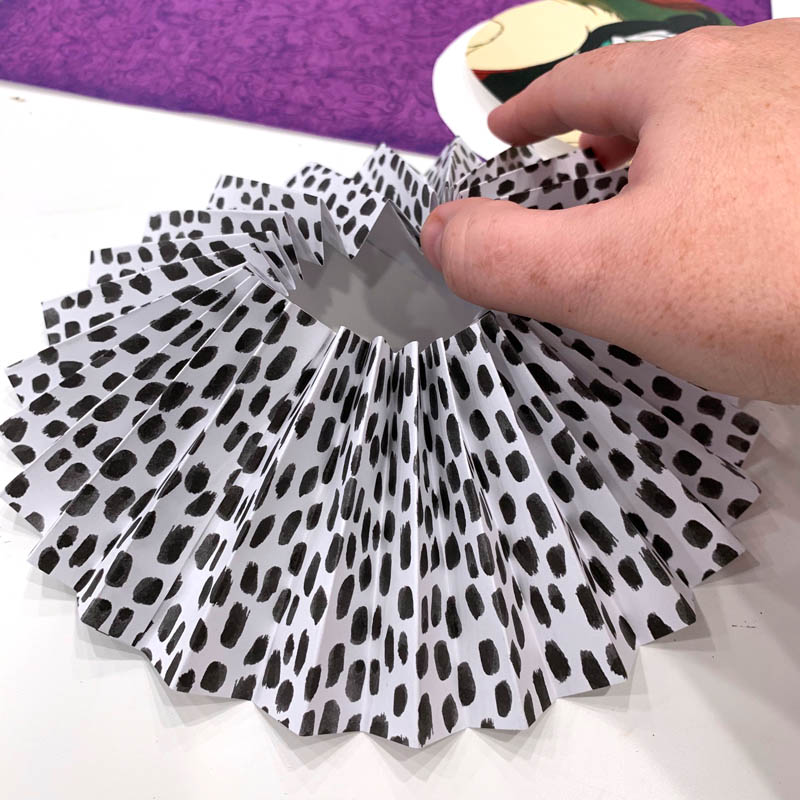
Press down on the top side to flatten out the folded paper into the rosette shape. If you don't like the fullness, you can go back and add or remove paper strips as needed.
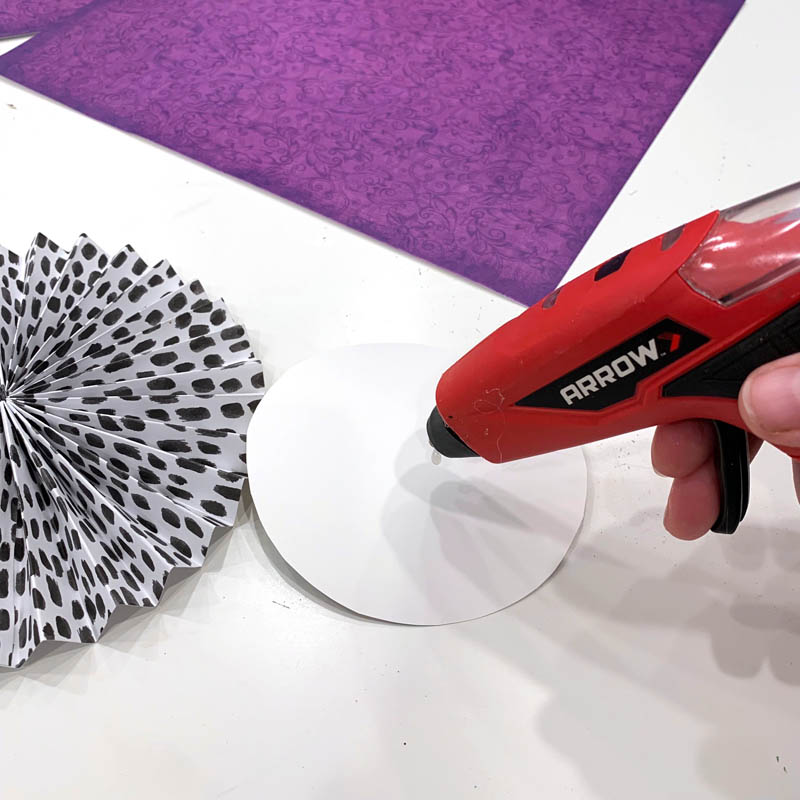
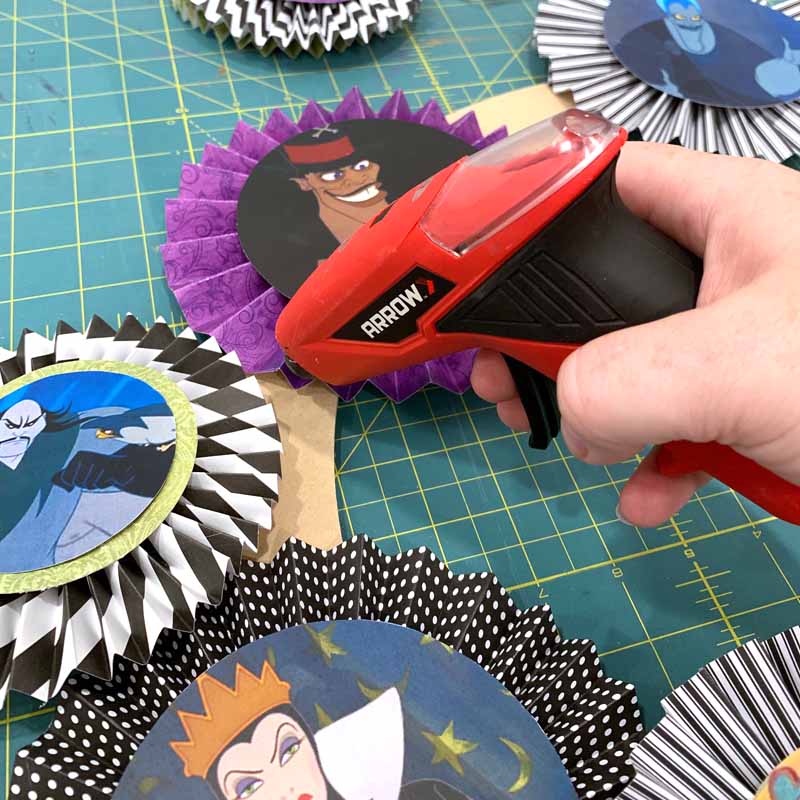
To hold the rosette together, cut a small circle of scrap cardstock and use a hot glue gun to glue it to the back of the rosette. Hold in place until the glue has set up.
For the front side, print out pictures of Disney villains (there are tons available online) onto white cardstock and cut them into circles. Use hot glue again to attach them to the rosettes.

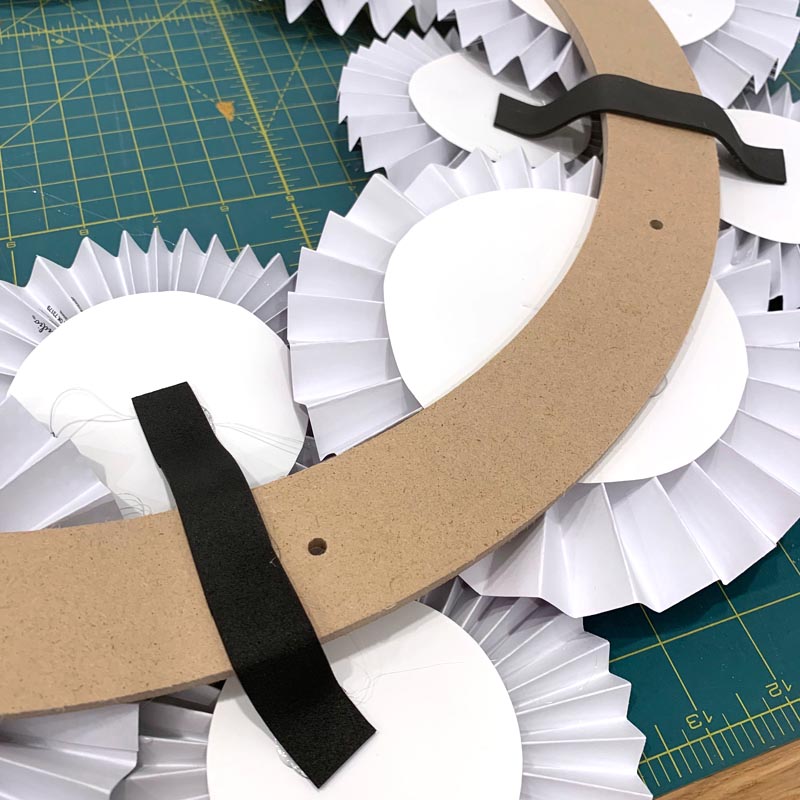
After making a few of the large rosettes, lay them out on a flat wreath form and make sure the spacing is good. Then attach them to the form with hot glue.
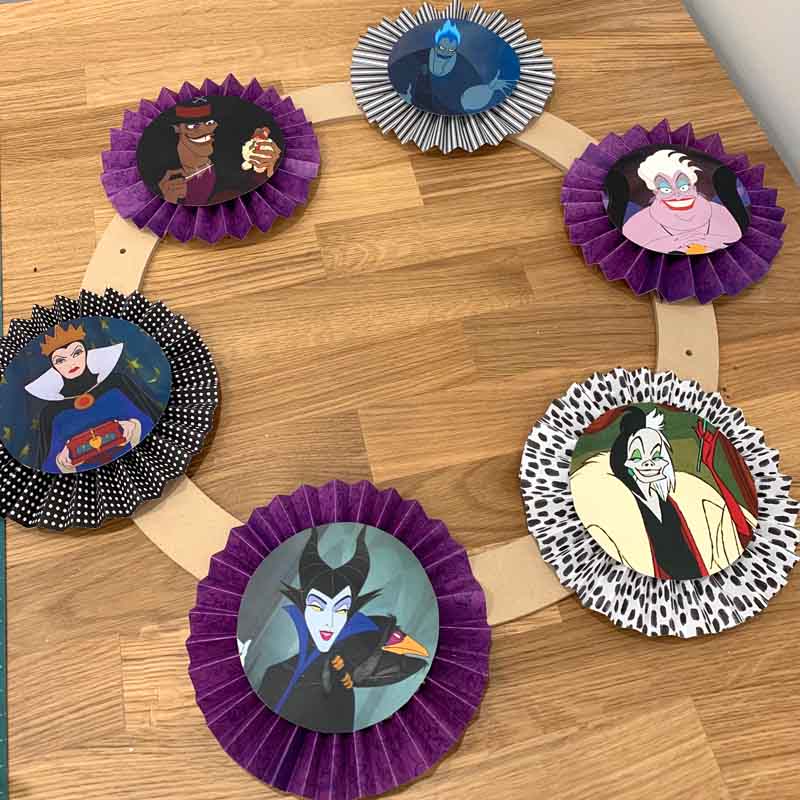
Then add medium and/or small rosettes to the wreath, filling in the gaps where needed to get a nice full look.
Since the rosettes cover a wide area and the form is narrow, you may find that hot glue alone won't hold everything together. To provide a bit more stability, I cut bracing strips from foam sheets and attached them to the smaller rosettes and to the wreath form. This provided A LOT of stability!
With the rosettes done, the wreath just needs a little something to add a bit of fullness and fill out the gaps. Cut lengths of mesh ribbon in black and purple and form them into loose loops.
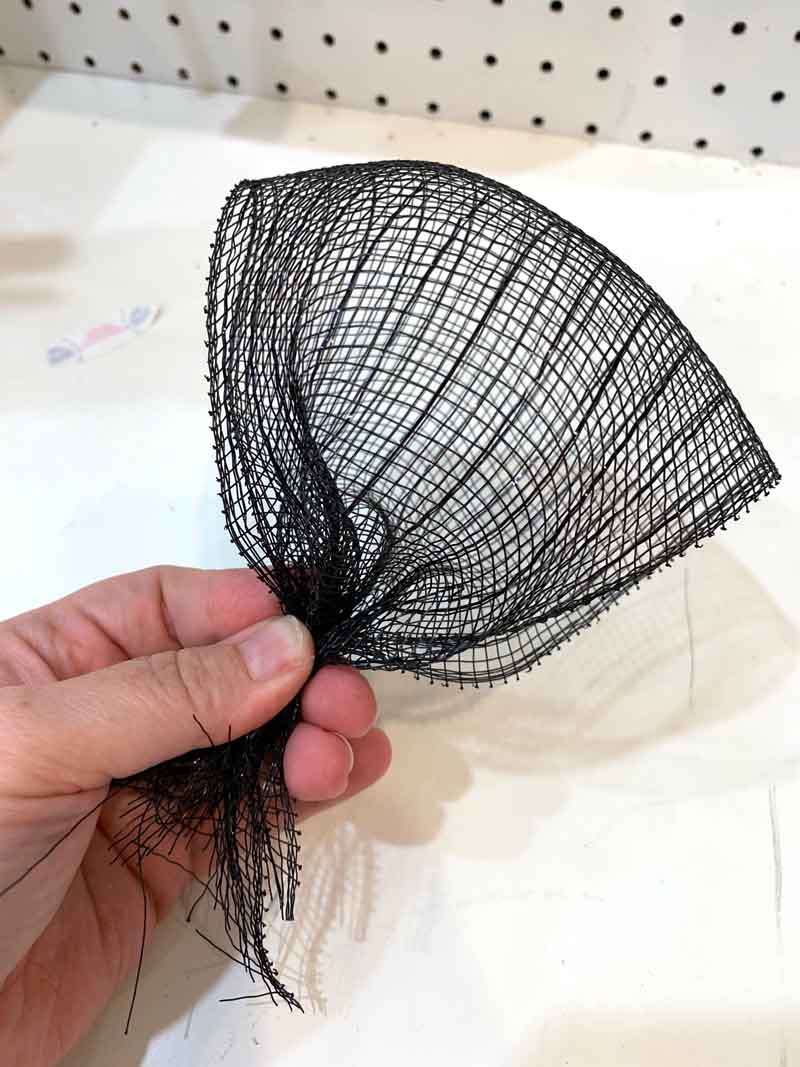
Alternating between black and purple mesh, use hot glue to tuck the loops around the whole form, to desired fullness. Then attach a hanging ribbon to the back and you're ready to proudly display your "spooky" Disney villain wreath.
Note: I recommend hanging this wreath inside, and not on your front door. It's mostly made of paper that is not going to withstand weather very well.
similar projects
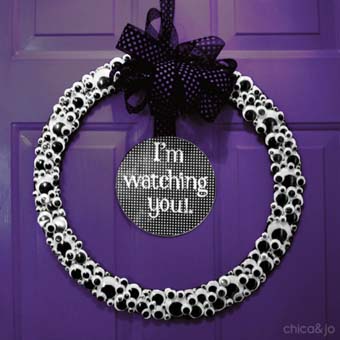
Googly Eye Halloween Wreath
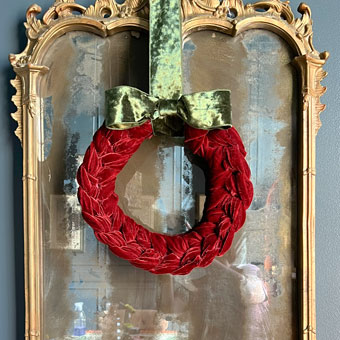
How to Make a Braided Velvet Wreath
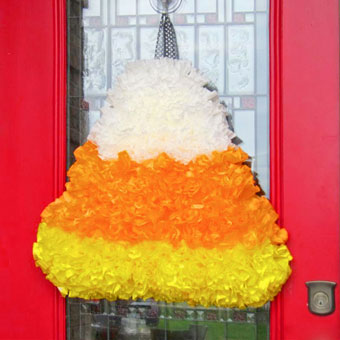
Candy Corn Coffee Filter Wreath


