


How to Make a Braided Velvet Wreath

I keep seeing these elegant, braided velvet wreaths for sale this season and I'm really struck by their design. The simplicity of the wreath style comes across as very high-end because of the velvet. I love the look, and decided to try making my own braided velvet wreath.
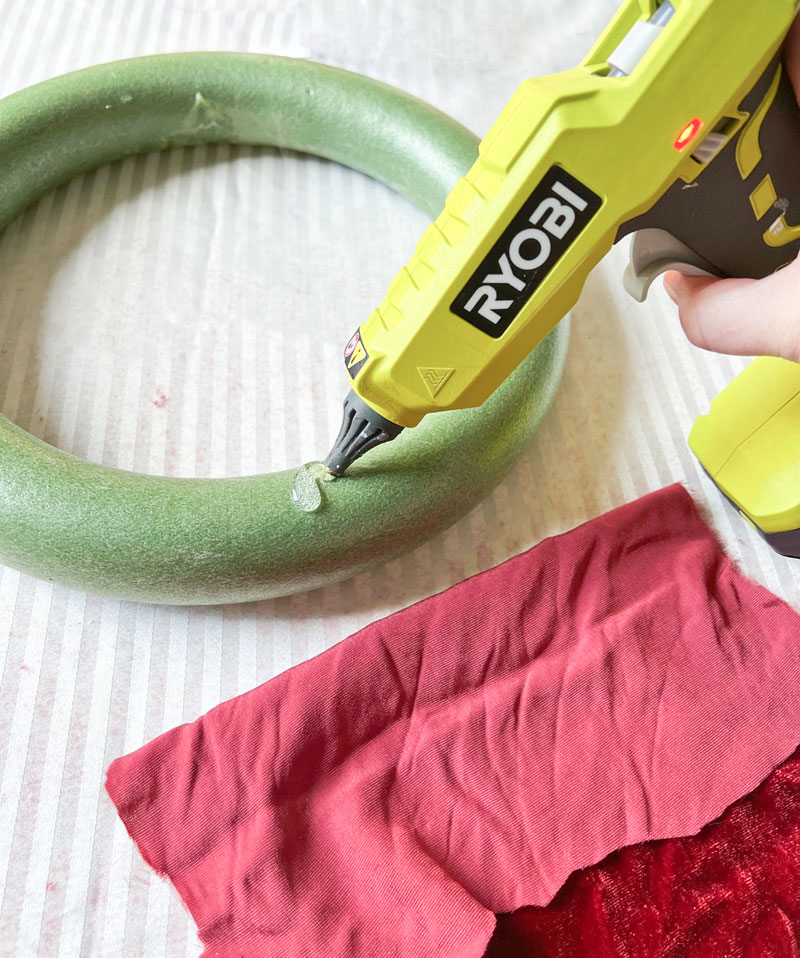
I got a simple, rounded foam wreath form (12 inches) and some "velvet" fabric. I say "velvet" because real velvet would be far too stiff and expensive for a project like this. I found a rich, burgundy colored velvet-look material that was soft and flexible and quite affordable.
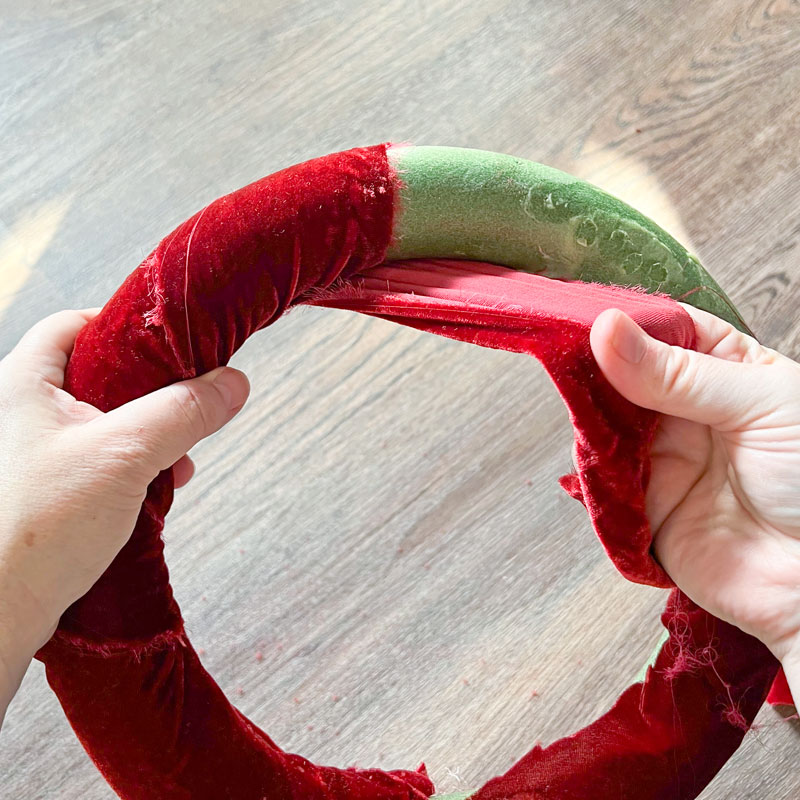
The first step was to wrap the form with the fabric to create a base. To do this, I cut the velvet into a 5" wide strip and hot glued one end to the wreath form.
Then I wrapped the material around and around until the form was covered, adding additional 5" strips as needed. There's no need to hem the edges or worry about perfection on this step, because most of it won't even show later.
With the base made, the next step was to make the plush braided design that will go on the front of the wreath. It's actually not really a braid; it's more complex than that. The look is actually a single chain of crochet loops! Fortunately, you do NOT need a giant crochet hook to do this. You can "hand crochet" it because the material is so thick and the scale is so large.
I cut my fabric into 12" wide strips and sewed them together, end to end, to create a piece about 6 yards long. (You may need more or less depending on your form size.)
To do the hand crochet, I started by making a large loop at the end. Then I reached through the loop with my left hand...
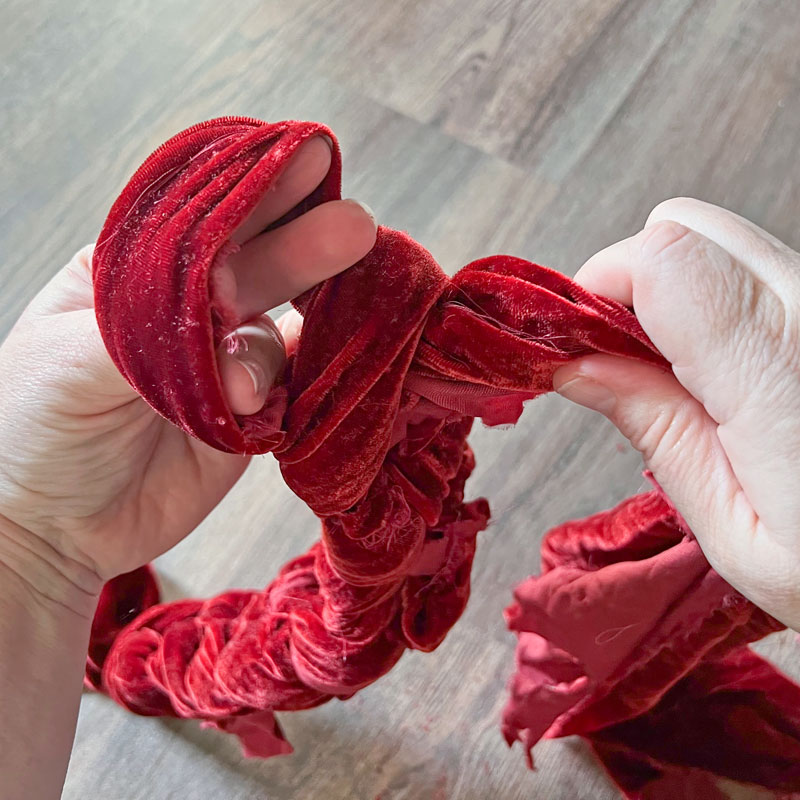
...then pulled the length of fabric through the loop...
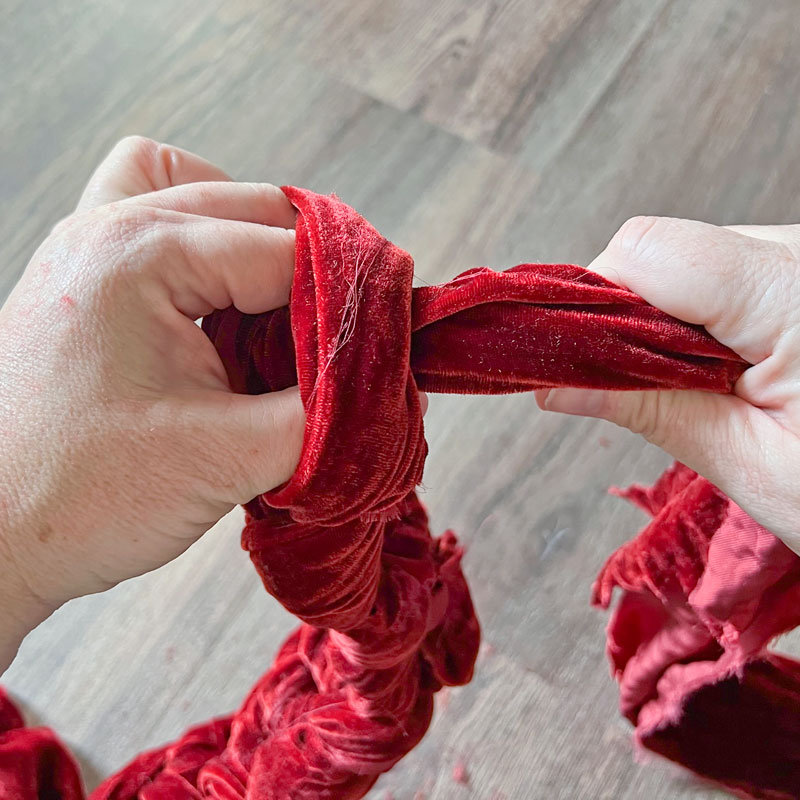
...pulling just enough through to make another loop.
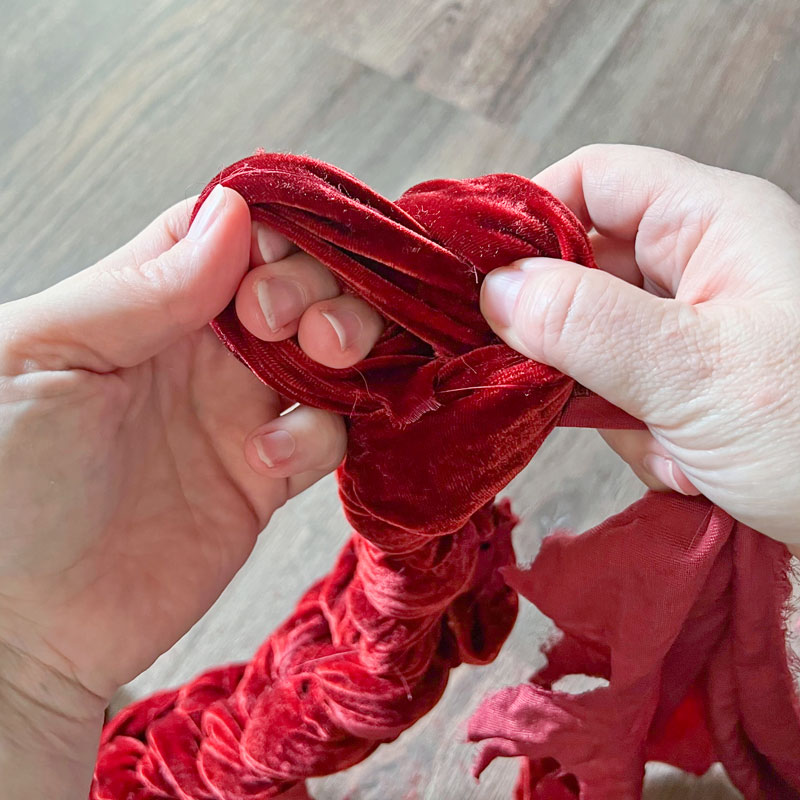
I pulled it gently to tighten the stitch and repeated it over and over, all the while doing my best to keep the fabric with the velvet facing side out, twisting as needed.
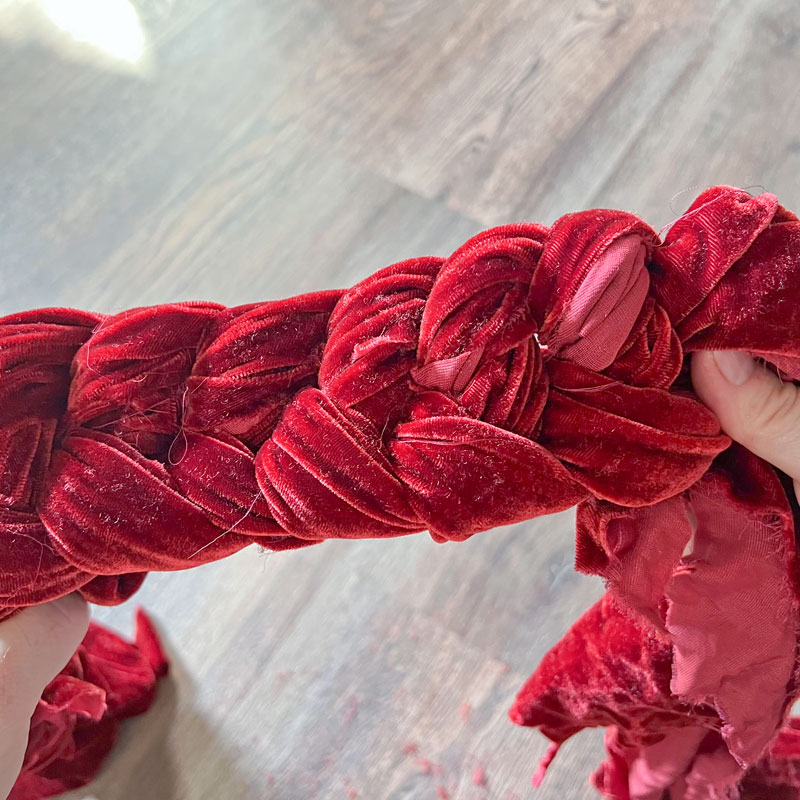
I kept going until I had a piece long enough to cover my wreath. Then I took a few minutes to pull and tuck the fabric to adjust anything that needed it.
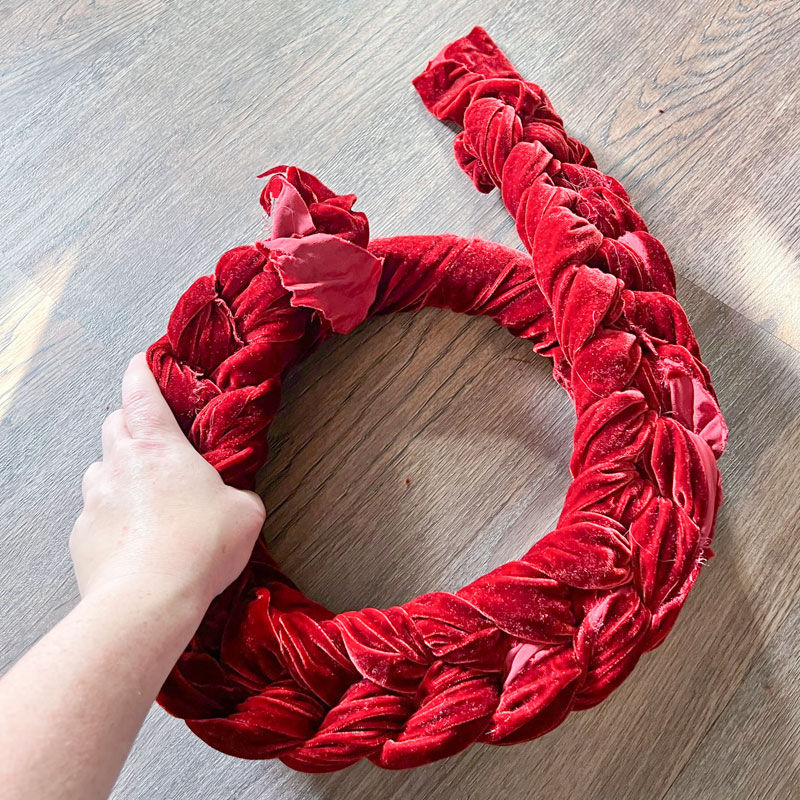
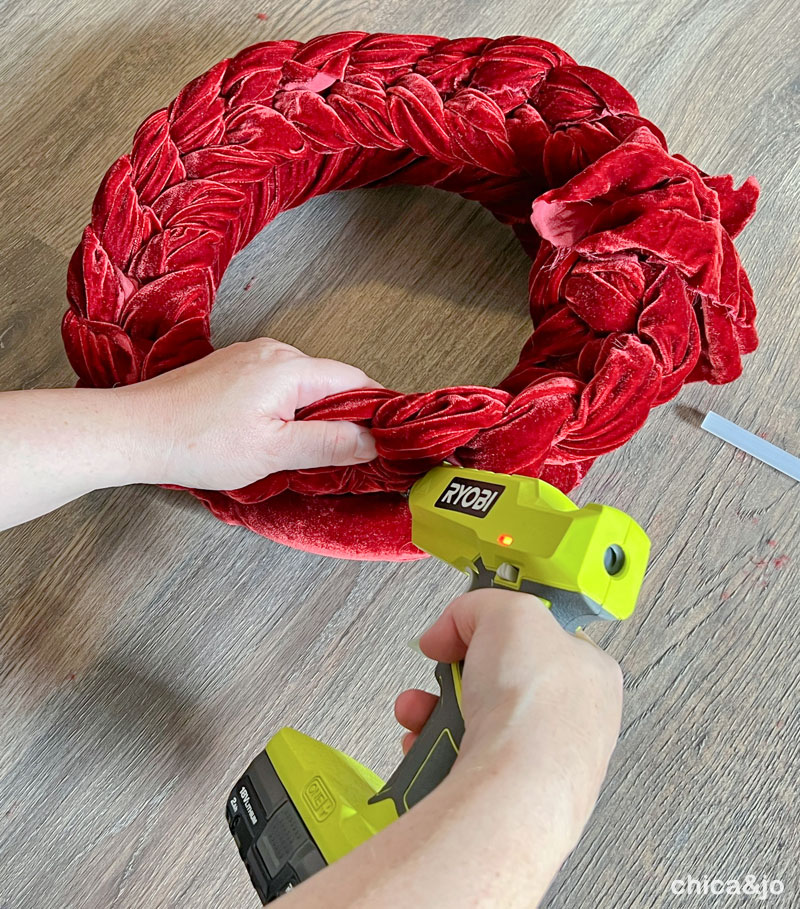
Then I used my Ryobi hot glue gun to attach the crocheted top to the wreath form. I trimmed the excess and tucked in the edges where the two ends met.
I used a wide velvet ribbon to make a simple bow and added a strip of ribbon to hang the wreath. The wide ribbon does a great job of covering those unsightly ends.
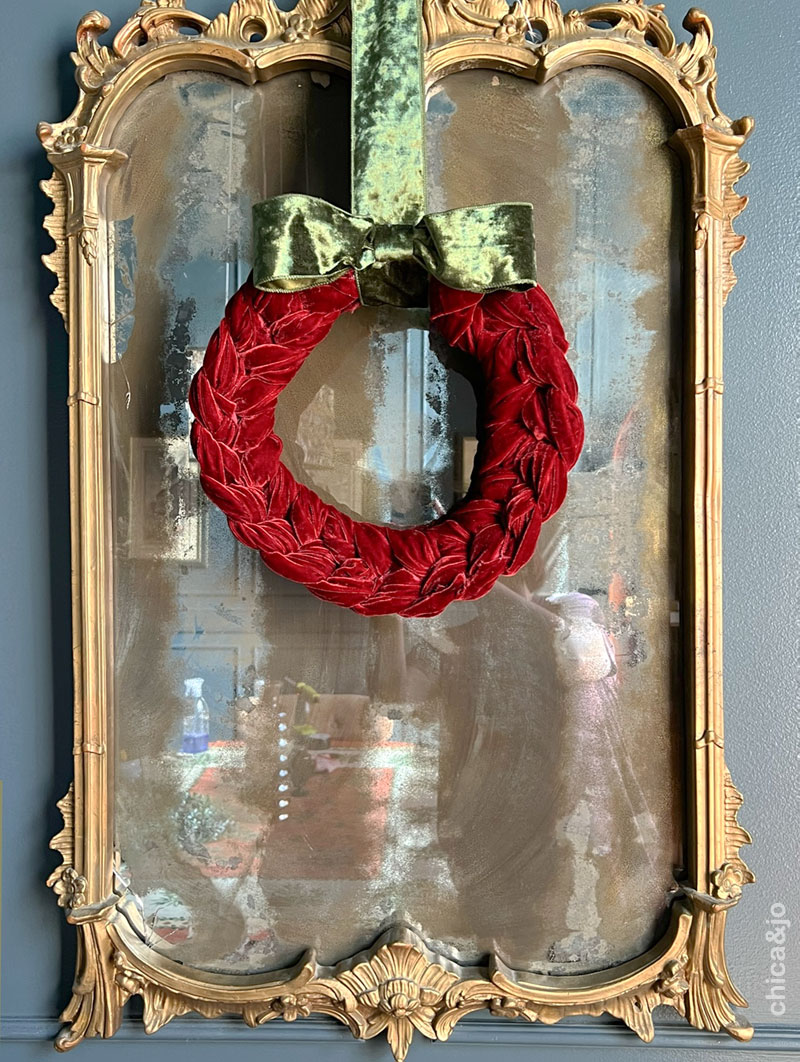
I love all the luxe texture this wreath brings with just simple design. And once I got going, it was quite easy to make.
similar projects
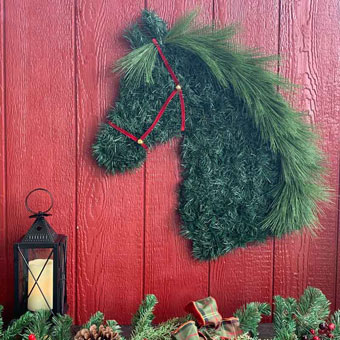
Horse Head Christmas Wreath - Get the Ralph Lauren Aesthetic
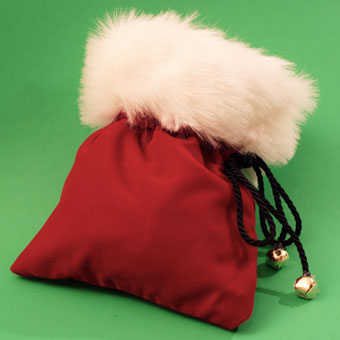
Santa's Velvet Drawstring Pouch
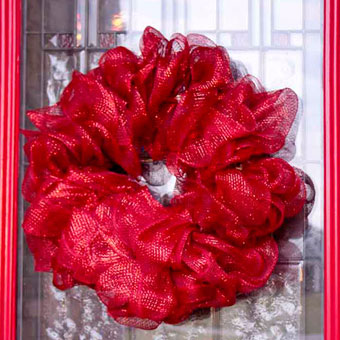
How to Make a Mesh Ribbon Wreath


14 comments so far:
Hello--Do you really need 6 yards of fabric to make this wreath? Could you cut 12 inch strips and sew them together to get a 6 yard strip to "braid?"
Christine, you need a piece that's about 12" wide and 6 yards long, so yes, you can cut strips and sew them together. (We've updated the tutorial to make this clearer... thanks for pointing out the confusing instruction!)
Where did you get the "velvet" fabric? Looking for this exact color. thank you
Nikki, that was some spare fabric from my stash, and I got it so long ago that unfortunately I don't remember exactly where it came from. So sorry!
Hello! Don’t even know if you’ll see this so many years later,but I’m dying to make this wreath! How many yards of fabric is needed for this size wreath? And is that just crush velvet stretchy fabric?
Leighanne, we're always happy to answer questions! I did use the stretch velvet-y fabric you described, and I cut strips of it about 12" wide. I sewed the strips together until I had a piece about 6 yards long. You'll need to calculate how much yardage you need to purchase based on the width of the fabric and how many 12" strips you can get from it.
Leighanne here again! Thanks so much for helping me. What is the crochet stitch called? Or what would I search for on YouTube to get some tutorials where I can watch someone do it bc I’ve never done any type of crocheting before.
Leighanne, it's just the most basic crochet chain stitch... not even sure it has a name? You might be able to search for "hand crochet". There's really only a couple simple steps. We did our best to describe them in the tutorial, but if you want to see it in action, check out our Instagram Reel here: https://www.instagram.com/reel/ClOyRW5jHg6/
Thank you for sharing this! Definitely going to give it a try
Leigh Anne it is in fact called a “chain stitch” so that’s what you want to look for on YouTube. To start a chain stitch with something this large, hold your piece of fabric end in one hand. About 6” -8’ from the end you are holding grab the fabric and pull it up and twist it so you have a round circle in front of you. Put your hand through that circle and grab the length of the fabric and pull another loop through the first loop making it rather tight. You can now let go with the opposite hand of the end. You have just made your first loop. Continue reaching through the loop and grabbing more fabric pulling them through the loops to make your chain. I hope you understand what I’m trying to say and good luck!
This is just gorgeous!! I know I will be making one of these! May I suggest that you take your 12” x 36” Individual pieces and after sewing them together in the length, lay the fabric out and fold it in half velvet side in. Either sew the entire length along the seam or hot glue the length of the seam. Turn it right side out. You will end up with a 12” round tube. If done this way, you will have no seams to hide when you crochet them into your round. As you are crocheting them your fabric with squish up and look exactly as yours looks in the end.
NOW…I WANT YOU TO TEACH ME HOW YOU MADE THAT GORGEOUS BOW!!!
KUDOS TO YOU! Great job!!
Shirley, thank you for the kind words and useful tips!
I made mine but misjudged the length. I had to order more. But I did a red velvet one and it looks pretty good for a beginner.
Also, I didn't want to tuck in a lot so I sewed a tube so the only stray ends are at the first and last.
Diana, I'm glad to hear you enjoyed this project! Great tip about sewing the tube, too.