


Craft Room Makeover

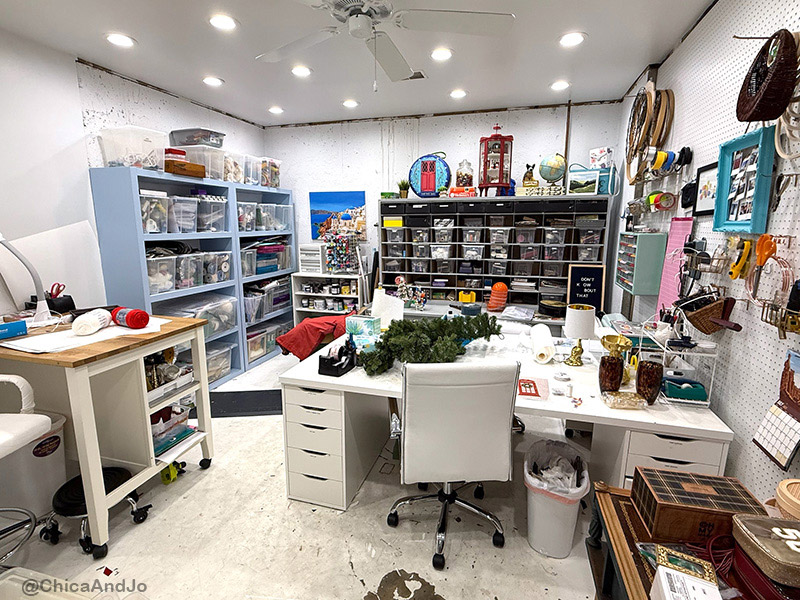
My cluttered, unfinished craft room was long overdue for a major purge and repurpose, and I'm so excited to share with you the results! I've also got some tips and advice on how clean, organize, and design your space.
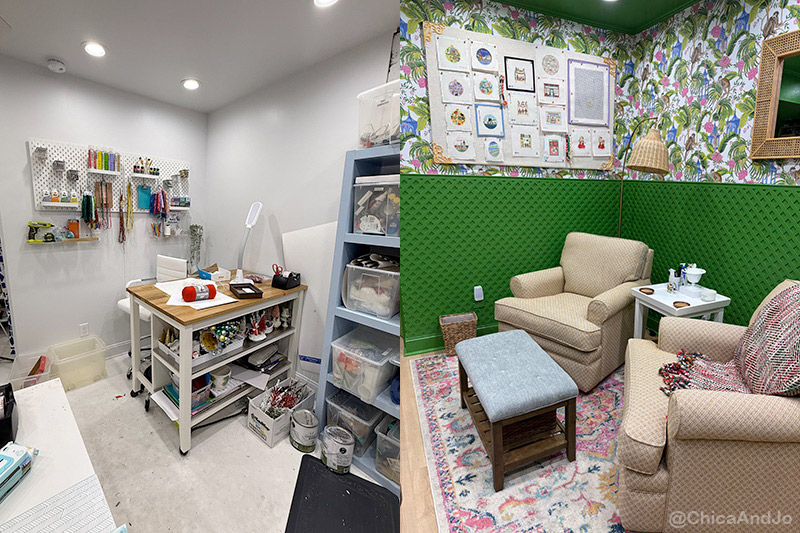
The room had cosmetic flaws — the floor was chipped cement with paint, the walls had exposed plumbing and the utility sink area was a nightmare. It also had functional flaws — things weren't organized the best they could be and it was hard to find space to work.
But this craft room makeover wasn't just about cleaning and organizing &mdashp; my goal was to create a space that supports how I wanted to spend my time. I wanted to create a "Ladies Lounge" for reading, needlepointing, playing Mahjongg and crafting.
First I'll share my tips for how to create a craft room that works for you.
Define how you'll use the space
Before beginning my craft room makeover, I thought really hard about my current hobbies. I find myself spending a lot of time playing American Mahjongg, needlepointing, and doing general crafts to share with you. Figuring out what I wanted to do in the room guided my decisions on furniture layout and lighting.
Be honest about what you actually use. That yarn you haven't touched in 10 years? The scrapbooking supplies from a past life? This is the moment to let go. Keeping only what supported my current hobbies instantly made the room feel lighter and more usable.
Measure before you plan. Mahjongg tables, storage cabinets, and comfy chairs all take space. Measure the room (and doorways) so you don't design a layout that only works in theory.
How to purge and organize a cluttered craft room
Purging was the hardest part, but also the most freeing. The task was so intimidating that I actually hired Tara Stewart and her team of organizers to help me. This project would not have taken off if it weren't for her. Her team came in and taught me some lessons on how to organize my craft space.
Here are a few of the lessons I learned about how to purge and organize:
Sort by category, not by location
Pull everything out and group supplies by type. For me, those general categories turned out to be:
- Needlepoint canvases and threads
- Craft tools
- Paper goods
- Mahjongg supplies
This approach helped me seeing all the duplicates I had and the craft supplies I hadn't touched in years. This made the decision to purge much easier.
Use the "Keep, Donate, Discard" Method
Tara kept telling me that if an item doesn't support how you plan to use the room now, it's time to donate or toss it. I ended up with a huge pile of items I didn't need anymore. Luckily, we have a wonderful organization in our town called Lexington Center for Creative Reuse and they are like a Goodwill just for craft supplies. I felt good knowing the supplies I no longer used would be going to a new home.
Store like with like
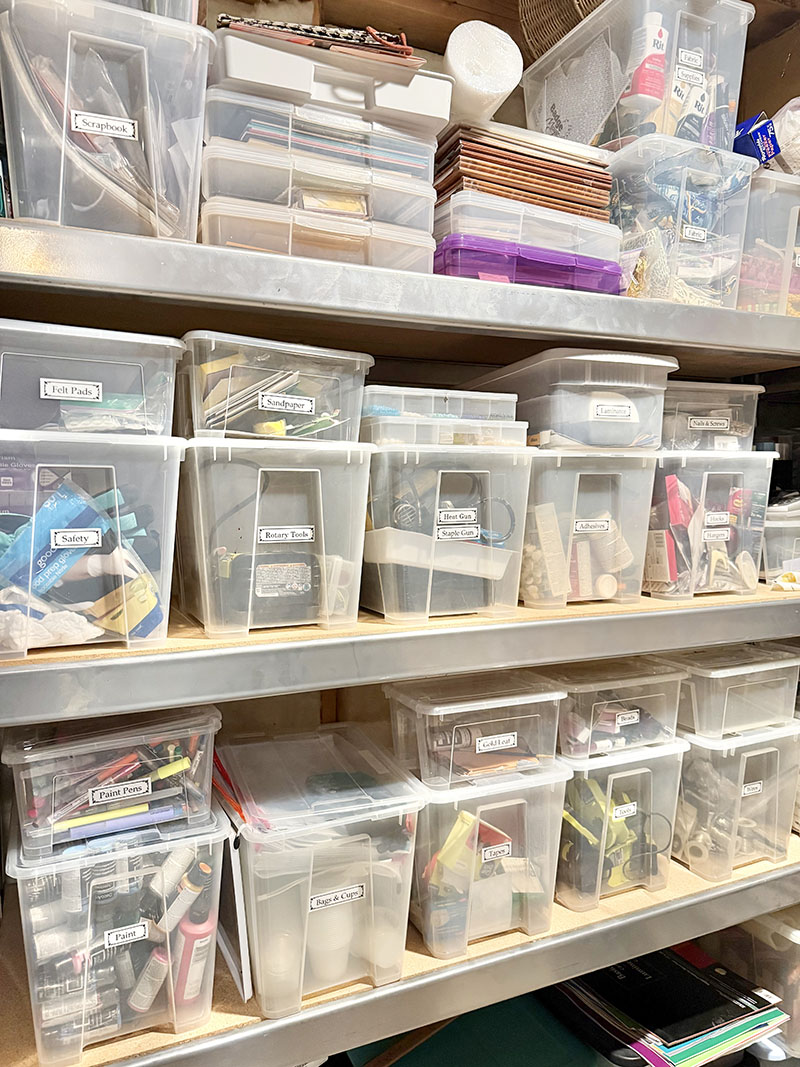
Once everything was pared down, we stored items together in clear bins or labeled drawers. The goal is to be able to grab what I need without have to dig for it. This approach has also made it a lot easier to keep things organized. Once I finish doing a project, I put my supplies back where they belong instead of letting them pile up on any horizontal surface.
Make your most-used supplies easy to reach
Daily tools go in open bins, jars, or drawers. Things that are rarely used go higher up or in labeled boxes. Remember, if you have to move three things to get to something, you won't use it Clear containers are your friend. If you can see it, you'll use it.
Create a landing zone for unfinished projects
Unfinished projects are usually the biggest mess-maker. Try one basket or bin per project, and no more than three projects going at a time. Or use a rolling cart or shelf that's labeled, "CURRENT PROJECTS ONLY". When that space is full, you don't start a new project until one of them is finished. I am really trying to hold myself to this standard.
Designate a "Dump Bin"
This sounds counterintuitive, but it works! Have one bin for random stuff you don't want to deal with right now. Once a month, or when the bin is full, empty it properly. This prevents random clutter from landing all over surfaces you actually want to use.
Once everything was organized and moved to an attached storage area, I had a clean slate to start building my dream room.
Ideas for creating a Mahjongg Room
One of my goals for this space was to have a defined area for playing Mahjongg. I was turning this room into a "Ladies' Lounge" after all, so I wanted to make sure my new favorite hobby was included.
Choosing the right table for a Mahjongg room
A square table anywhere between 36" and 42" is ideal for playing American Mahjongg. Since I also wanted this table to double as a crafting table, I chose this expandable table that converts from square to rectangular.
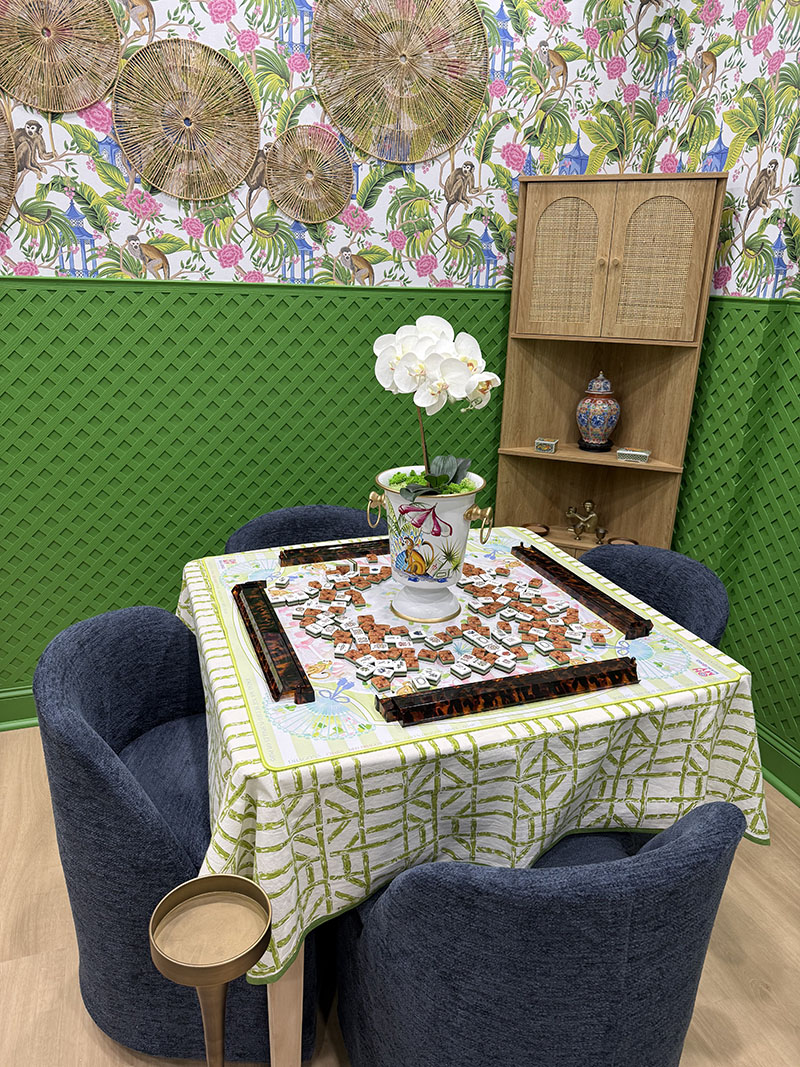
Select comfortable seating
You'll be sitting for a while, so look for cushioned chairs with good back support, and make sure they can tuck neatly under the table when not in use. I like these low-profile rolling chairs.
Storage for Mahjongg essentials
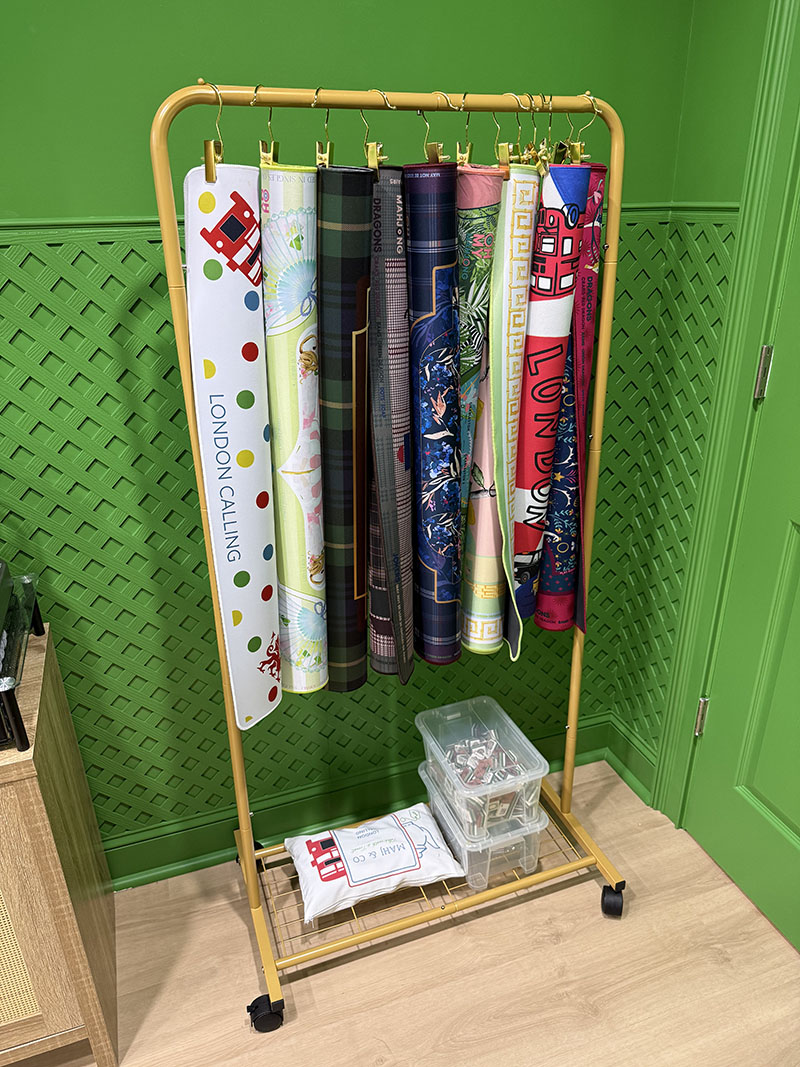
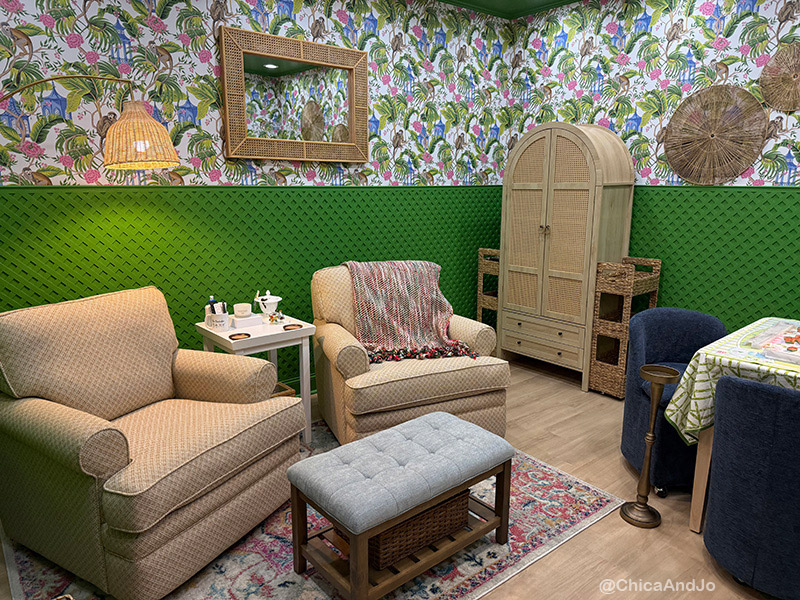
I added a rattan corner cabinet for storing tiles, dice, cards, etc. and then this rolling rack for my mats and other tiles.
Add the decorative touches
From rattan wall art to the bold wallpaper, I added decorative touches to fit the vibe. The monkeys and pagoda wallpaper is actually our design, and we teamed up with Limitless Walls to create it. Our design is even available for purchase here (use code CHICAANDJO35 for 35% off!)
The wallpaper coordinates perfectly with my Oh My Mahjongg Capri mat, and the vibe of this room is completely made for Mahjongg. (P.S. Use my discount code JOMAHJ to get 10% off your Oh My Mahjong order!)
Needlepoint-friendly design features to include
Since I am really into needlepointing, I also wanted an area of the room that really focused on that hobby. Needlepoint deserves special consideration, as it's really all about comfort and good lighting.
In this corner, I wanted extra lighting, so I chose this floor lamp that arches over my chair. I also added a second comfy chair so that I had another stitching spot available for visiting friends. A small table between the chairs holds supplies and drinks.
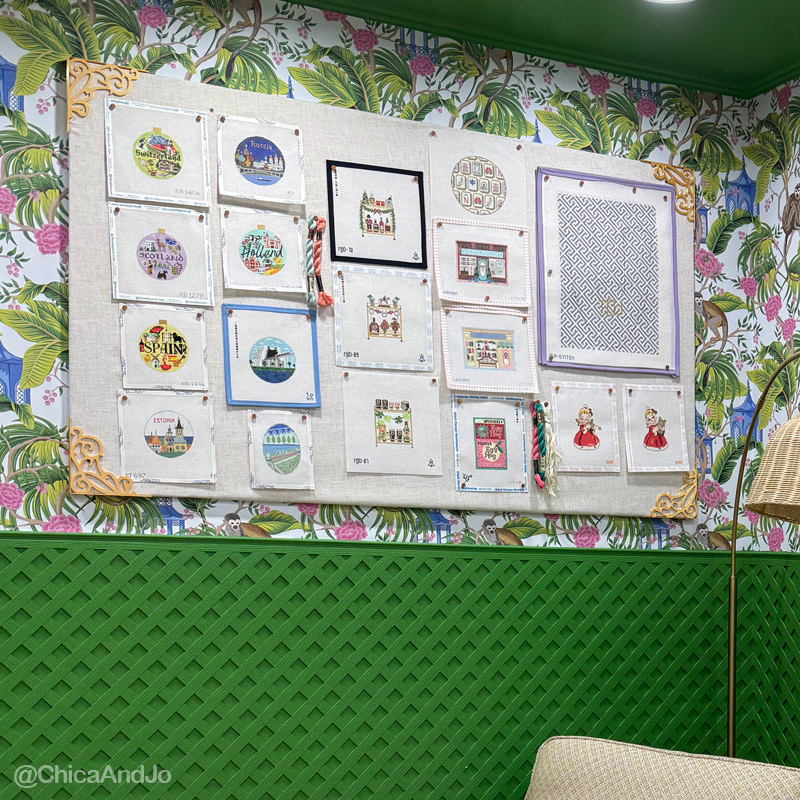
I also made an over-sized custom bulletin board to hold all of my canvases that are waiting to be stitched. Watch our YouTube video to see how we made this oversized bulletin board on a budget.
For holding my other supplies, I selected this rattan armoire with two drawers. It not only looks pretty in the space, but it works great for storing all of my extra threads, stretcher bars, canvas painting supplies, and finishing supplies.
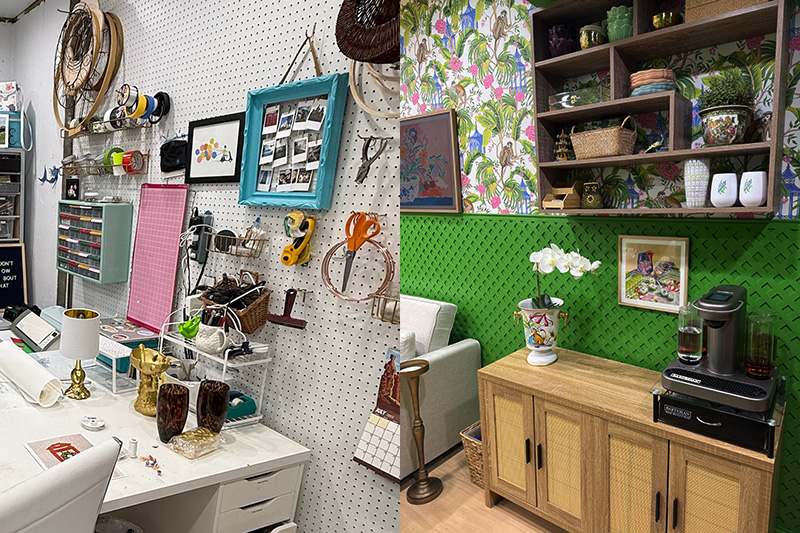
Create a bar and snack station
One final area of the room that needed an upgrade was the sink area. I decided to get rid of this awful utility sink that was covered in paint and replace it with a smaller sink and a storage cabinet. The doors hide all of those messy (yet necessary) cleaning supplies, and the counter gives me a large surface to put drinks or food on for serving guests. The open shelves overhead allow for decorative storage opportunities as well.

One of my favorite additions to the room is my Bartesian. It's like a Keurig for cocktails! You buy the various flavored pods and then pop one in to make a cocktail or a mocktail.
This fun drink-making machine is perfect for entertaining because the cocktails are small, allowing my guests to sample several different flavors. And because all the flavorings are in the pods, it limits the number of mixers and syrups that I need to have on hand.
I set my Bartesian on this sideboard cabinet that also allows me to store things like napkins and table cloths. It also serves as extra storage for my frequently used craft supplies.
Shop the look
I couldn't be more pleased with how this room came together. If you'd like to incorporate some of these elements into your space, you can find the whole collection linked in our Lowe's storefront.
And don't forget — our wallpaper design is available here (use code CHICAANDJO35 for 35% off) and you can shop our favorite mahjongg supplies here (use code JOMAHJ for 10% off)
similar projects
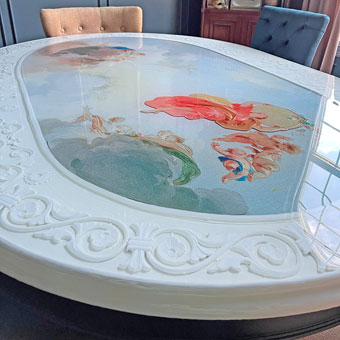
Unique Layered Resin Dining Room Table
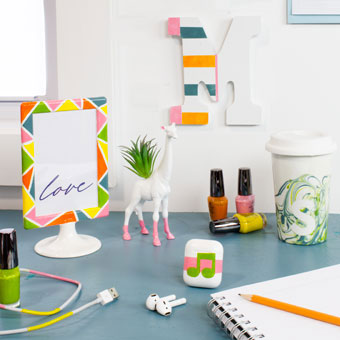
How to Craft with Nail Polish
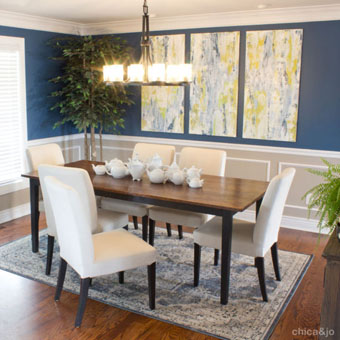
Transitional Dining Room Style Inspiration


