


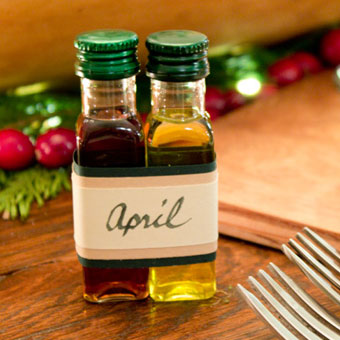
DIY Rustic Cutting Board Placemats

When planning the rustic Italian Christmas table decorations for my Christmas dinner party last month, Jo and I brainstormed about how to make unique placemats for each guest. Our Italian theme and antipasto smorgasbord led us right down the path of cutting boards, which would be beautiful as well as reusable for other functions.
However, buying enough cutting boards for all the dinner guests was going to be too expensive, so I decided to make my own. It's actually a lot easier than you'd think, with just a few tools.
The biggest decision was choosing the wood for the boards. We found lots of options at Lowes, including solid oak or pine that would make beautiful cutting boards. But since we wanted to keep this project inexpensive, we went for a more affordable 1/2" finish plywood with a lovely burled grain veneer. Whatever you choose, the grain is really important, so take your time and look through the pieces until you find just the right one. Jo and I had plywood sheets all down the aisle while we decided!
With the wood purchased, I got to work making a pattern. I carefully calculated to see how big the board needed to be to look good under the plate, but also to be small enough to fit nicely on the table. Lucky for you, I saved it and made a downloadable cutting board pattern to share!
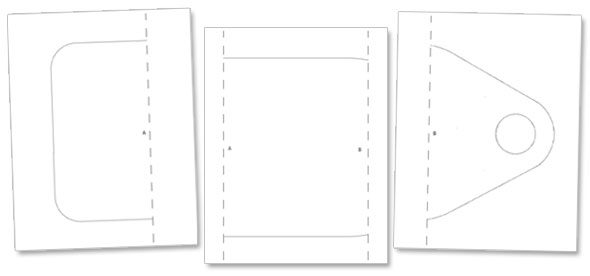
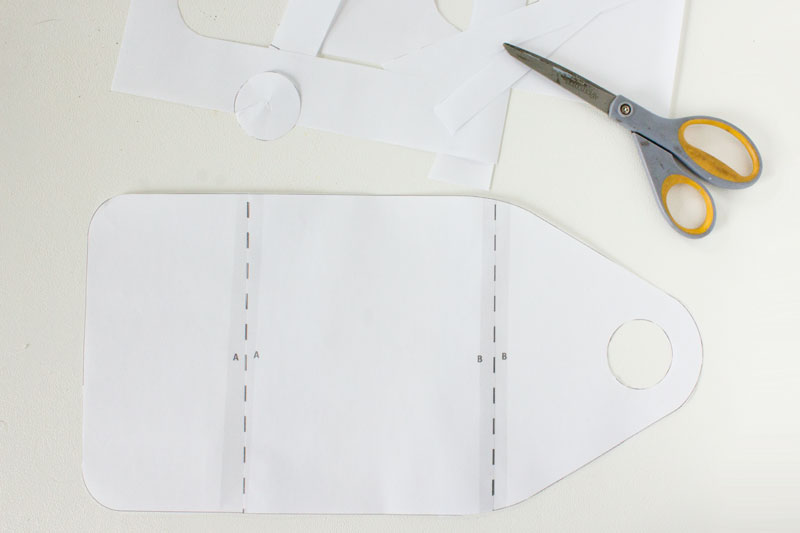
I printed the pattern, cut out the three pieces, and taped them together.
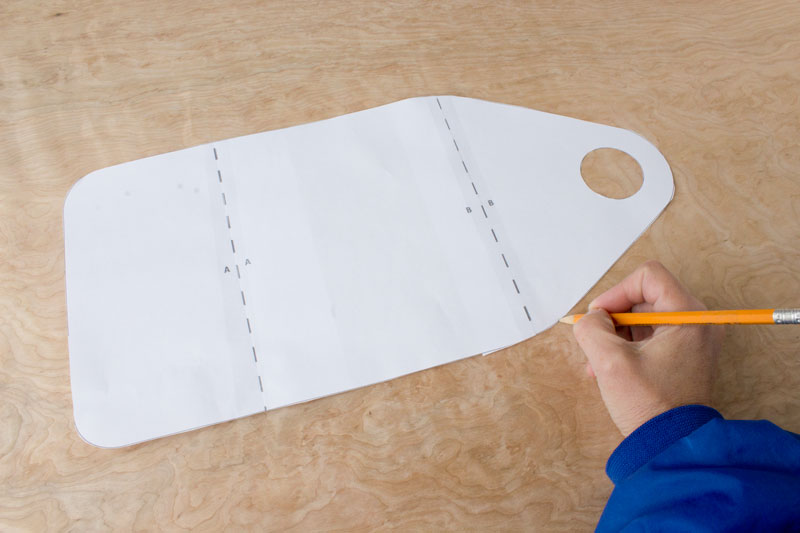
Then I traced the pattern onto the wood, making sure to line the pattern up in the direction of the grain.
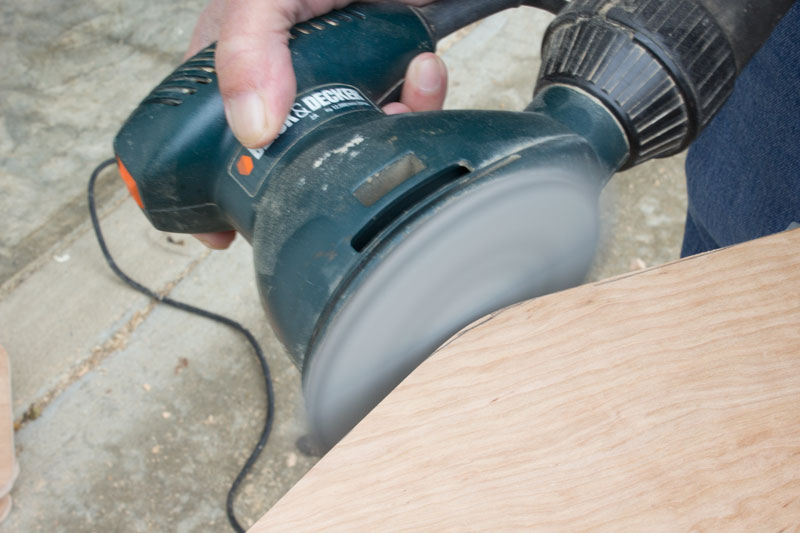
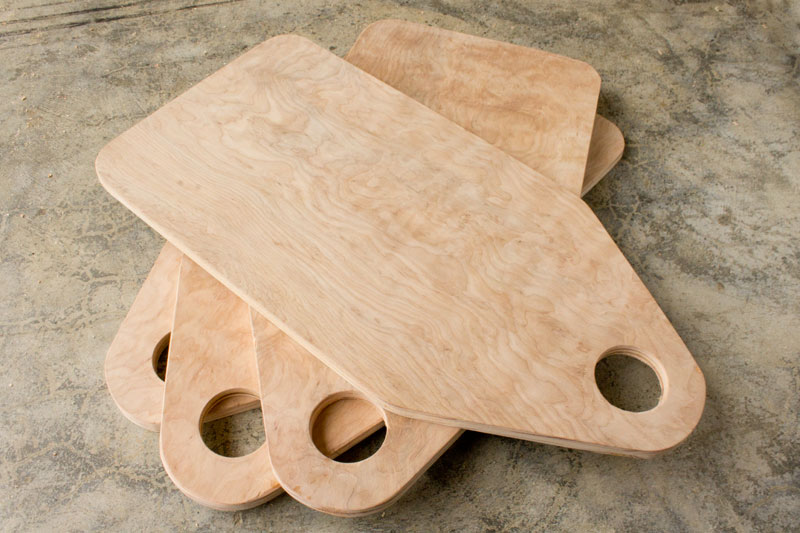
After tracing the pattern on the wood as many times as I could fit it, I cut the pieces out into block shapes using my table saw, then cut the rounded ends with a jigsaw. I used a palm sander to knock down the corners and smooth the edges right up to my pencil lines.
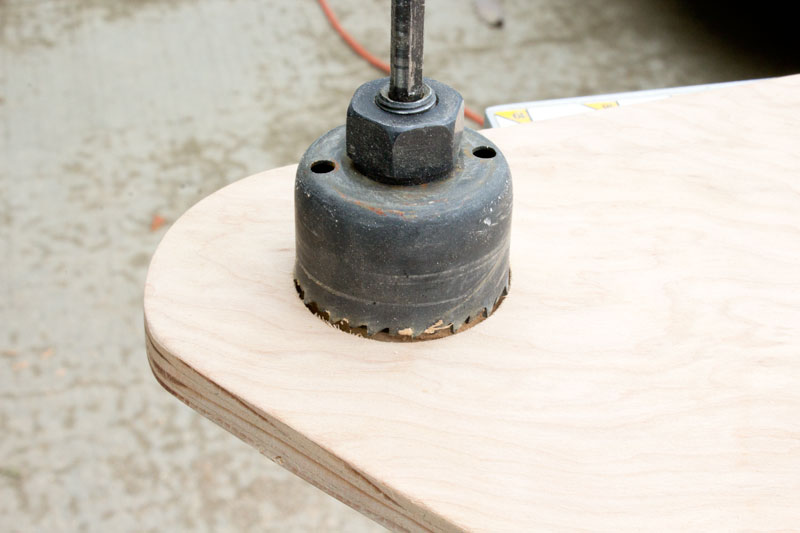
Then I used a hole saw to drill out the hole at the end. The hole is intended to be a handle, but you'll see later that it has a special double-duty.
Some finish sanding by hand to smooth out the edges, and the boards were good to go.

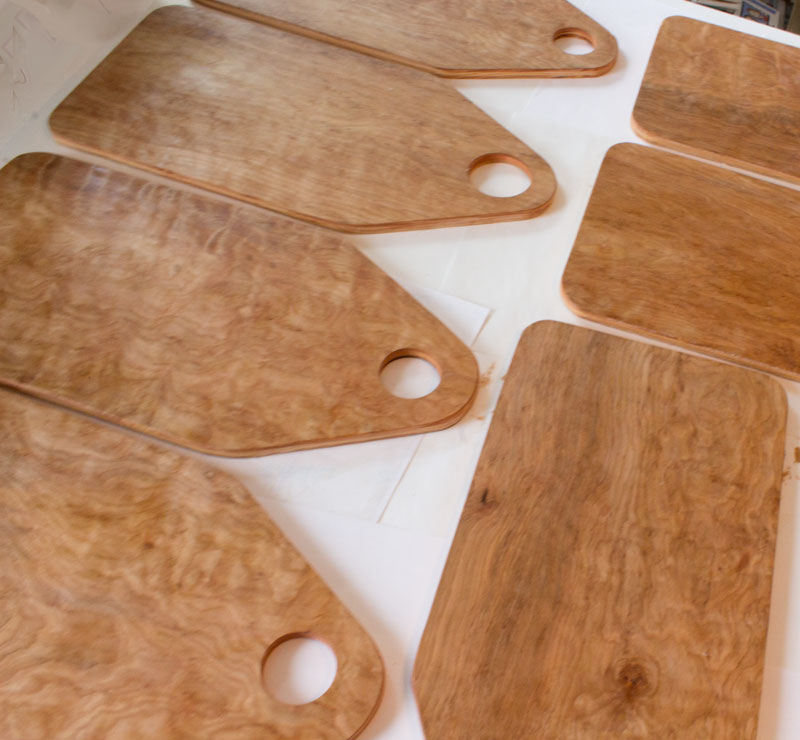
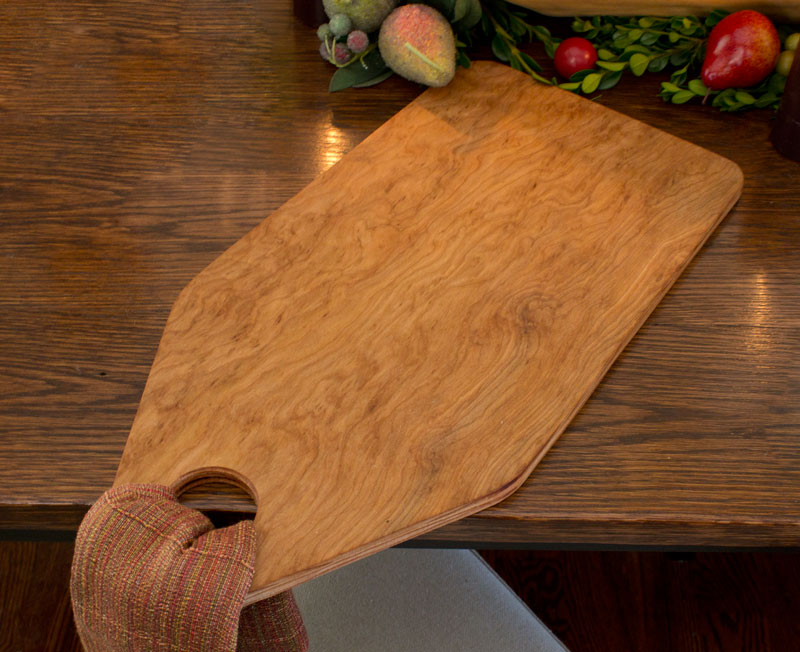
Look how pretty they are!
The last step was to finish the wood. To keep them food-safe, I just used a coat of mineral oil. It absorbed right into the wood and made the grain really pop.
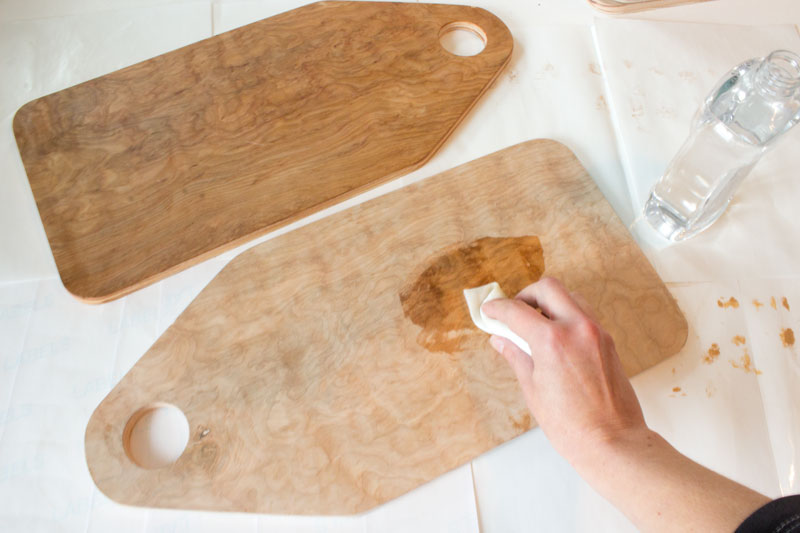
I love the rich, deep look that the mineral oil gave, without even using any stain. I let them sit for a couple days to soak up the oil, then wiped off the excess, and they were done.
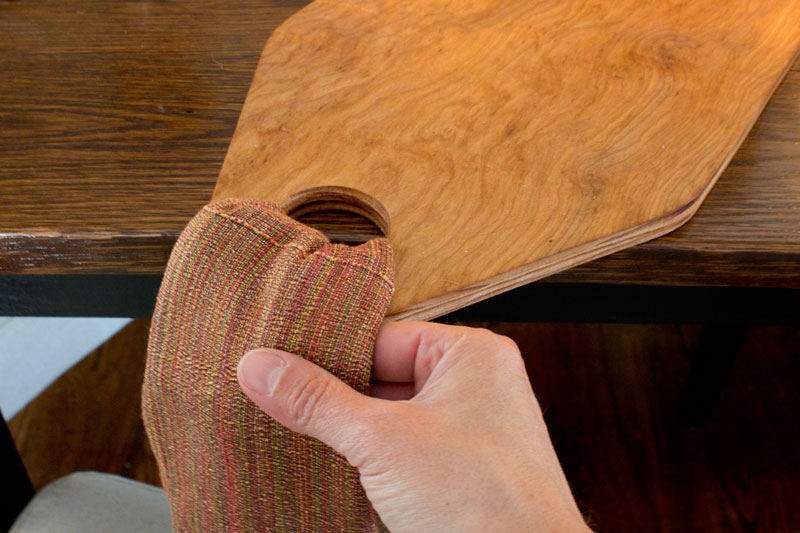
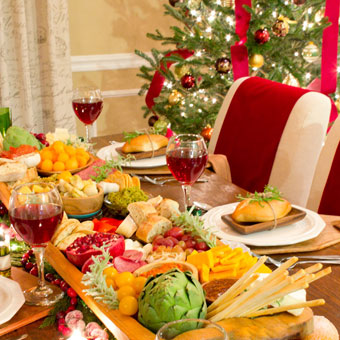
Now to set the table! I took a cloth napkin and hung it from the hole. This was Jo's idea, and a clever way to make use of the handle in such a charming way.
I placed the board on the table, tilting it at an angle, so my guests aren't poked in the belly. It works really well with the napkin off to the side, too.
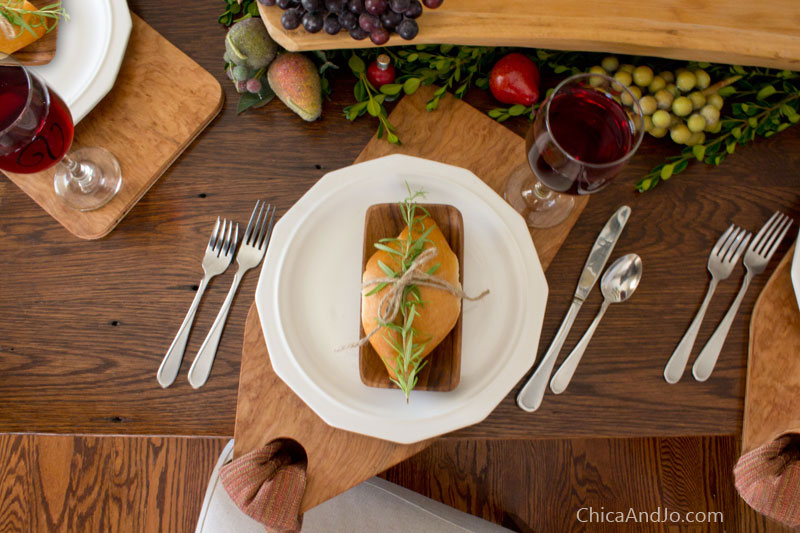
The flatware goes on either side, and I angled that too, for a really unique look.
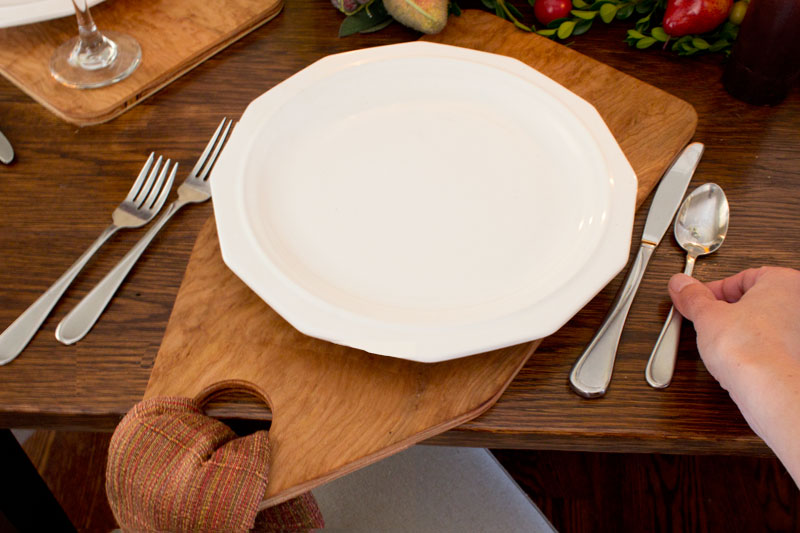
The glass fits perfectly on the corner of the board, and the whole place setting really wowed the guests. And the cutting boards can be used again later for serving food, or even make great party favors!


2 comments so far:
These are amazing! If the cutting board was left a square, what are the dimensions? Trying to figure out how many can be made out of one sheet of plywood.
Beth, you can make the boards any size you want, depending on your need. You might try by measuring your plates to get a minimum size, then work from there to see how many can be cut out of your sheet of plywood. If you still want to use our pattern with the handle, go ahead and print it and tape the pieces together, then crease it in the middle to turn it into a square-ish shape that you like.