


Googly Eye Halloween Wreath

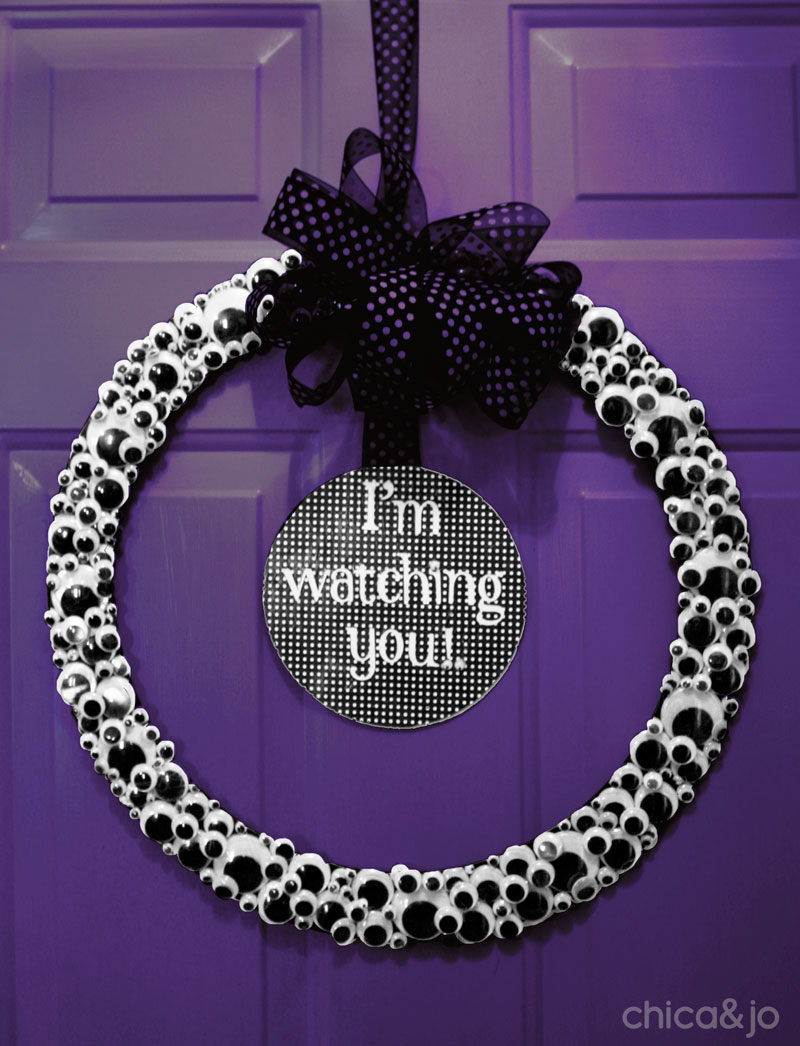
My dad is famous in our family for his gorgeous, traditional wreaths that look like they belong in a Pottery Barn home. I, however, like to make weird wreaths with unique items, such as the Thanksgiving clothespin wreath that Chica and I invented a few years ago. It's this same drive to make unique wreaths that got me really thinking about a fun Halloween wreath for our door this year. I decided to cover the entire wreath with googly eyes, for a fun and frightful Halloween door decoration for the kids.
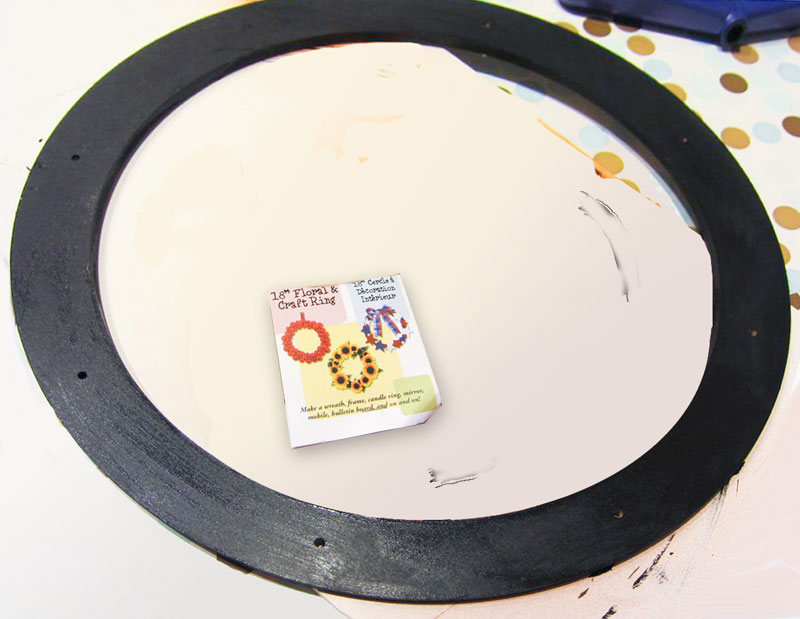
I started with an 18" floral craft ring which I painted in gloss black.
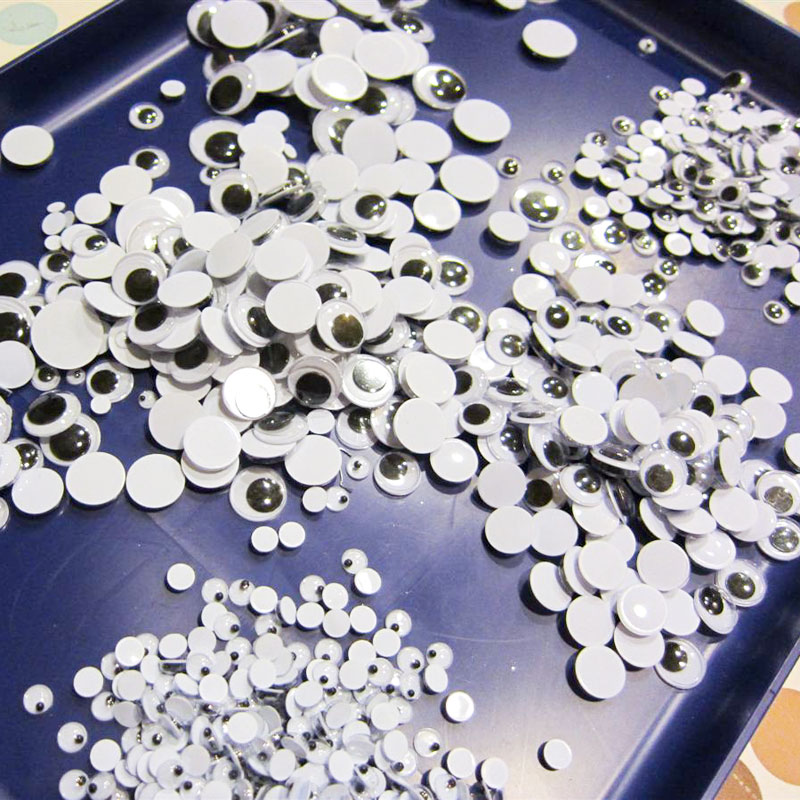
Then I bought a LOT of googly eyes. I found the best deal when I looked for bulk googly eyes in mixed sizes. Make sure you get several different sizes, and none too tiny. My largest ones were 40mm. And make sure you get a lot. It's very frustrating to run out halfway through the project!
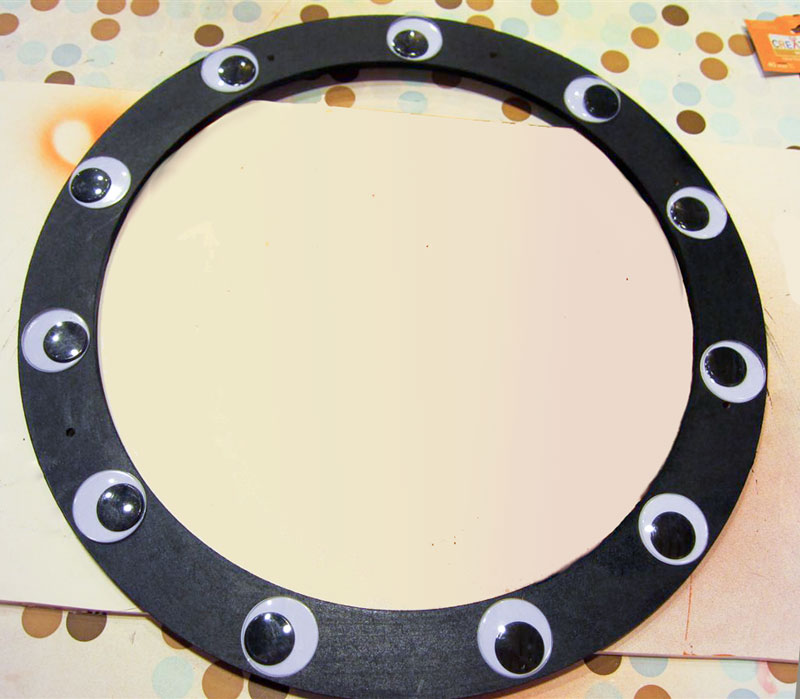
Following the wreath-making advice my Dad has always shared with me, I started by putting the largest eyes evenly around the wreath. I attached them with hot glue, and I recommend you do this even if your googly eyes are self-adhesive, because they will stay put much better with glue.
Then I started adding medium eyes in between, then smaller ones, filling it in as I went.
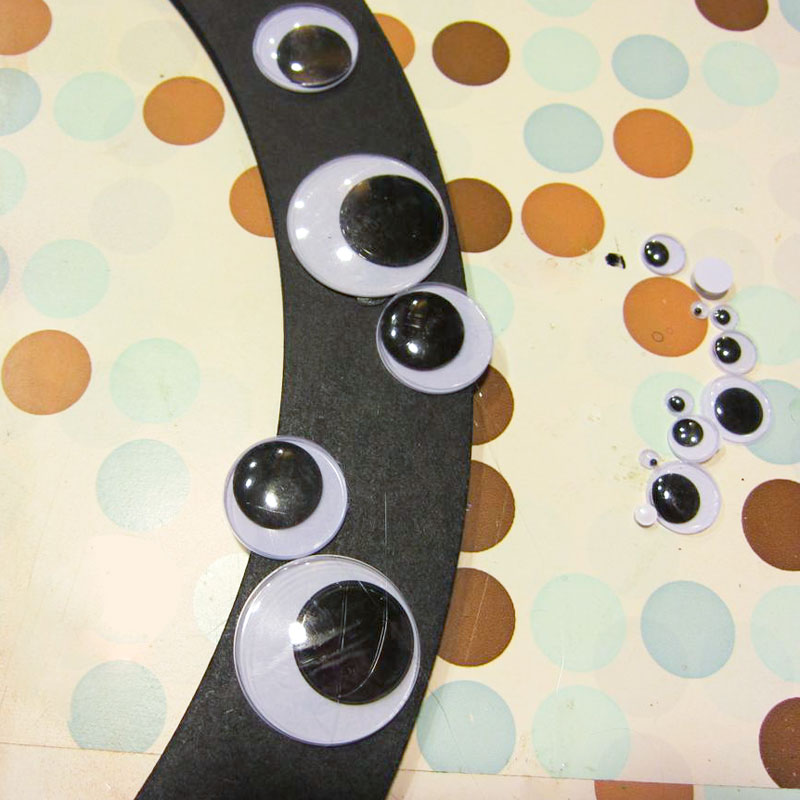
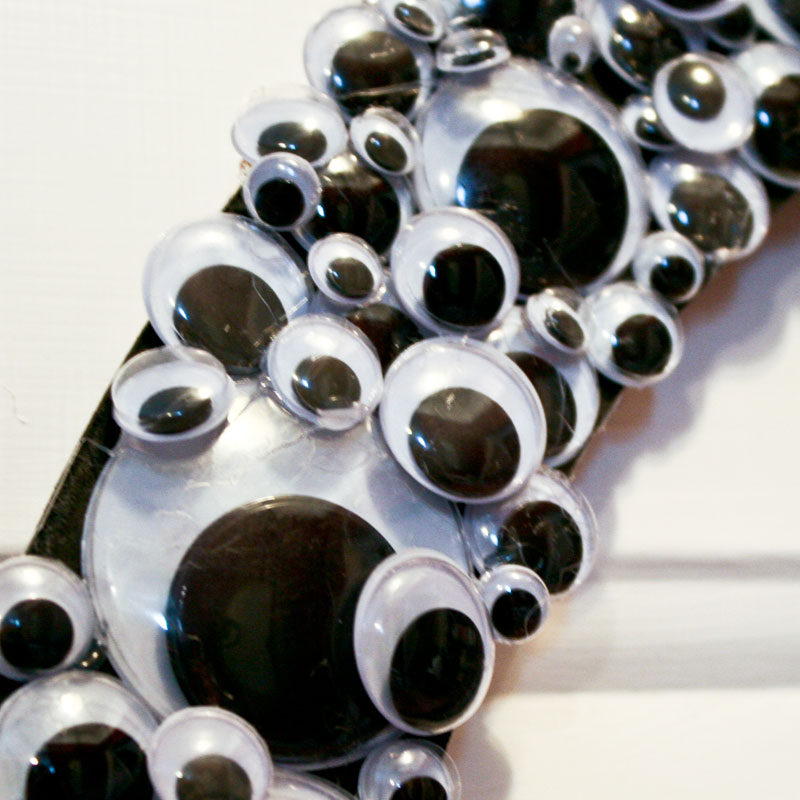
As I applied the eyes, I let them hang over the edges and often stacked them on top of each other, to give the wreath a lot of depth and dimension.
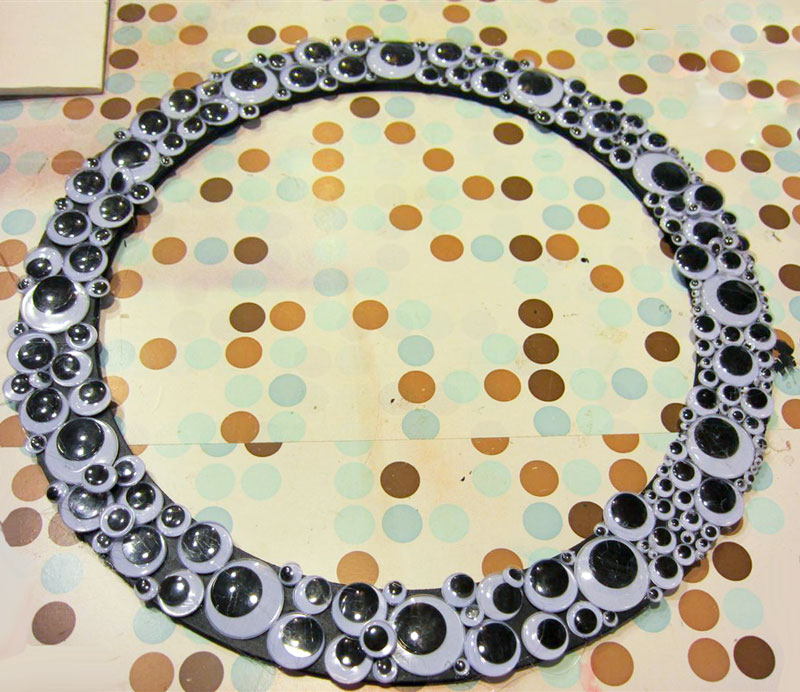
I kept adding eyes until it was covered with lots of levels.
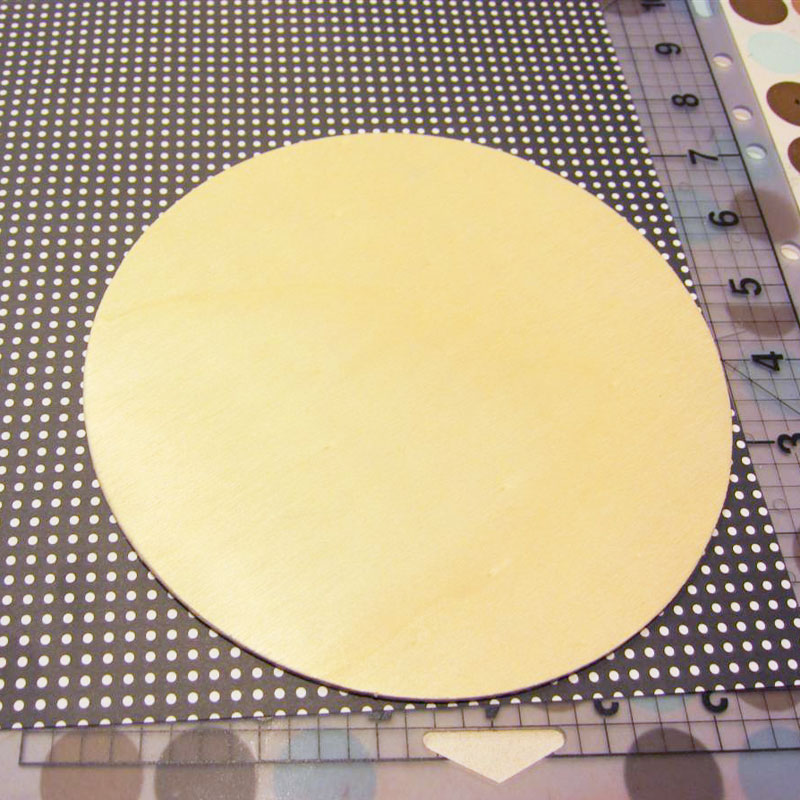
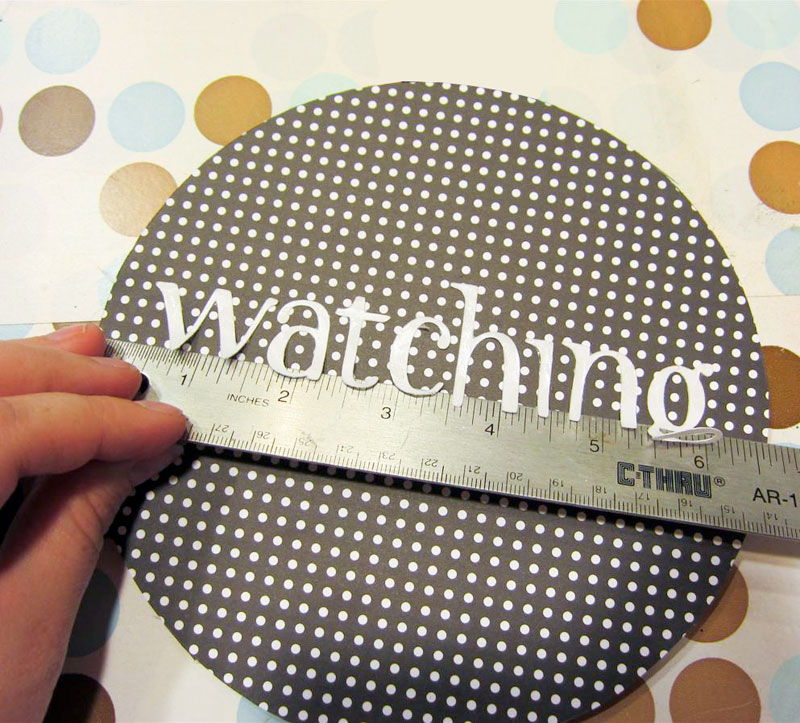
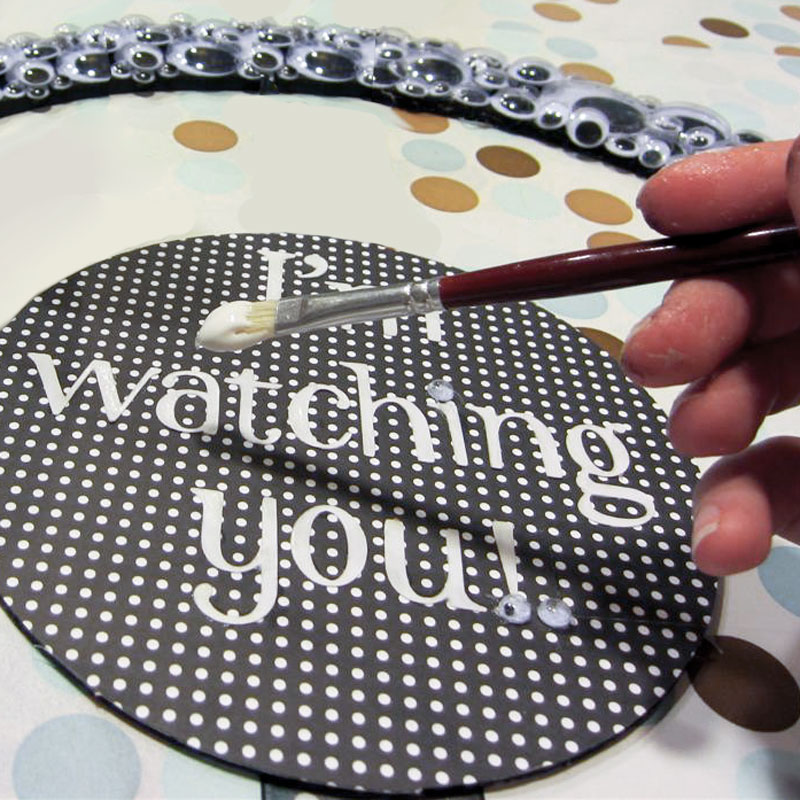
With the gluing done, I moved on to a decorative sign to hang in the middle of the wreath. I found a 6.5" round wooden disk I had on hand and covered it with coordinating scrapbook paper. If you don't have a wood disk, you could use a piece of foam board, cardboard, an old lid, or anything round you have handy that's about that size.
Then I picked out some white letter stickers to spell "I'm watching you!" and used our trick for lining up letters to place the words on the circle.
Once I had all of my letters placed, I covered the whole circle (front and back) with two coats of outdoor decoupage medium to protect if from the weather while it hangs on my front door.
To finish it off, I made a ribbon bow for the top and used a little extra ribbon to hang the sign in the middle of the wreath. It looks perfect on my door!
similar projects
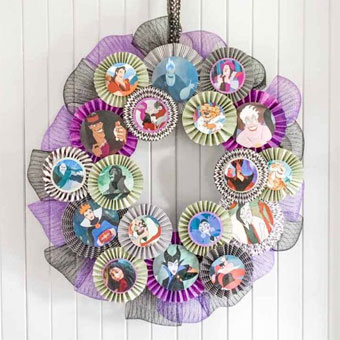
Disney Villains Halloween Rosette Wreath
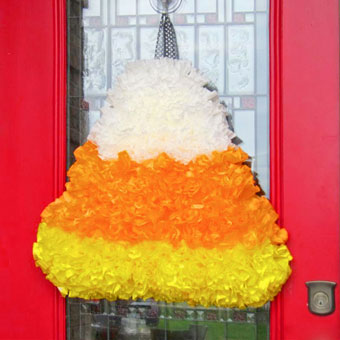
Candy Corn Coffee Filter Wreath

Thanksgiving Clothespin Wreath


13 comments so far:
THAT is fantastic! ;D I am SO making one!
Sooo cool. I HAVE to get a cricut machine - I just HAVE to! It's on my Christmas Wish List and have mentioned it enough to my husband now that I hope he gets it (as in understands what it is and actually buys it) :) I've never used one though -are they difficult to learn/use?
Shauna, the basics are really easy to learn. It takes some practice learning how to pick the right size for what you want to do and how to cut all the different elements but overall, very simple. Check your local craft/scrapbooking store, they often offer beginner classes as well. Maybe I should also consider doing a collection of basic videos on this subject as well.
This is definitely a winner! I love googly eyes. This idea would also fit with Santa watching(or his elves??)--xmas colors of course.
I just got a Xyron at the Maker Faire. I'm loving that, too.
Baye, I love the idea of it being Santa watching!
That is so creepy! I love it! Wish I had one to greet guests at my Halloween party.
You two are crafty geniuses!!
This is way too clever!!
I wonder if my kids could handle making one? Ya now how they are with glue . . . . !
Krista, this is definitely a kid-friendly project, but if your kids too young to handle a hot glue gun, you could use Zots adhesive dots instead!
This is definitely one of the cutest halloween decorations I've seen...EVER!!! I LOVE IT!!!
Wow this is adorable! It looks so quick and easy.
This is awesome!
So neat! I haven't seen one for Halloween. I made some for Christmas last year and a tutorial too. Great minds think alike. I'm new to your blog. Nice to meet you! I'm off to check thnigs out! :)