


Superstition Party Invitation for Friday the 13th

The superstition-themed party I planned for my friend's Friday the 13th birthday was a huge success. Not only was "superstition" a fun theme idea for her Friday the 13th party, it also makes a great theme idea for a Halloween party.
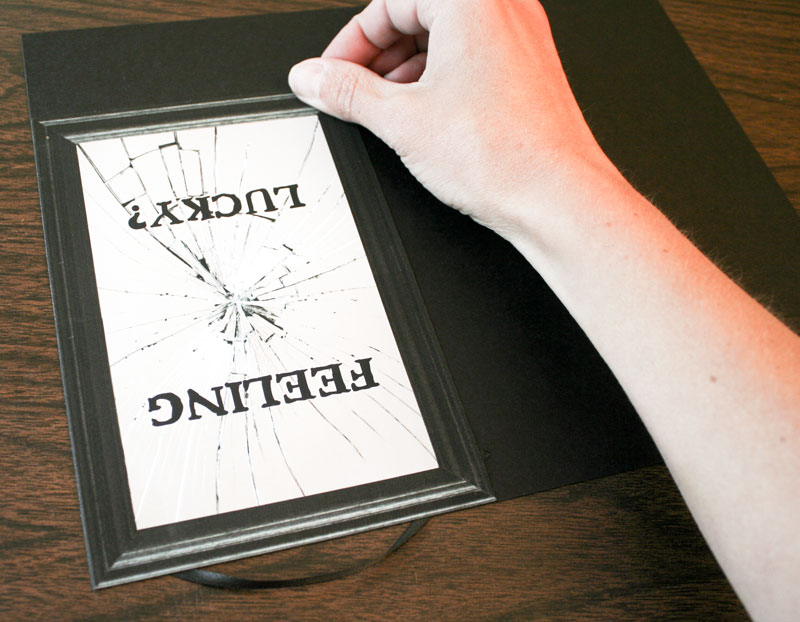
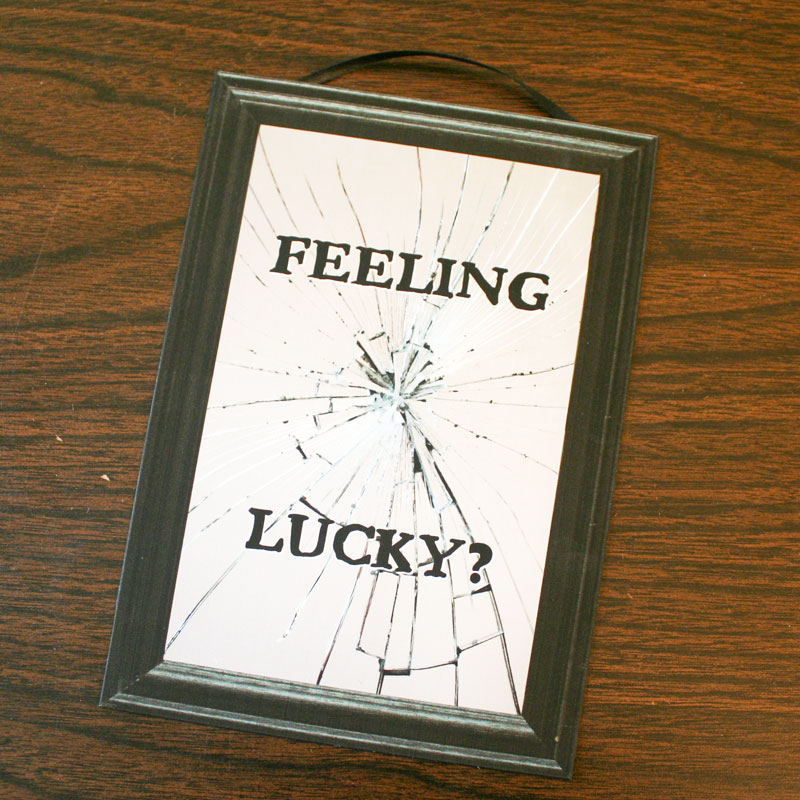
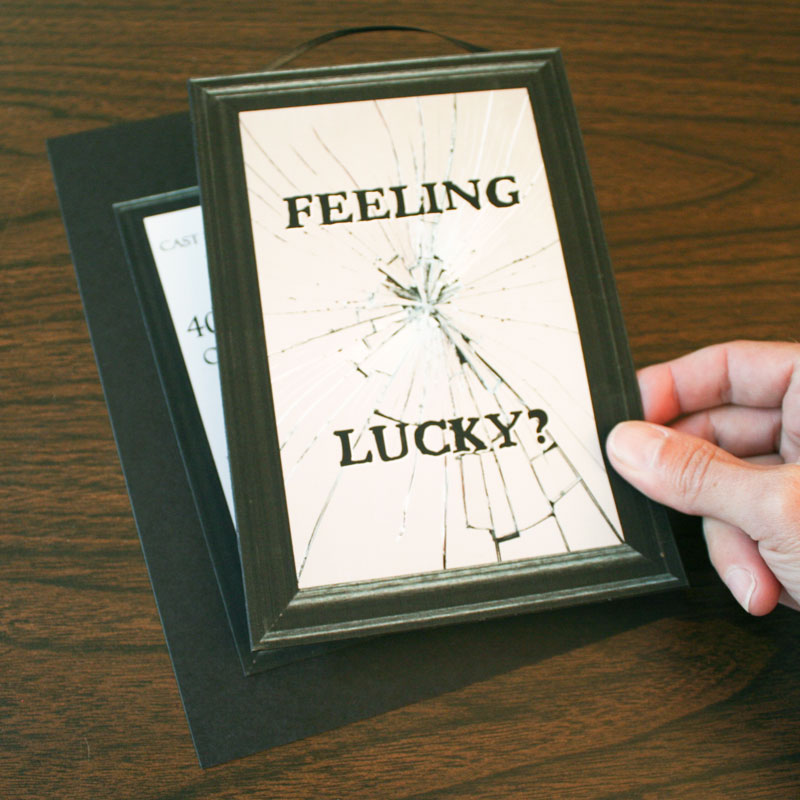
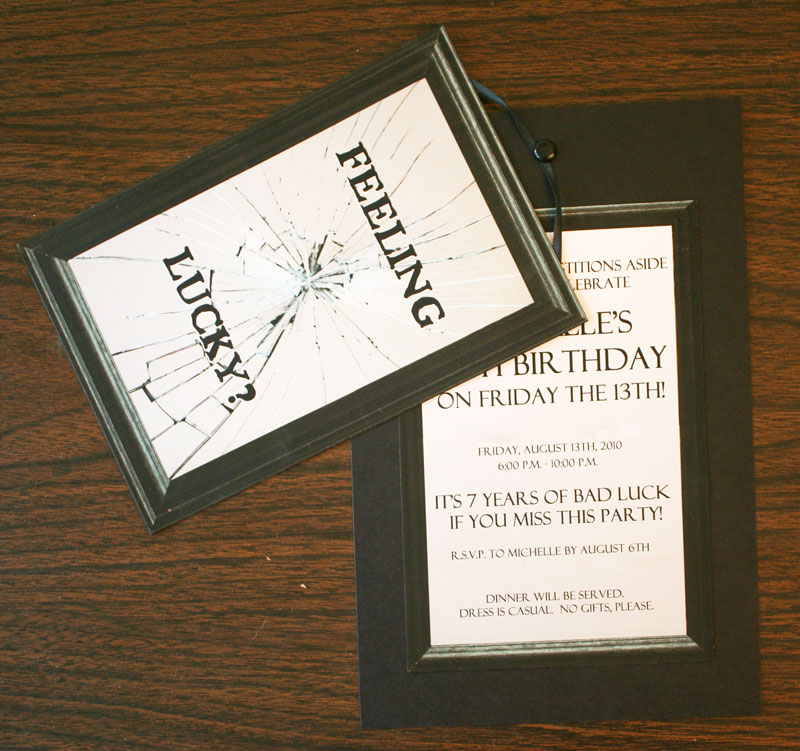
The party post has lots of details all about the party game, decorations, centerpieces, and menu, but here I'd like to focus on the party invitations, which featured the unluckiest of all images... a broken mirror! It hangs on the invitation just like a real mirror would hang on a wall, and you just swing it out of the way in order to read the party details behind it. This is a really fun twist to make your invitation interactive and extra special.
To make your own superstition party invite, start by downloading our free Broken Mirror Friday the 13th Party Invitation printable.
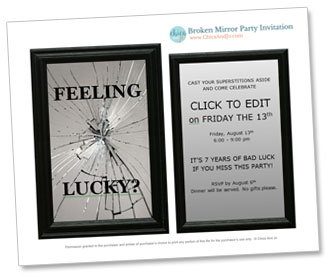
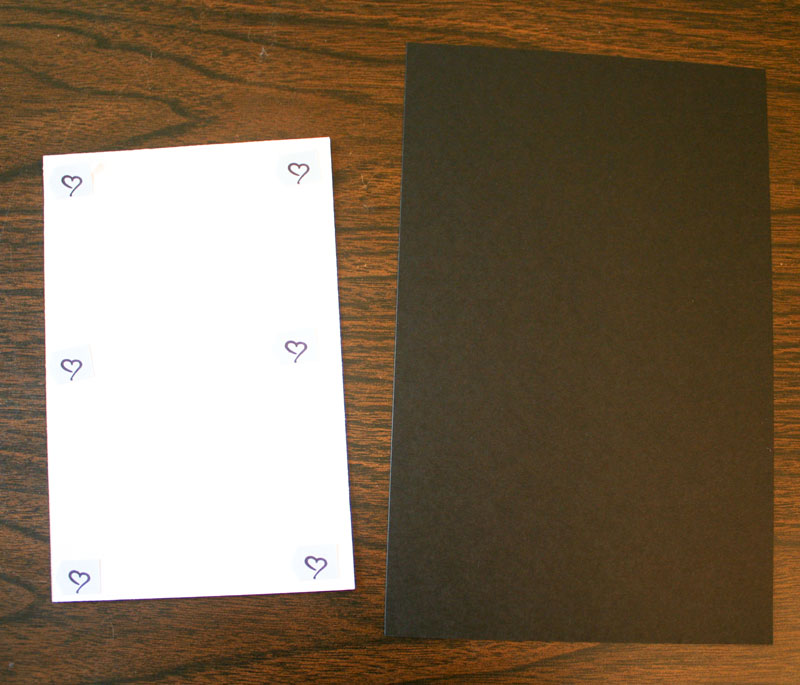
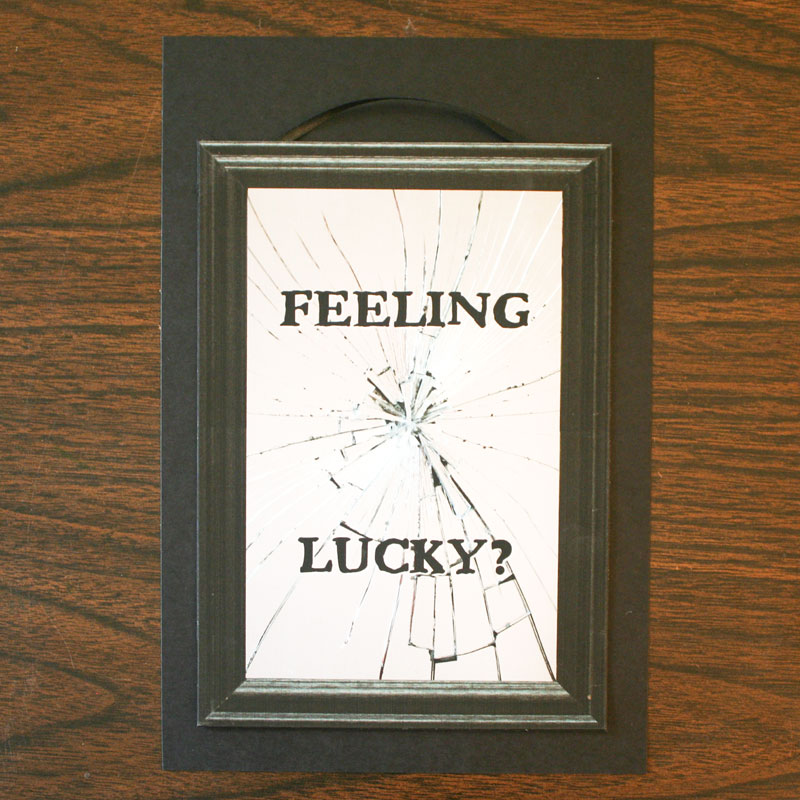
Once you've downloaded the DOCX file, open it in Microsoft Word/Office to customize it. Just click on the text you see, and adjust the wording, font, and style however you like with the details of your party. Then print it onto 8.5" x 11" white cardstock and cut the pieces out. Note that each invitation will have two pieces — a front with the "Feeling lucky?" design on it and an inside page with the party details.
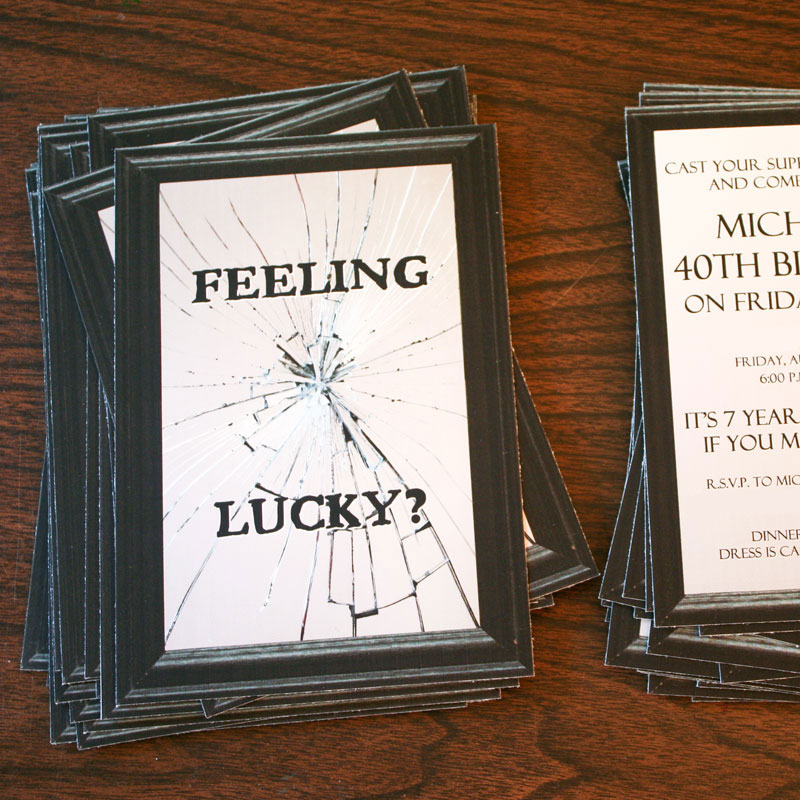
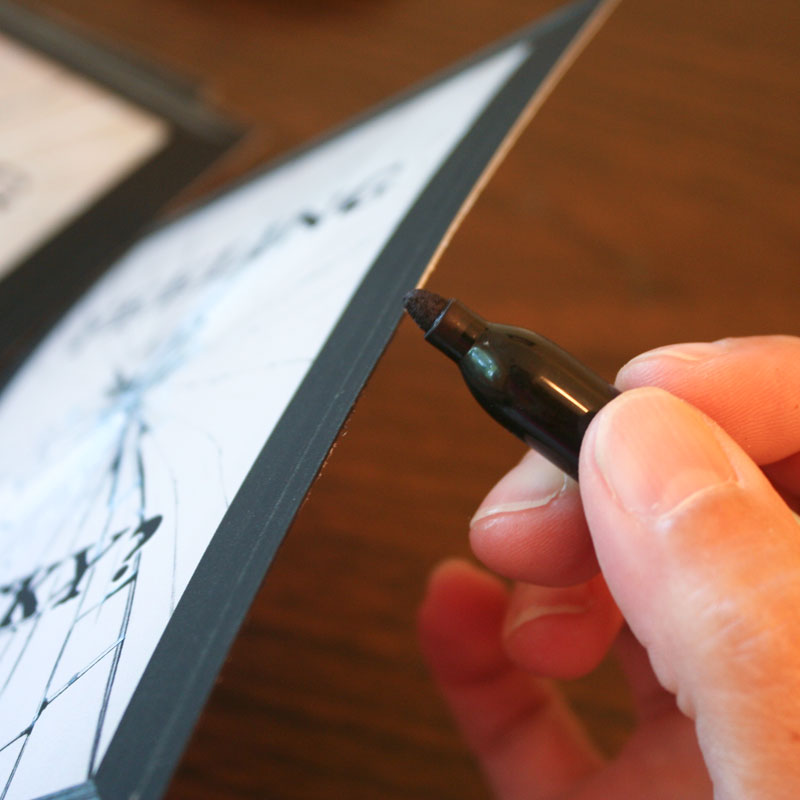
When you cut out all the pieces and stack them up, you may notice that the white paper core on the edges of the cardstock show up against the black frame, and doesn't look quite right. To fix that, take a black Sharpie marker and run it along each edge of each piece. This quick trick makes such an improvement on cut black edges!
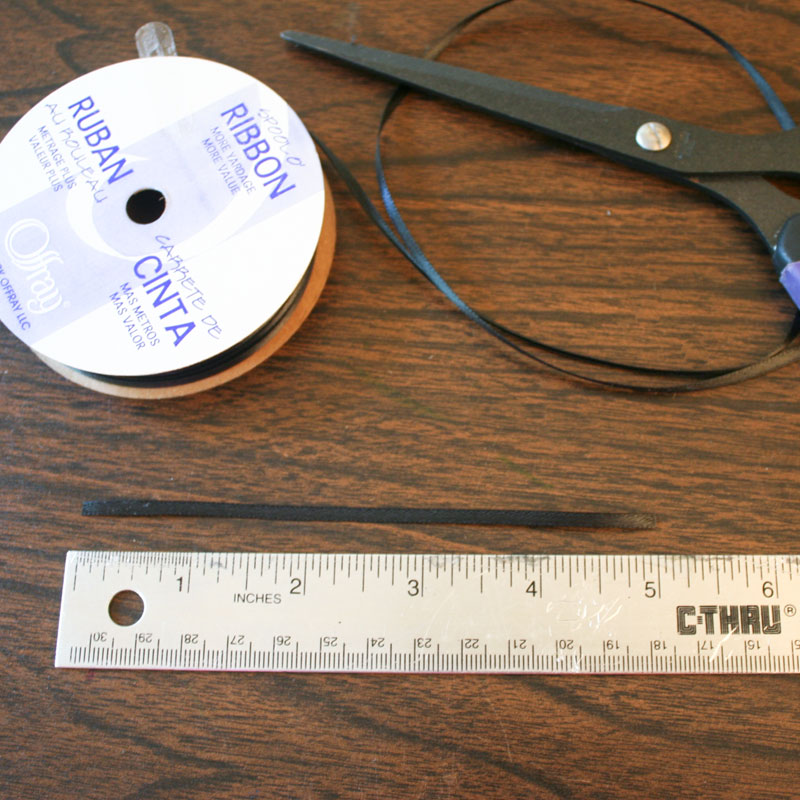
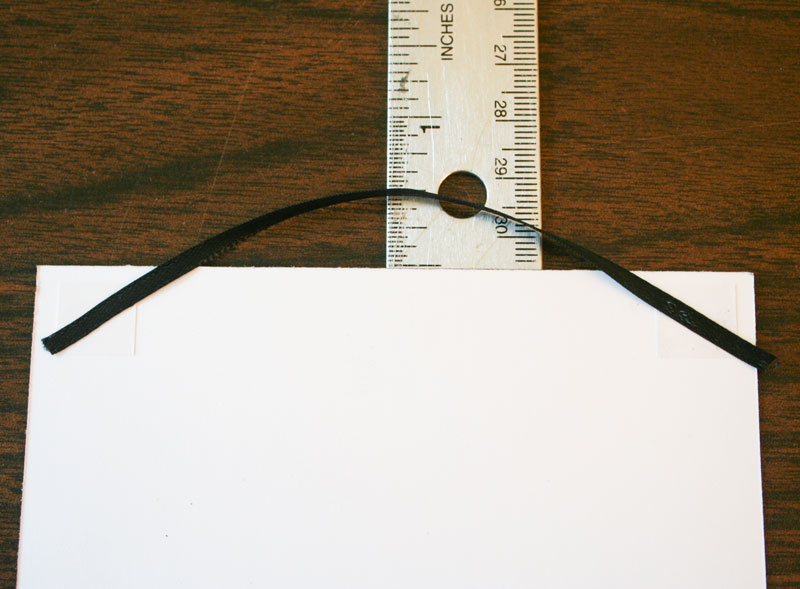
Take some 1/8" black satin ribbon and cut it to 5" lengths (one piece for each invitation).
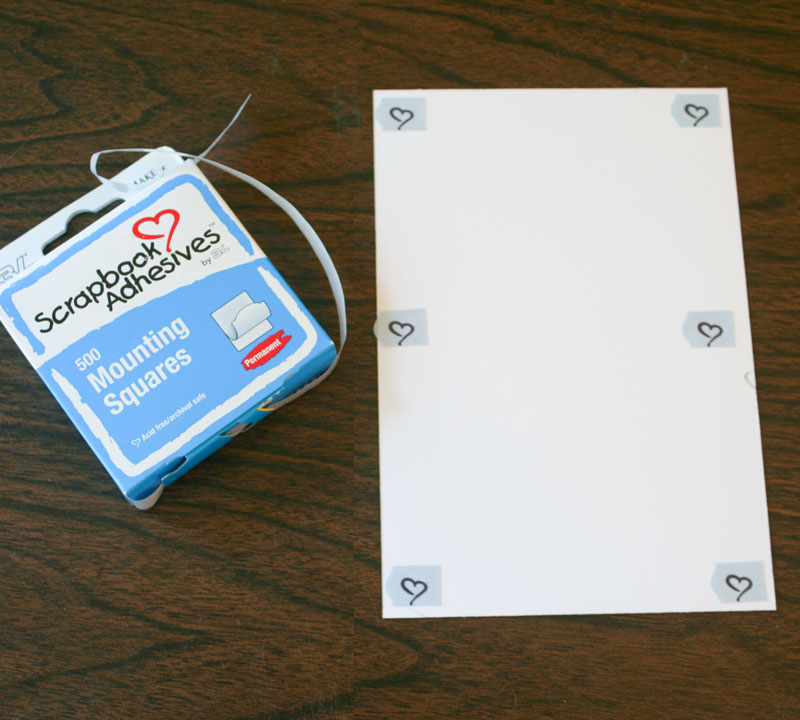
To put together the front of the invitation (the part that swings), start by taking one of the front pieces ("Feeling Lucky?") and put it face down on the table. Then put double-sided adhesive in each corner and along the sides. I used adhesive squares, but you can use anything you have that's got really good sticking power.
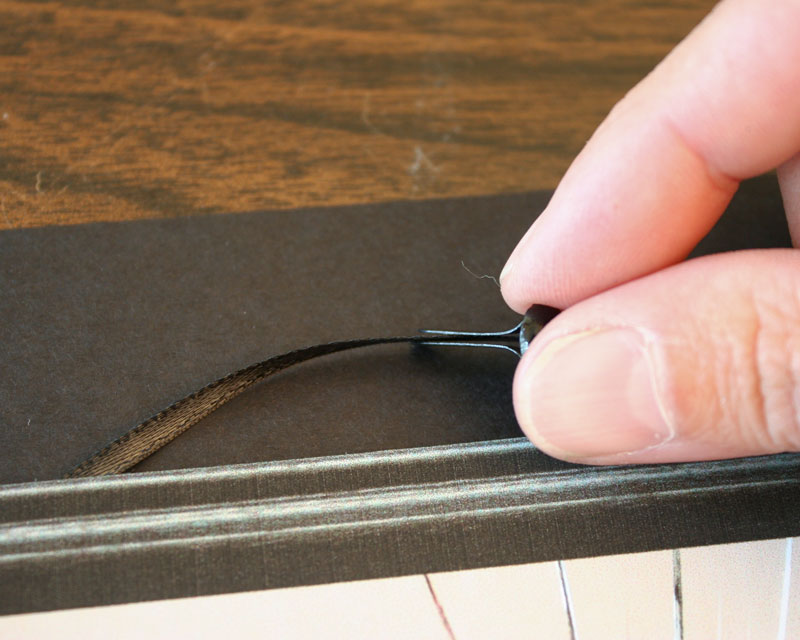
Stick the ribbon to the top two corners of the invitation, making sure that the top of the ribbon arch is exactly 1/2" up from the top. Don't make it bigger, or else your invite won't fit on the backer later.
With the ribbon and adhesive in place, stick the piece, face up, on a new piece of black cardstock. Make sure the top edge (where the ribbon is) lines up with one of the cut edges of the cardstock, so that you don't have to trim that side and risk cutting the ribbon.
Trim the backing cardstock so that it's the same size as the front piece.
The result should be a neat and clean mirror with a ribbon at the top that's sandwiched between two pieces of cardstock. This is the piece that's going to be swinging in the finished invitation, so it needs to look good on the front and back.
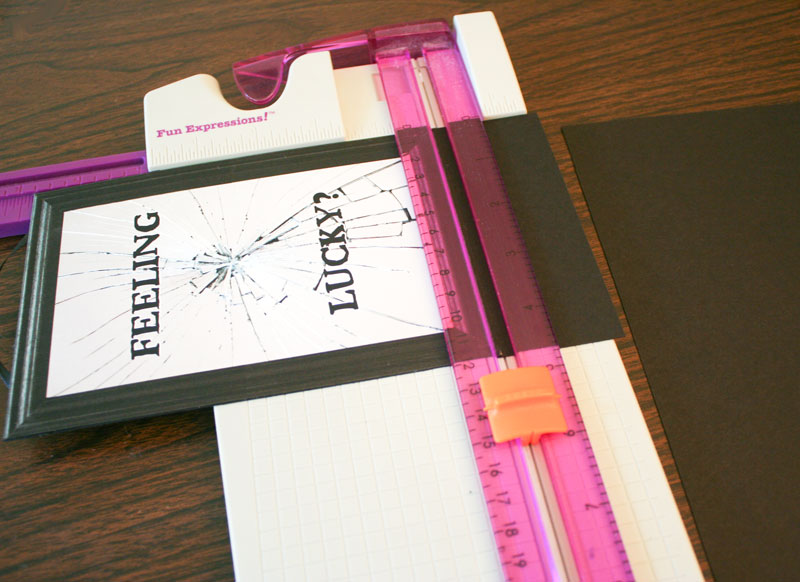
The mirror is done, so time to mount it! Grab some 8.5" x 11" sheets of black cardstock and use a paper trimmer to cut them exactly in half, resulting in two pieces that are 8.5" x 5.5". You'll need one of these half-sheets for each invitation.

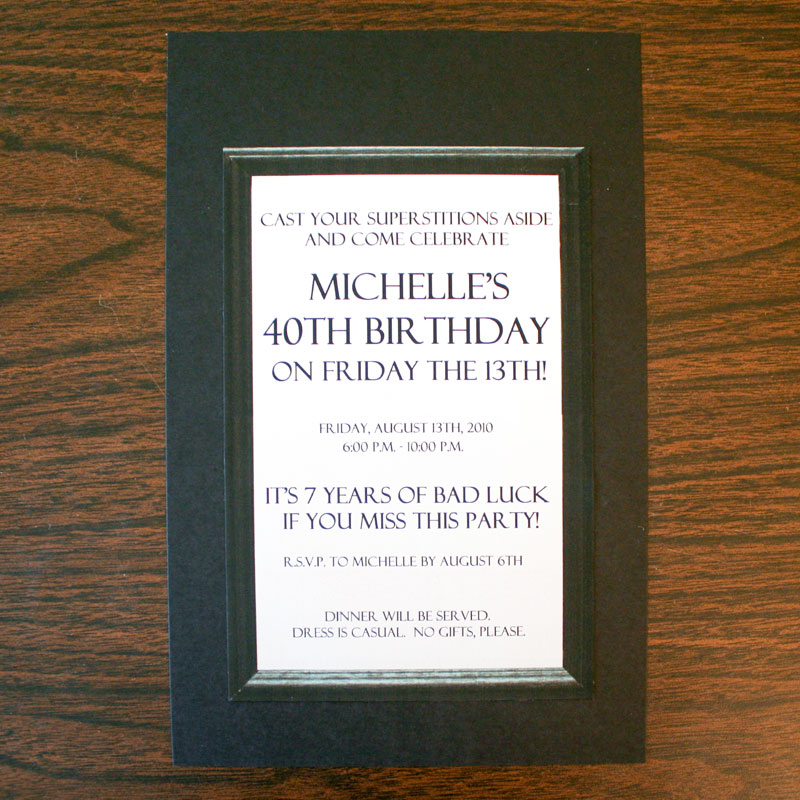
Place the inner invitation page (the smaller one, with the party details on it) face down on the table and put double-sided on the back. Grab one of your half-sheets of cardstock.
Then flip the card over and stick it to the black cardstock, and ALMOST center it — make sure that the left, right, and bottom all have equal space around them, but leave any extra length at the top.
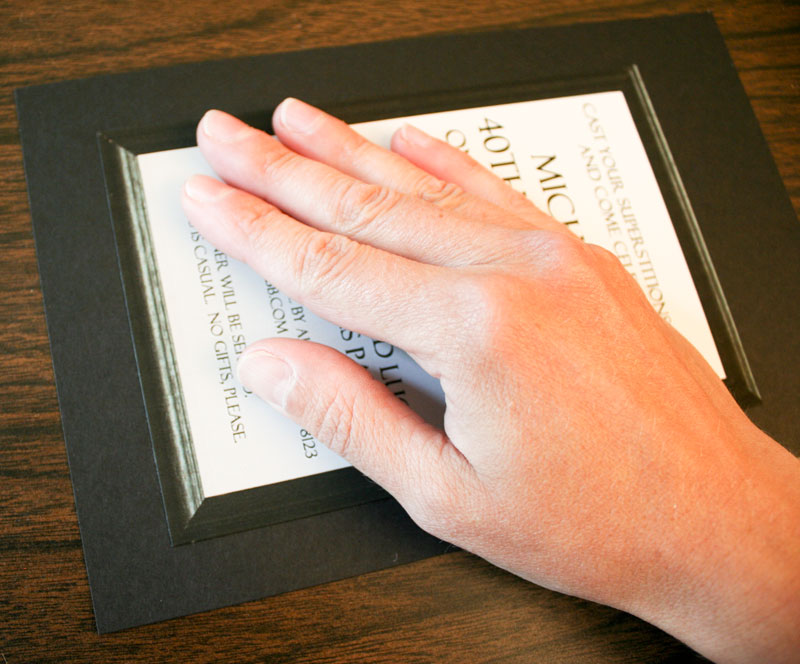
Take the finished front piece of your invitation and lay it on top of the back piece.
Center it so that it looks good on the page and covers the party details completely.
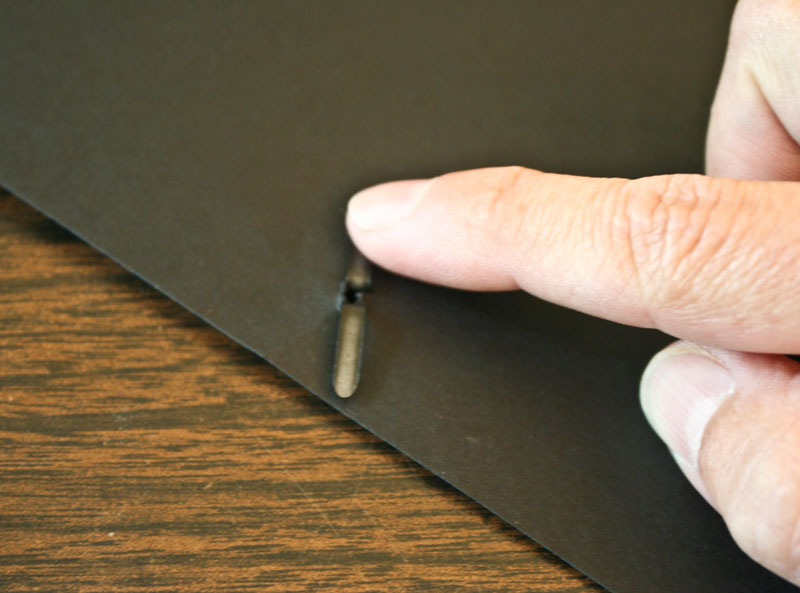
To hang the mirror on the card, all you need is a black brad. Put the ribbon between the two legs of the brad, and position the brad as high as you can on the card, so the ribbon makes a tight triangle.
Push the brad right through the back cardstock, making a hole and letting the legs stick out the back.
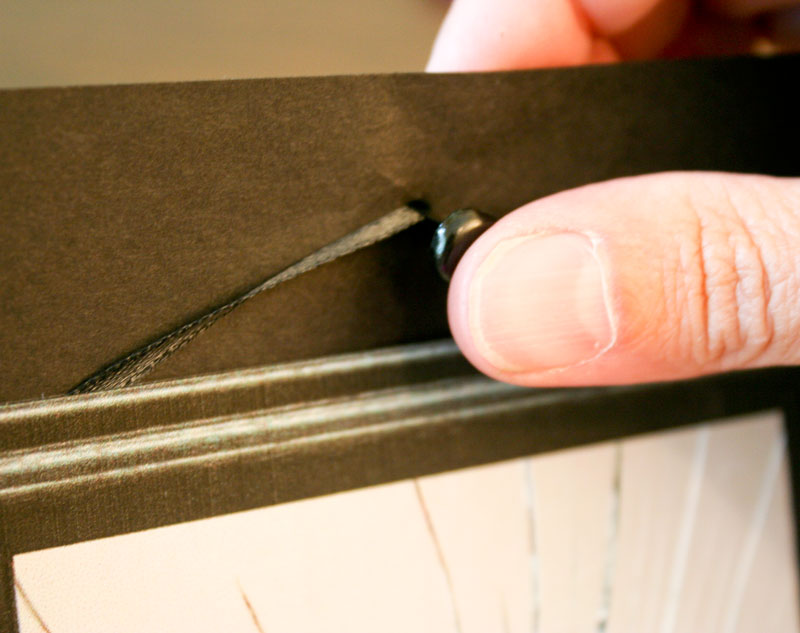
Open the legs in the back and flatten them, securing the brad in place.
And now your mirror is hanging on the front of the invitation!
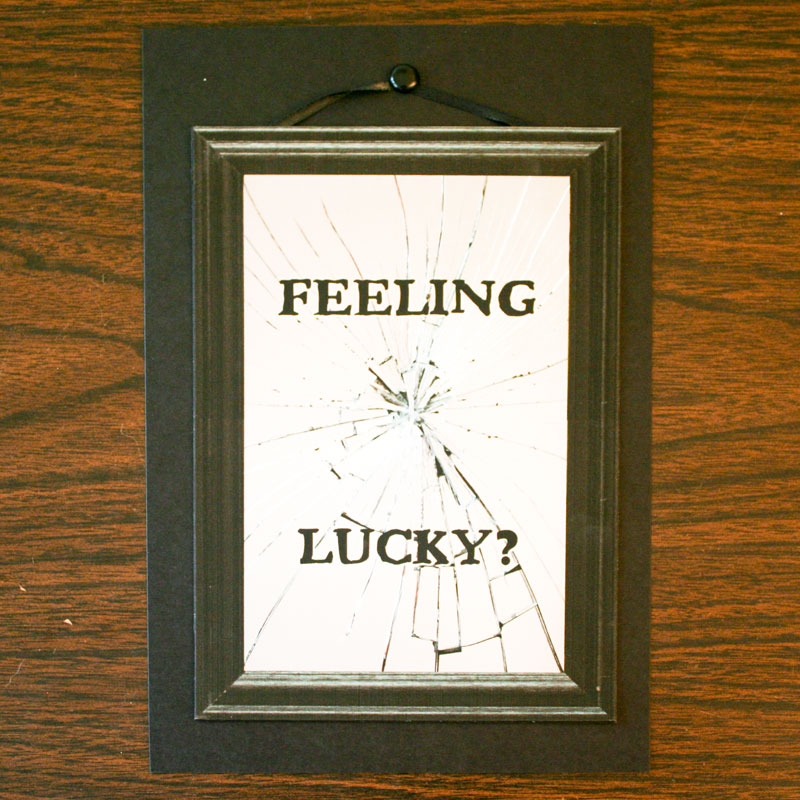
Your guests just need to swing the mirror out of the way to see the party details. Perfect!
The invitations are perfectly sized for a standard A9 size invitation envelope (5 3/4" x 8 3/4").
similar projects
Throw a Superstition Party for Halloween or Friday the 13th
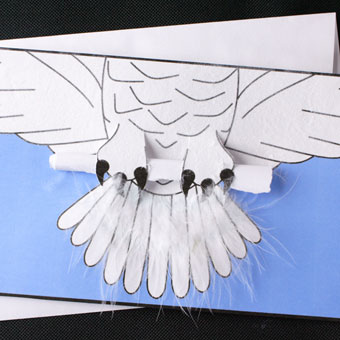
Harry Potter Hedwig Party Invitation
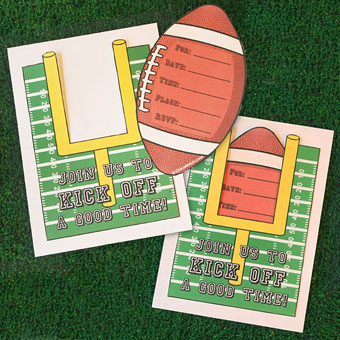
Printable Football Party Invitation


4 comments so far:
I used this template for my Friday the 13th Birthday party, and I have to say it was super fun and easy to do. They turned out perfect! Thank you so much!
So glad you liked it, Sarah!
Do you have a answer sheet for the quiz.
Julia, we answered your question over on our superstition party post. :)