


Ouija Board Party Invitation

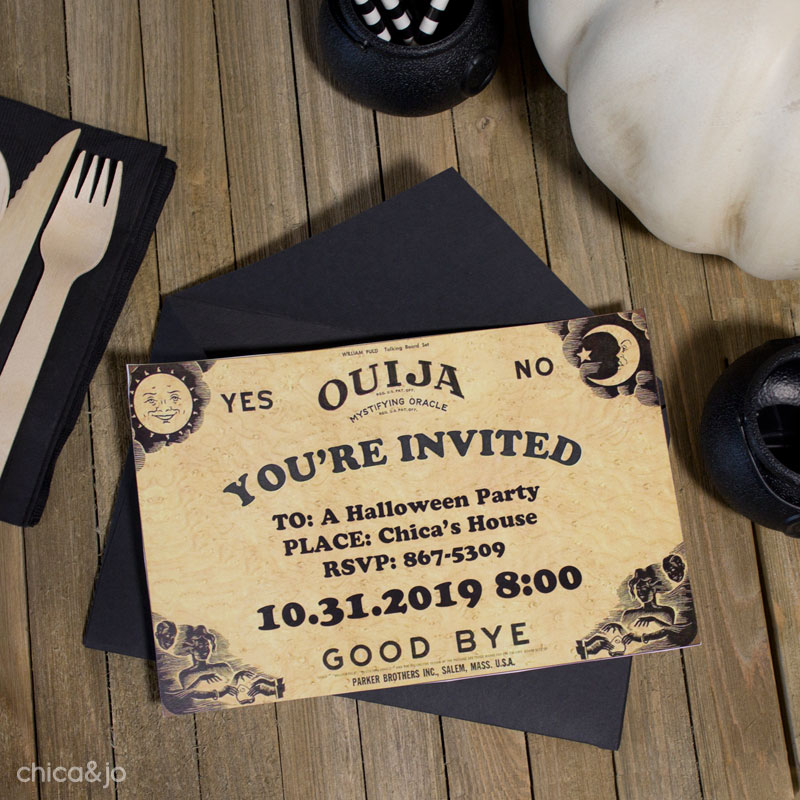
Our upcoming Halloween party prompted me to try and think of a unique invitation to send to our guests. I wanted something cool, mystical, and a little bit spooky. I decided to take inspiration from the classic Ouija Board and designed a Ouija invitation that can work for Halloween or any party or event with a magical or supernatural theme.
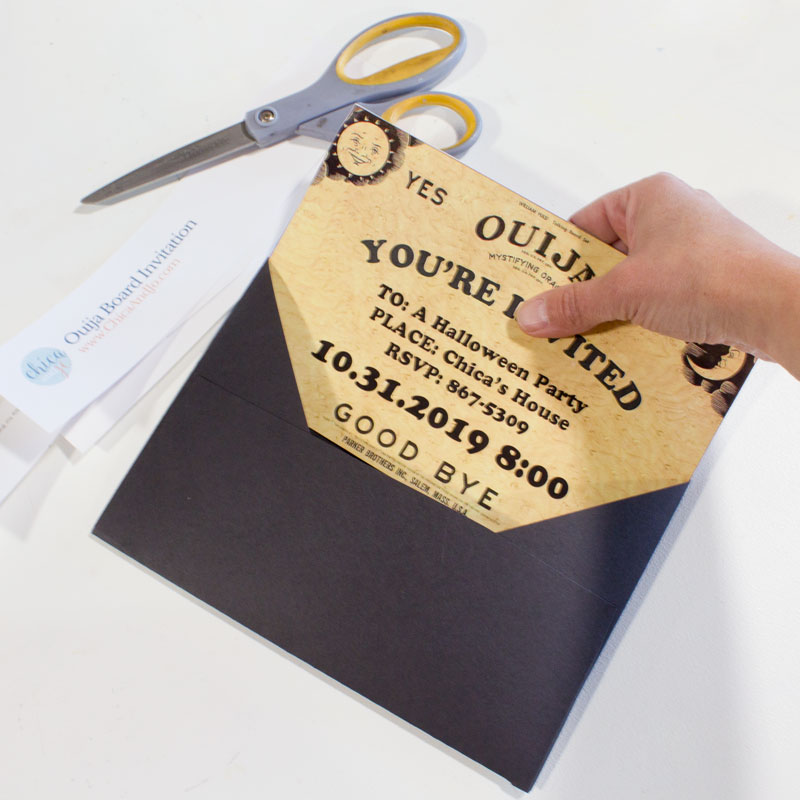
These Ouija invitations are easy to make, thanks to a download that we're happy to share with you. We made a coordinating Thank You card to go with the invitation, and even made them both customizable! Just download our free editable Ouija Board Invitation and Thank You Cards and open it in Word to get started.

Once you've edited the wording on the invitation to suit your needs, just print it onto white cardstock and cut it out. You'll find it fits perfectly in a standard A9 invitation envelope which measures 5-3/4" x 8-3/4".
This Ouija invitation really sets the tone for a supernatural Halloween party!
After the party, thank your guests with coordinating cards. We put a clever phrase on them by default, but you can edit the text in our download to suit your own needs, even adapting them to be save-the-date cards or RSVP cards for a Ouija-themed wedding!
Just print the card template onto white cardstock, cut them out, and fold in half. They'll fit perfectly in a standard A2 invitation envelope which measures 4-3/8" x 5-3/4".
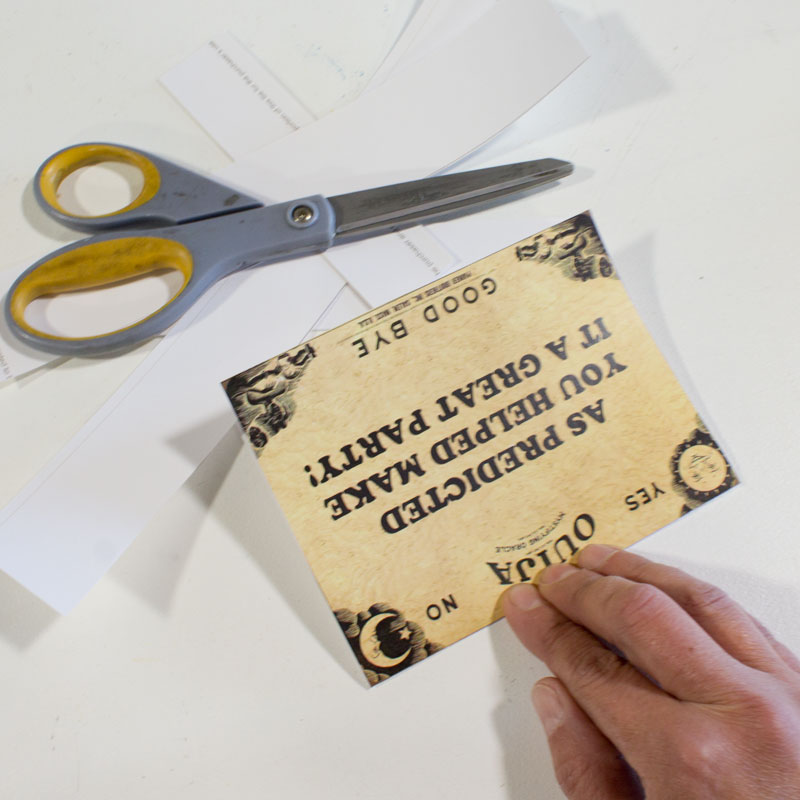
Coordinating Ouija thank you cards are the perfect way to not only thank your guests, but remind them of the amazing time they had at your party!

similar projects
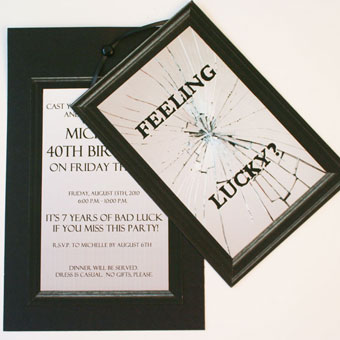
Superstition Party Invitation for Friday the 13th
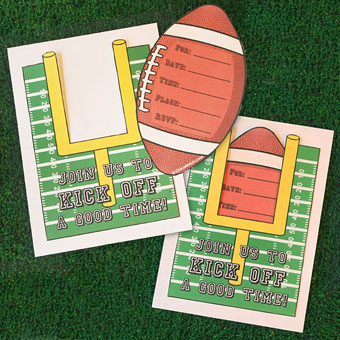
Printable Football Party Invitation
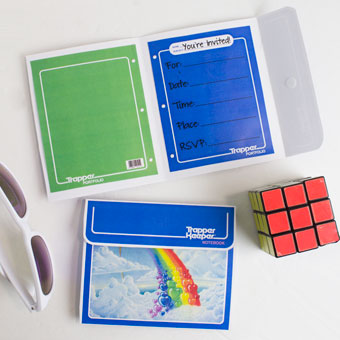
Trapper Keeper 80s Party Invitation


8 comments so far:
i love this! very cool :)
These are AWESOME! You're so creative. I'll be linking.
Seriuosly cool. And BTW, am I invited?
Marianne, I will have to check with my daughter to see if you made the guest list! :)
This is so great! Very creative and just awesome all around.
I saw this project on One Pretty Thing and quickly jumped over here to read about it. What a brilliant idea and I've saved your tutorial for a future party. Thank you so much for sharing it with us.
Junie, thanks for stopping by. We love Rachel over at One Pretty Thing as well!
Thank you... I made these invites for a psychic party that I threw.... Big hit!! I'm not the the least bit crafty, but these invites were easy, time consuming, and soooo much fun to make!!!! Thank you