


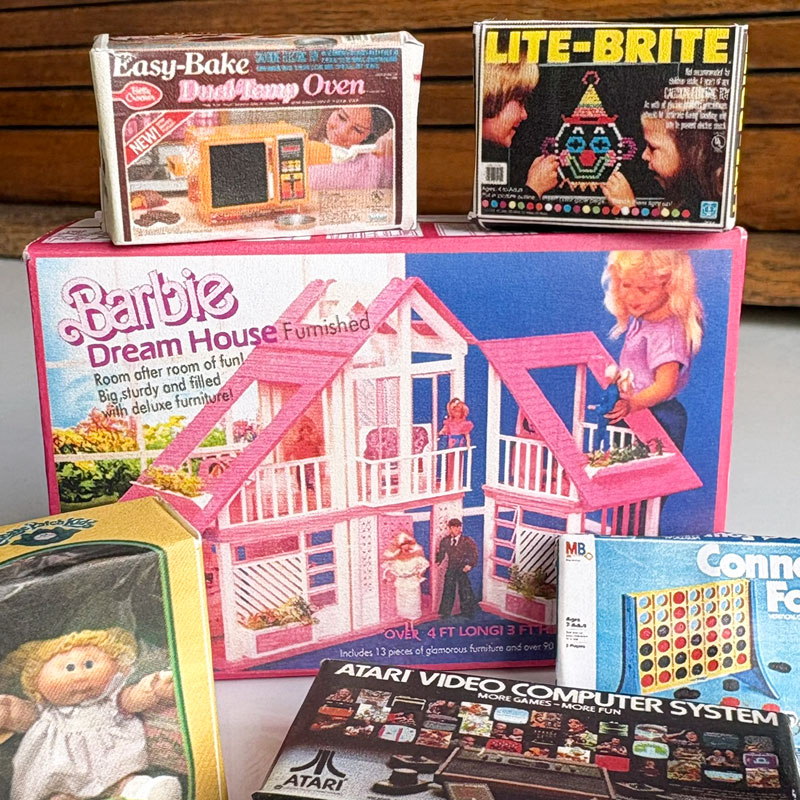
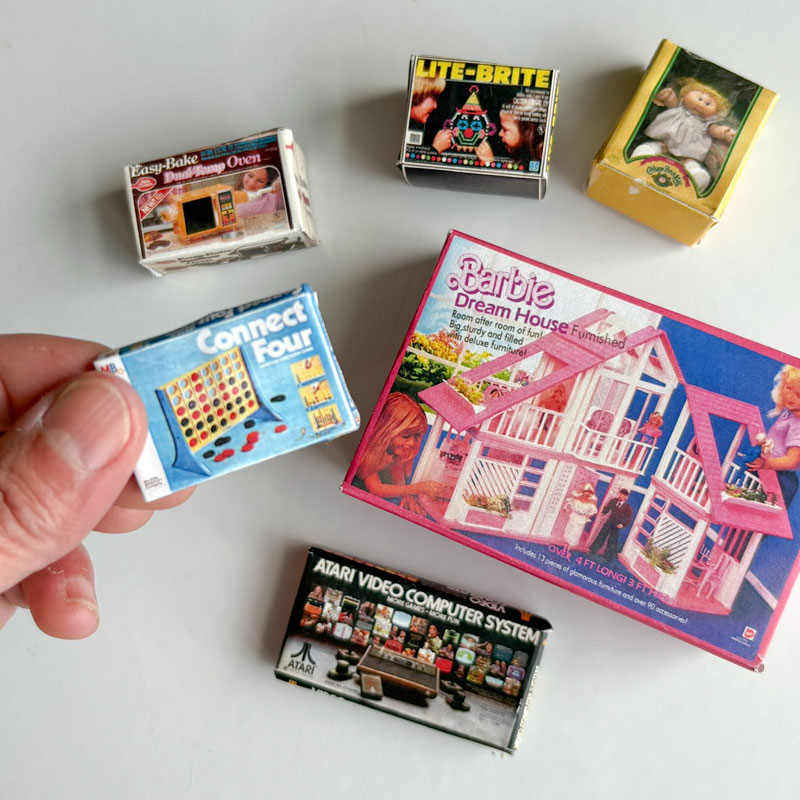
Tiny Vintage 80s Toys - Printable 1:12 Dollhouse Miniatures

Time to relive your 80s nostalgia with 1:12 scale dollhouse miniatures that look just like our favorite GenX toys. I've designed printable box templates to make minis that look just like the real thing.
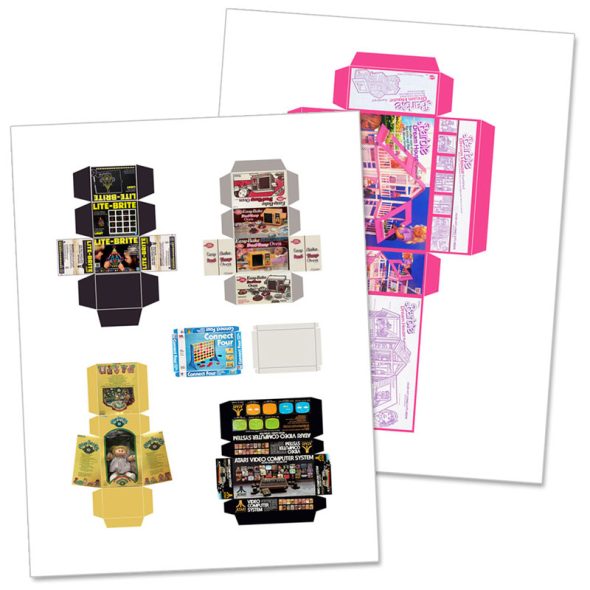
We've got templates to make these classic 80s toys:
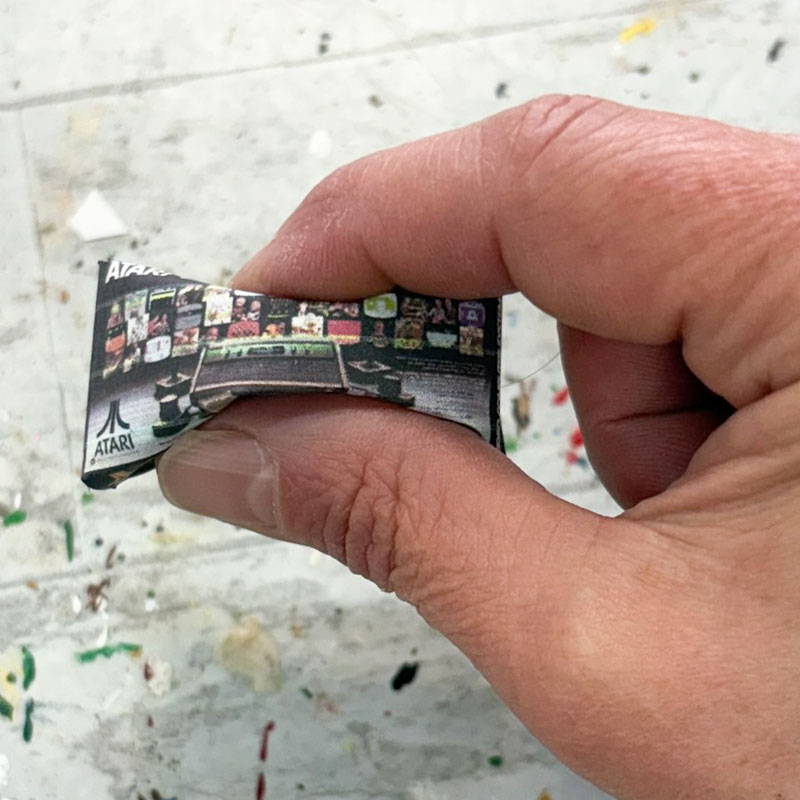
- Atari 2600
- Connect Four
- Easy Bake Oven
- Lite Brite
- Cabbage Patch Kids
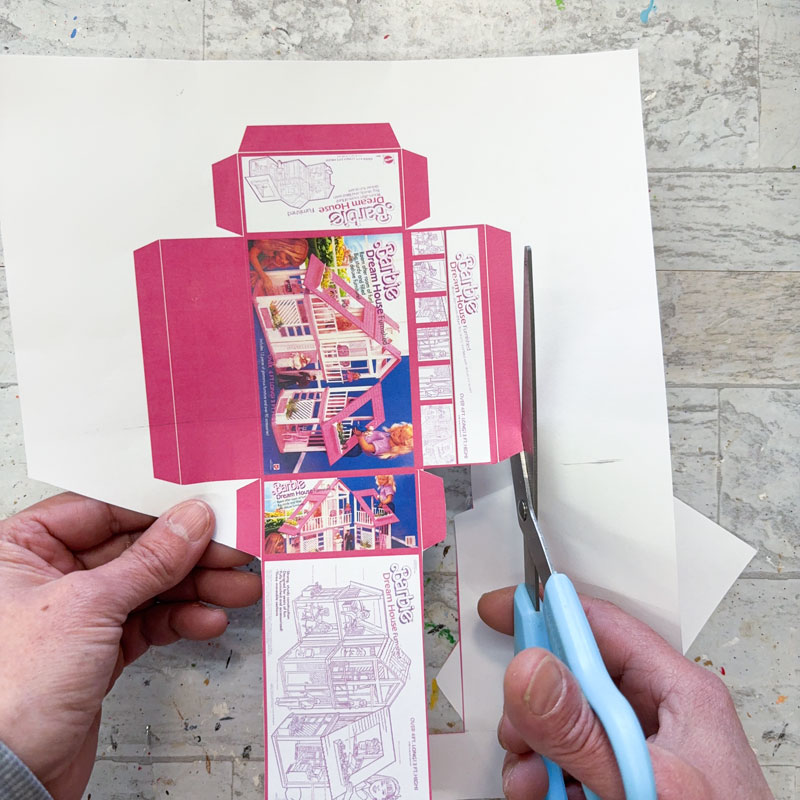
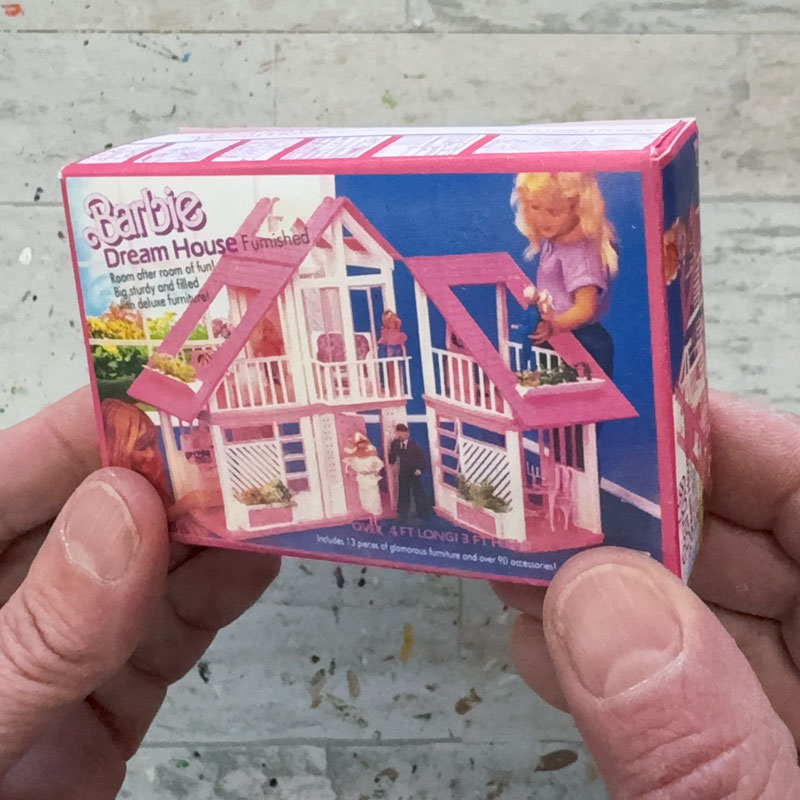
- Barbie Dream House
You can print, cut, and fold these templates to create perfect scale versions of the original product packaging from the 80s. Keep reading, and I'll show you how to make these minis.
INSTANT DOWNLOAD -
PURCHASE NOW!
80s Mini Toy Boxes Printables — $8.99
from here immediately after your purchase is complete*.
Have questions? Email us at chicaandjo@chicaandjo.com
* Files may be downloaded a maximum of 5 times.
How to use 80s toys miniatures
These mini toy templates are sized at 1:12 scale, which makes them the perfect size for most dollhouses.
They are a great addition to an 80s-themed room in your dollhouse or diorama.
But they're also fun on their own, as trinkets to put on your desk or as a unique gift for a GenX friend.
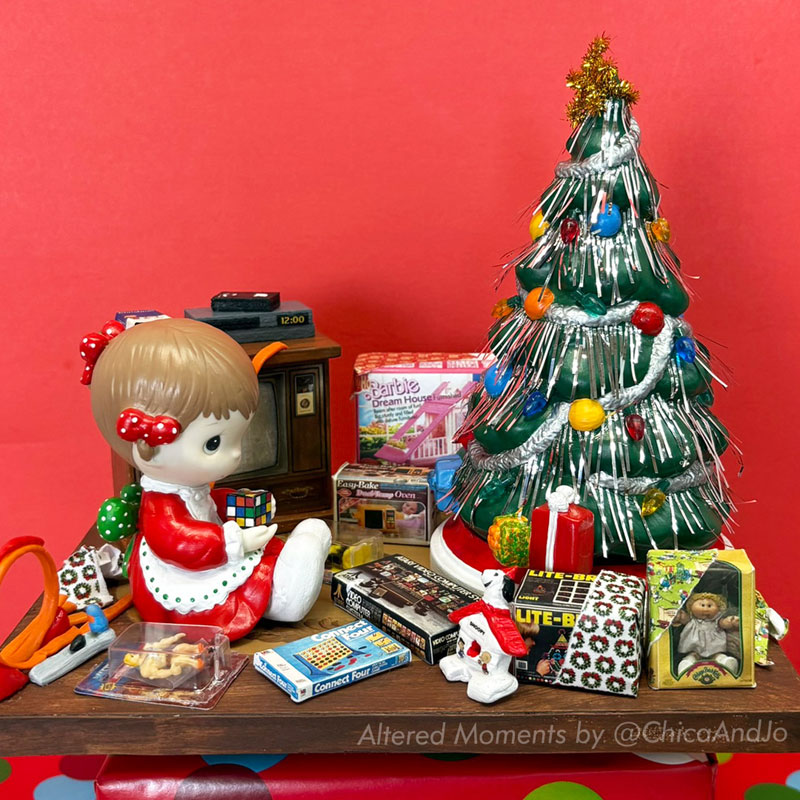
I first designed these to use in my "80s Christmas morning" Altered Moments creation. (Read our Altered Moments story to learn more about this trend) My girl woke up on Christmas morning to a classic 80s scene, complete with classic toys and iconic, tinsel-covered tree.
How to make dollhouse miniatures from printable templates
Turning these templates into miniatures is pretty easy - just print, cut, fold, and glue. Let me walk you through it, step by step.
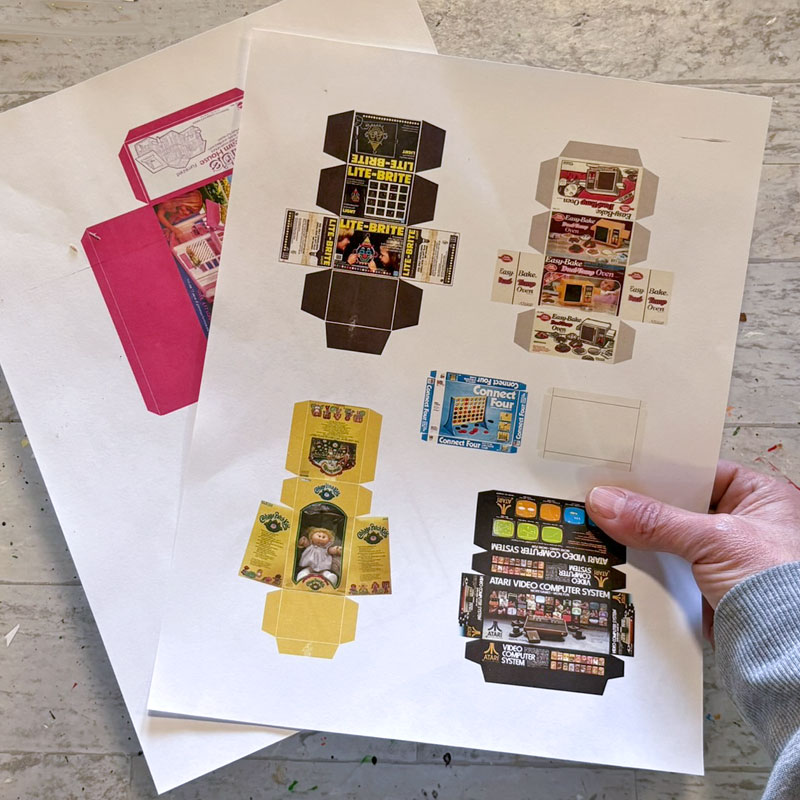
Step 1: Print the templates
The templates are sized perfectly to print onto standard 8.5" x 11" stock. If you have access to a laser printer (rather thank inkjet), you'll get richer colors and a satin-y finish that will look more like real packaging.
The paper choice is up to you, and there are pros and cons to each.
If you use cardstock, you'll get a stiffer box that's fairly sturdy, but the folds won't be as crisp and the color (especially black) will crack along the crease, revealing the white fibers below.
If you use regular copy paper, you'll get crisp, clean folds, but the overall box will be pretty flimsy and easy to accidentally crush.
My recommendation is to use regular copy paper and a laser printer, and use my advanced technique below for creating sturdy, crush-proof boxes.
Step 2: Cut and fold
Carefully cut out the templates, taking note of the tabs.
Fold the template along each edge of each panel/tab.
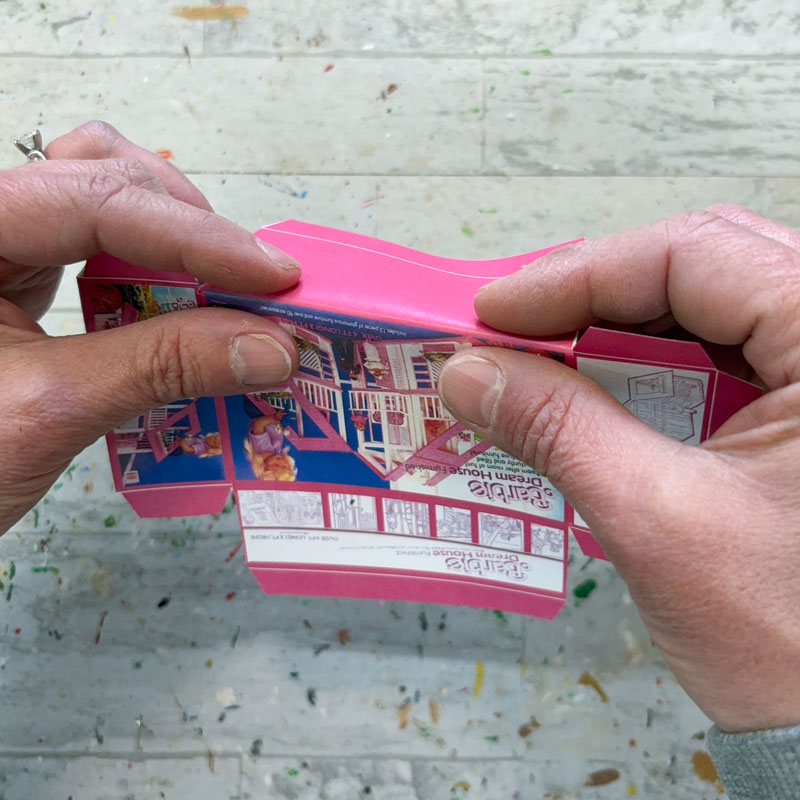
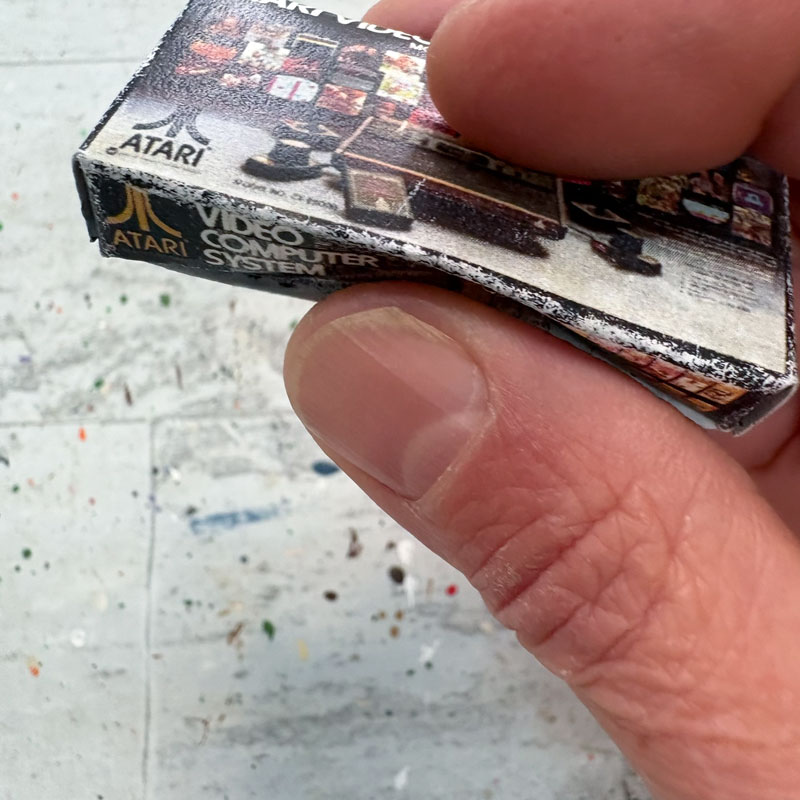
Step 3: Assemble
Once all the edges are folded, your box will sort of cave in on itself and you'll see how it goes together.
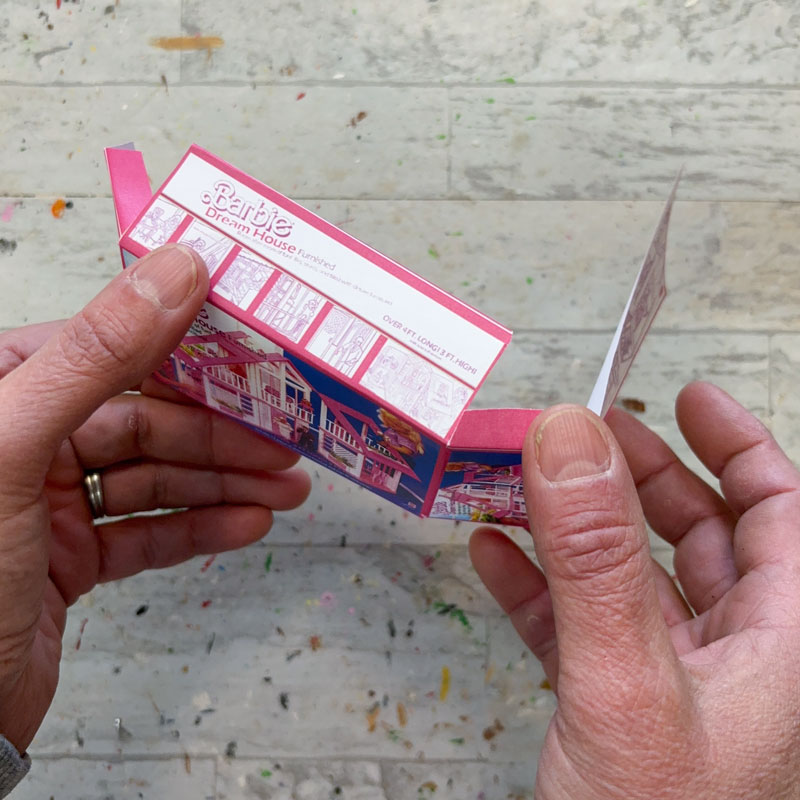
Tuck the tabs under the flaps they line up with, and use double-sided tape or paper glue to secure them in place.
Advanced technique for crush-proof boxes
Now that you know the basic steps for creating your mini boxes, let me show you my cool technique for making them more durable and crush-proof.
The trick is to fill the boxes with something solid so that they can't be crushed. It makes them so much more durable and gives them some weight, which makes them more satisfying to hold and play with.
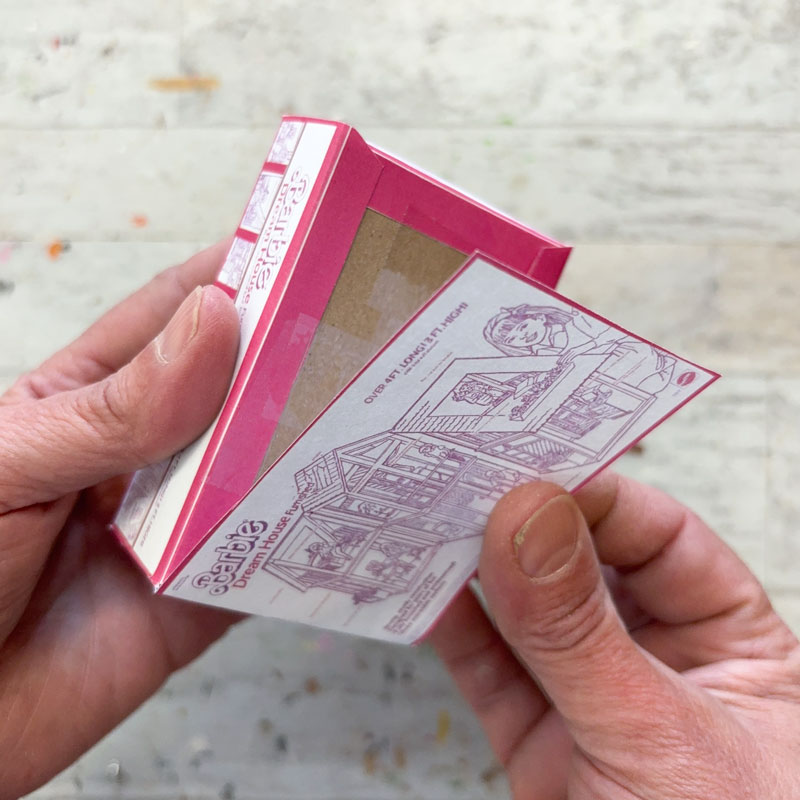
The secret supply to fill them? Chipboard.
Chipboard is a great choice because it's inexpensive, crush-proof, easy to cut, and has a good weight to it.
Just cut a bunch of pieces of chipboard to the size of the box and stack them up until you get the thickness needed to completely fill the box.
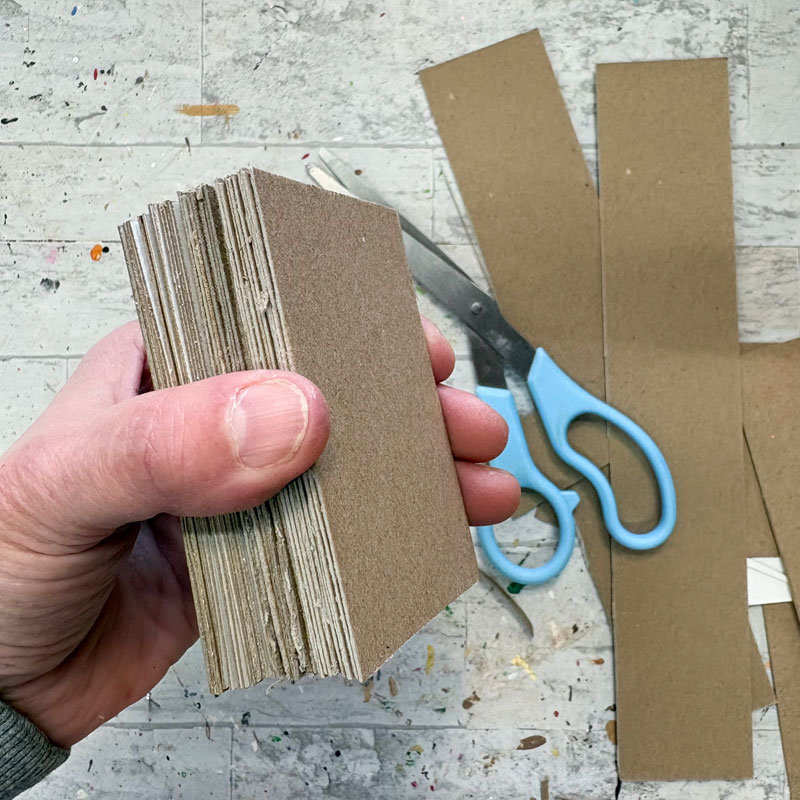
By the way, if you don't have any chipboard in your craft supplies, it's also easy to find around the house. Check the backs of old notepads, cereal boxes, or even soda cartons.
When you've built up the thickness you need, wrap some tape around the stack to secure them all in place and create a solid block.
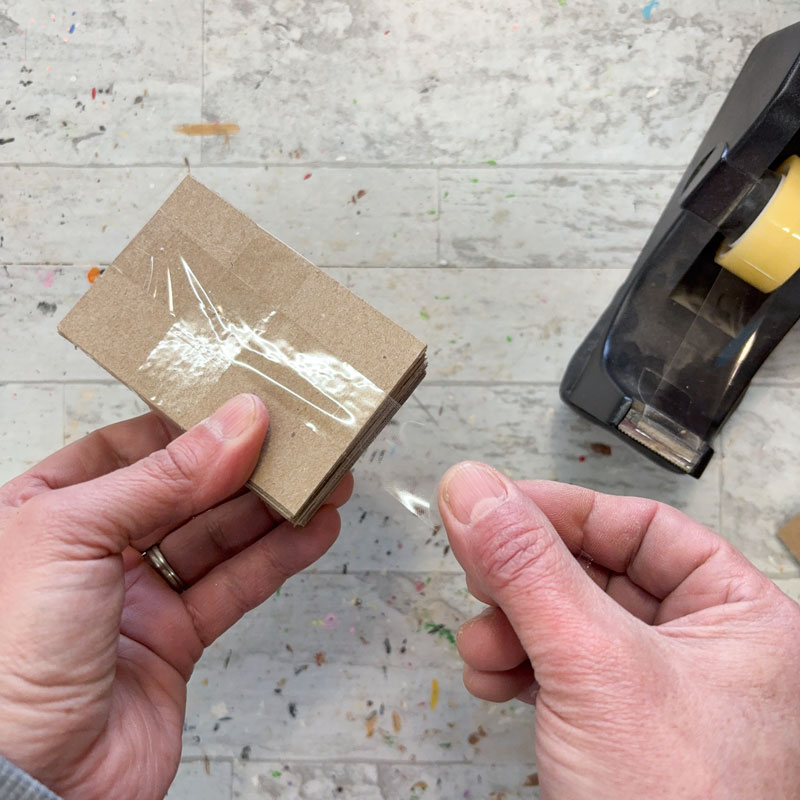
Now just wrap the template around the block and start attaching it at the tabs, just as before. You'll find it's SO MUCH easier to do with that solid block underneath.
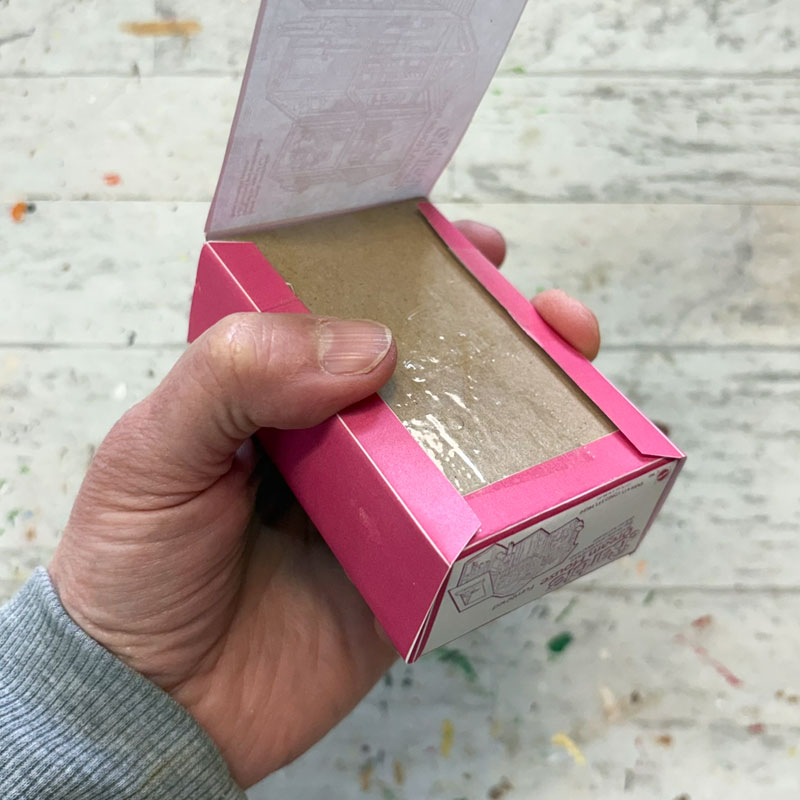
And when you get to that last flap, you'll have a solid base underneath that will let you actually press the flap down firmly in place without risking crushing the box.
This solid interior makes the boxes stackable and easy to handle without fear of damage.
Aren't they just perfectly delightful? Did I miss any of your favorite 80s toys? Let me know in the comments below, and maybe I'll add them to the set!
similar projects
Printable Christmas Cards and Tags from Vintage Cake Picks
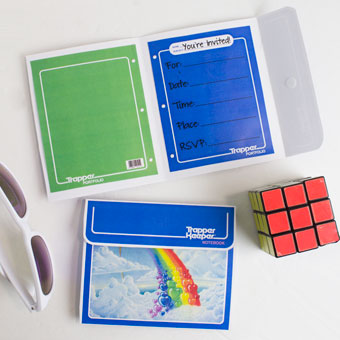
Trapper Keeper 80s Party Invitation
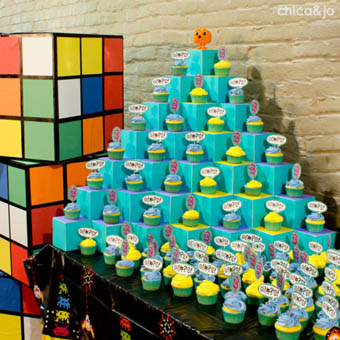
80s Party Cupcake Display with Donkey Kong and Qbert


