


Redo Dollar Store Christmas Ornaments

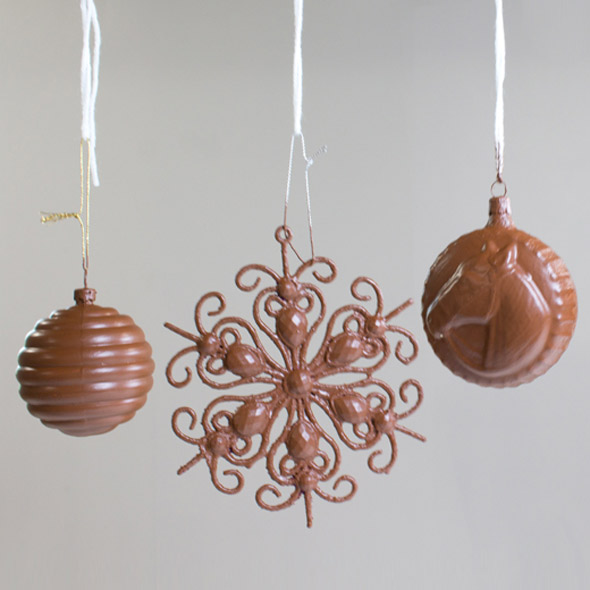
Looking through my Christmas decorations, I found a bunch of outdated, inexpensive Christmas ornaments that were ready for either the trash or a whole new look. They were mostly dollar store ornaments that I'd picked up years ago to fill space on my tree, but I didn't need them anymore. They weren't old enough to be vintage and cool, they were just outdated. They had good bones, and just needed a refresh in their style and color. I'm going to have a rustic Christmas tree this year, so I wondered if I could somehow transform them to look like metal ornaments.
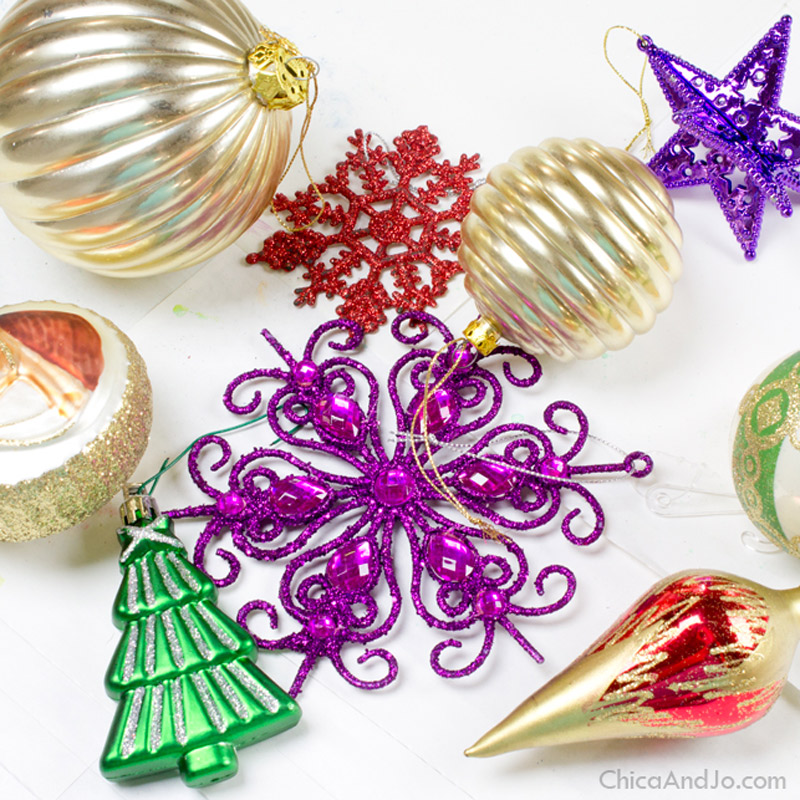
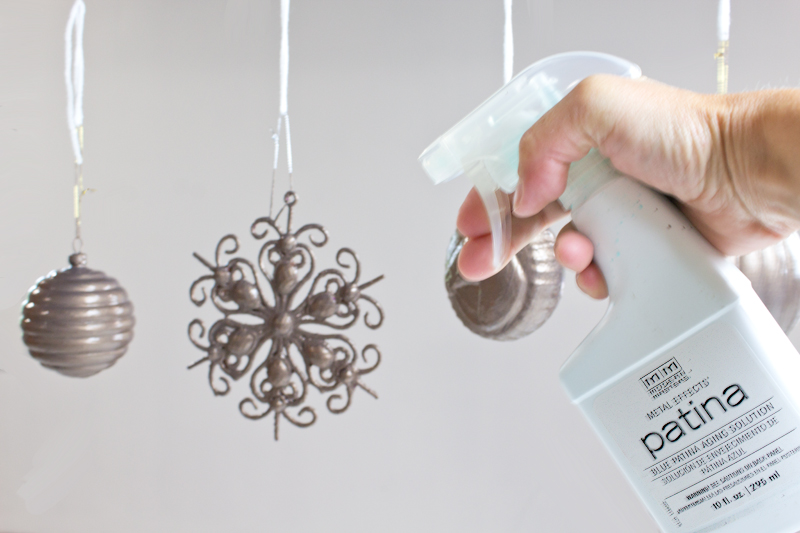
I found just what I needed to transform these dollar store ornaments into rustic Christmas decorations with the Metal Effects Blue Patina Kit from Modern Masters. Could I really turn plastic into aged metal with a blue patina finish? I totally did, and it worked so much better than I thought it would!

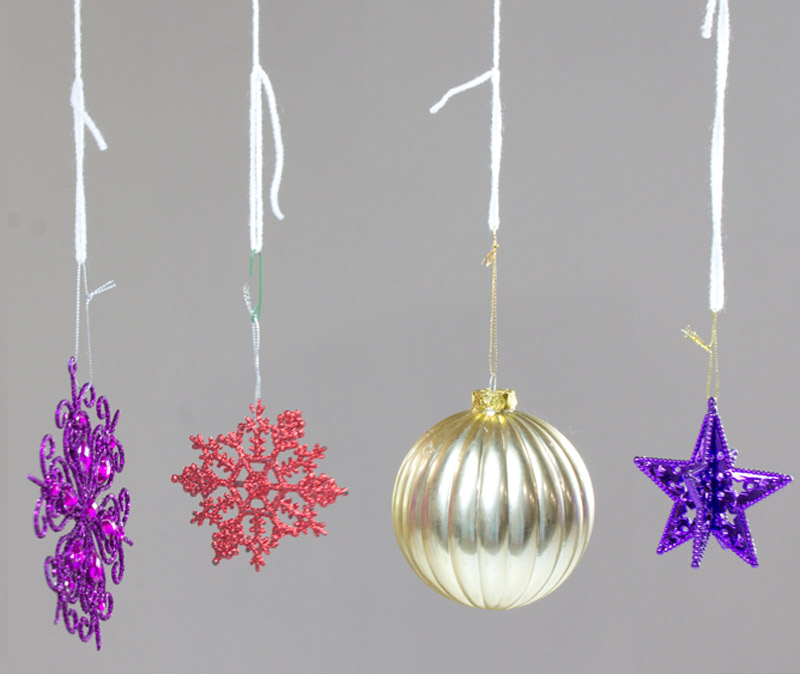
To make them easier to paint and dry, I hung all the ornaments from a piece of string.
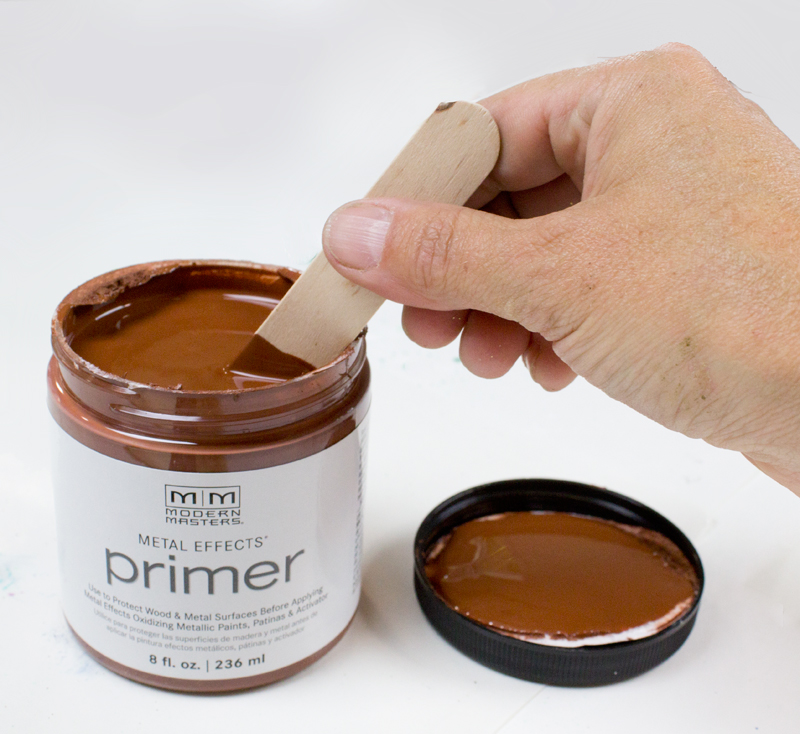
The first step is to coat them with the primer. I stirred it with the included stick to make sure it was mixed well.
Then I painted all the ornaments — even the glitter-covered ones — and sealed everything up. Did you catch that? Glitter. I painted over purple glitter on a cheap plastic ornament, and it worked!
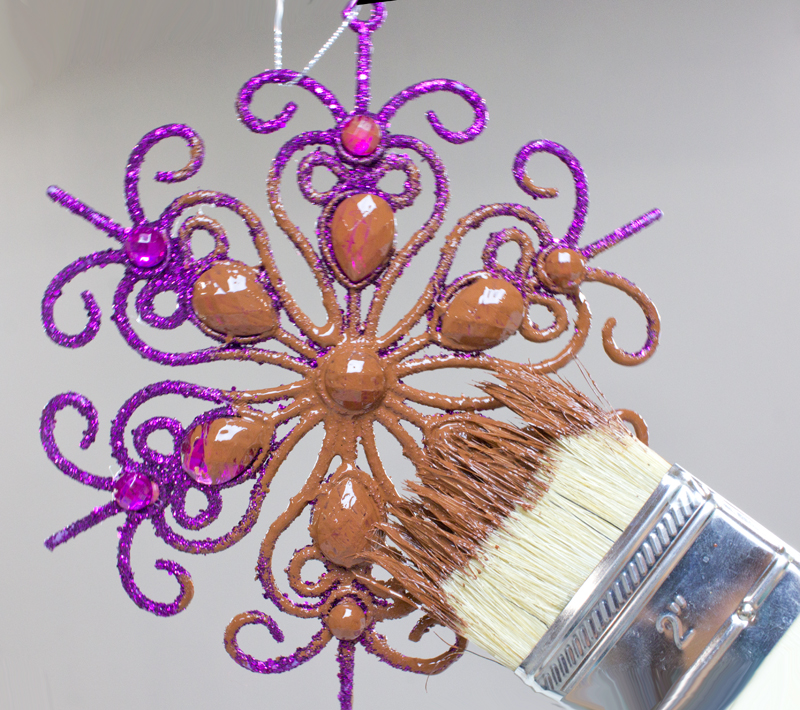
The primer stuck like crazy to everything I applied it to. I left the primed ornaments to dry according to package directions.
Next up was the bronze paint. It has actual bits of metal dust in it, so it needs to be stirred well before application.
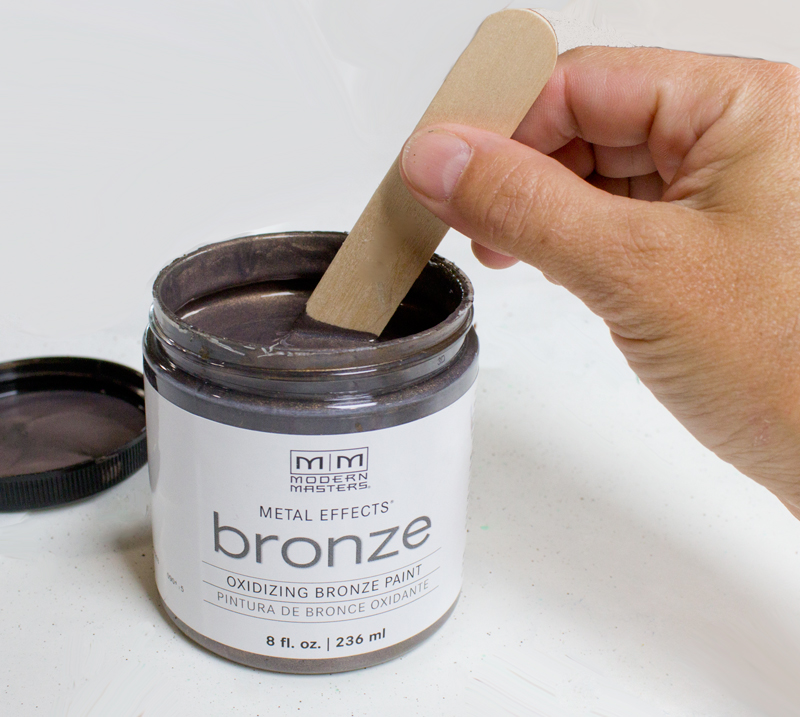
The bronze paint went on over the primer, and coated really well.
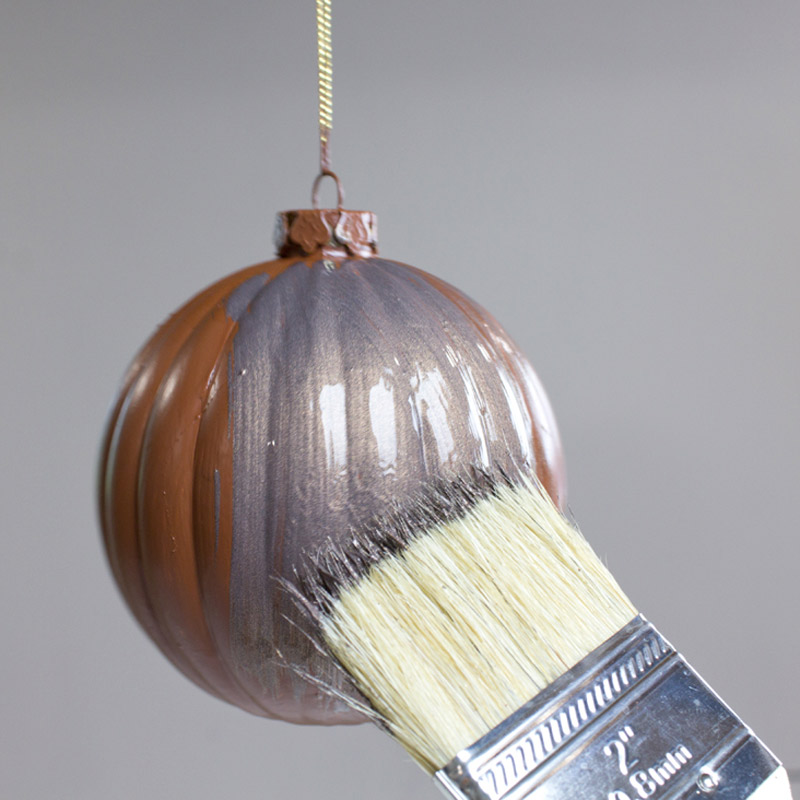
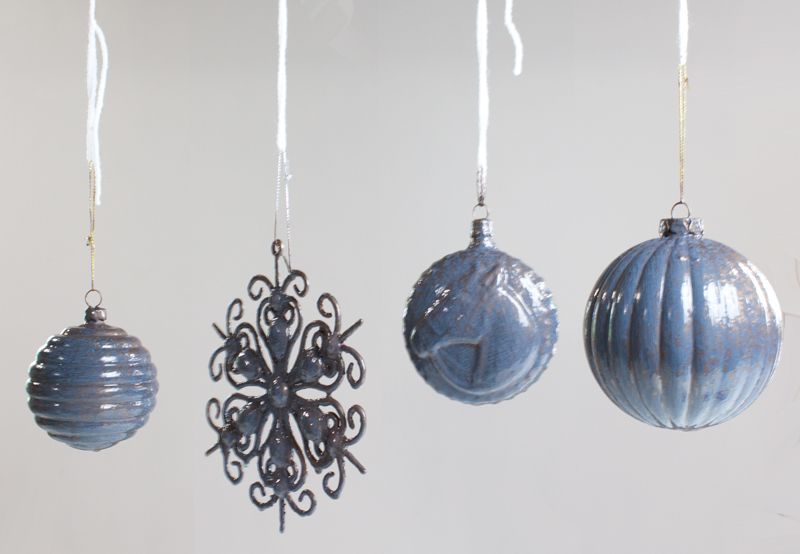
I was actually quite pleased with the soft gray finish at this step... but I wasn't done yet!
Per the directions, I immediately applied the blue patina spray.
Within a few minutes, the oxidization started to take happen. This isn't just faux paint finish, folks. This is real patina forming!
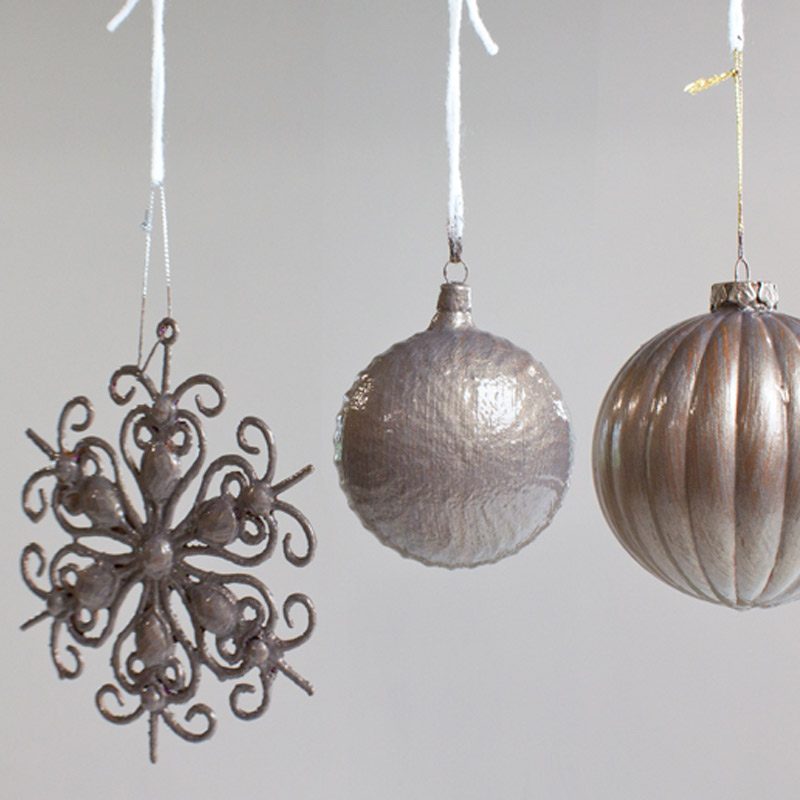
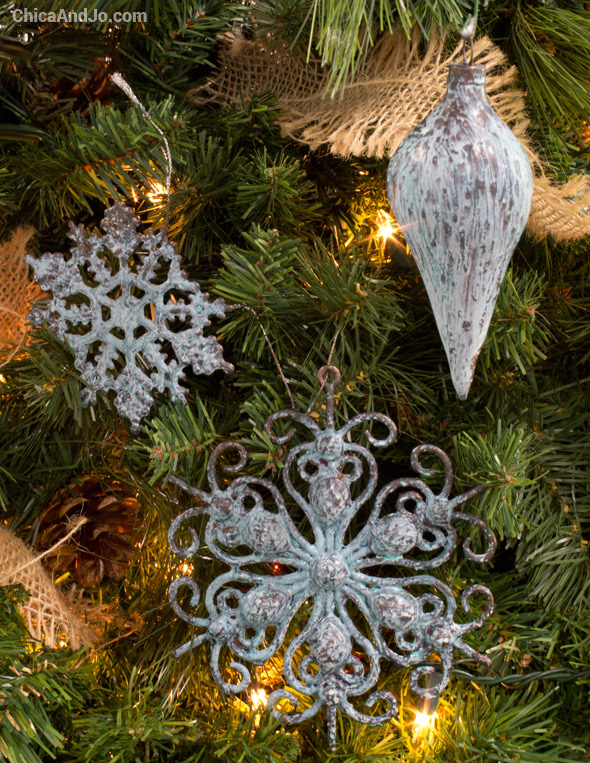
When it was fully dry and oxidized, I couldn't believe the beautiful result.
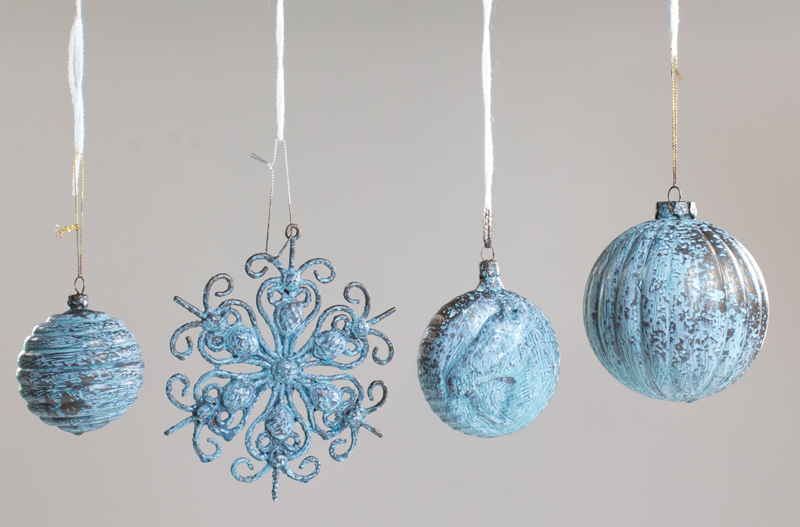
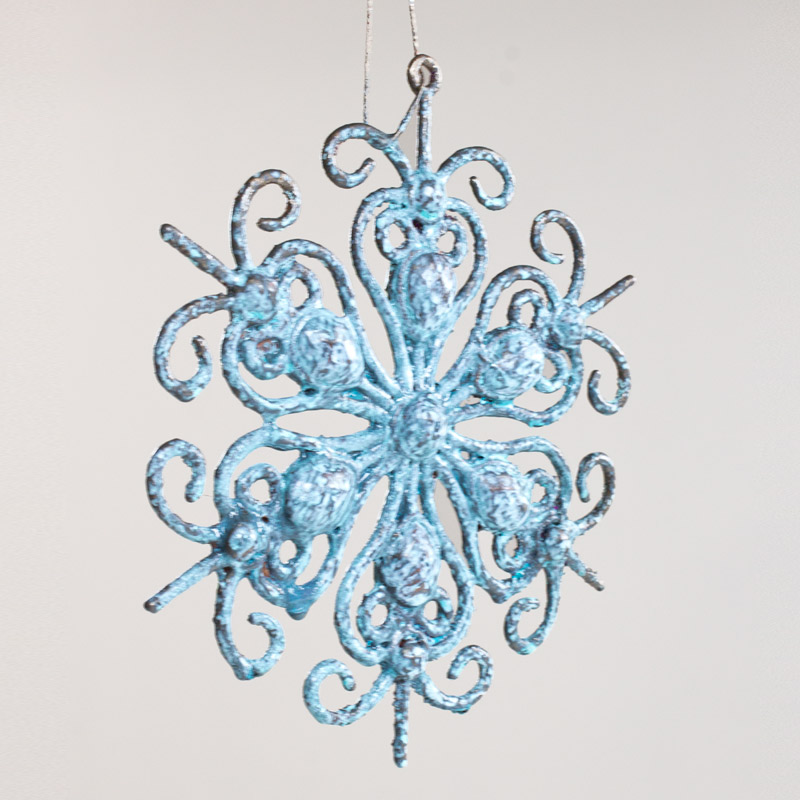
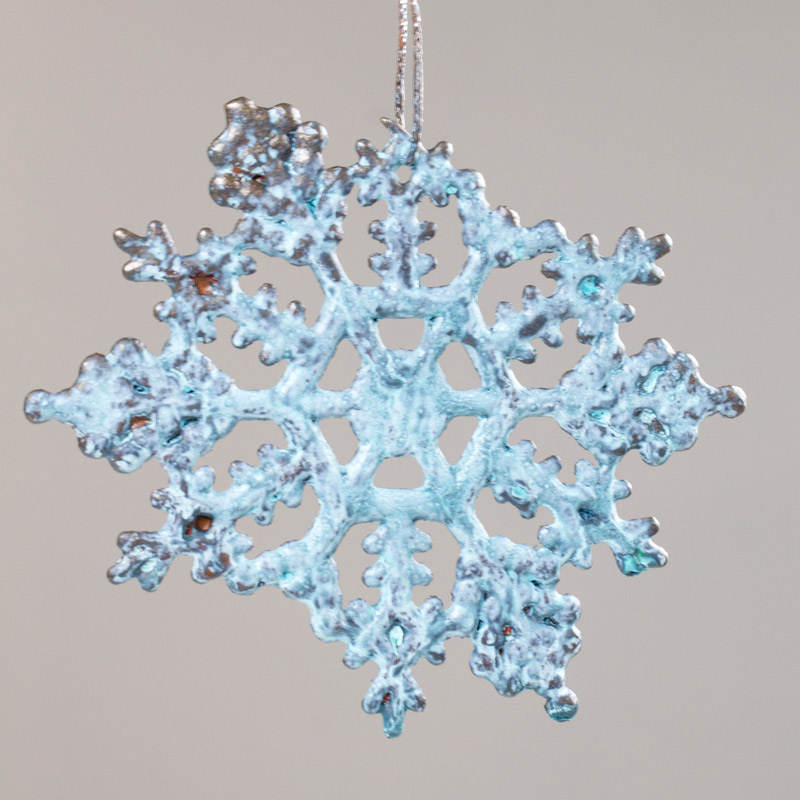
Remember that bright purple glittered snowflake? Wow.
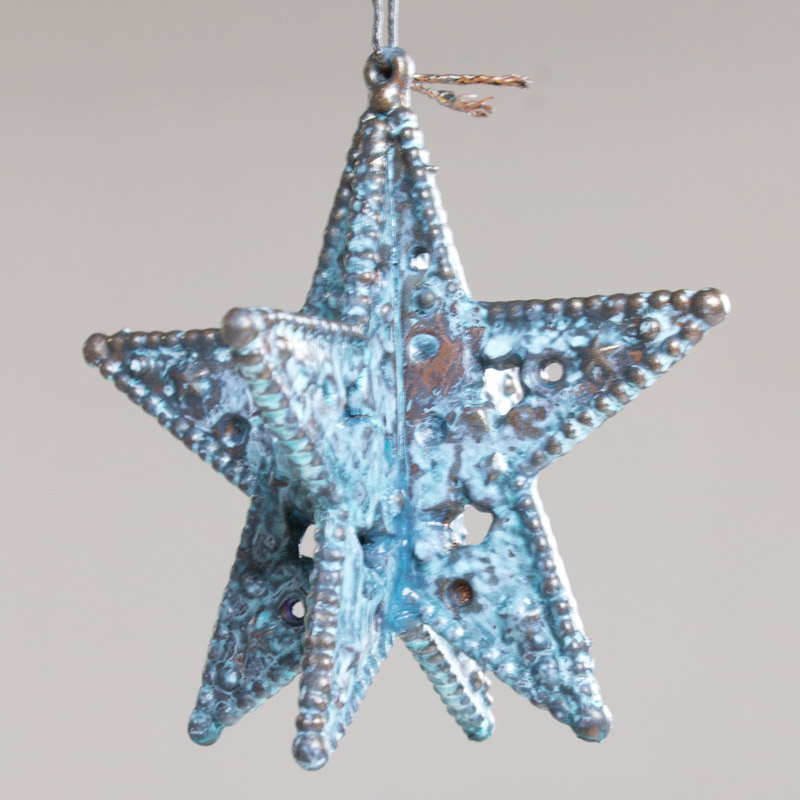
And the cheap plastic star suddenly looks like it's made of metal and a hundred years old.
My favorite is probably the broken felt snowflake. Somehow having broken edges makes it seem more authentically aged.
I'm now in love with these ornaments that I previously didn't care for. They aged patina looks perfect in my rustic Christmas decor.
similar projects
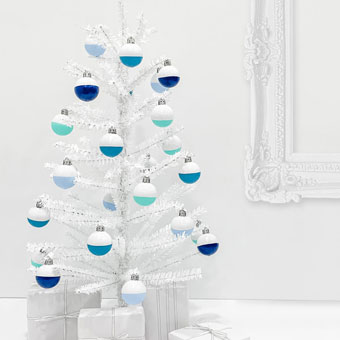
Modern Christmas Paint Dipped Ornaments
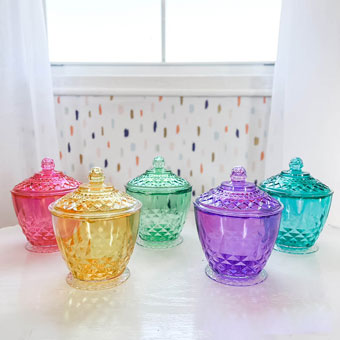
DIY Colored Glass from Dollar Store Containers
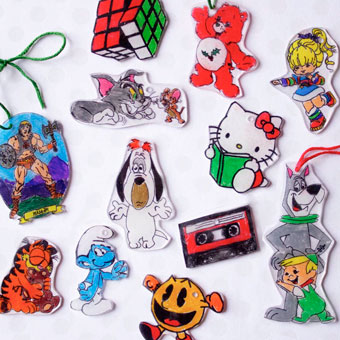
How to Make Shrinky Dink Christmas Ornaments


