


North Pole Post Office Christmas Decorations

This year I wanted to go all out with decorating my front porch for Christmas, so Chica helped me transform it into the North Pole post office, complete with signs, helper elves, mail bags, and tons of letters from Santa.
VIDEO: North Pole post office decor
Here's a quick recap of this entire project, showing our amazing North Pole Post Office all set up on the porch.
Keep reading to see details about all the DIY projects we completed to pull together this overall look that absolutely wowed my guests (and the mail carrier loved it, too!)
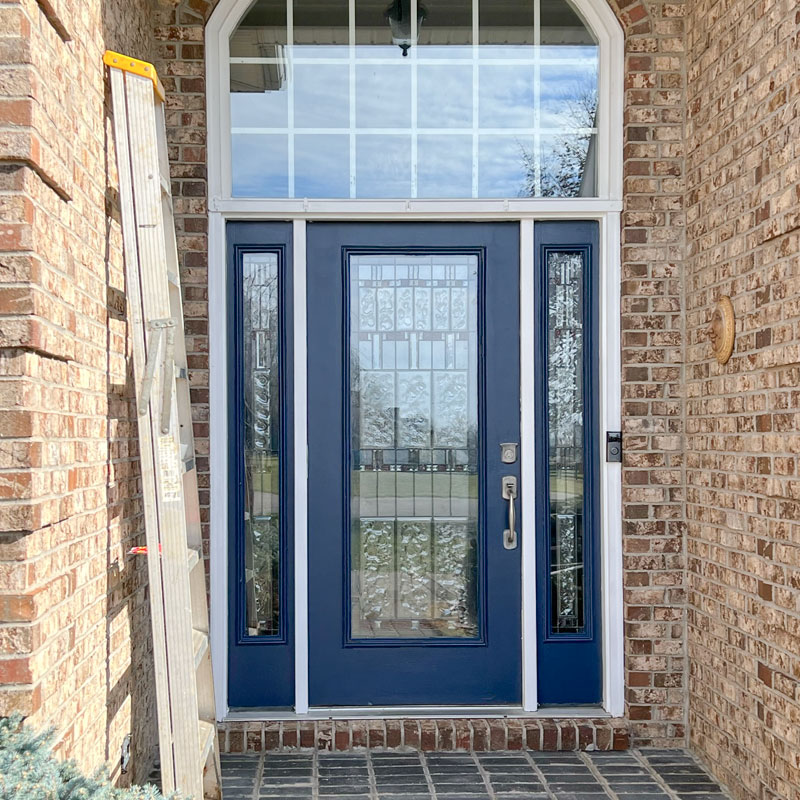
BEFORE: The empty front porch
We had several main goals when setting up this oversized front porch decor. I wanted to cover the door, take advantage of the tall windows, and fill the space with layers of decor. Just wait... you'll hardly recognize the space when we're done with it.
North Pole Post Office patterns and templates
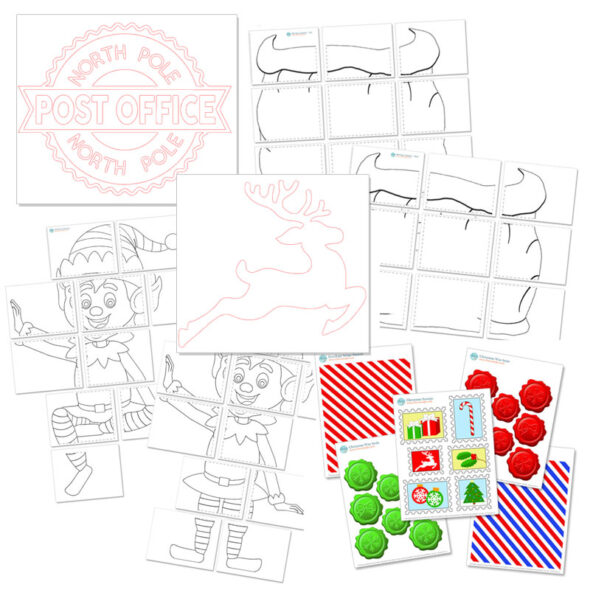
To make this project easy for you to reproduce without having to draw everything from scratch, we've created a bundle of patterns and templates.
You'll see as you go through this tutorial that these files will save you so much time and make it so easy to re-create this amazing front porch decor.
INSTANT DOWNLOAD -
PURCHASE NOW!
"North Pole Post Office" Patterns – $9.99
from here immediately after your purchase is complete*.
Have questions? Email us at chicaandjo@chicaandjo.com
* Files may be downloaded a maximum of 5 times.
* STUDIO3 is a cut file format to be used with a Silhouette machine.
- "North Pole Post Office" logo in .SVG format and .STUDIO3 format (for use with a Silhouette machine)
- Reindeer outline in .SVG format and .STUDIO3 format (for use with a Silhouette machine)
- 2 Elf patterns (sitting and standing) in PDF format. Print the pages onto 8.5" x 11" paper and tape them together to create a large traceable pattern.
- 2 Mail Bag patterns (large and small) in PDF format. Print the pages onto 8.5" x 11" paper and tape them together to create a large traceable pattern.
- Envelope decorations (stamps, seals, and stripes) in PDF format. Print onto 8.5" x 11" sticker paper, cut out images, and apply to oversized envelopes.
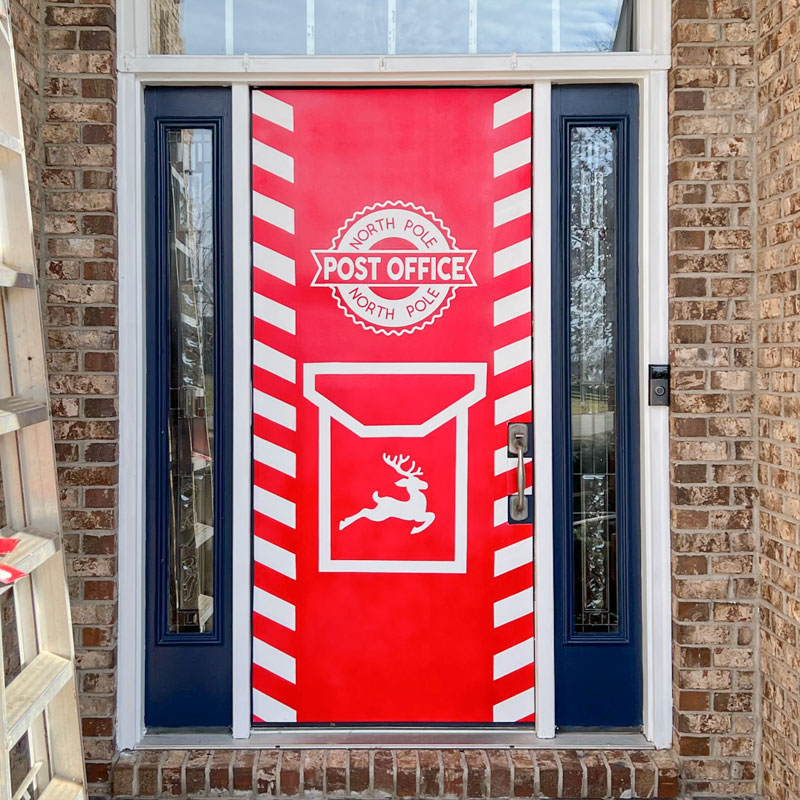
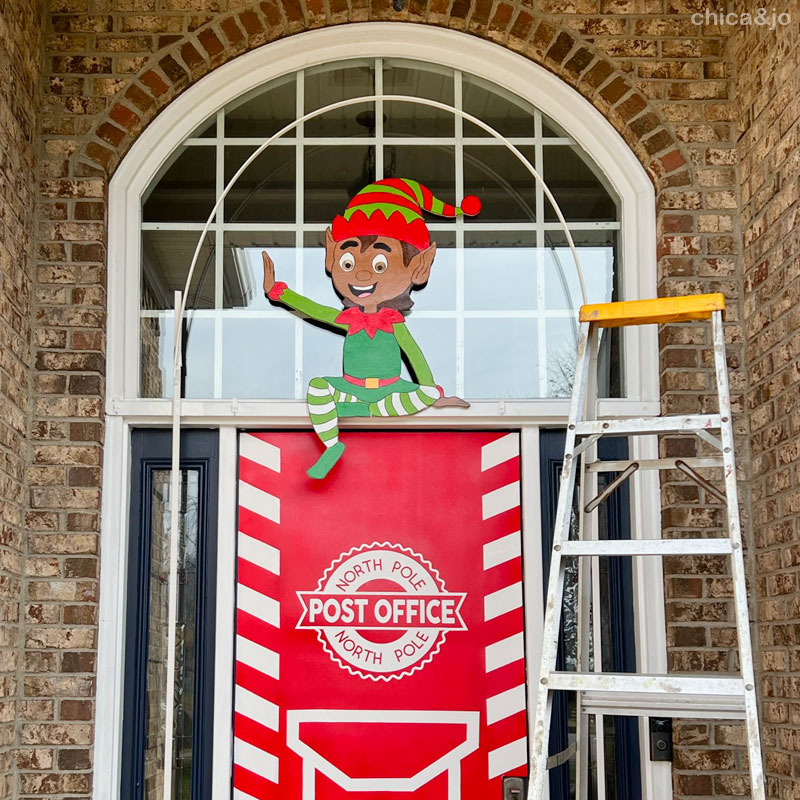
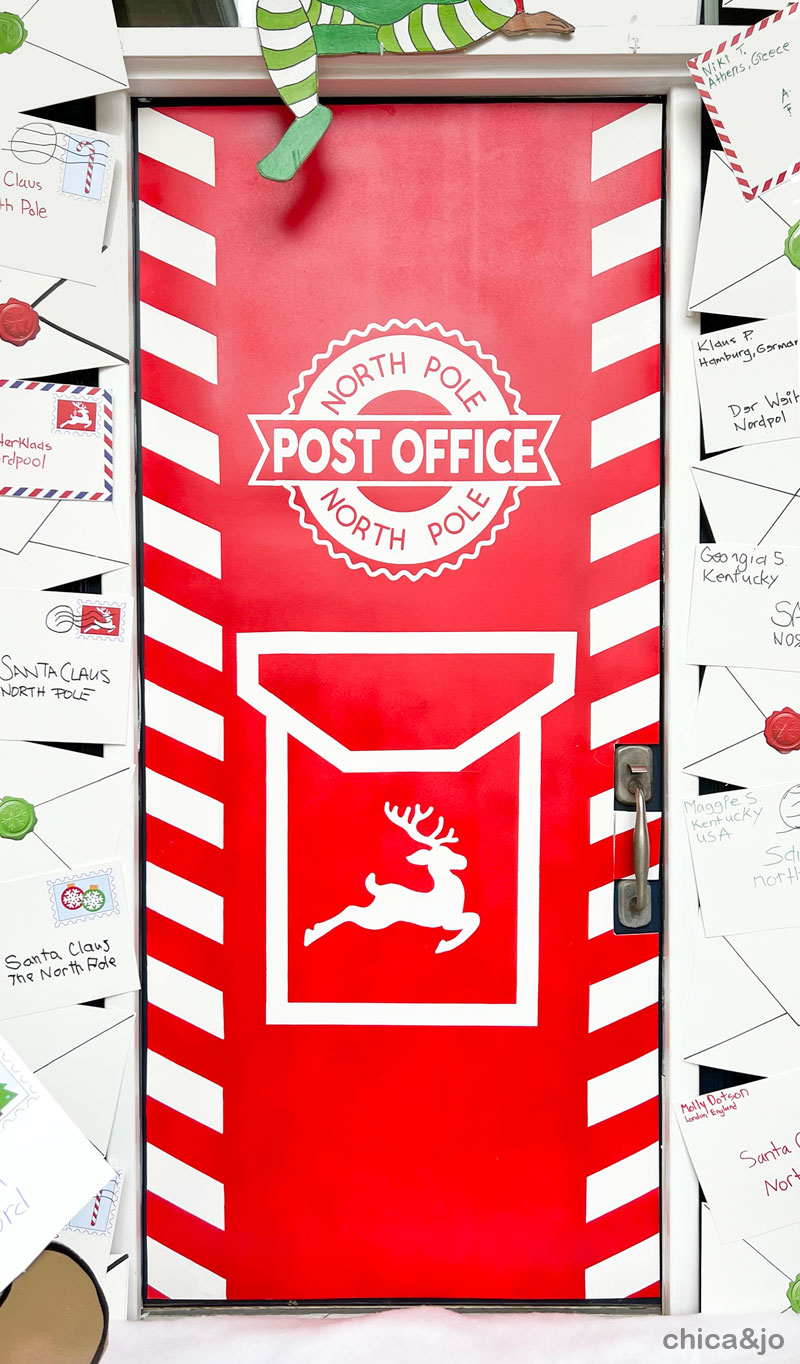
Making the North Pole post office door
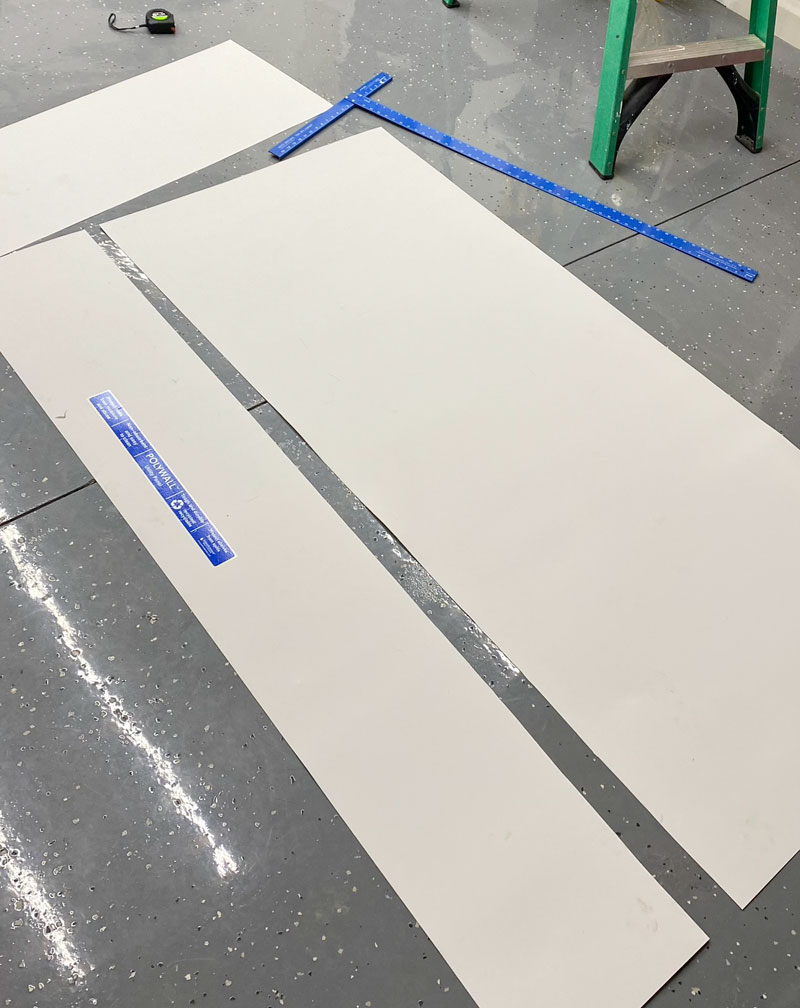
We absolutely had to cover the front door with something, and wanted to make it look just like the door to the post office at the North Pole. When searching for a material to cover it with, we hit the jackpot when we found 4'x8' sheets of white plastic wall panels.
Super strong, slightly bendy, totally waterproof, lightweight, easy to cut, and solid white... it was perfect for covering the door! We cut a piece to the size of the door and set the scraps aside for later.
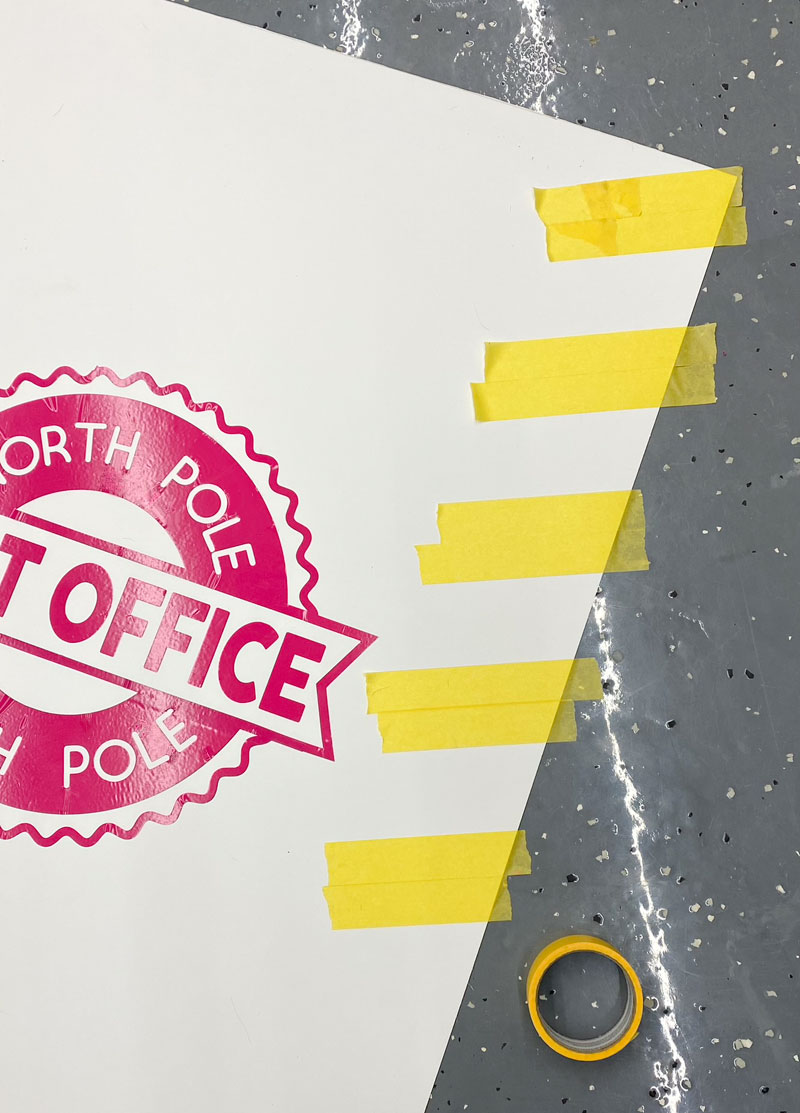
The door would be red eventually, so I decided to first mask off the places I wanted to remain white, then I could spray paint red over everything.
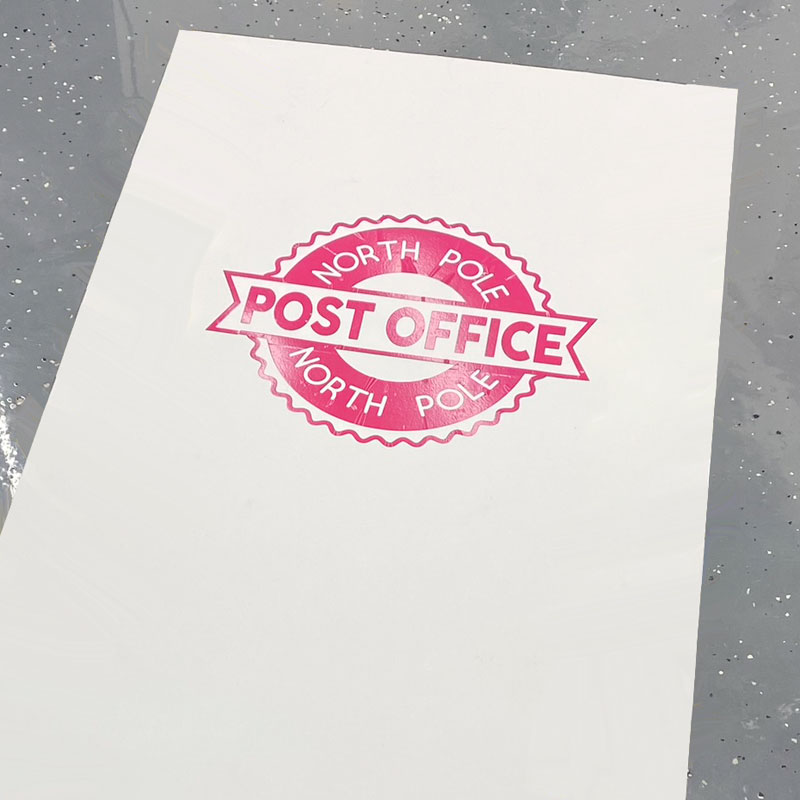
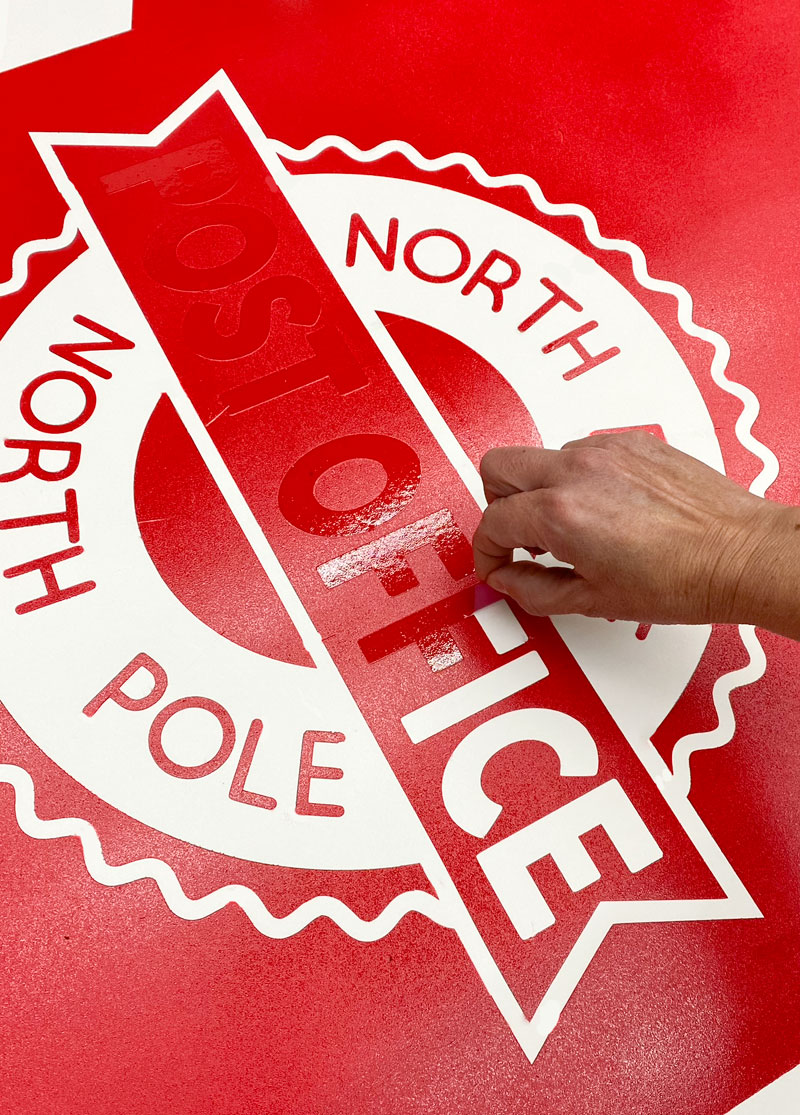
I started by designing a "North Pole Post Office" logo (available in our digital bundle above) which I cut out of vinyl and applied to the center of the door.
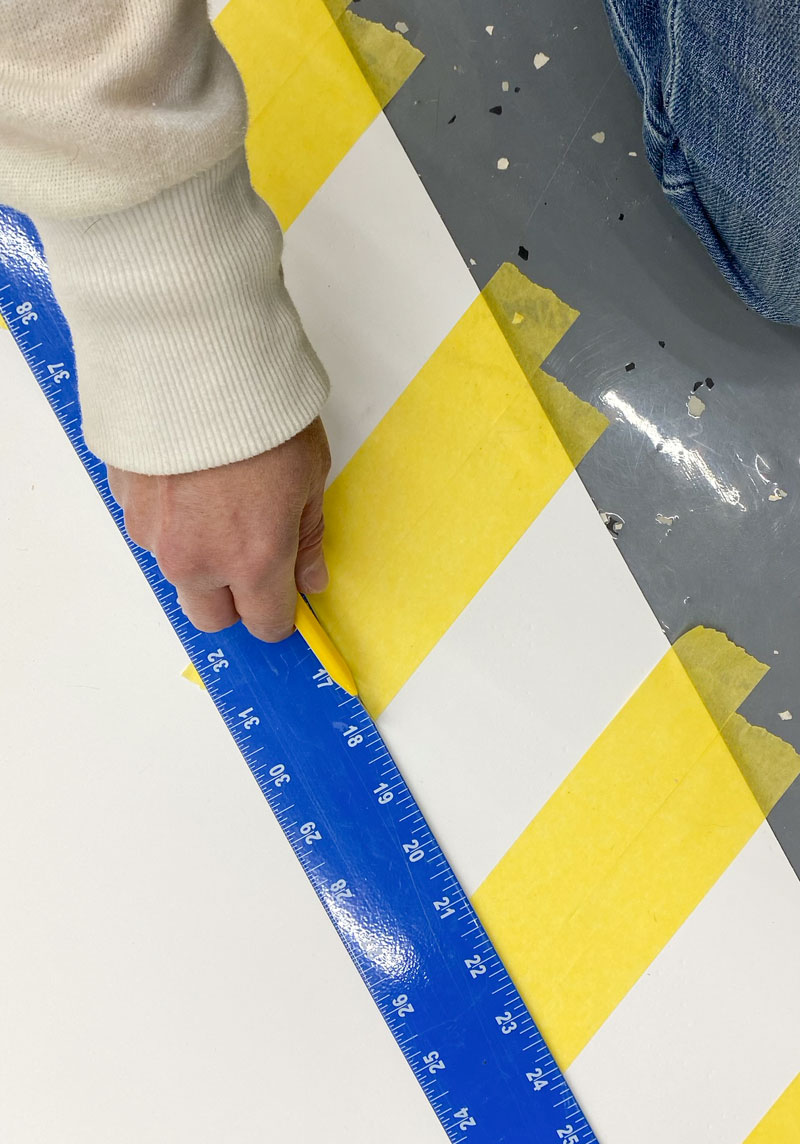
To decorate the sides, Chica applied double rows of painter's tape at an angle, temporarily using another double-row of tape between each one to guarantee they were spaced evenly.
Then a quick swipe with a metal ruler and a craft knife to cut clean edges, and we had a masked candy cane stripe down each side of the door.
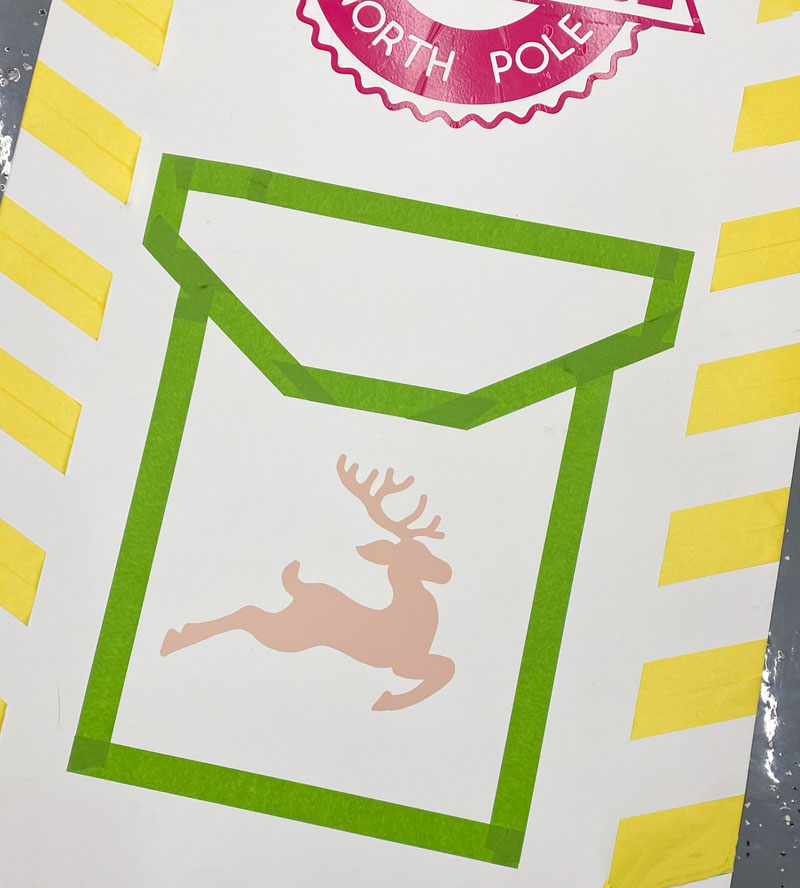
To finish it off, we freehand masked a giant mail slot shape with painter's tape, and then added another vinyl decal mask, this time of a reindeer silhouette (available in our digital bundle above). Remember, this is just a mask, so the color of vinyl doesn't matter.
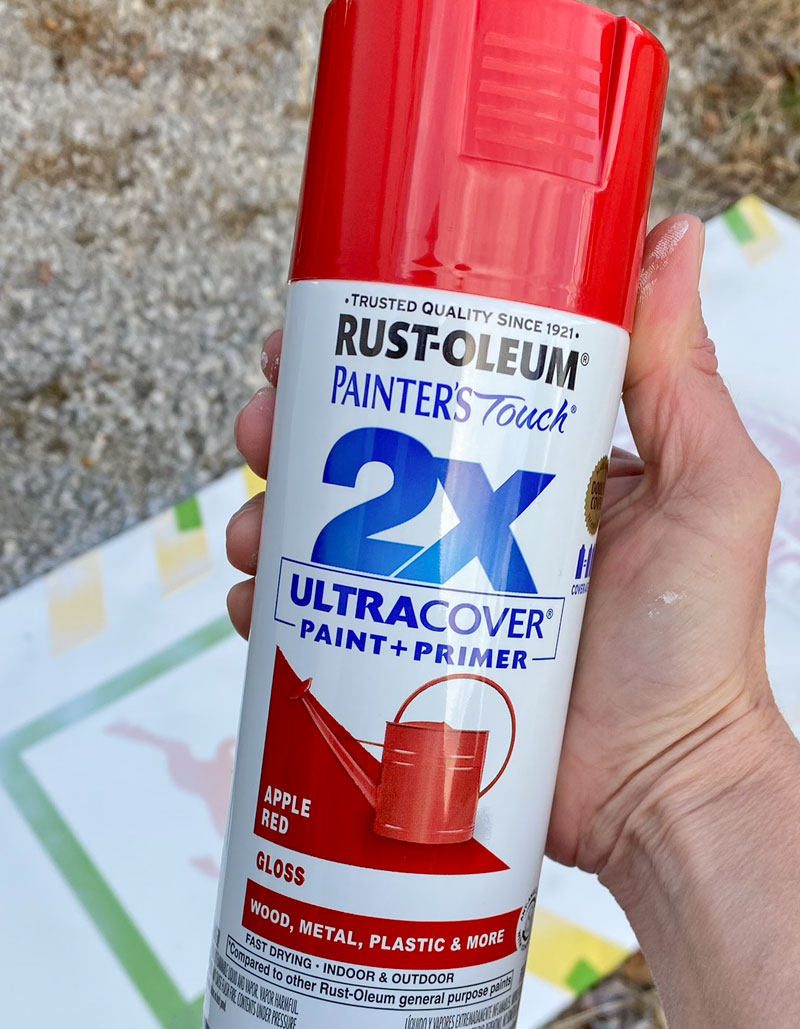
With everything masked, it was time to reach for the paint. Chica grabbed a can of our favorite spray paint, Rust-Oleum 2X Ultra Cover, this time in gloss Apple Red.
After spraying over the entire door, it was finally time to remove the vinyl and tape and reveal the bright white underneath. So satisfying!
We used some Command Strips and a little bit of tape to attach our new door over the existing one. Oh my goodness, what a difference just this one piece of decor made to my front porch!
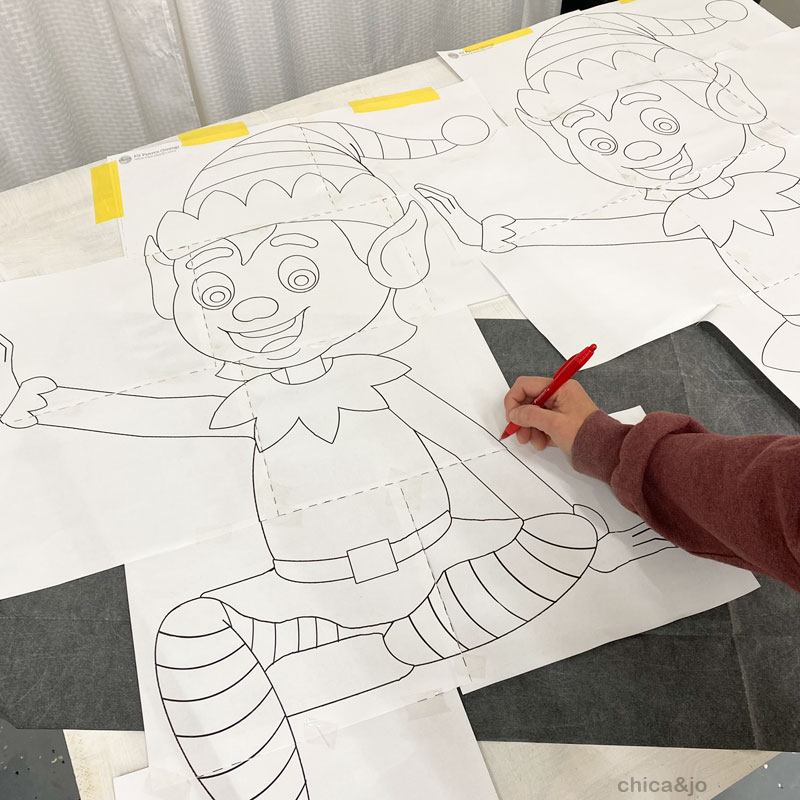
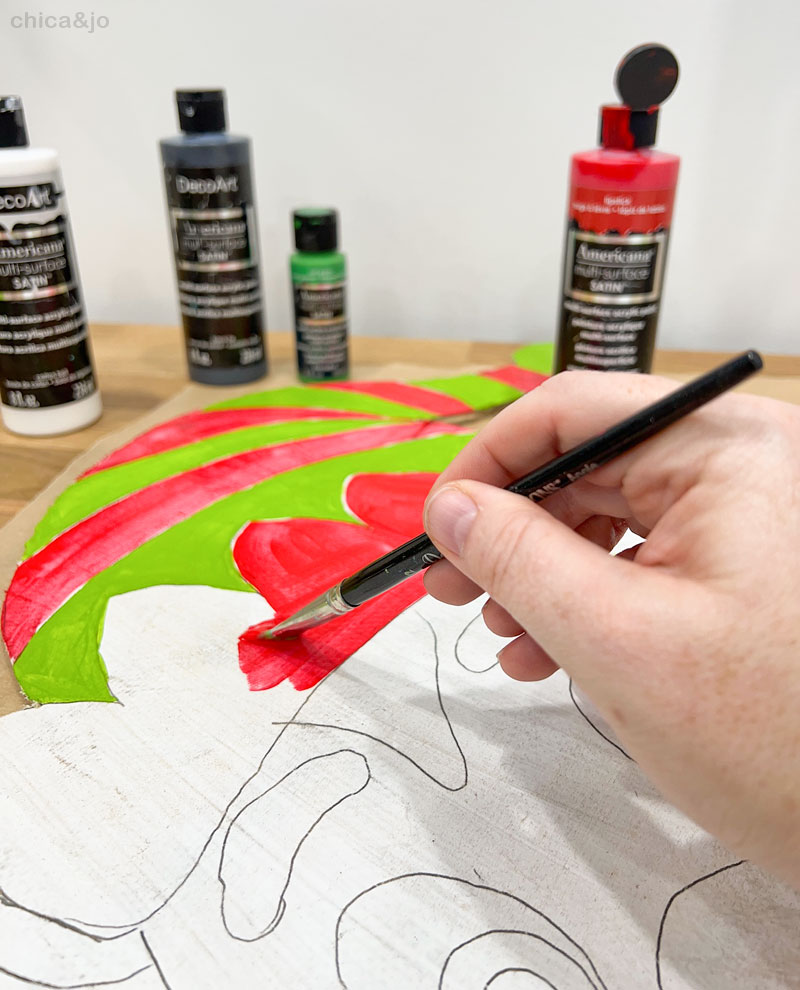
Creating the large elf cutouts
The helper elves were a big part of this post office decor, and we designed two slightly different ones — one standing and one sitting. They are about 3' tall, and perfect for this scene. You'll find the patterns for them in our digital bundle above.
Chica printed the patterns out and taped the pieces together, then used carbon transfer paper to trace the pattern onto some 1/4" plywood that we first primed white.
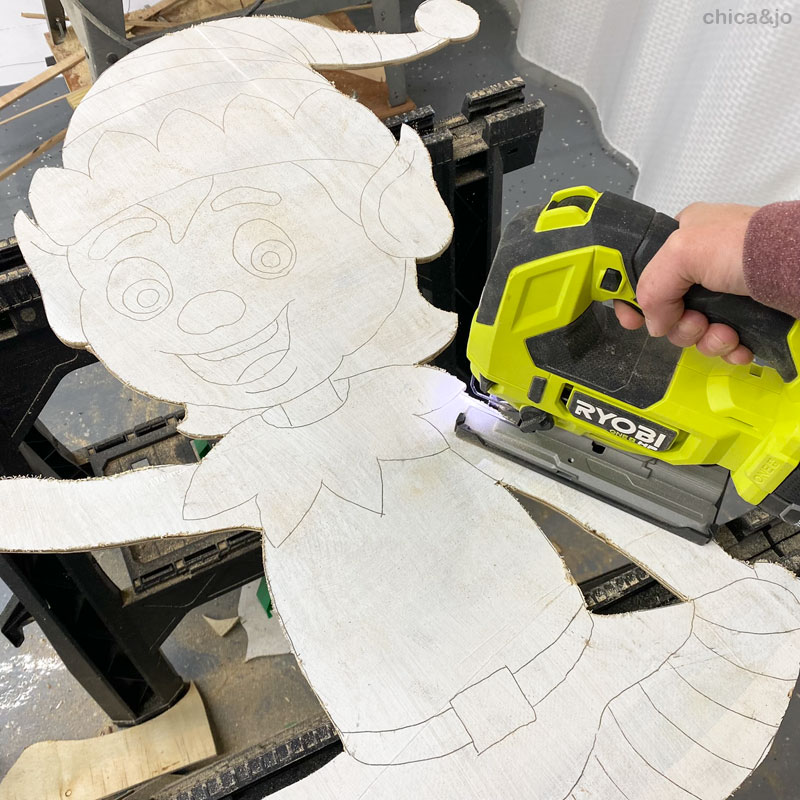
We cut the elves out with our Ryobi One+ Jigsaw, and gave the edges a quick sanding to smooth out any rough bits.
Then I pulled out my versatile Americana Multi-Surface Satin acrylic paints to bring the elves to life. This paint has a built-in satin finish and works great for outdoor projects like this.
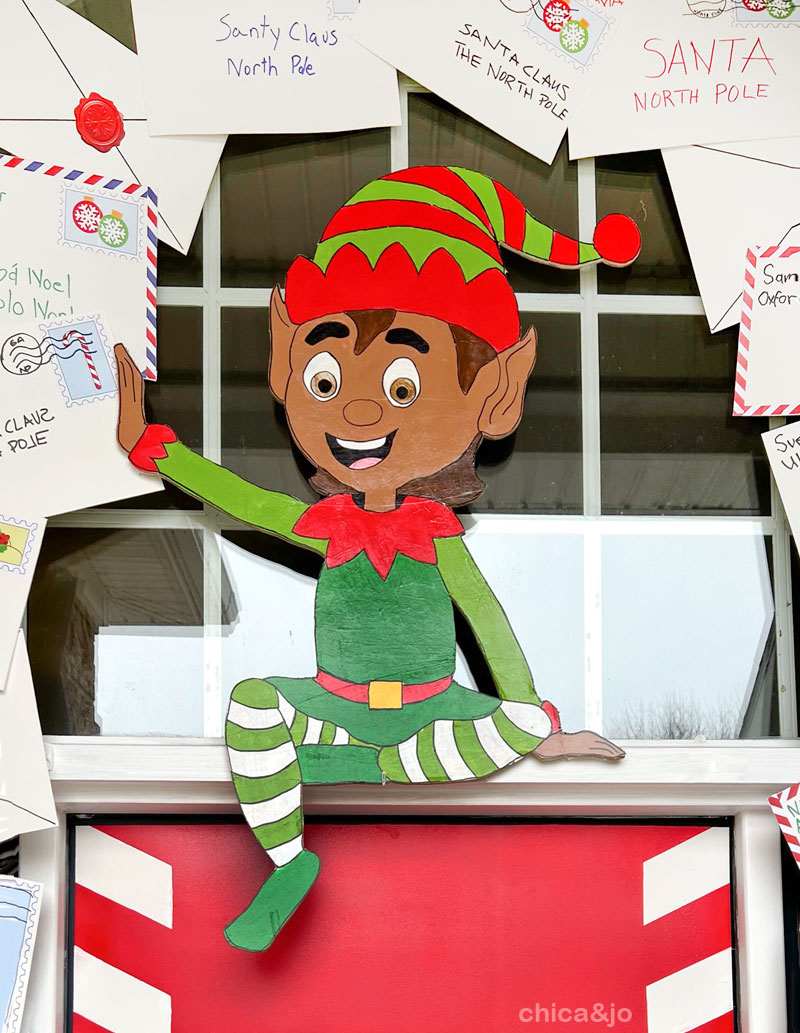
We perched the seated elf at the top of the doorway, centered on that big window. Doesn't he look adorable with that foot dangling down? While we had the ladder out, we also attached a flexible piece of plastic molding in an arch over the elf, and down the side lites on the door. (These pieces will hold the envelopes soon.)
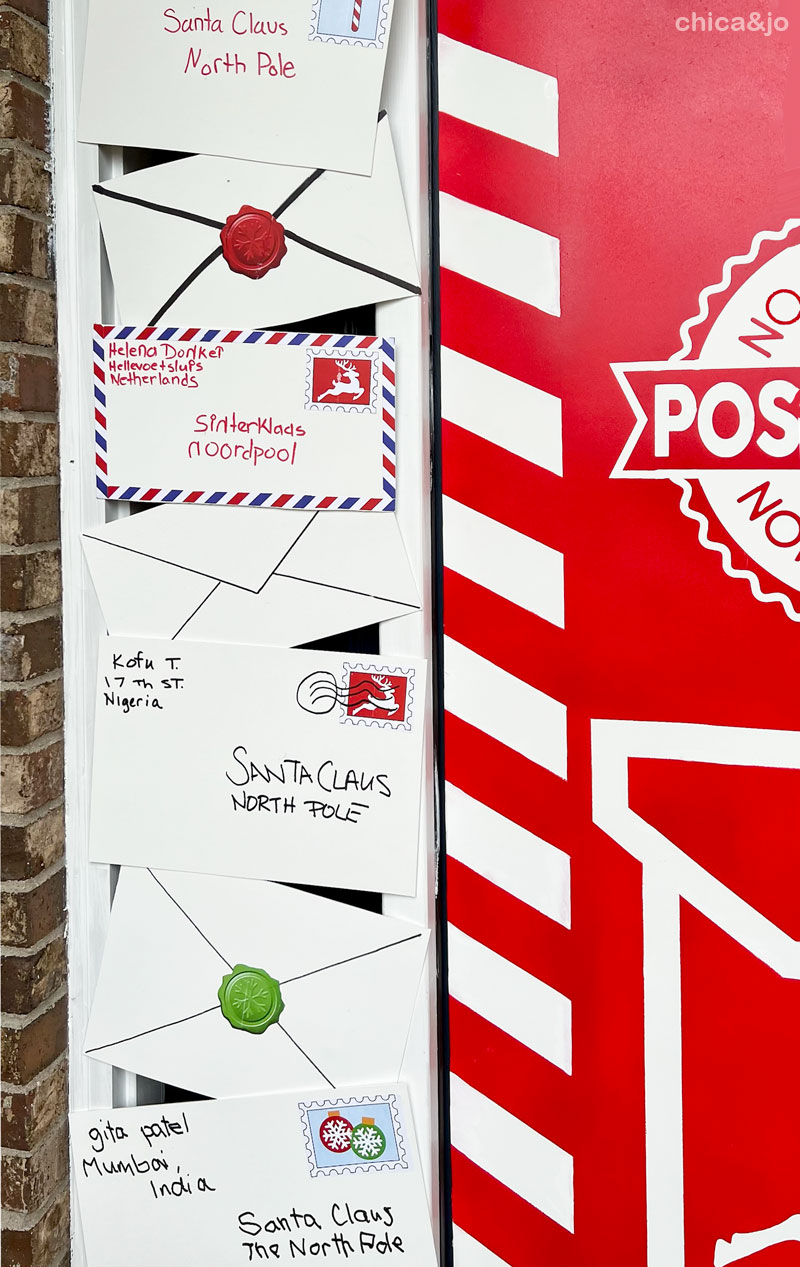
Writing oversized letters to Santa
Now let's get to those letters to Santa! We cut the remaining pieces of wall paneling down to rectangles (about 14-16" across), then decorated them to look like letters.
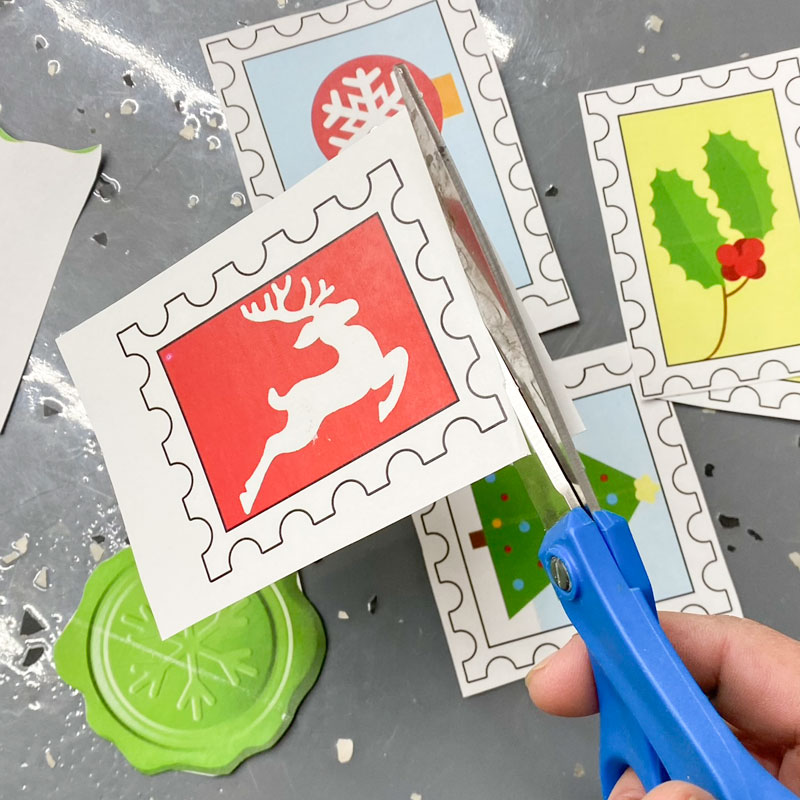
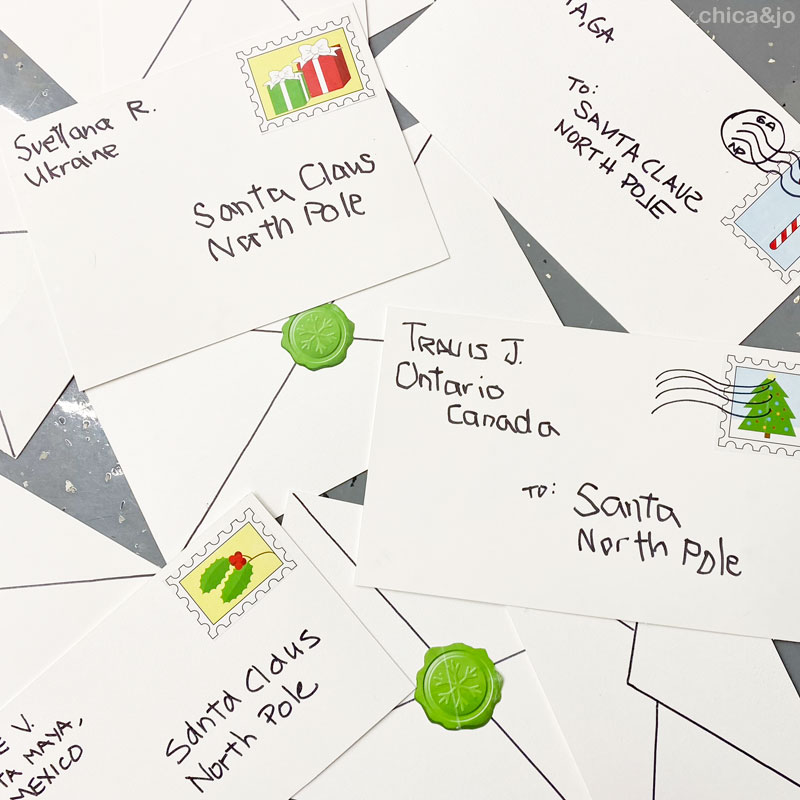
We designed a set of Christmas envelope decorations (which are also a part of our digital bundle above) that includes Christmas stamps, wax seals, and striped patterns for edging the envelopes to look like Air Mail.
I printed these envelope designs onto white sticker paper, cut them out, and decorated the envelopes.
Then I enlisted the help of my daughters to address all the envelopes as if they were letters to Santa from children all around the world. Sometimes we wrote with our non-dominant hand to make it look more like children's handwriting.
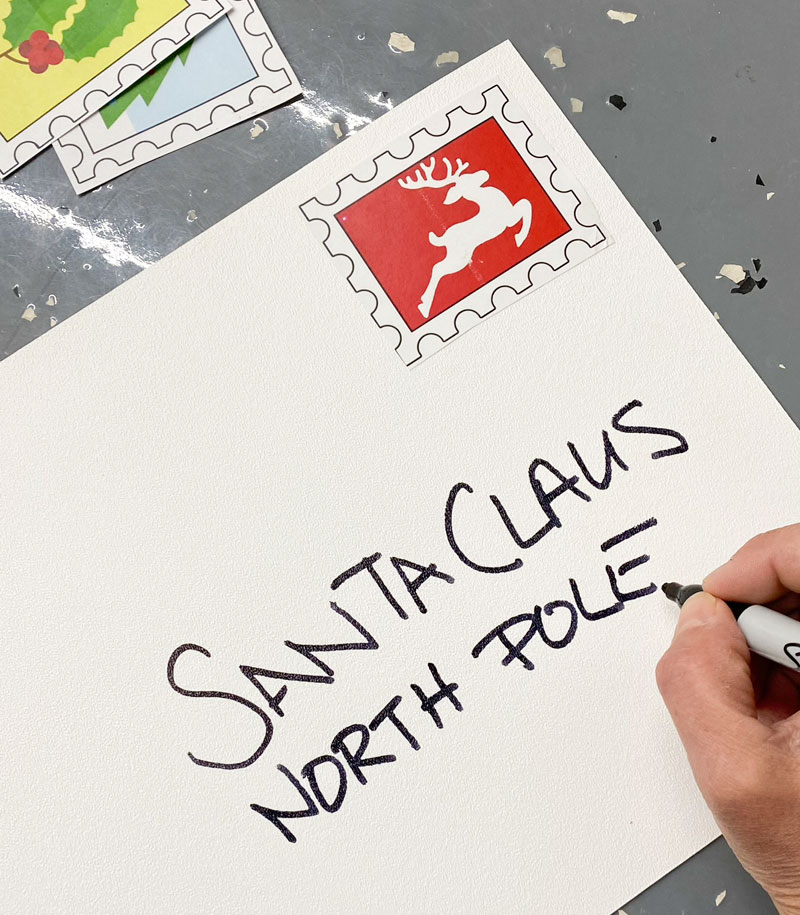
We tried to mix them up so they all looked unique, and even drew in some postage cancellation marks on some of them, for extra authenticity.
Remember those pieces of trim we added around the doorway earlier? That was our frame for attaching the letters. We used some heavy-duty duct tape to attach the letters to the frame, securing them from behind.
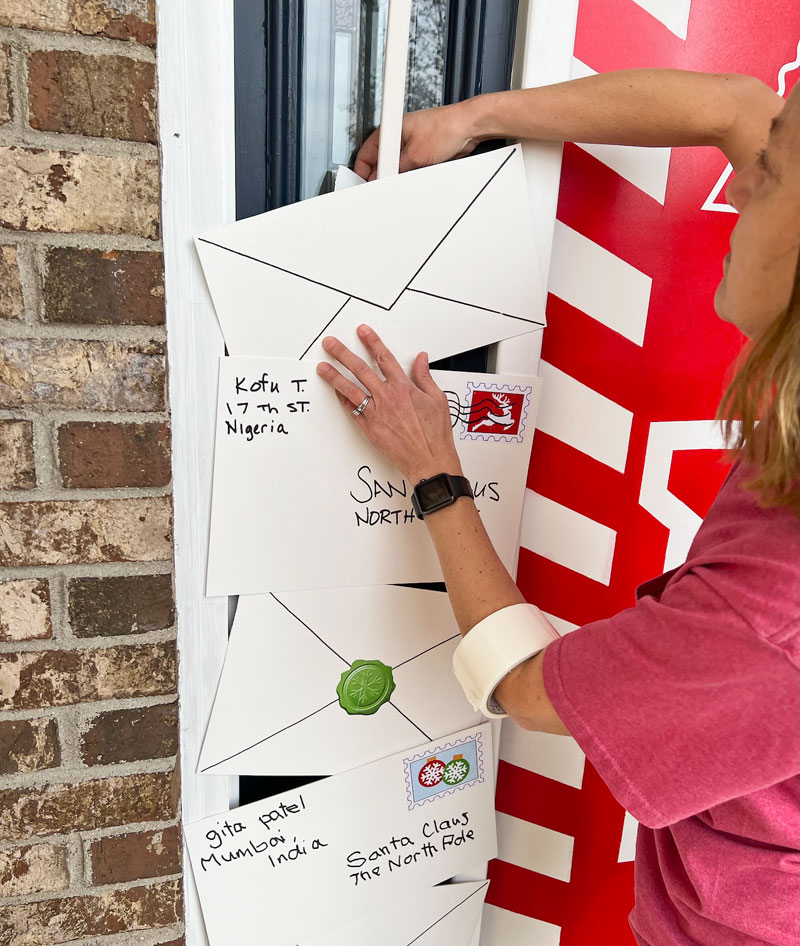
We tilted and angled them as we went, so they would look like they were flying through the air up to the elf waiting atop the door, and we lined one up so that it sat on the elf's hand. So cute!
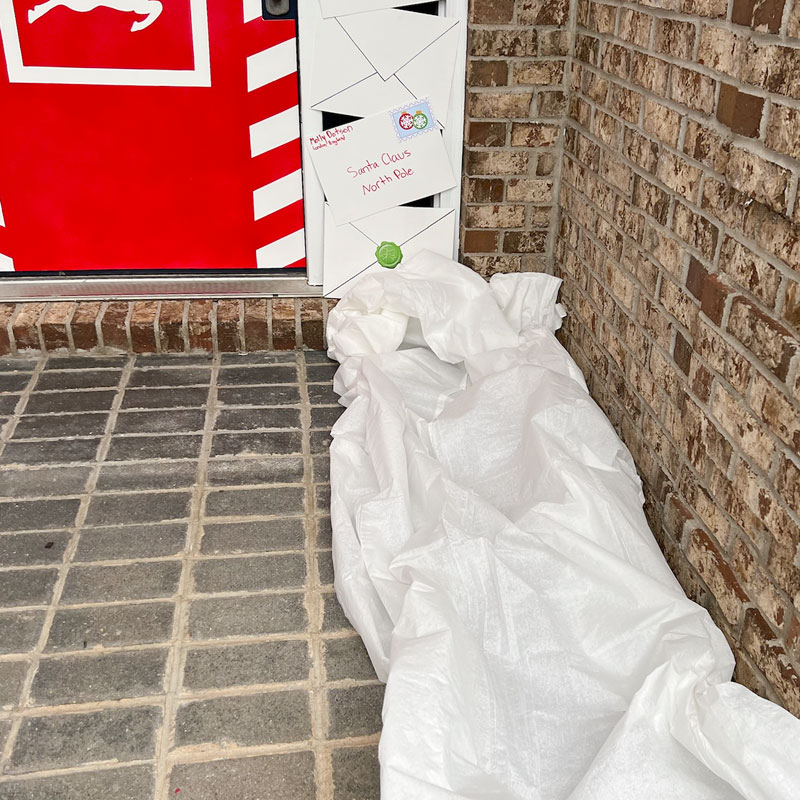
Adding fake snow drifts
To decorate the porch floor and make it look more like the North Pole, we wanted to add some snow drifts. We couldn't use loose faux snow, or else it would blow away, but we found a great affordable solution. We used super lightweight paper/poly drop cloths to create billowy snow drifts with it on either side of the door.
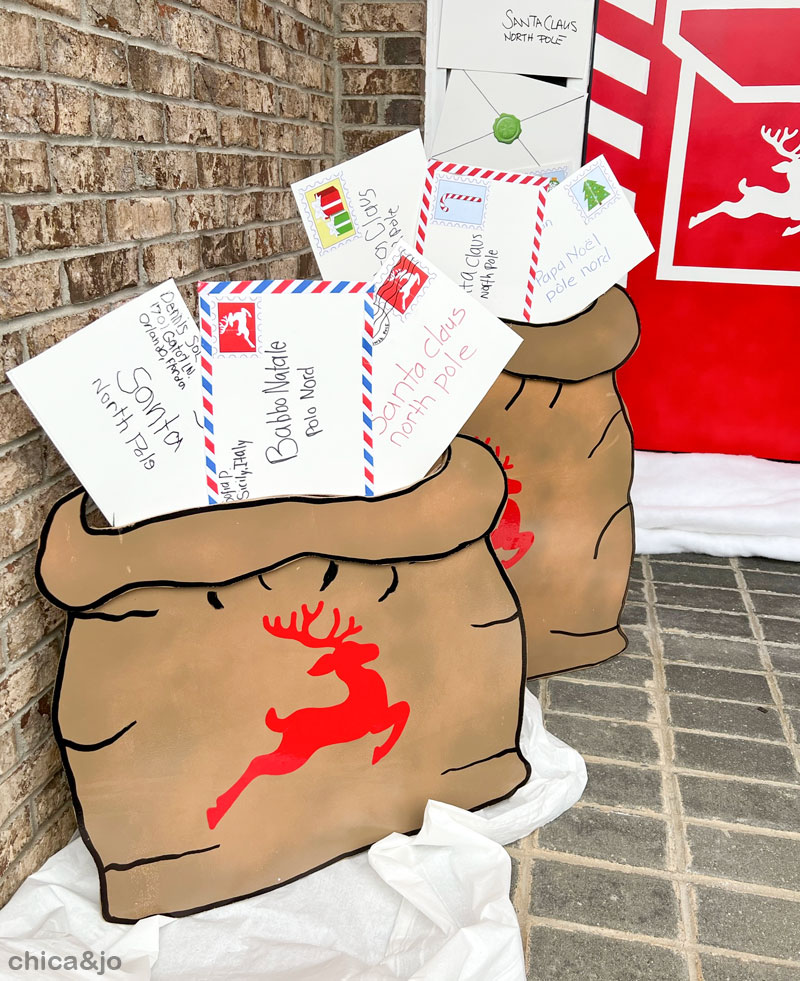
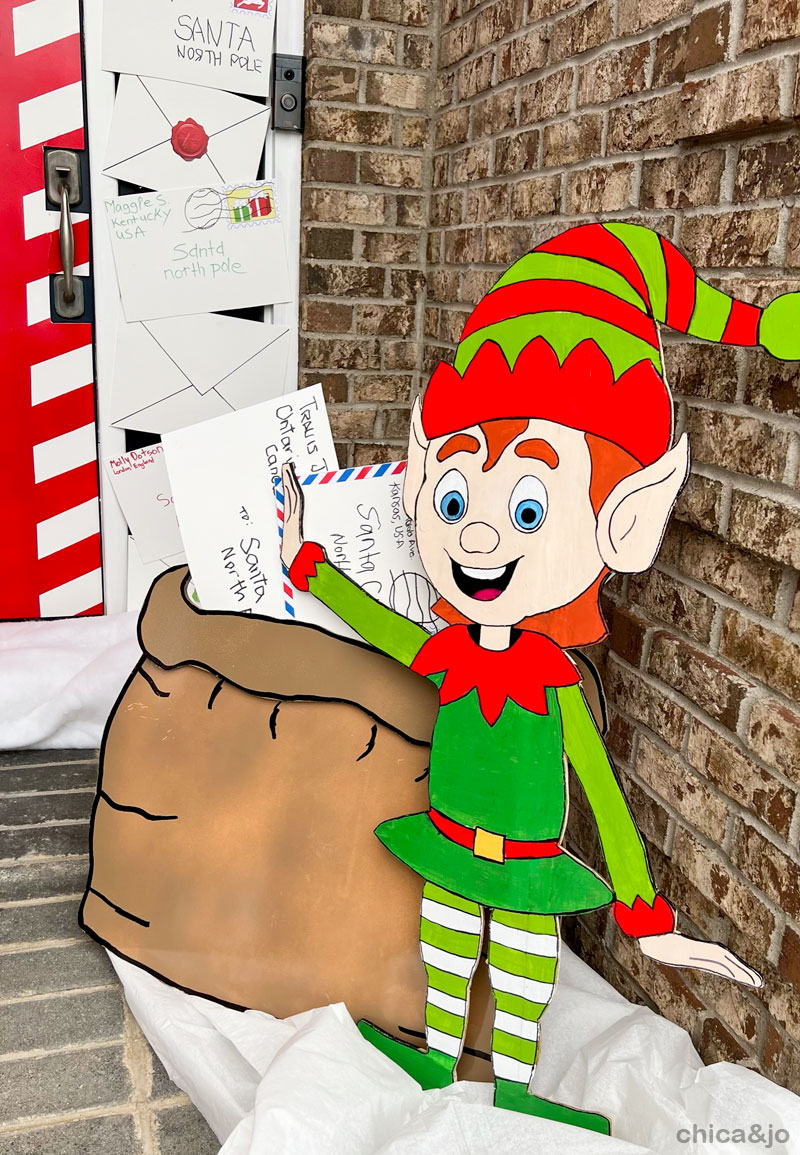
Making mail bags stuffed with letters
To decorate the porch floor, we wanted to add some big mail bags stuffed with more letters to Santa. Once again, we made a pattern to make this easy, and it's also included in our digital bundle!
Using the same technique as we did for the elves, we traced and jigsawed two bags for the left side of the porch — one taller one and one shorter one — and added red vinyl decals of the reindeer silhouette for extra decoration. We glued some of our envelopes so it looked like they were bursting out of the bag.
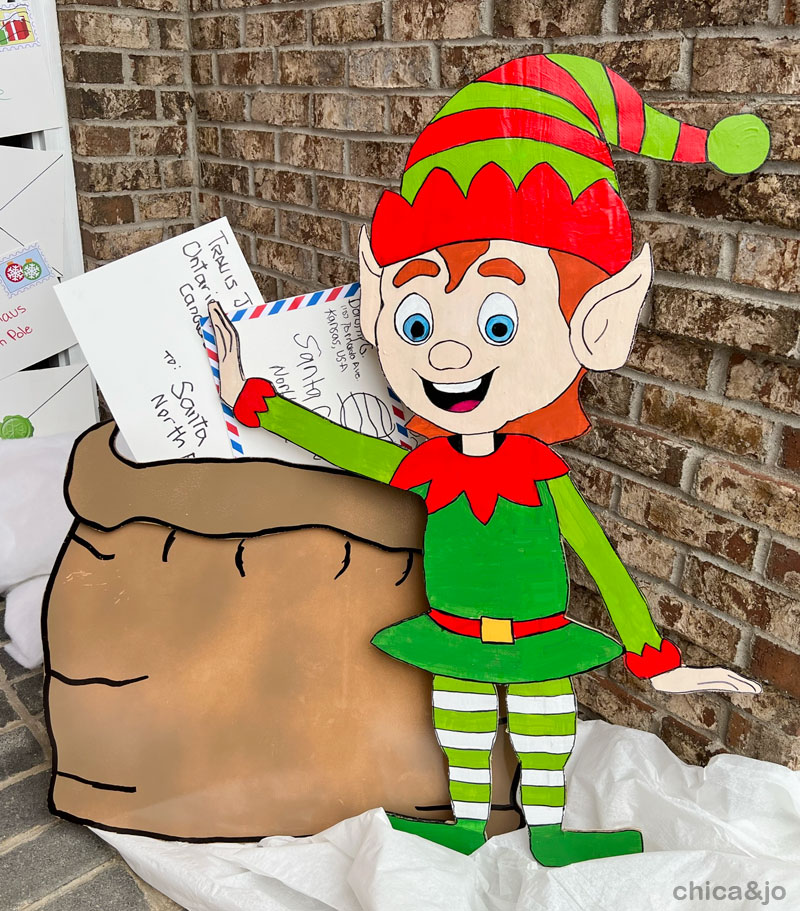
We added another mail bag on the right side of the porch, and in front of it we placed our second elf, the standing one. He looks so happy to be sorting through the mail for Santa.
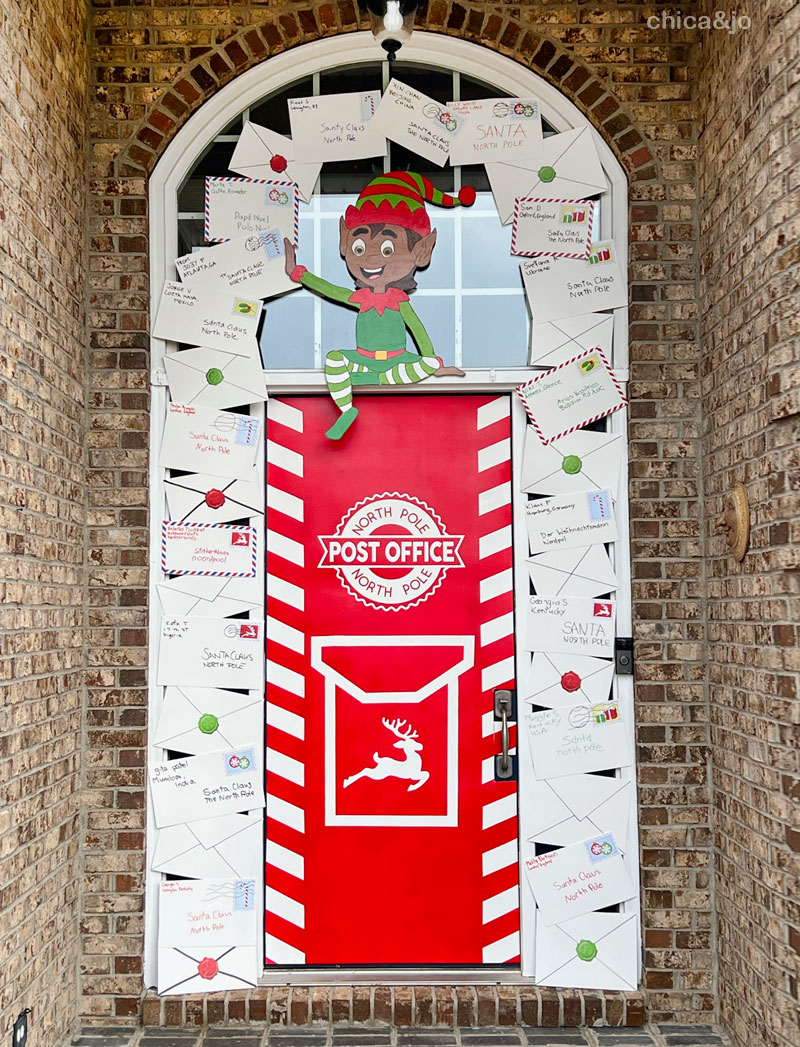
AFTER: The finished North Pole Post Office
The finished North Pole post office front porch decor came out exactly as I hoped it would and I love it so much. The multiple mailbags offer dimension and the flying letters give the decor a sense of movement.
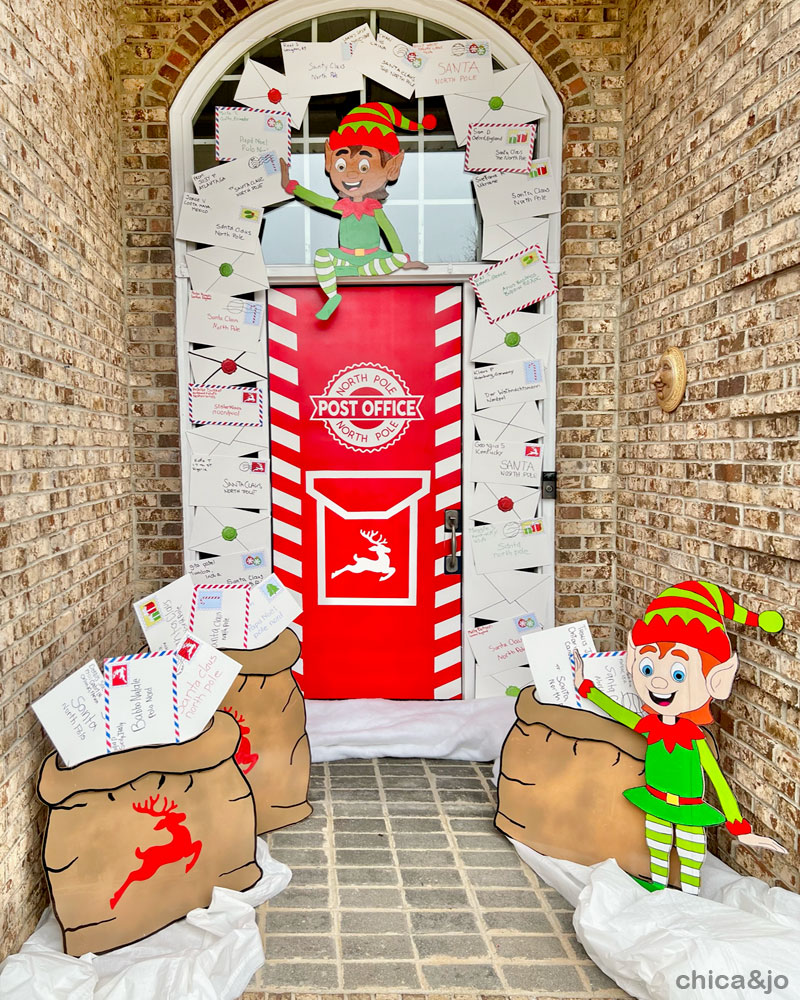
The elf sitting on top of the door is probably my favorite part. It draws the eye up and that dangling foot just makes me smile every time I see it.
The transformation on the door itself is my other favorite part. With some masking and spray paint, we created a totally new look for the entry to our home and I love the whimsical stripes on the sides.
But the letters... the letters are my other other favorite part! Each one is different and special in its own way, and everyone who visits stops to read a few before coming in.
And don't forget that adorable elf with the mail bag. I'll just admit it now... all the parts of this porch decor are my favorite parts!
INSTANT DOWNLOAD -
PURCHASE NOW!
"North Pole Post Office" Patterns – $9.99
from here immediately after your purchase is complete*.
Have questions? Email us at chicaandjo@chicaandjo.com
* Files may be downloaded a maximum of 5 times.
* STUDIO3 is a cut file format to be used with a Silhouette machine.
similar projects
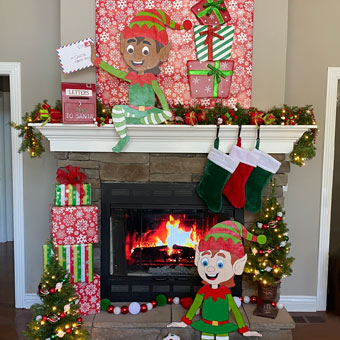
Christmas Elf Decorations for Fireplace Mantel
Ralph Lauren Christmas Decorations
Vintage Retro Christmas Decorations with Shiny Brite Ornaments


6 comments so far:
I love this!! I’m already making plans to make it. Thank you for all the links. What do you use to cut the board for the door? Can it be cut with a box cutter?
Jen, we're happy that we inspired you! That plastic material was super easy to cut (even with scissors) but to get perfectly straight lines, we used a straight edge and box cutter, and it cut through in a couple of swipes.
I LOVE this!! I am already thinking of ways to use this for my office cubicle. Can you use the templates on regular poster board as I don't have a Silhouette machine.
Erin, we love the way you think! The "North Pole Post Office" and "Reindeer" .STUDIO/SVG files are cut files that can only be used in a cutting machine such as a Silhouette or Cricut. But the PDF pattern files (elves and bags) are printed onto regular paper and used to trace/transfer the designs onto wood or poster board. If that doesn't fully answer your question, feel free to email us at chicaandjo@chicaandjo.com and we'd be happy to discuss more!
This is so awesome, I absolutely love it! I want to decorate my office door to resemble this scene, it’s really nice. What do you do with the items after you’re done? Do you recycle them for a new project? I’m asking because I love the elves and letters and if they need a new home, I have room, lol! Keep up the amazing work, I love your creativity!!
Kenji, I'm glad you enjoyed this project idea. We re-use all the pieces every year, and Jo and I trade them back and forth between our two homes. Last year I used them to decorate my fireplace.