Modern Porch Railing Design
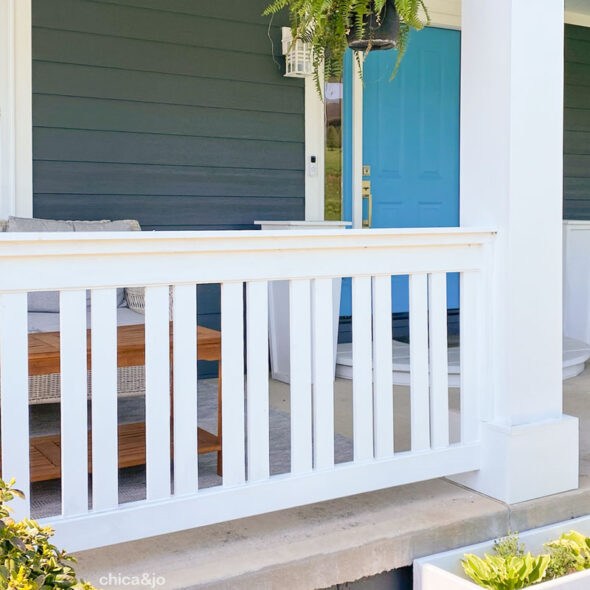
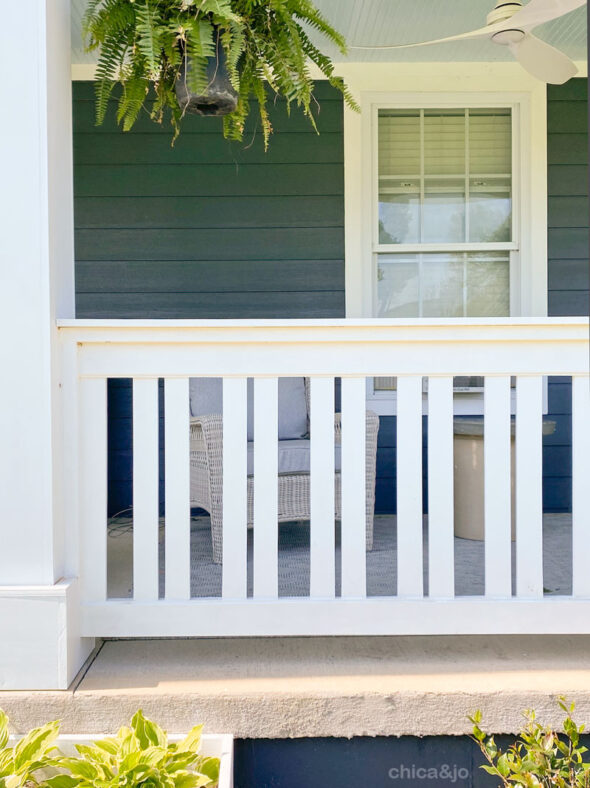
When Jo and I completely remodeled my front porch, one of the biggest changes we made that totally transformed the space was installing a porch railing. I came up with a unique, modern porch railing design that gave the porch a fresh new look that greatly increased our house's curb appeal.
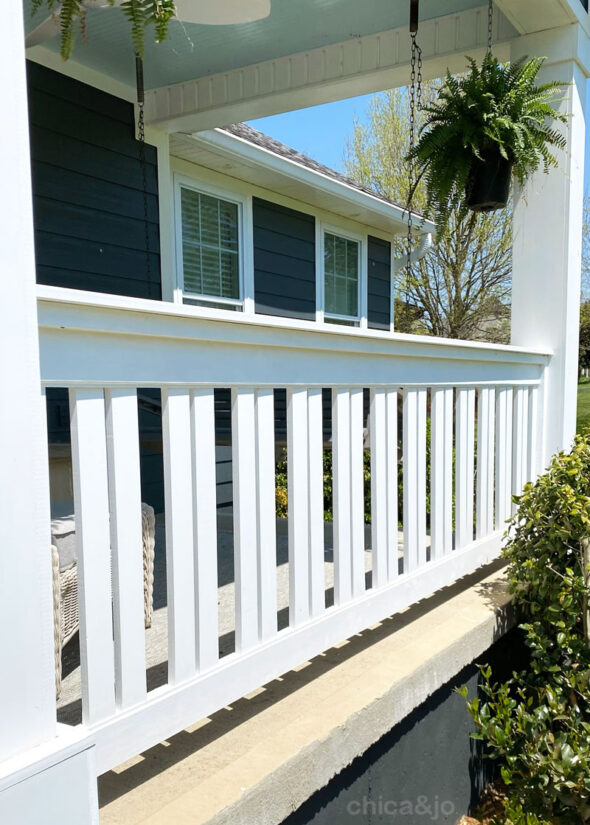
The key design element to this porch railing is the flat balusters I used, rather than the typical rounded ones. And the pattern is super simple, too. The balusters are parallel, but just a slight tweak to the spacing between them made all the difference, and made this an easy DIY project.
Materials Needed
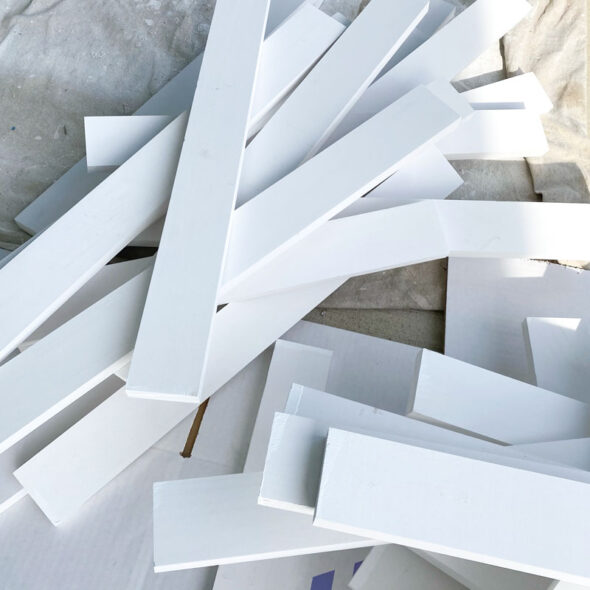
For the balusters, I used 1x3 common planks (which technically measure 3/4" x 2.5"), cut to the length I needed. It's a good idea to paint them before assembly, to make it easier.
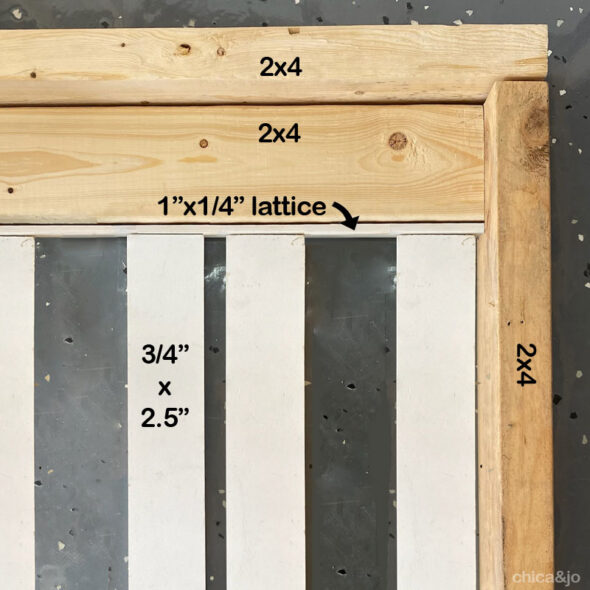
For the rest of the railing, I used a few common 2x4 boards and two strips of lattice trim that measures 1" x 1.25". I laid everything out on the floor first to be sure I had a plan for how assembly would go.
Building the main rails
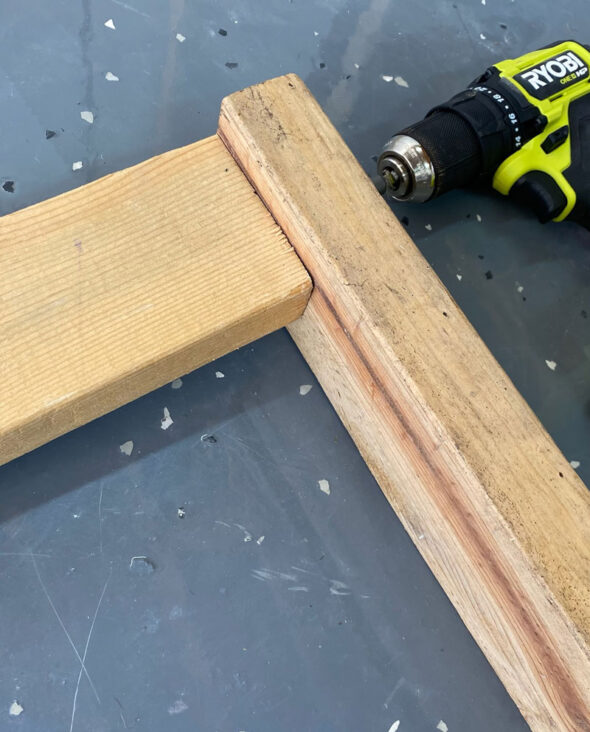
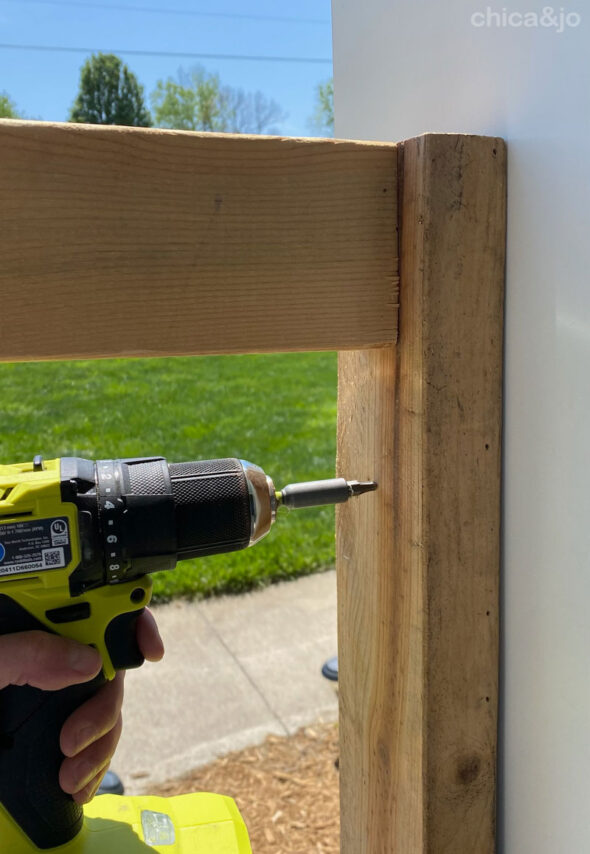
The first step was to create the main rail and attach it to the columns. I cut two 2x4s to the height I wanted the overall railing to be and screwed them (from the outside) to the main horizontal 2x4 railing.
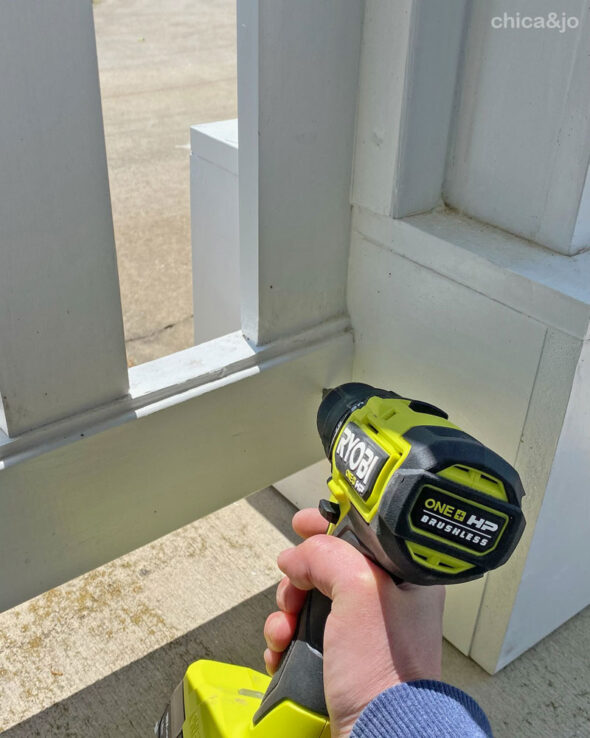
Then I held the frame in place and screwed the vertical piece into the columns to secure it.
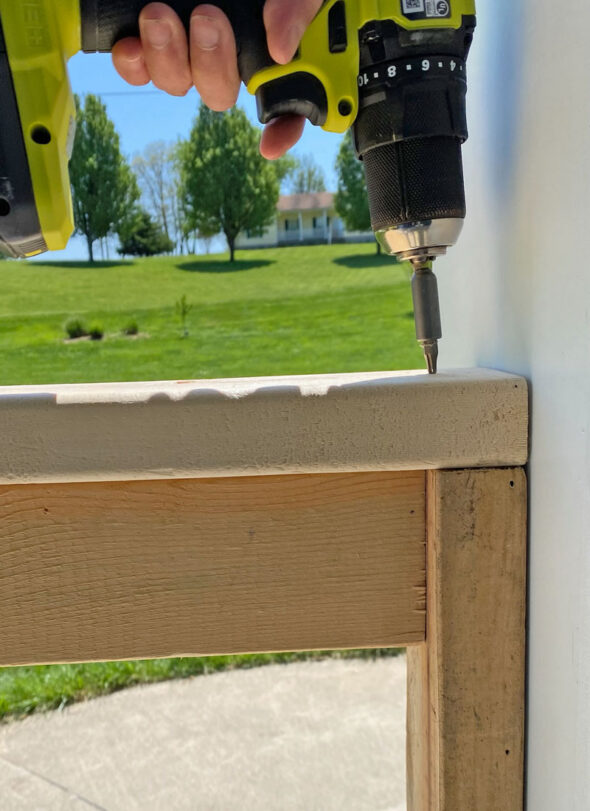
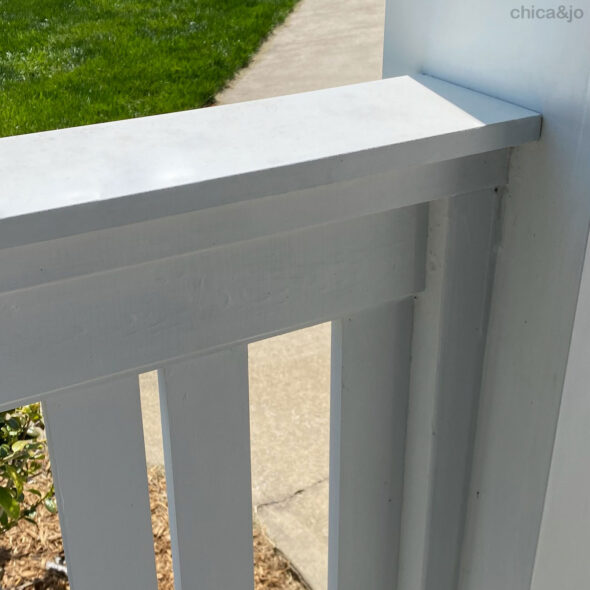
Then I added another 2x4 flat across the top, and screwed it down into both pieces below, so that everything was solid and secure.
Building the baluster panel
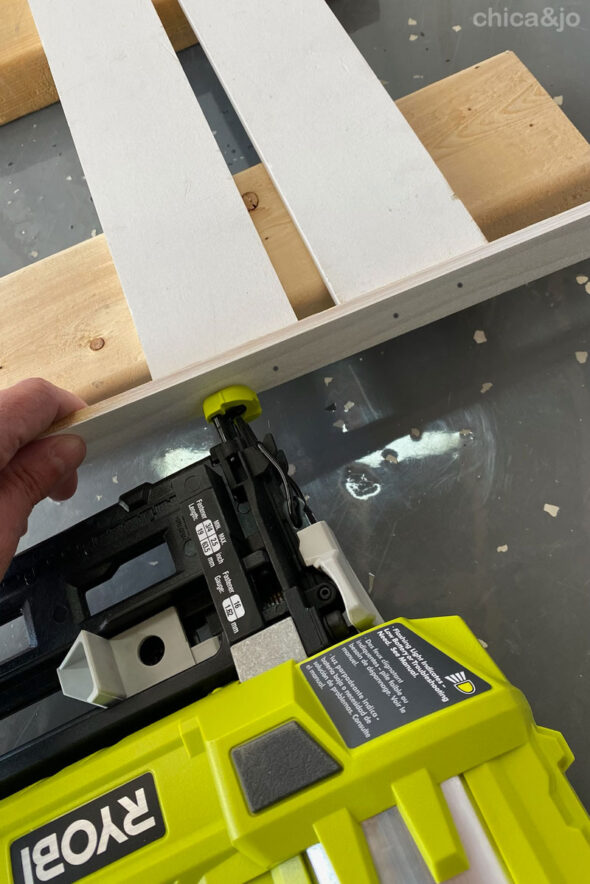
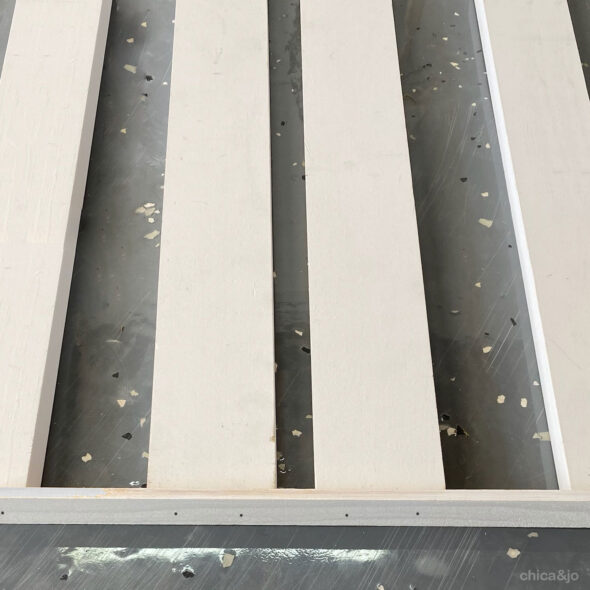
To build the baluster panel as seamlessly as I could with as few visible screw holes as possible, I first attached the lattice strip to the ends of the balusters, securing them with my Ryobi One+ 16gauge nail gun. It's battery-operated, which means no air compressor is necessary!
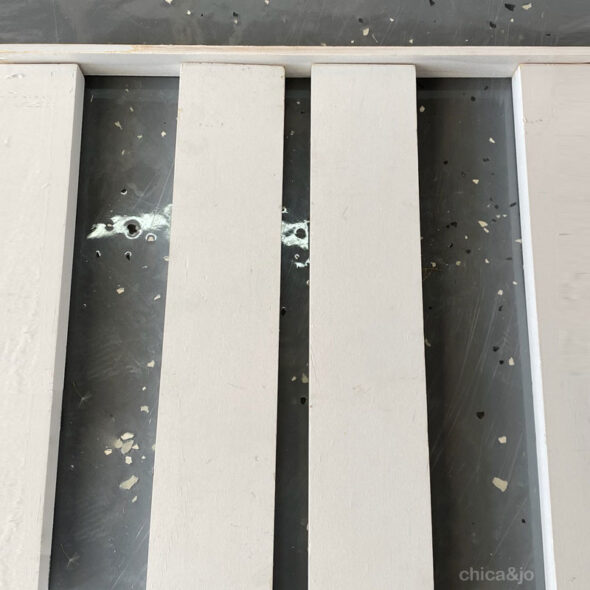
I kept going, spacing them evenly and centering them on the lattice, until they were all attached at the top.
Then I nailed another piece of lattice across the bottom of the planks, securing it in the same way.
Installing the baluster panel
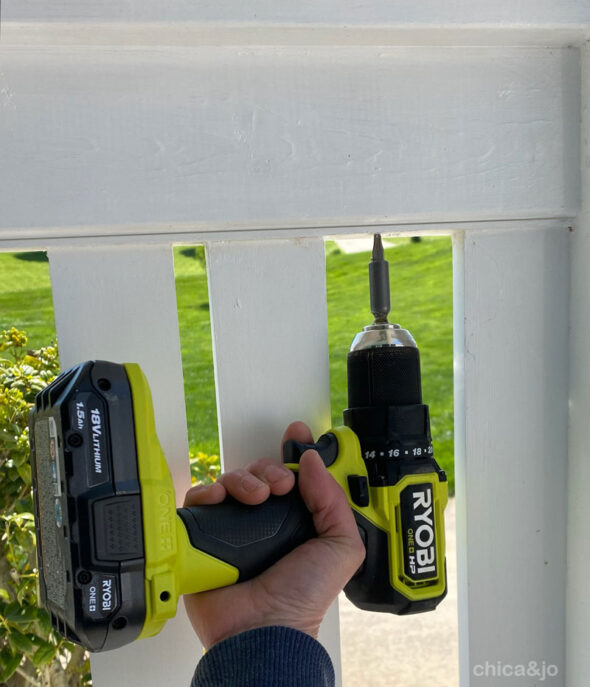
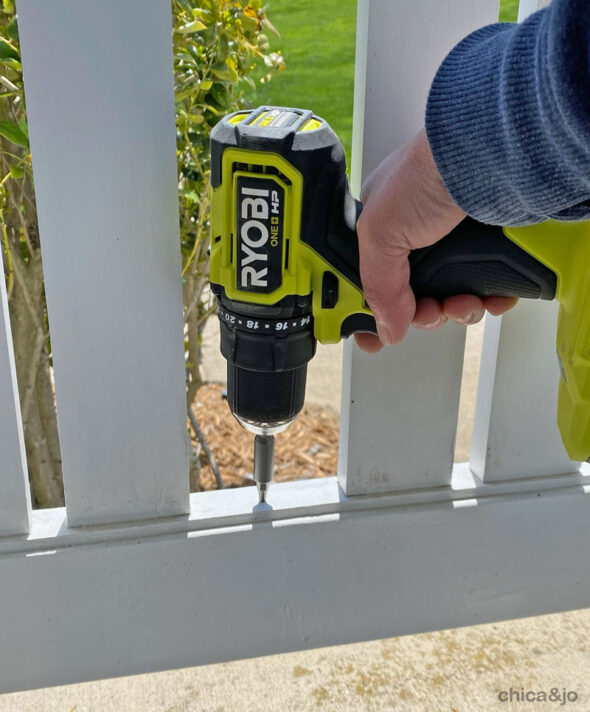
To attach the baluster panel to the railing, I held it up against the horizontal railing and screwed it in place through the lattice. (That Ryobi One+ Drill uses the same battery as the nailer... how convenient!)
To support the panel from the bottom, I added another 2x4 railing that stretched from column to column. I pushed it up against the panel's bottom lattice strip, then secured the 2x4 to the columns using toe-nailed screws.
Then I attached the lattice strip to the railing with screws, as I had done on the top.
Final touches
To finish the railing off and give it a substantial top surface, I added a 1x6 plank of PVC molding across the top, screwing it down into the 2x4 below.
I caulked all the seams, gave everything two good coats of outdoor enamel paint, and it was good to go!
This unique and modern porch railing turned out so great that my neighbors are always commenting on it. It made such a huge impact to the overall look of the porch, and was surprisingly easy to do.




4 comments so far:
How long did you cut your 1x3s? We're attempting to copy your railing but I want to make sure that the length looks aesthetically pleasing. We have 40 inch posts but for reasons I'm not going into here, we are not doing the full 40 in we're dropping the railing down three to four inches from the top of the posts & topping our posts decoratively.
Ginger, my 1x3 balusters are 24" long, but that may nor work for your space. I recommend testing with lengths until you get something that looks just right.
Curios to see if you used pressure treated wood? Thanks
Joe, the 2x4s are pressure treated, but the balusters are not, as that size lumber was not available in pressure treated. However, I painted the pieces twice with an exterior paint that has held up beautifully. And the top railing is PVC, which will last forever.