


Functional Utility Sink Backsplash Idea

I recently put a utility sink in my craft room, and it has proven to be an incredibly useful addition. However, it was very clear immediately that it looked way too boring and plain for a creative space. To be a truly functional workspace, it also needed a backsplash to protect the wall from water and some store of storage for tools and towels.

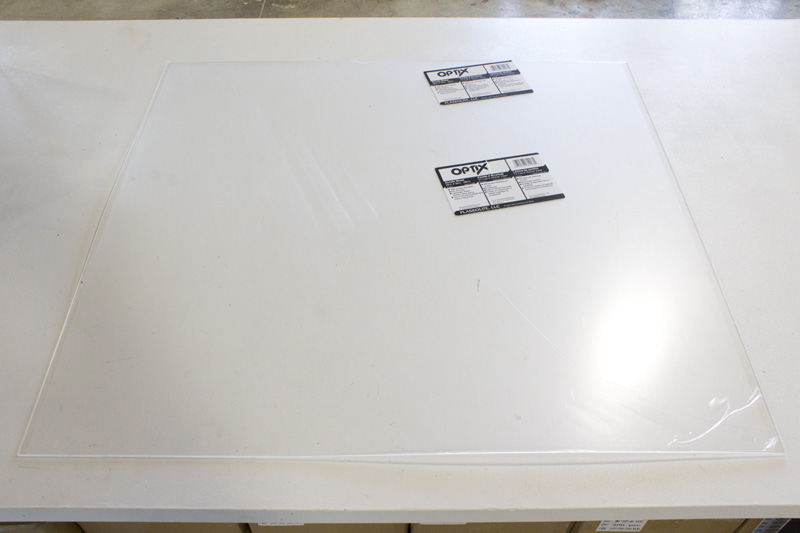
To create a thin, protective backsplash that would be just as easy to install as it would to remove, I purchased a sheet of clear acrylic at Lowes. I went with the thinnest they had (2mm) to save money, and chose a sheet size (28" x 30") big enough to cover the wall behind the sink. You'll find acrylic sheets in the section with glass and plexiglass. It's crystal clear (once you remove the protective film), lightweight, and inexpensive. Perfect for my backsplash!
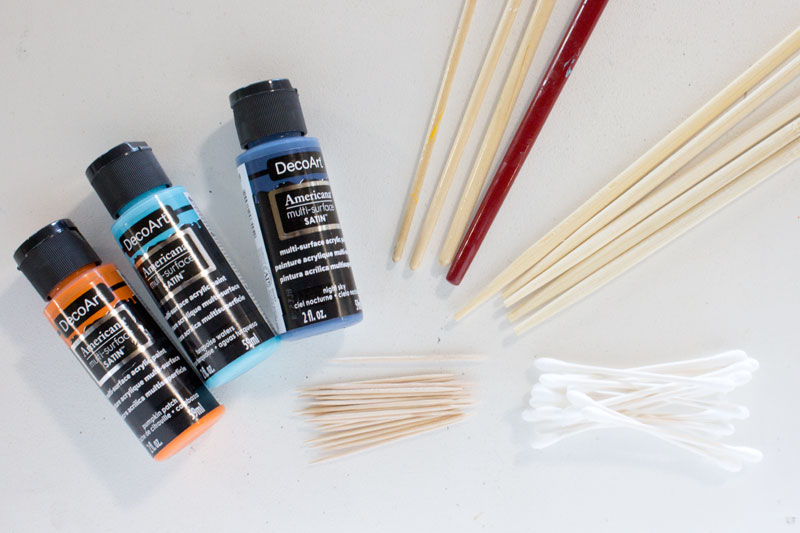
Function aside, I wanted this backsplash to also be pretty. I decided to use the dot painting technique to add some bold color and design. I gathered a bunch of dot-making tools (various sizes of brush handles, skewers, toothpicks, etc) and picked out my paint colors. Since I would be painting on acrylic, I chose Americana Multi-Surface paint and I went bold with a color pallette of Pumpkin Patch, Turquoise Waters, and Night Sky.
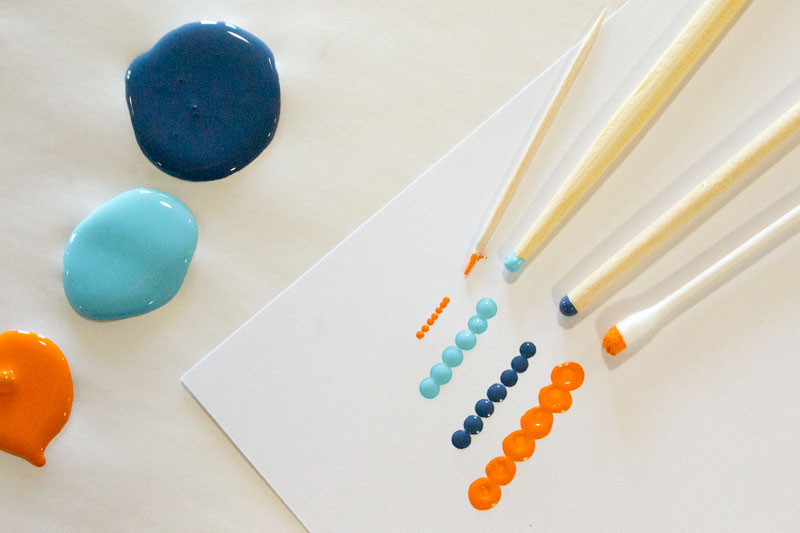
Then I practiced making dots to be sure I had the hang of it before starting on my final surface. I've found that the best way to get evenly-sized dots is to dip the pointy end of the tool into a puddle of paint and then just touch it to the surface, making only one dot, then dipping again for the next. Trying to get more than one out of each dip just causes inconsistencies, so be patient!
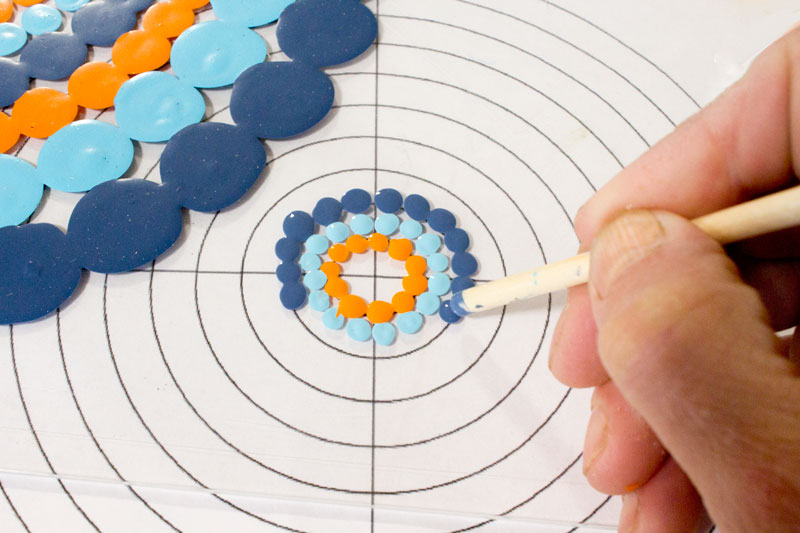
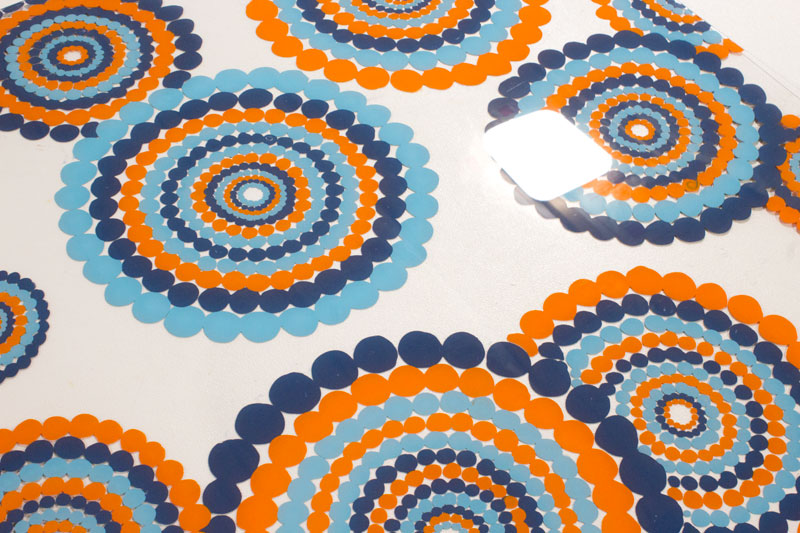
My dot painting pattern was concentric circles, with the dots getting larger with each ring. To make it easier to keep my design circular, I found a picture of concentric circles online and printed it large on a piece of paper. Then I just slipped the paper under the acrylic and used it as a template.
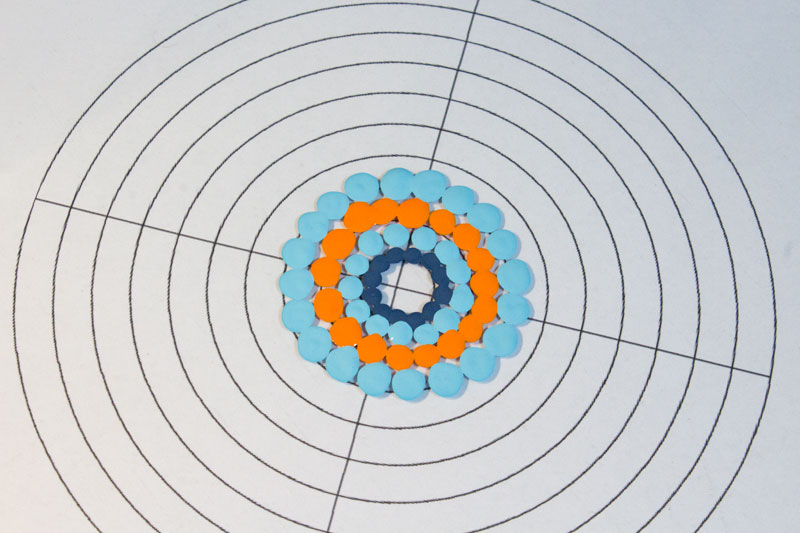
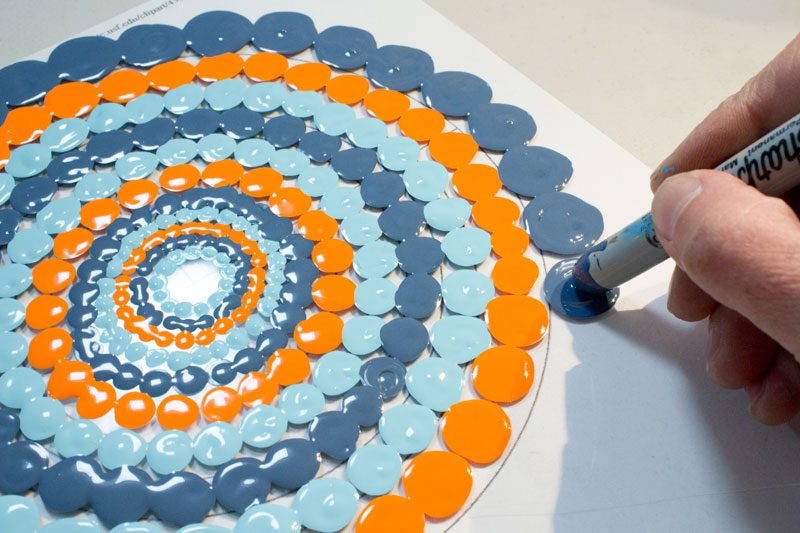
As the circles of dots got larger, eventually the brush handles weren't big enough to make large dots, so I searched for larger tools and found success with the chunky end of a Sharpie marker. For the largest rows, I just swirled the paint and tool in a circular manner to get giant dots.
After making a rosette of dot circles as large as I liked, I went on to add more rosettes randomly around the surface.
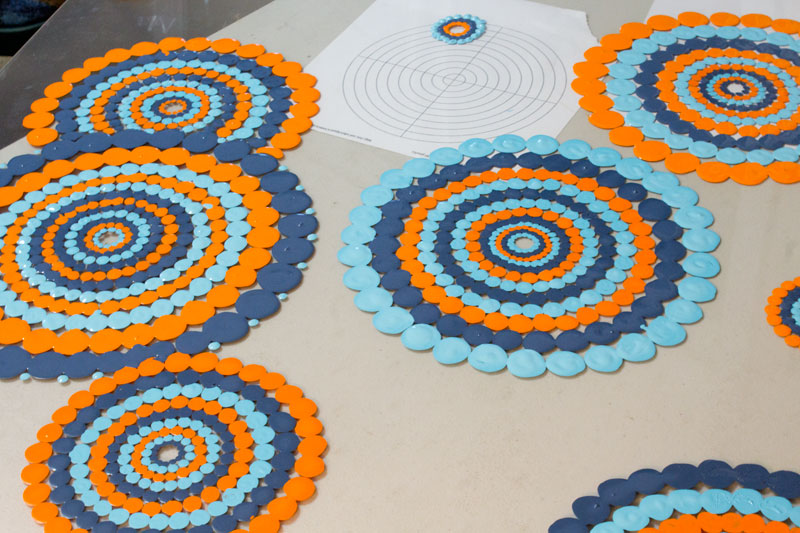
This is where the pattern was really useful, because it helped with overlapping two rosettes while still keeping each individual row of dots in a proper curve.
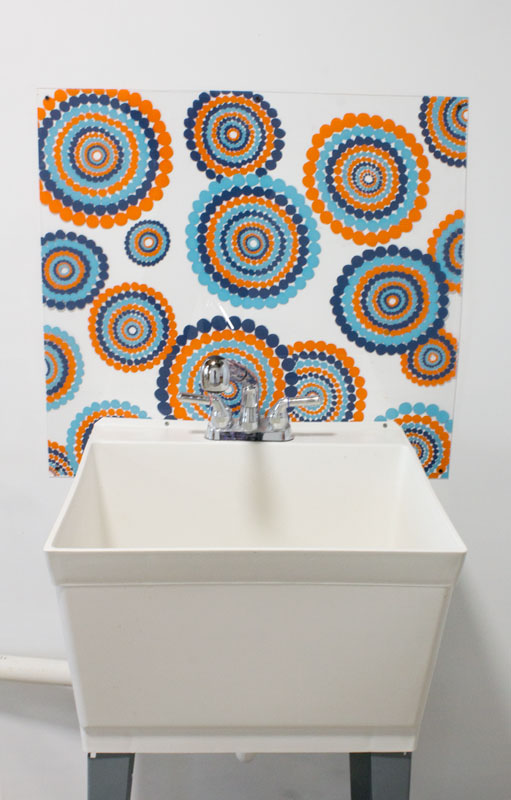
I didn't completely cover the surface (although I thought about doing so, and almost did), leaving some negative space between the designs. I leaned it up against the white wall to see how it looked and added more designs as needed until I was happy with it.
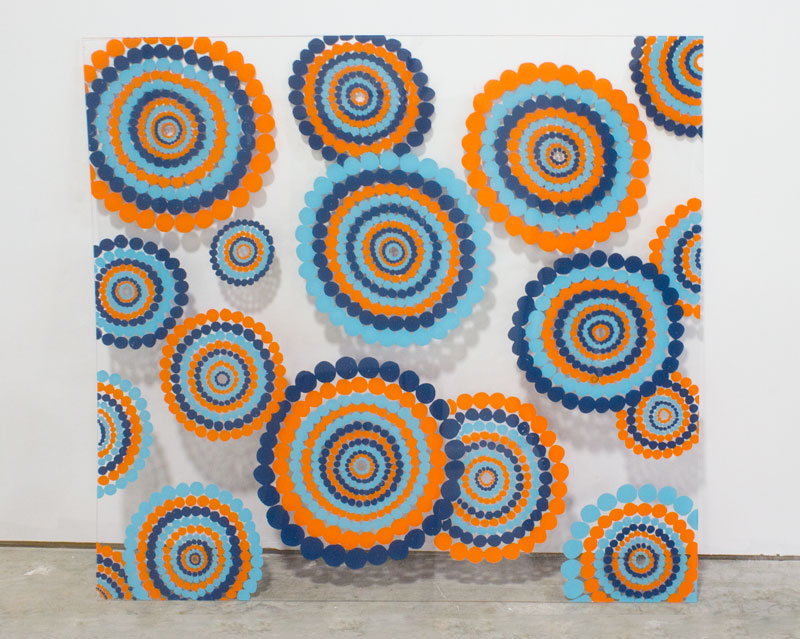
Now here's the awesome part — because the acrylic is crystal clear, I actually flipped over the completely dry sheet, revealing perfectly smooth paint dots on the other side! I installed the sheet with this smooth side out, and the painted side touching the wall. That way, water won't mess up my carefully painted designs, and the surface will be perfectly smooth and easy to wipe clean. I really love the glossy finish of the acrylic, too.
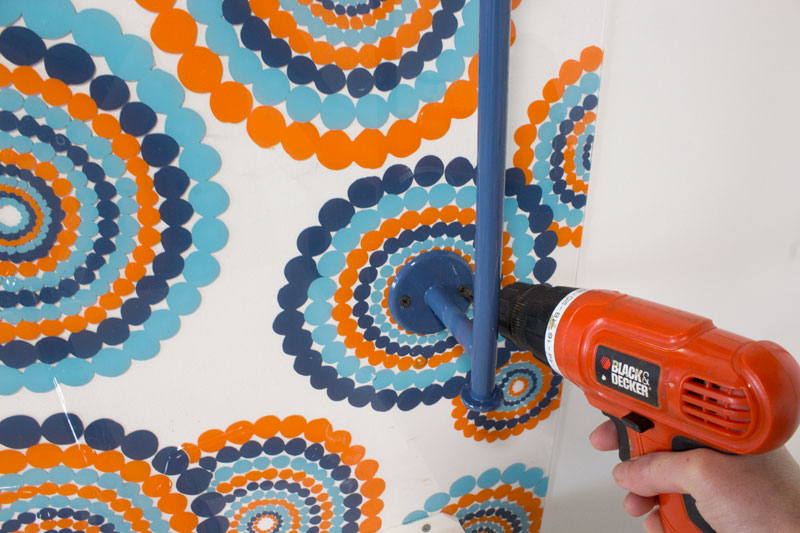
To install the acrylic on the wall, I used a drill to carefully drill holes in the four corners, making sure to drill VERY slowly and gently so the plastic didn't crack.
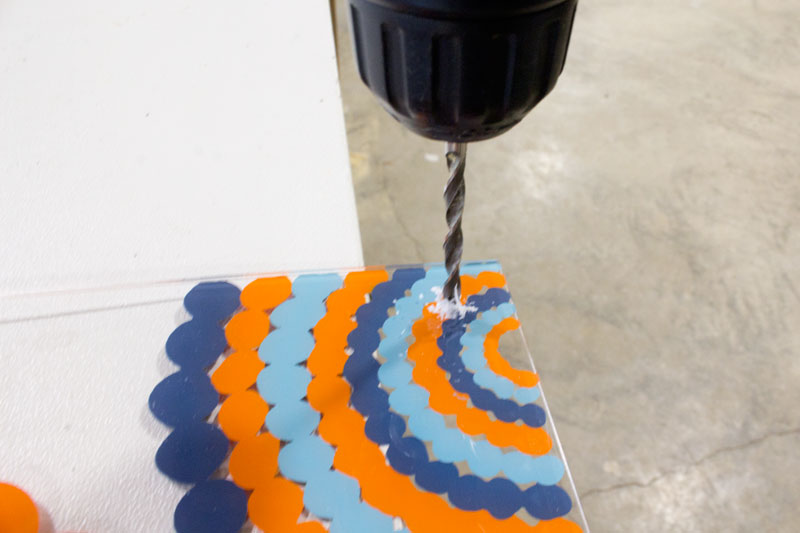
Then I just screwed the acrylic to the wall, tucking it down behind the sink a few inches, to protect the wall from splashes around the faucet.
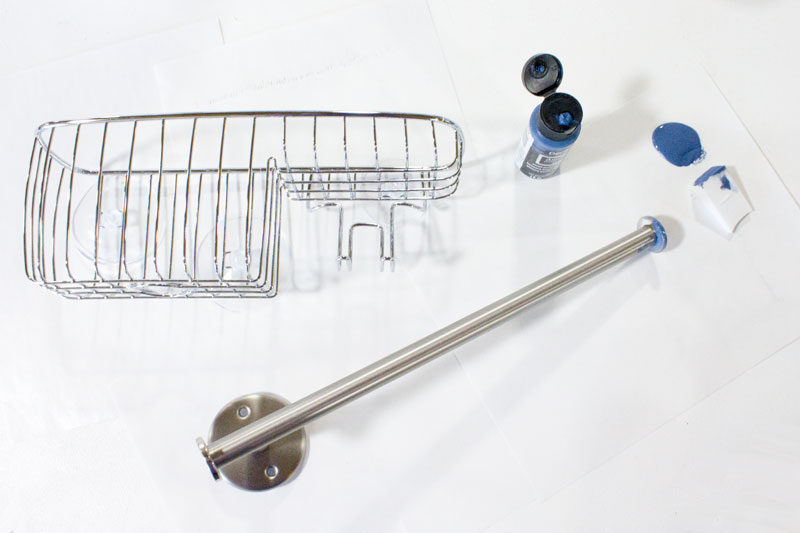
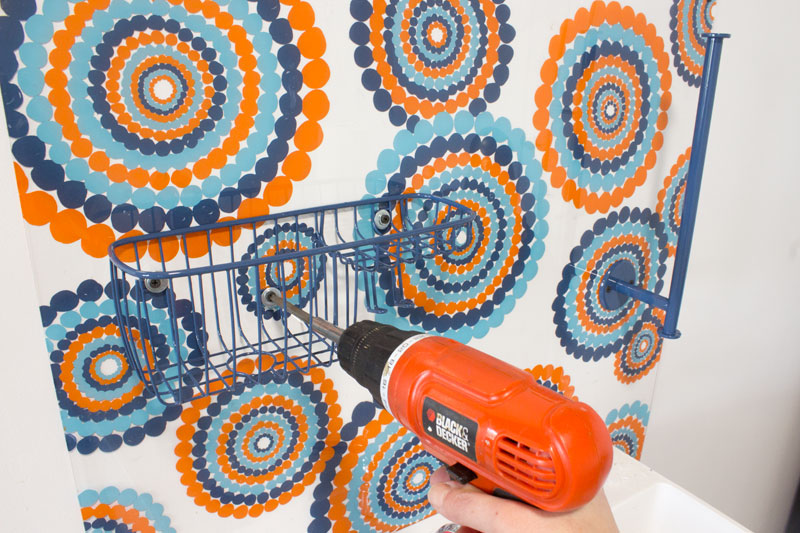
Okay, the pretty part was done, but this needed to be functional, too. So here come organizational accessories! I found a shower caddy and paper towel holder that would work well for me, and painted them dark blue to match my art.
Then I carefully drilled holes and screwed the accessories in place on the wall.
The caddy had suction cups originally, but they ended up pulling the flexible acrylic away from the wall, so I removed them and instead secured the caddy to the wall with screws and washers.
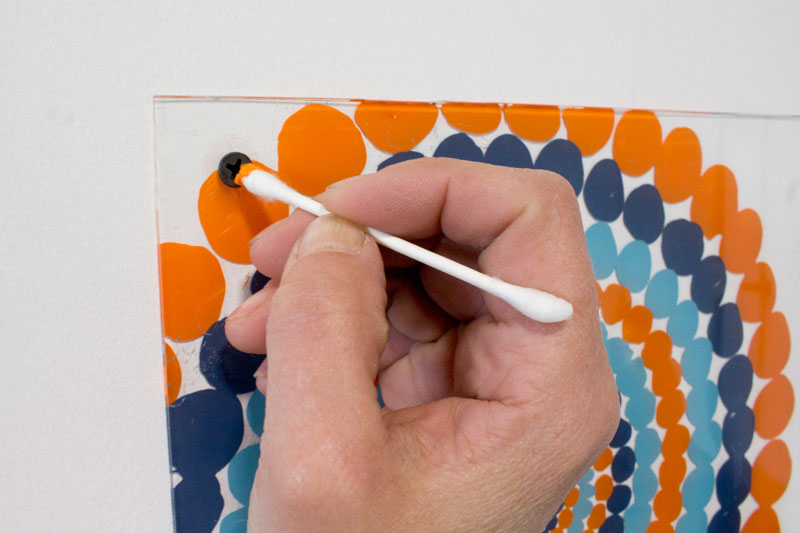
As a final touch, I dabbed a little paint onto each screw head, to camouflage it in the design.
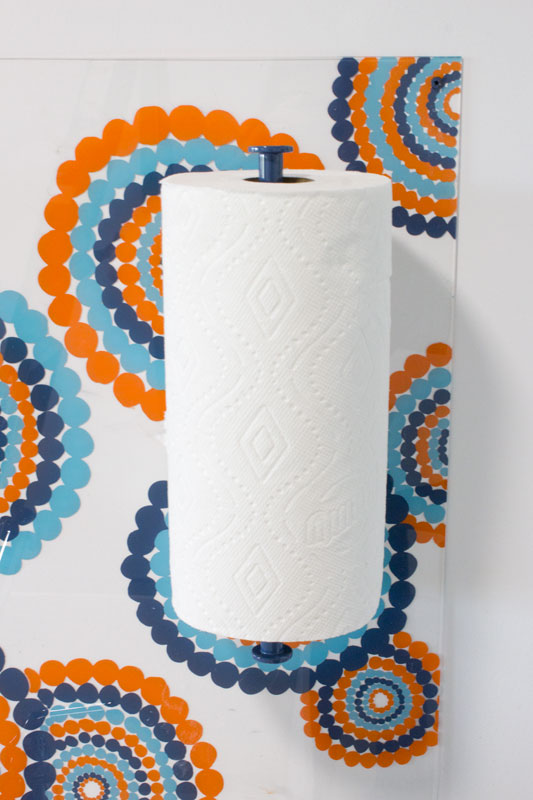
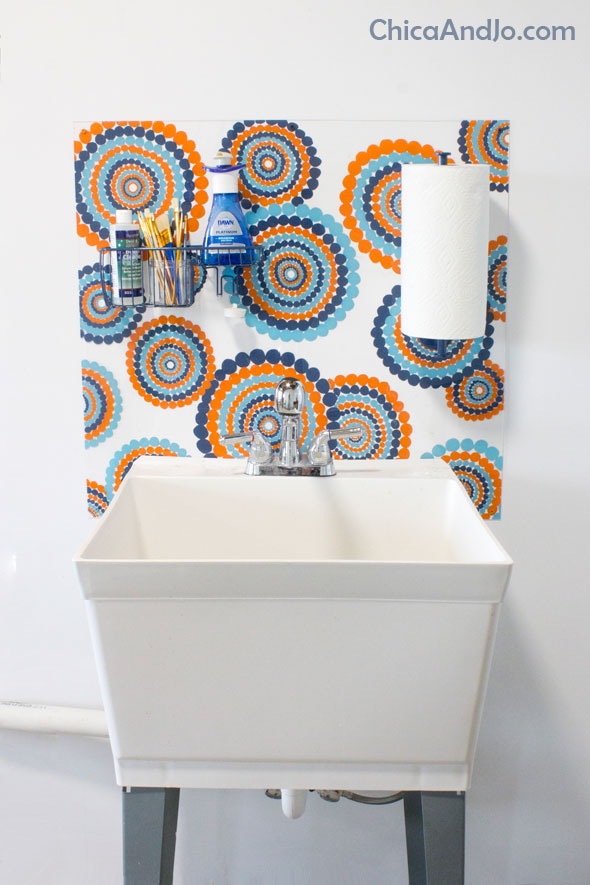
Look how much prettier my paper towels look on this holder instead of on the edge of the sink! And they will stay drier, too.
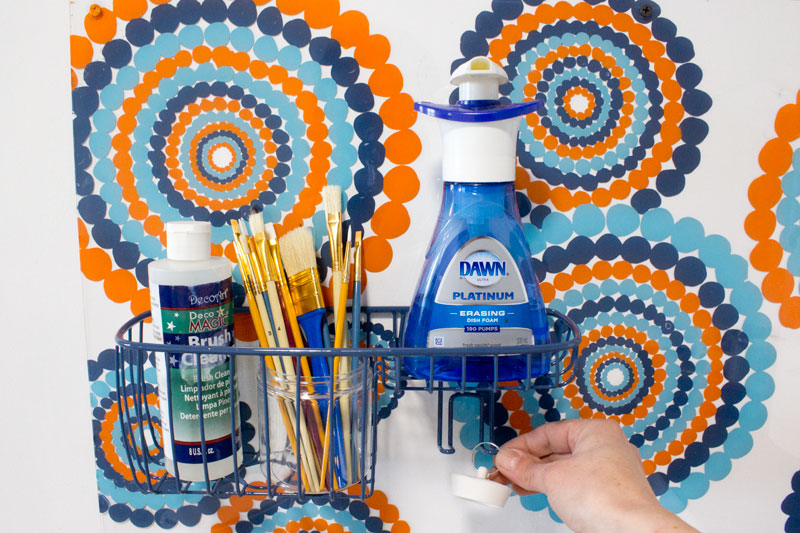
The caddy is perfect for holding a bottle of brush cleaner and a jar for freshly washed brushes that need to dry.

The little shelf is just right for holding soap, and the tiny hook is perfect for hanging the sink's drain plug. I've been paranoid about losing that thing for weeks.
I am so thrilled with how this backsplash turned out. It's functional, pretty, and makes me smile every time I'm washing up!
similar projects

Christmas Baked Goods for Gifts Idea
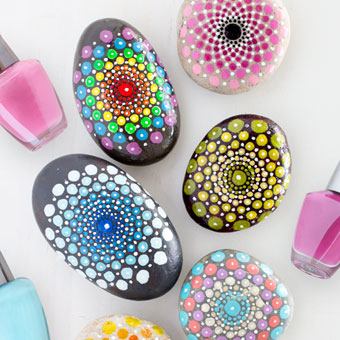
How to Paint Mandala Rocks with Nail Polish
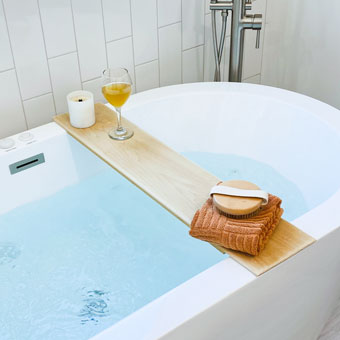
Make a Simple Modern Bathtub Caddy


7 comments so far:
Hey. Just wondering where you got the utility sink from?
Megan, I got the utility sink here on Amazon. It has held up great, and was super affordable -- it even came with the faucet!
Oh my gosh I love this idea so much! I was thinking about doing wallpaper behind my utility sink as a decorative backsplash and waterproof wall protector, but this is so much cooler, cheaper, and easier. LOVE what you did with the wall-mounted holders too. Great functional additions!
This will make a fun art project for my kids. I have two sinks that need a backsplash.
Charles, that's a great idea! We'd love to see what you create, so please tag @chicaandjo if you share on social media.
Thank you for the idea - easy to install, clean, replace. The hard part for me is being as artful. So I decided to paint the same size as the acrylic sheet with the same color I am painting the countertop but without the sealer. The acrylic sheet will go on top of the color. Since my storage room is all white paint, with white shelves and white wire basket storage units of drawers, I am also painting the bottom wood shelves with the same color as the countertop and backsplash. It's just a bit of color in a clean, white, room. But the space behind the utility tub is now solved - thanks to you.
Wanda, I'm so glad I could inspire you to add some color to your space and also protect the wall!