DIY Home Decor Projects Using Burlap Coffee Sacks
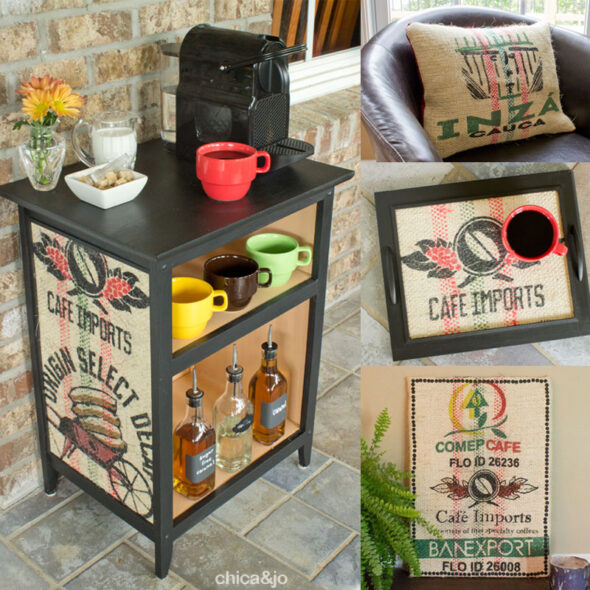
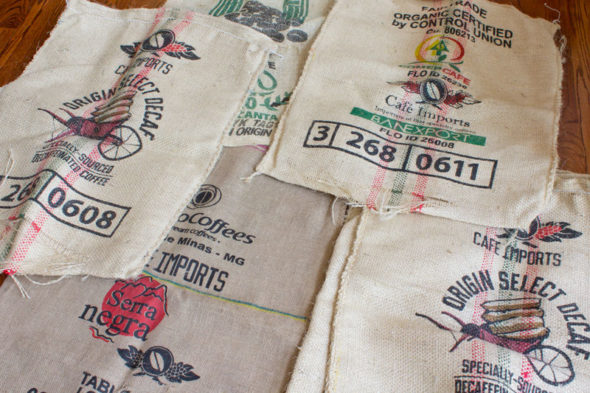
We really love the rustic look of burlap, and find it a great source of decorating inspiration in our homes. So when our friends over at burlapfabric.com offered us some of their burlap and sisal coffee sacks to work with, we jumped at the chance. We love coffee as much as we love the idea of re-using the coffee sacks to decorate our homes. There are so many cool designs on the bags!
Bonus: use coupon code CHICA&JO5 for $5 off any order of $5 or more burlapfabric.com
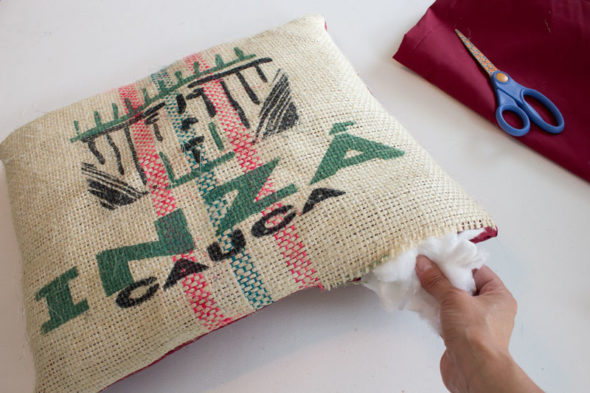
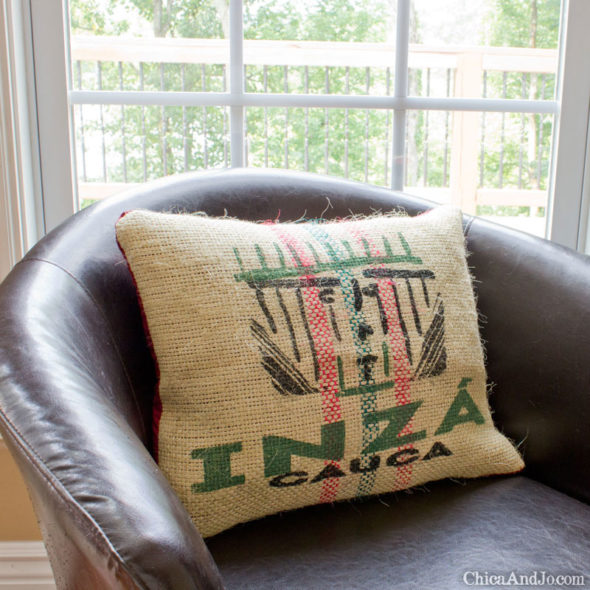
I started off with a super simple project that's easy to recreate. When I saw the smirky idol face and bold graphic INZA print on one of the bags, I knew it would make a cute pillow. Making a throw pillow is easy -- just cut out the design, put it face-to-face with some backing fabric, sew all around except for a 3-4" gap, turn the whole thing inside out, stuff it with some polyester stuffing, and sew up the gap.
This project only took a few minutes, and the pillow brings a smile to my face every time I walk past it.
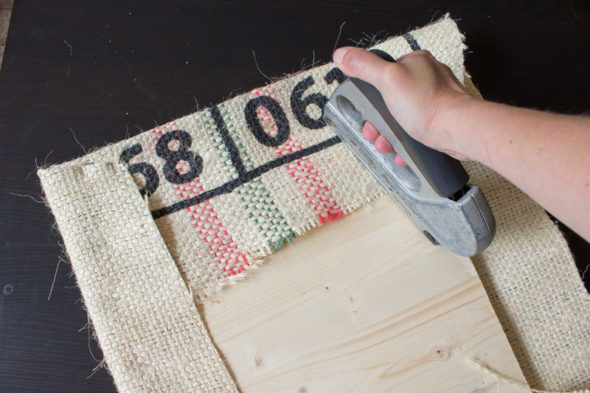
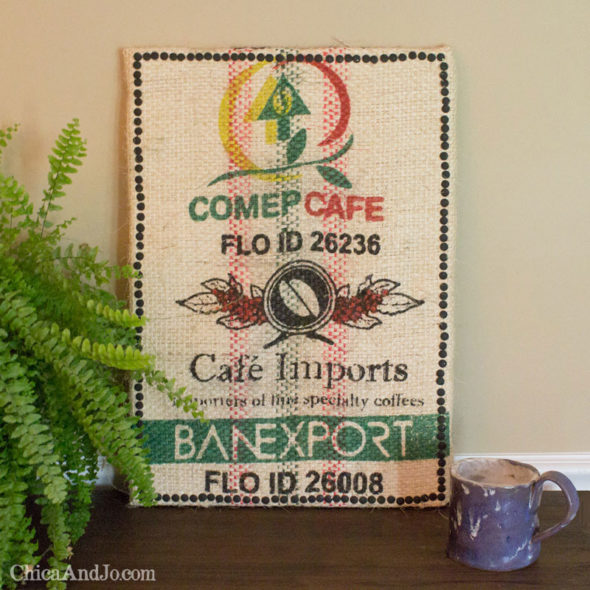
Next, I wanted to create some chic wall art that really featured one of the coffee sack designs. I chose my favorite, measured the design area, and cut a piece of board to that size. Then I used a staple gun to attach the burlap to the board, pulling tight as I went around.
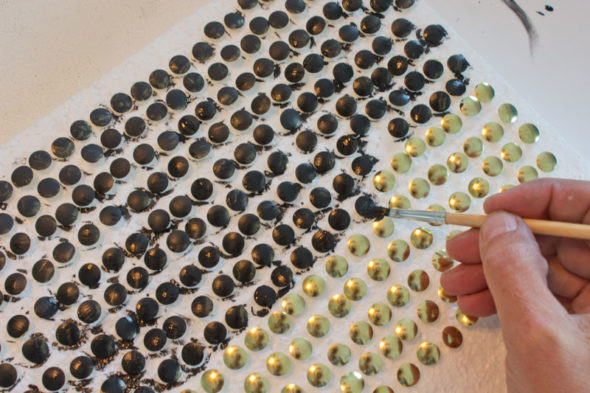
I wanted to finish it with a nail head border, but upholstery nails can be kind of expensive if you need a lot, so instead, I improvised! I stuck some ordinary brass thumbtacks into a piece of foam and painted them black.
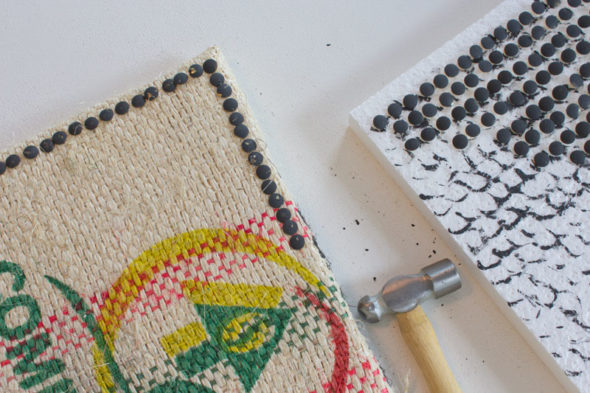
Then I just hammered them along the edges. (The hammering did remove some of the paint, so I went back and touched it up afterwards.)
This easy coffee bag art is now one of my favorite pieces of art in the house. I just love that nail head border, too!
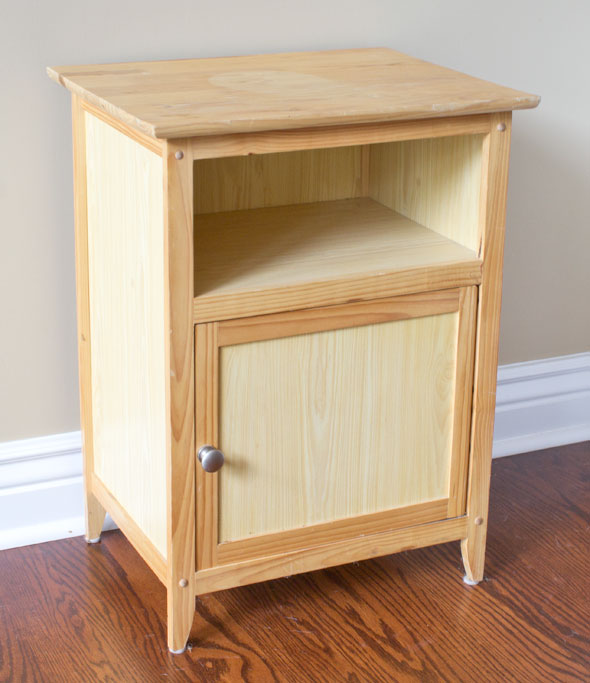
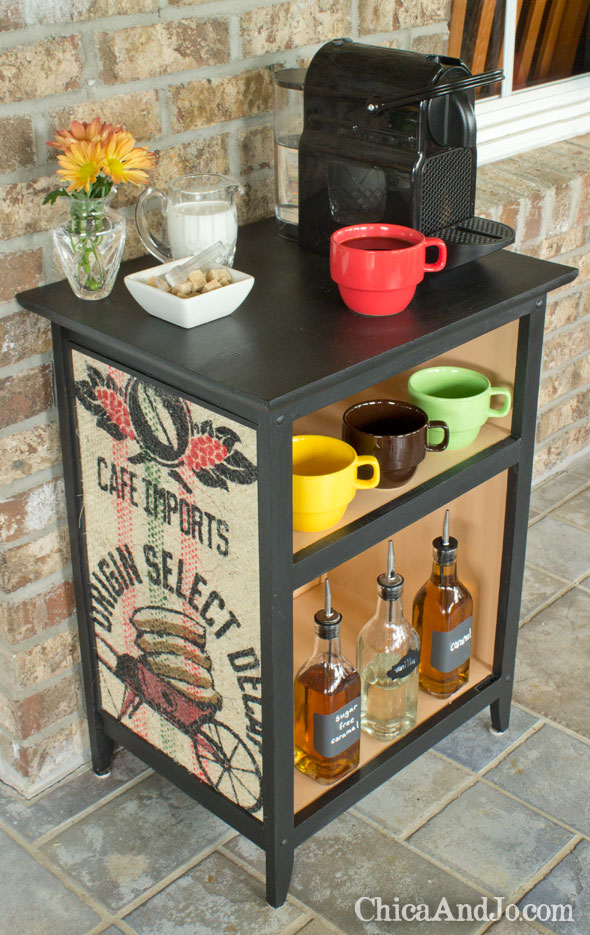
With these two easy DIY burlap projects under my belt, I decided to go for something a little more complex next. I went up in the attic and looked through my old furniture until I found just the right piece. This ordinary little end table was screaming for a redo. I knew it would make a perfect coffee cart.
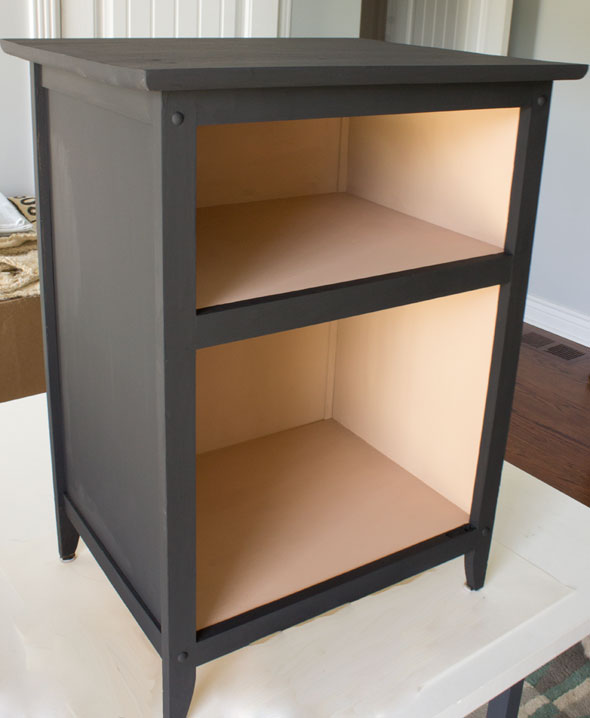
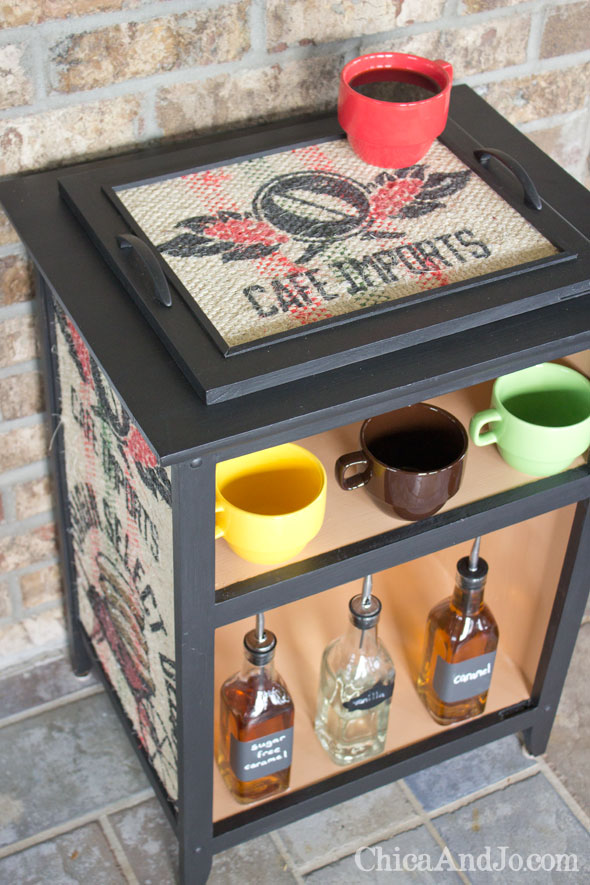
I took the door off (more on that later!) and painted the piece black on the outside and tan on the inside. Ahh, what an improvement already.
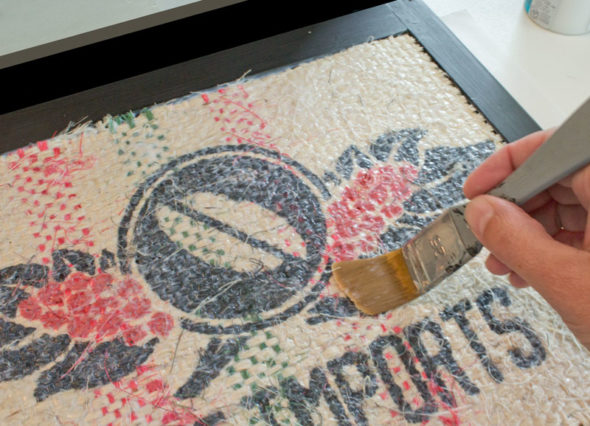
Then I cut pieces of burlap to fit the side panels of the table, making sure to center the design in the space. I applied a thick coat of decoupage glue to the table, then pressed the burlap in place. Once that was dry, I smothered it with a ton more decoupage glue to seal in all the fibers so that they wouldn't flake off.
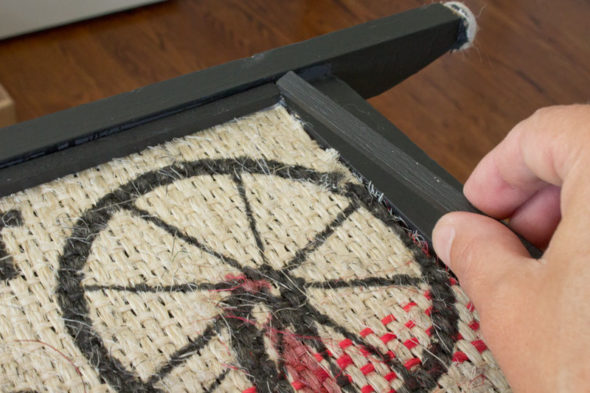
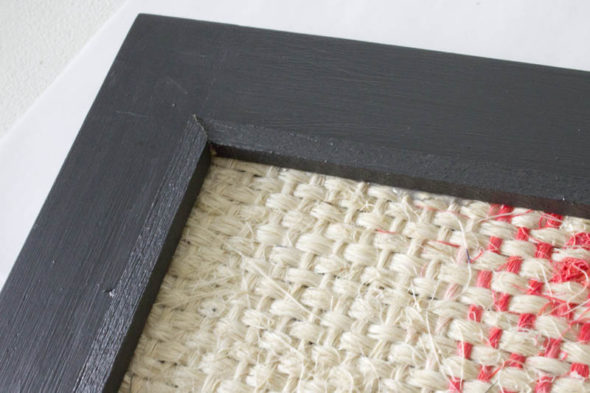
The edges were still pretty rough from unraveling as I worked, so I covered them up by hot gluing some thin wooden strips over the edges.
Just look at my adorable coffee cart! I love the mix of rustic burlap with modern black lines. It's the perfect place to store my coffee maker, mugs, and flavorings.
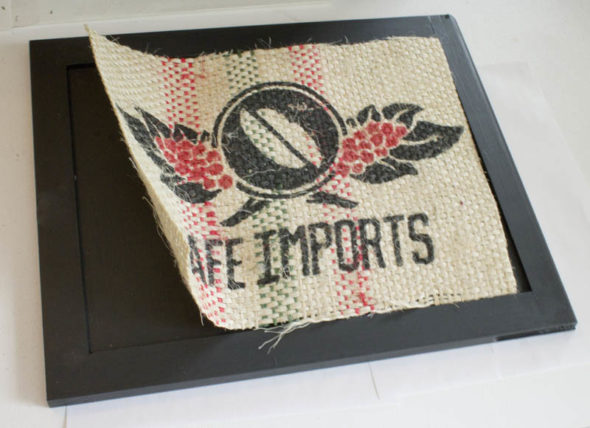
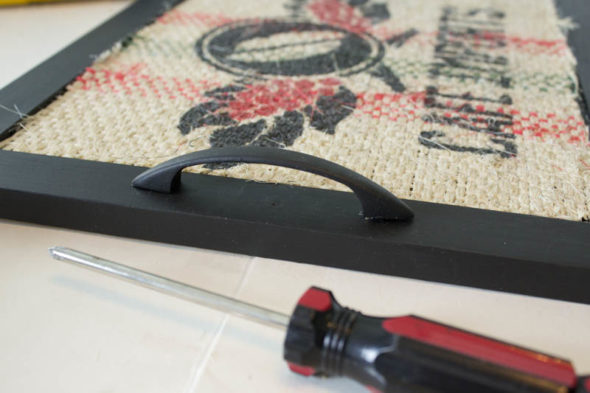
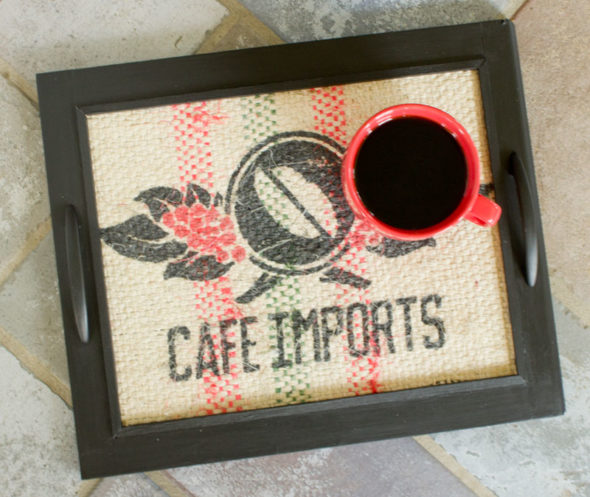
But wait... what about that door? I was going to just toss it, but then I realized that it would make a perfect serving tray. I removed the hardware, filled the holes, and painted it black. Then I used the same techniques from before to decoupage the burlap onto the middle panel.
I added two sleek handles, which I also painted with the same black paint to match.
Once again, the wood strips really trimmed out the edges perfectly.
And just like that, I transformed the cabinet door into a charming coffee serving tray.
I love that the tray matches the cart perfectly. The best part is that since it originally fit the bottom shelf opening perfectly, it actually fits inside for easy storage.
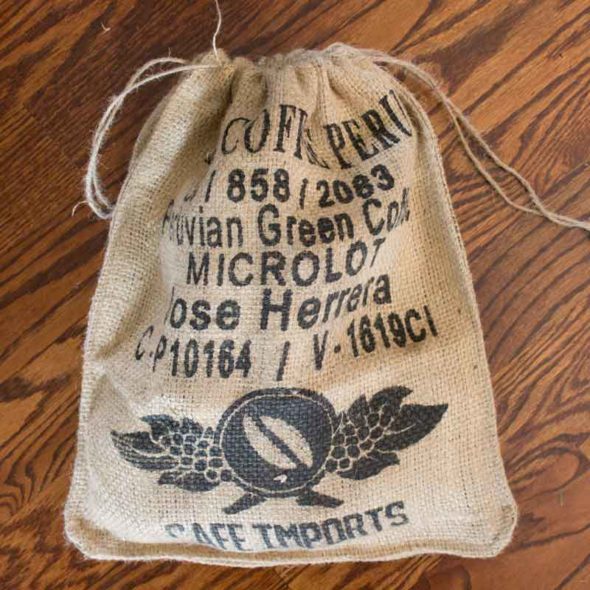
For one last project, I decided to make some drawstring bags out of the scraps of bags I had left. I used our drawstring backpack tutorial with one tweak — I didn't attach the ends of the pulls to the bottom of the bag. Just look how cute it came out!
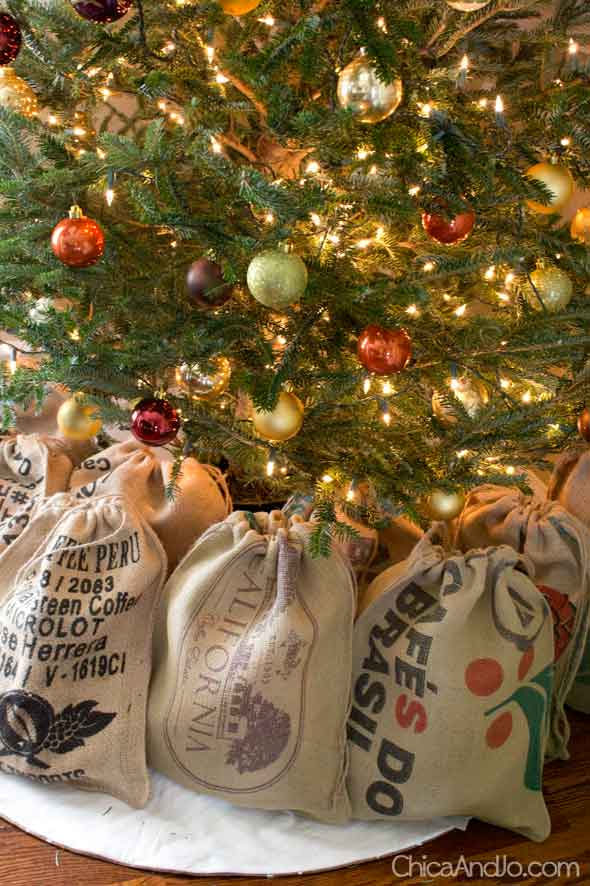
Then true inspiration struck when I was decorating my rustic Christmas tree and wanted a unique way to wrap the gifts that was also rustic and distressed. I made up a couple dozen bags, and voila! I had the perfect set of unique, rustic gift bags.




3 comments so far:
Where can I purchase the coffee bags? I'm making acoustic panels. Thank you.
Kelly, you can find burlap coffee sacks for sale at BurlapFabric.com
You don't need to buy them! Most coffee roasters have them to give away!!