


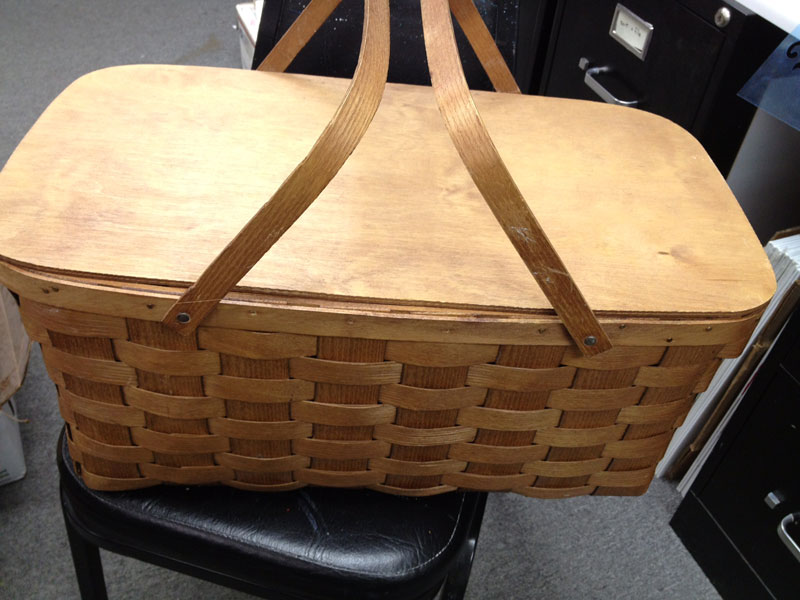
Picnic Basket Redo with Chalk Paint

Here's a great beginner level chalk paint project if you've been wanting to try chalk paint but are intimidated by it.
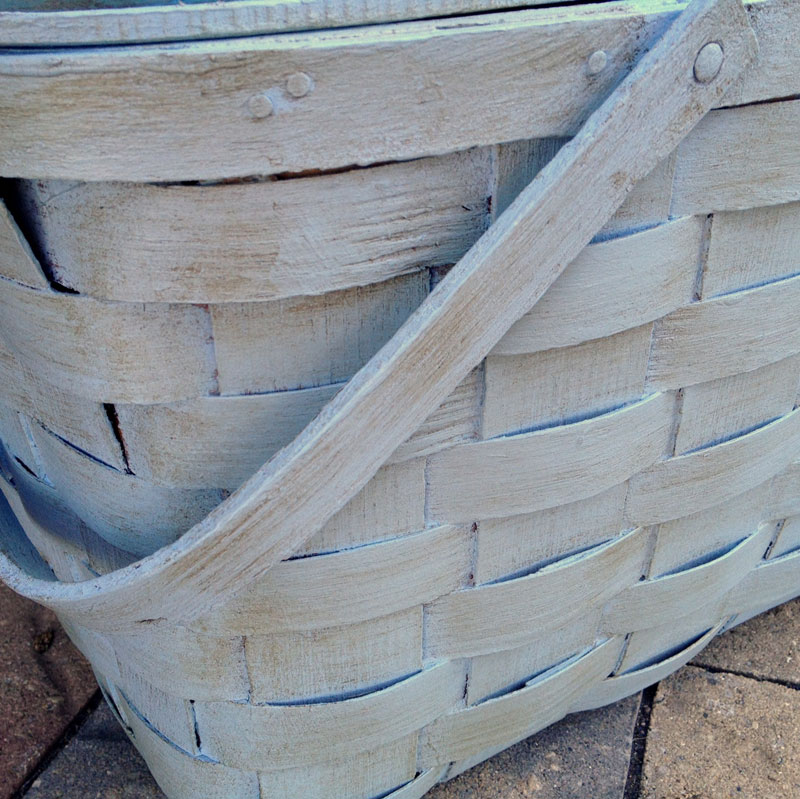
I used some Americana Decor Chalky Finish paint in the color called Serene and some deep brown wax to give a simple picnic basket a whole new look
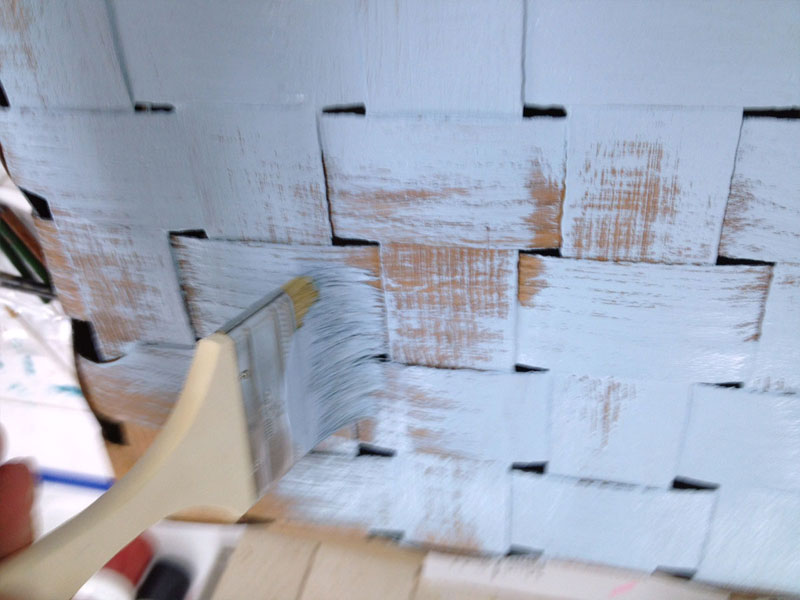
The chalky finish paint covers really well without any prep work. I used a cheap brush and just slopped the paint onto the basket. The hardest part was the weave, and I had to go a billion different directions to get all the crevices.
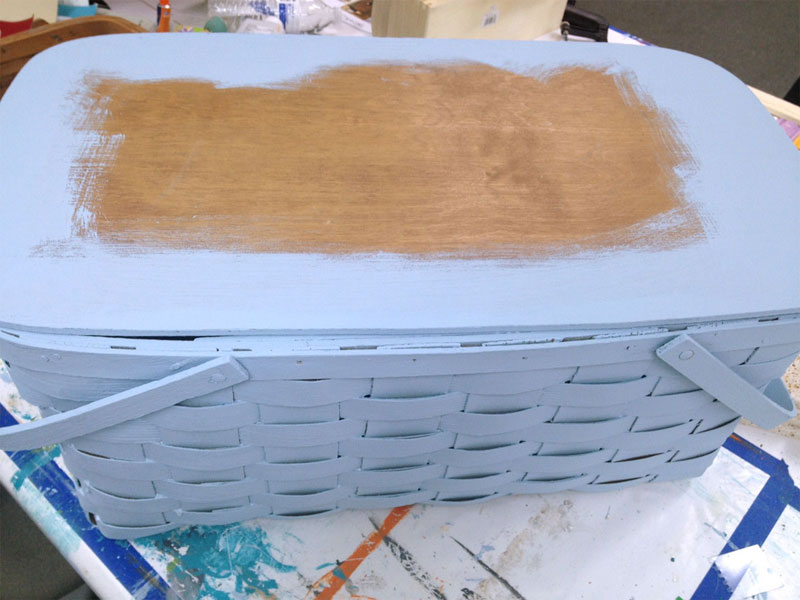
I didn't bother to paint the entire lid since I was planning to decoupage an image onto it.
To cover the lid, I used a poster that I found at Michaels that featured gondolas in Venice. I used the lid of the basket to trace the shape onto the part of the poster I wanted to use, and then I cut it out.
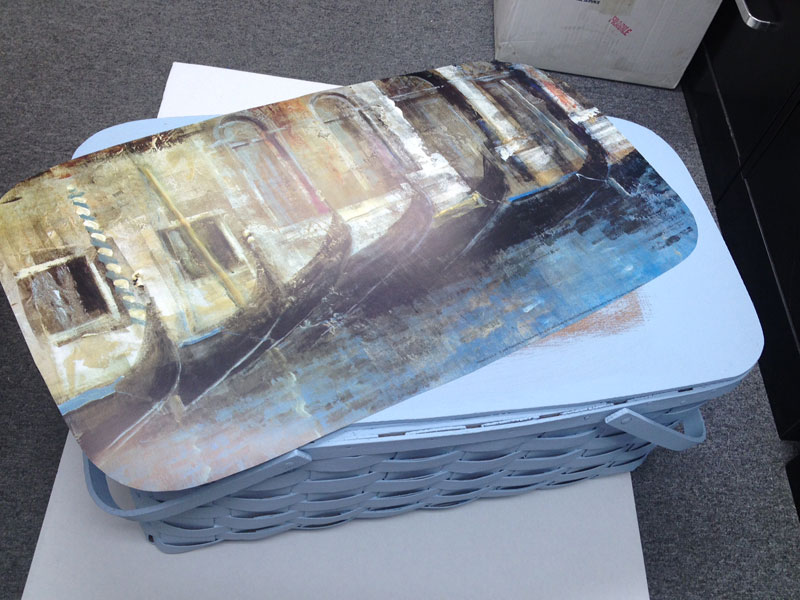
Next, I used a foam brush to apply a thick layer of decoupage medium to the lid.

Before applying the poster to the lid, I wet it slightly with water to relax the fibers. This little trick works great when you're decoupaging thicker papers. Relaxing the fibers help so very much with preventing wrinkles.
I put the damp poster on the lid and used a brayer to smooth it out.
When everything was dry, it was time to add the wax. I used a soft rag to apply a tiny amount to the surface, then quickly wiped it off with another rag. I just wanted the hint of aging everywhere. This dark wax also toned down the color quite a bit.
TIP: Since the dark wax can absorb so quickly and really darken your paint, you might consider adding a coat of clear wax first to sort of seal it, then put the dark wax over that. This will help you control how dark of a finish you get.
The transformation went so well that my mom saw it and stole the basket from me. Now how am I supposed to have a picnic?
similar projects
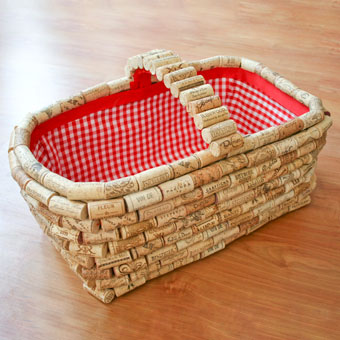
Recycled Wine Cork Covered Picnic Basket
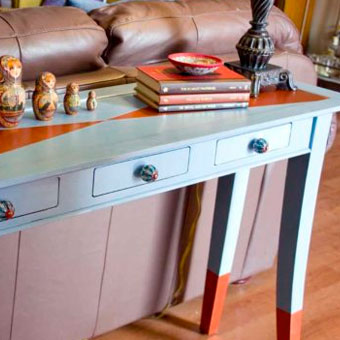
Chalk Painted Sofa Table Redo
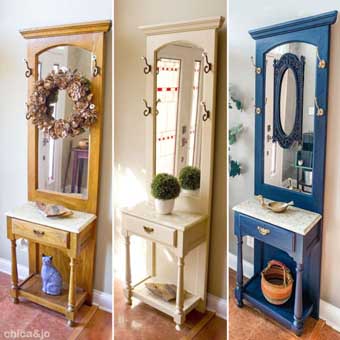
Chalk Paint Hall Tree Makeover


