


The Best Salted Caramels Recipe

Anyone who knows me knows that I love caramel. I mean I really, really LOVE it. It's my go-to flavor for coffee, ice cream, candy, cake, cookies, anything! So when I decided to develop my own salted caramel recipe, you can rest assured that I made many batches until I got it just right.
This is what makes my salted caramels the best:
- They are chewy but still soft
- They are rich and buttery from the slow cook
- They are accented with a touch of salt
- They don't stick to your teeth
My salted caramels recipe is well-known by family and friends. And today, I'm going to share this recipe with you! This recipe is definitely a labor of love, but fortunately it makes a ton of caramels, so it's worth the effort.
VIDEO: Salted Caramels Recipe
Here's a video showing the entire process of how I make my famous salted caramels.
If you prefer step-by-step instructions, keep reading to see exactly how I make these delicious soft caramels that don't stick to your teeth.
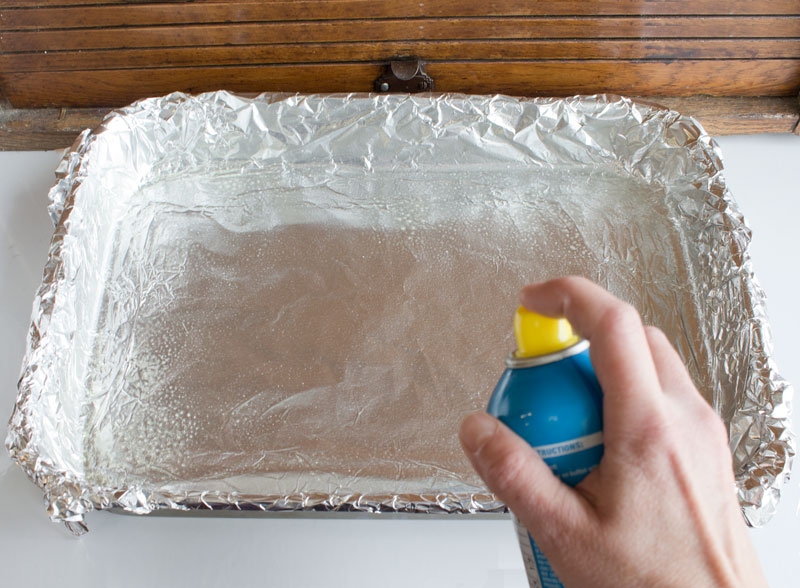
Step 1: Preparing your caramel making supplies
Before we get cooking, there's some critical prep work that needs to be done. First, you need to choose the right pan to form your caramels in, so that you get just the right thickness on your finished candy. I find that a 12" x 16" lasagna pan works perfectly and results in caramels that are about 1/2" thick. You need to line the pan with a single sheet (use the extra-side stuff) of aluminum foil, smoothing it as much as possible, then spray it with a medium coat of non-stick cooking spray.
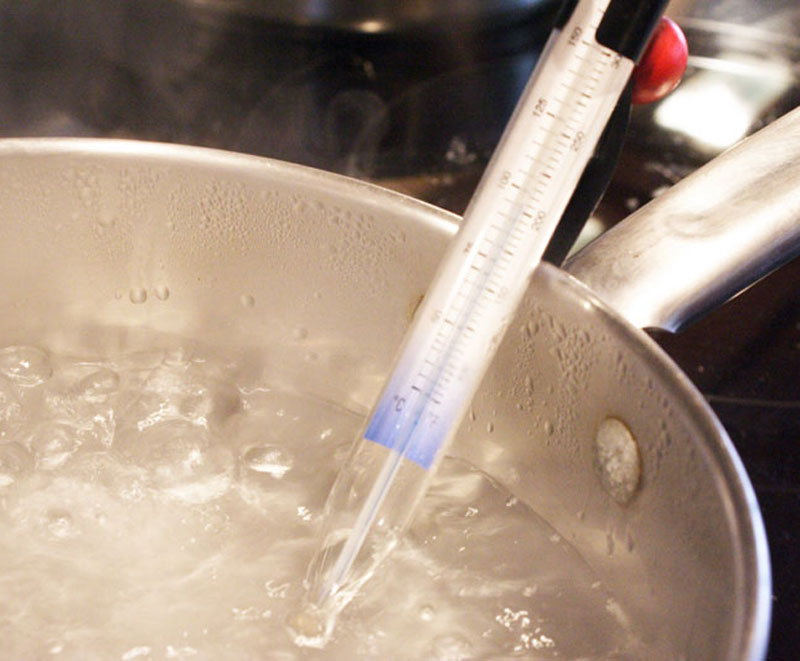
Step 2: Calibrate your thermometer
Next, you need to calibrate your candy thermometer. These guys are often off by a couple degrees, and trust me, this can make a huge difference when making caramel. Fortunately, it's easy to calibrate your thermometer. Just boil some water and measure the temperature. It should read 212 degrees F, but if your thermometer is off a few degrees, you'll need to adjust all the temperatures in this recipe by that same amount. (For example, if your thermometer says water boils at 214, then you need to add 2 degrees to all temperatures below.)
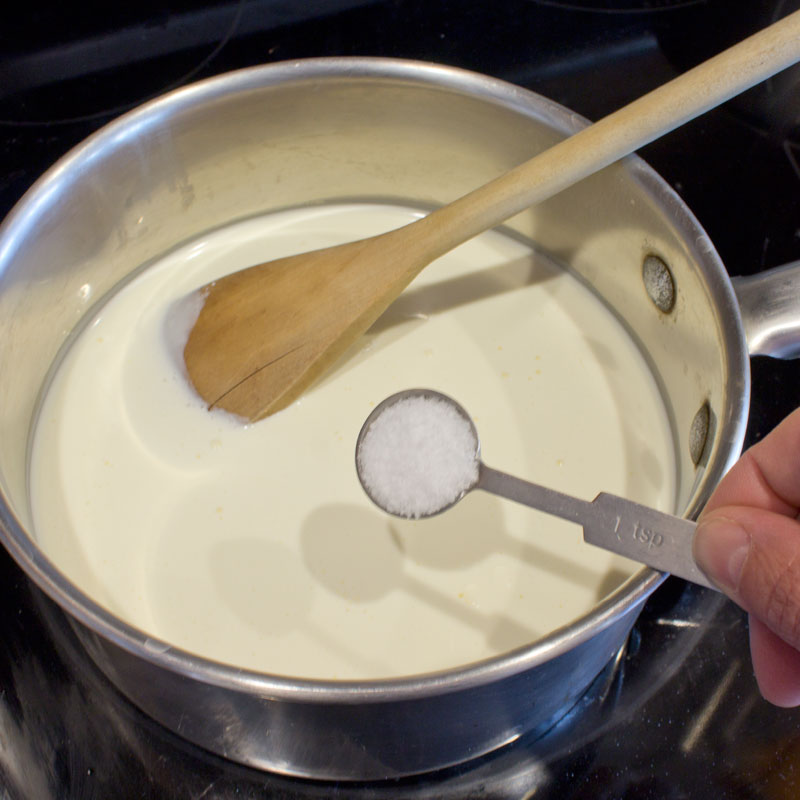
Step 3: Heat the cream and milk
Okay, now let's get cooking! Add the cream, condensed milk, and salt to a small pan and put on medium heat. Bring just to a simmer (do not boil), then remove from the heat. Add a cover to keep the milk warm.
Step 4: Create the sugar syrup base
Now grab a new, larger pan and add the water, corn syrup, and sugar. Make sure you use a pretty big pan (at least 3 quarts) so that you have room for the bubbling up that will happen later... otherwise you'll have an overflowing mess!
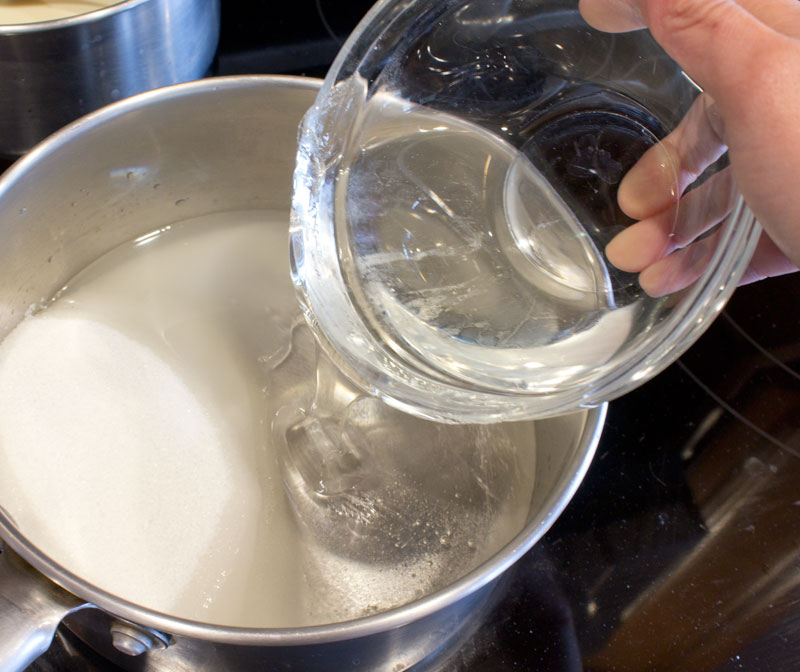
Stir over medium-high heat until the sugar is dissolved, then stop stirring and bring to a boil. Add a candy thermometer and cook, without stirring, until the temperature reaches 250 degrees F.

Step 5: Add the butter and cream
When you hit 250, remove the thermometer and add the butter and warmed cream mixture, stirring quickly. Note that the volume will increase greatly and it will bubble a lot, so be careful of spatters. When things settle down, put the thermometer back and set the burner to medium-low.
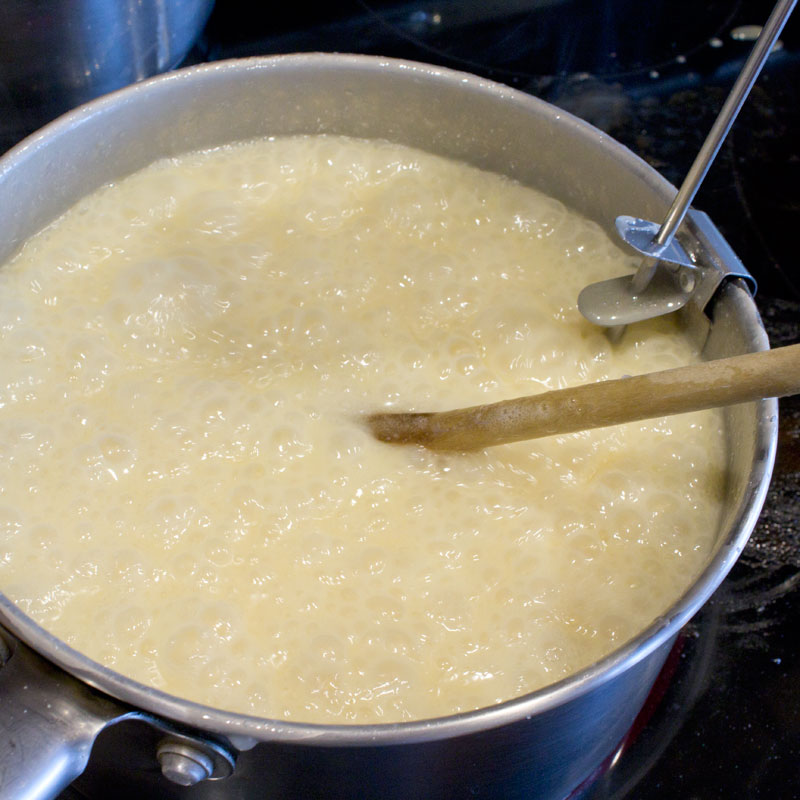
Step 6: Cook the caramel... very slowly...
Now cook the caramel, stirring constantly to avoid scorching, over medium low-heat. You want to go low and slow here, and let the caramel color and flavor develop over the course of about 30-40 minutes, until the temperature reaches 242 degrees F.
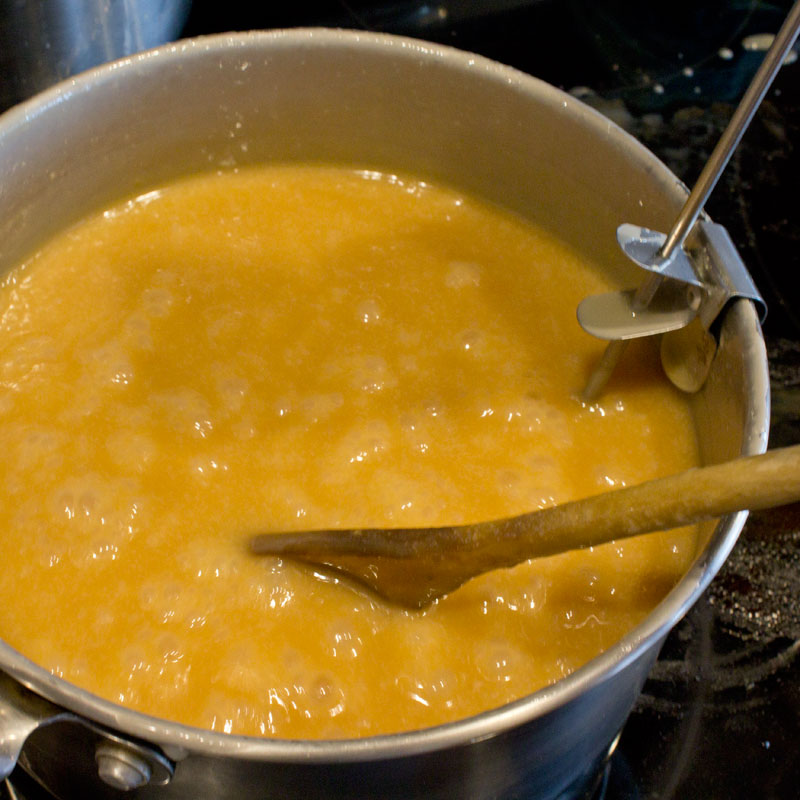
You'll notice the color deepening and becoming a rich, goopy, caramel color. The smell is intoxicating! Keep cooking and stirring until the thermometer reaches exactly 242 degrees. If you overshoot this by even a couple degrees, the caramel will be too hard to chew, so pay attention and be prepared to act quickly when it reaches temperature.

Step 7: Dump the caramel into the pan to cool
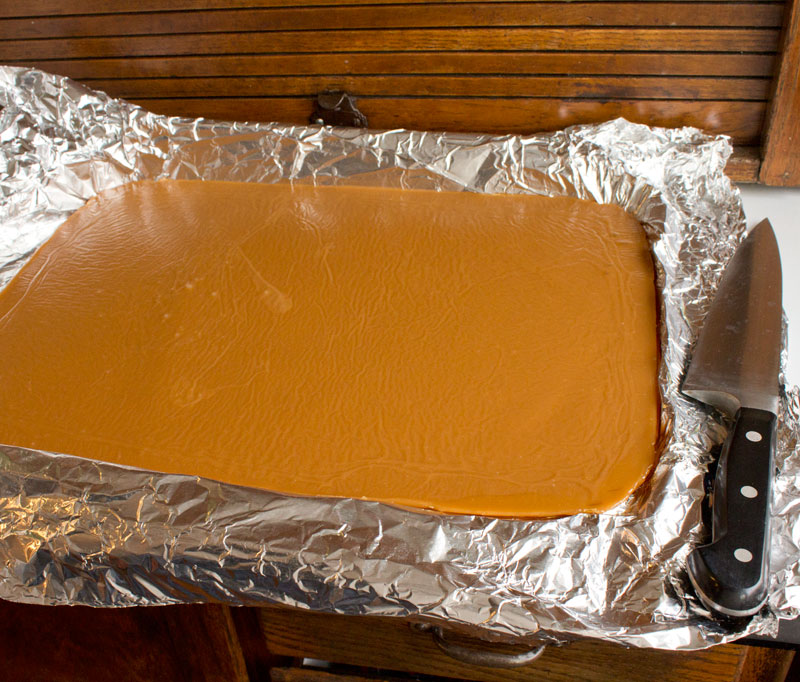
The moment you hit 242 degrees F, dump the caramel immediately into the prepared foil-lined pan. Do not scrape the bottom of your saucepan and don't stir. Just pour out what you can and let it flow to a smooth finish.
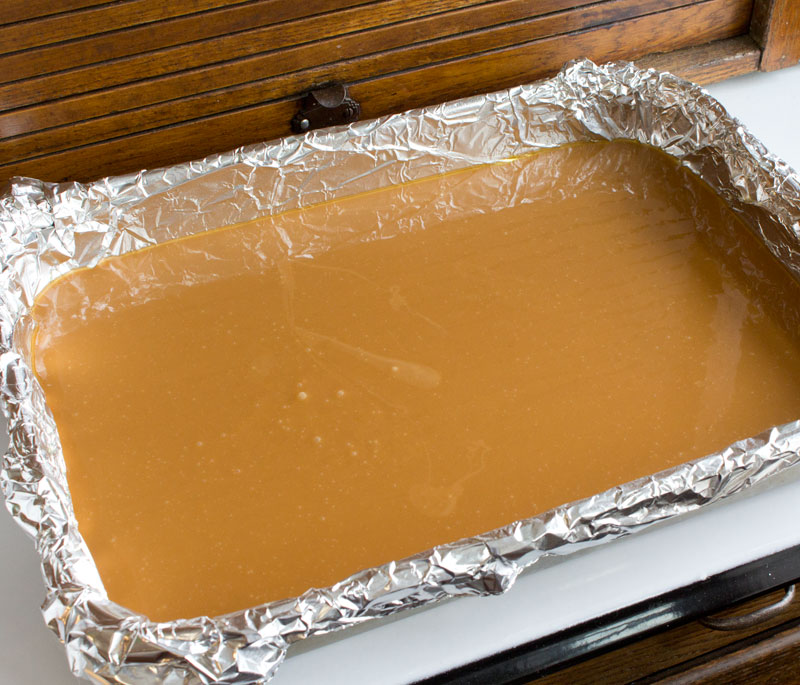
Now the hard part — you need to let this cool and set up overnight on the counter. After an hour or two, you can optionally cover it loosely with a sheet of foil to keep dust out. The next morning, you can left the foil out of the pan and peel it away from the giant sheet of caramel.
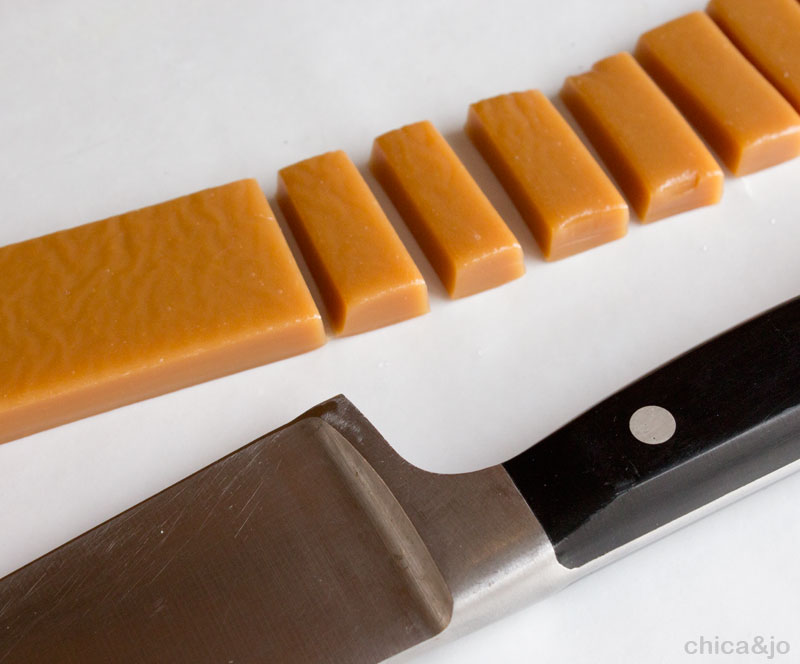
Step 8: Cut the caramel into bite-sized pieces
Use a sharp chef's knife to cut the caramel into strips and then into bite-sized pieces.
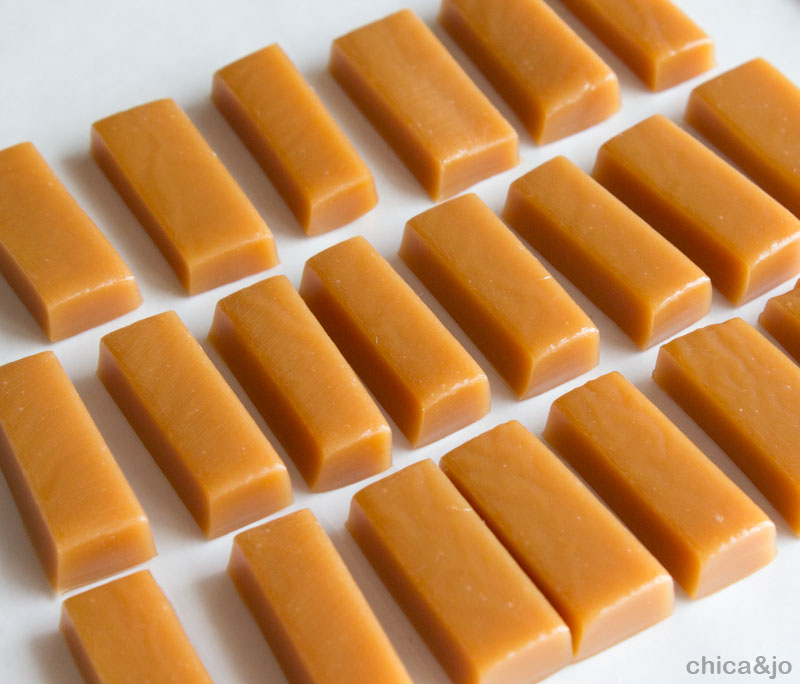
This is the point where a lot of people might add sea salt to the top for a finishing touch, but I don't. Why? Well, I've found that every time I do that and then wrap the caramels, the salt dissolves and leaves a watery mess. That's why I put so much salt into the caramel itself, which gives it plenty of flavor throughout.
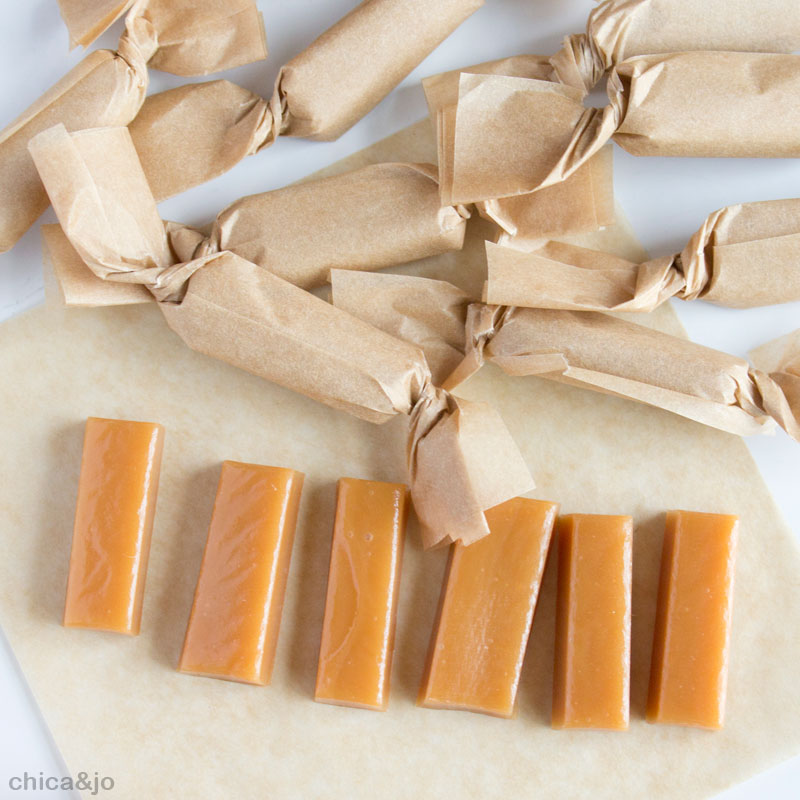
Step 9: Wrap in non-stick parchment
Once everything is cut, I wrap the pieces individually with non-stick wrappers. I especially love these pre-cut silicone-coated parchment squares, which are available in white or kraft. They are 100% non-stick and work beautifully for wrapping caramels. The natural, unbleached, kraft parchment color is my favorite, and is so perfect for a homemade treat.
Soft and Chewy Salted Caramels
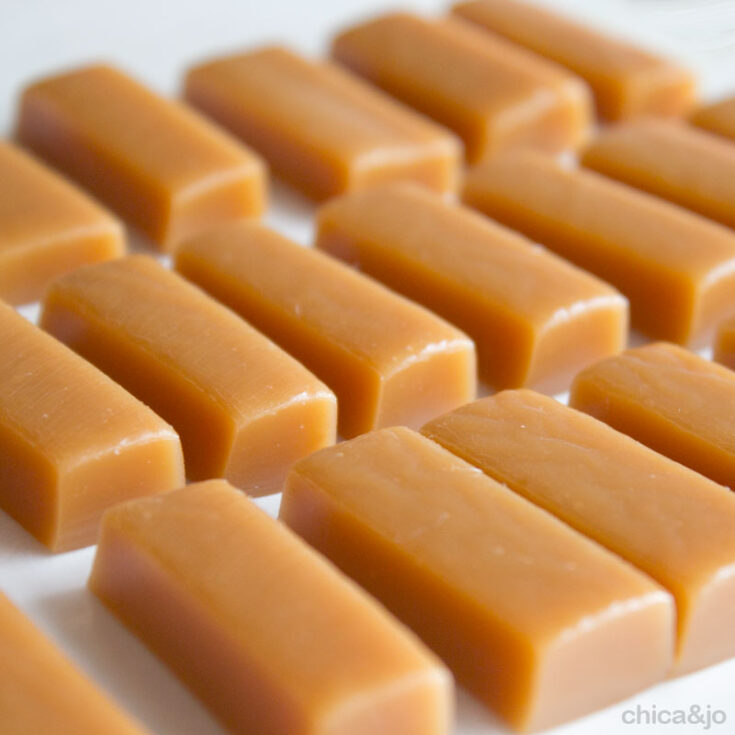
These rich salted caramels have are soft and chewy at the same time, and don't stick to your teeth. They are the result of Chica's years of experimentation for the perfect chewy caramels.
Ingredients
- 2-1/2 cups heavy cream
- 1/2 cup sweetened condensed milk
- 1 tbsp kosher salt
- 1/2 cup water
- 2 cups light corn syrup
- 2 cups sugar
- 1/2 cup salted butter, cubed, at room temperature
Instructions
- Line a 12x16" pan with aluminum foil and spray with non-stick cooking spray, then set aside.
- Calibrate your thermometer by measuring the temperature of boiling water, and take note of your variance from 212 degrees F. Use this variance to adjust any temperatures noted below.
- Add cream, condensed milk, and salt to a small pan and put on medium heat. Bring to a simmer then remove from heat and cover to keep it warm.
- In a large pan, stir together water, corn syrup, and sugar, and cook on medium-high heat until the sugar dissolves, then bring to a boil. Add a candy thermometer and continue cooking, without stirring, until it reaches 250 degrees F.
- Add the butter and warmed cream mixture, stirring quickly. Note that the volume will increase greatly and it will bubble a lot, so be careful of spatters. Cook again over medium-low heat, stirring constantly to avoid scorching, until it reaches exactly 242 degrees F. Make sure to cook low and slow so that a deep caramel color develops. This should take at least 45 minutes.
- The moment the temperature reaches 242 degrees F, dump the caramel immediately into the prepared foil-lined pan. Do not scrape the caramel from the bottom of the saucepan, and do not stir anything. Allow to cool overnight in pan, loosely covered with wax paper or foil, just to keep dust out.
- Remove foil and sheet of caramel from pan and use a sharp chef's knife to cut into bite-sized pieces. Wrap in non-stick parchment squares.
similar projects
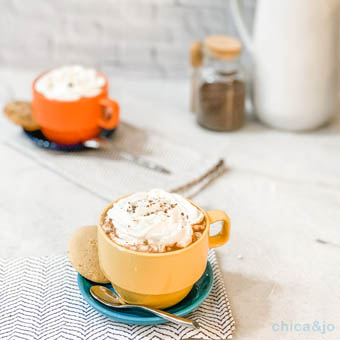
Jo's Favorite Hot Chocolate Recipe
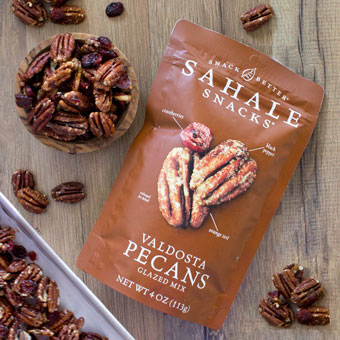
Sahale Valdosta Pecans Copycat Recipe
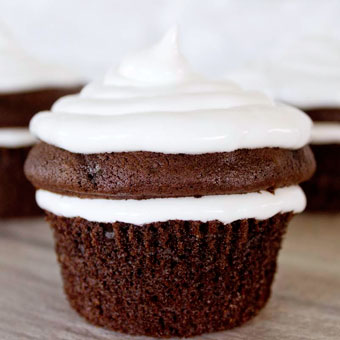
Easy Marshmallow Icing Recipe


10 comments so far:
Thanks so much for this terrific sounding recipe. It really looks delicious and I'm going to try to make it before the end of the week. I'll let you know how it turns out.
Sandra, you're welcome! We can't wait to hear how it goes.
Can I use a 9x11 pan. I do not have a lasagna pan.
Claudia, you can in theory use any pan you have, but please keep in mind that the smaller the pan is, the thicker your caramel will be. If it's too thick, it will be very difficult to cut (and maybe too thick to eat!). A 12"x16" pan works well for me and gives me a nice thickness, but if you only have smaller pans, you could maybe use two and split it across them.
My husband made these today and so far it has solidified yet and it has been 2 1/2 hrs. Should it be in the fridge or left at room temperature. He followed the directions to a T.
Marie, I usually leave my caramel overnight before trying to cut it. If yours doesn't firm up overnight, then you didn't cook it to a high enough temperature. Did you calibrate your thermometer before cooking? Putting it in the fridge is usually not necessary but it will make them firmer (at least while they are cold... they'll soften up again if left at room temperature). If you can't get them to firm up at all, the candy can still be saved... just put it in a pan and heat gently with some extra cream to create a delicious caramel sauce!
Hi. I made your caramel today. It’s tastes awesome. Simply delicious! Is it possible that you have the wrong measurement of your pan?I used my 12x16 and mine are not as thick. I have a slightly smaller cookie sheet that is about 11x15 that looks like they would come out like yours. Thoughts? Although I did the temperature test, they are just a tiny bit too soft. Is it because they are a little thin? Or do I need to cook another minute or so? Maybe I’ll drizzle a little chocolate on top. ! Thanks for a GREAT recipe.
Annette, I'm so glad you enjoyed this recipe! I just re-measured my pan and it is indeed 12" x 16". Your 11x15 cookie sheet might work too, as long as the sides are tall enough to contain the caramel. The softness is totally determined by the temperature (not the thickness) so if yours are a little softer than you'd like, then you might try cooking to one or two degrees higher. It took many batches of experimenting for me to get to the temperature I liked. Keep at it!
Thank you so much for this amazing recipe it is a huge hit. I have made it about 5 times and everyone is always bagging for me to make it again!!!!
Skylar, I'm so glad to hear you've had such success with my recipe, and kudos to you for having the patience to make it five times already!