


How to Make a Giant Bulletin Board Wall on a Budget

If you've ever wanted a giant bulletin board on the wall and priced corkboards, you've surely had the sticker shock I did. Cork that's thick enough to actually support a push pin is super expensive, but I found a budget-friendly alternative to cork. Bonus: you can customize the size and finish to whatever you need.
Why cork bulletin boards are so expensive
In order to hold a push pin, your bulletin board needs to be at least 1/2" thick. If you shop around for 1/2" thick cork you'll find that it can cost $5 to $10 per square foot. That can add up fast and make a full-wall bulletin board too expensive for most budgets.
You can buy thinner 1/8" cork for a lower price, but it won't be thick enough to actually accommodate a push pin. So that just won't work...
My budget-friendly alternative to cork
My solution for large cork boards on a budget: textured ceiling tiles!
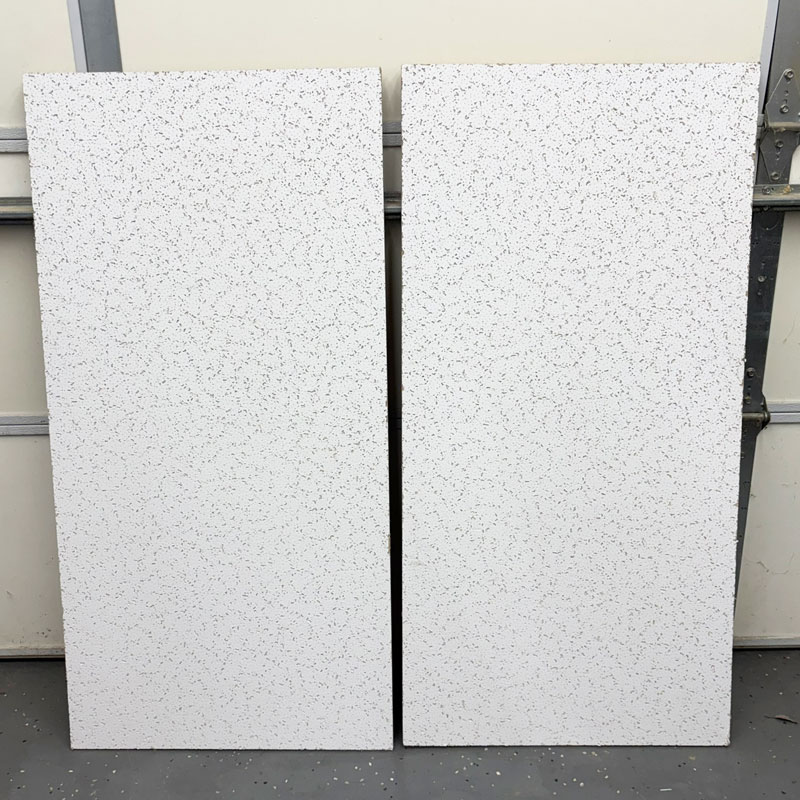
Ordinary "drop ceiling" tiles are made of a compressed material that takes push pins very easily, and is thick enough that the won't pop through the back. The tiles also have a textured finish that makes them self-healing like cork.
And ceiling tiles are WAY more affordable than cork, coming in at only $0.75 to $1 per square foot. That's about 10-15% of the cost of cork!

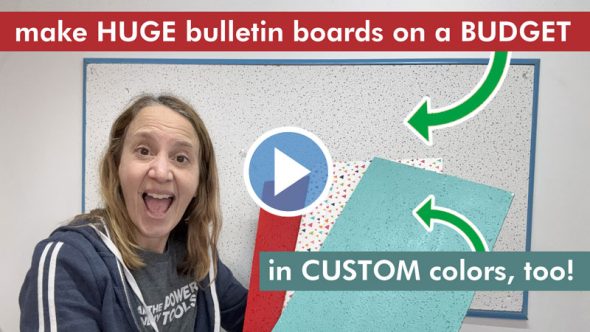
Here's my YouTube video showing you exactly how to use these tiles to create big bulletin boards on a budget. (Or keep reading for a written how-to!)
Making a simple one-panel bulletin board
Using one of these ceiling tiles can be as easy as just screwing it onto your wall. That's exactly what I did in my office, where I used a 2 foot by 4 foot panel on the wall behind my desk.
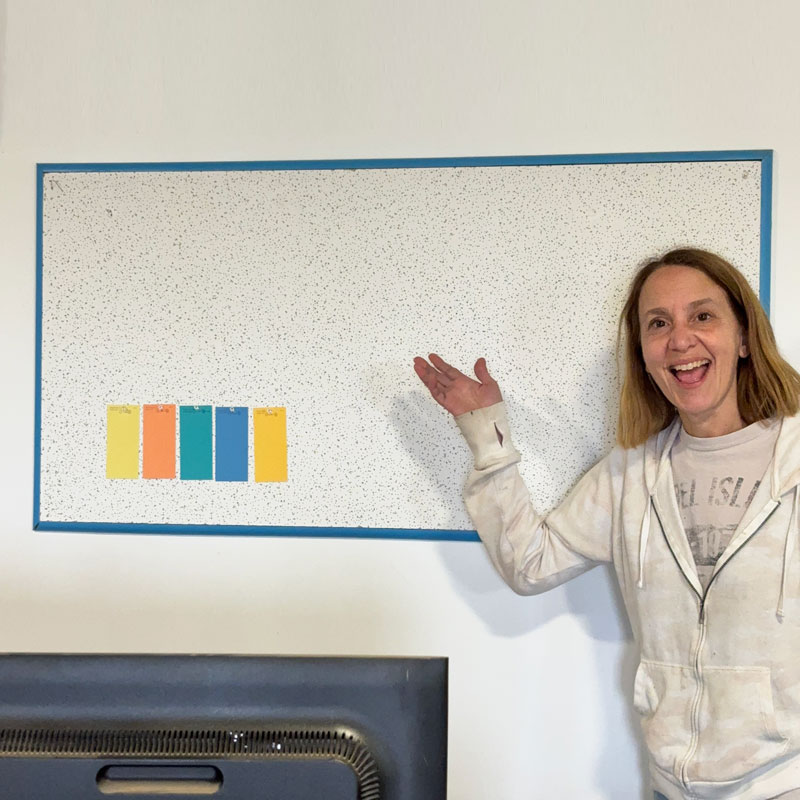
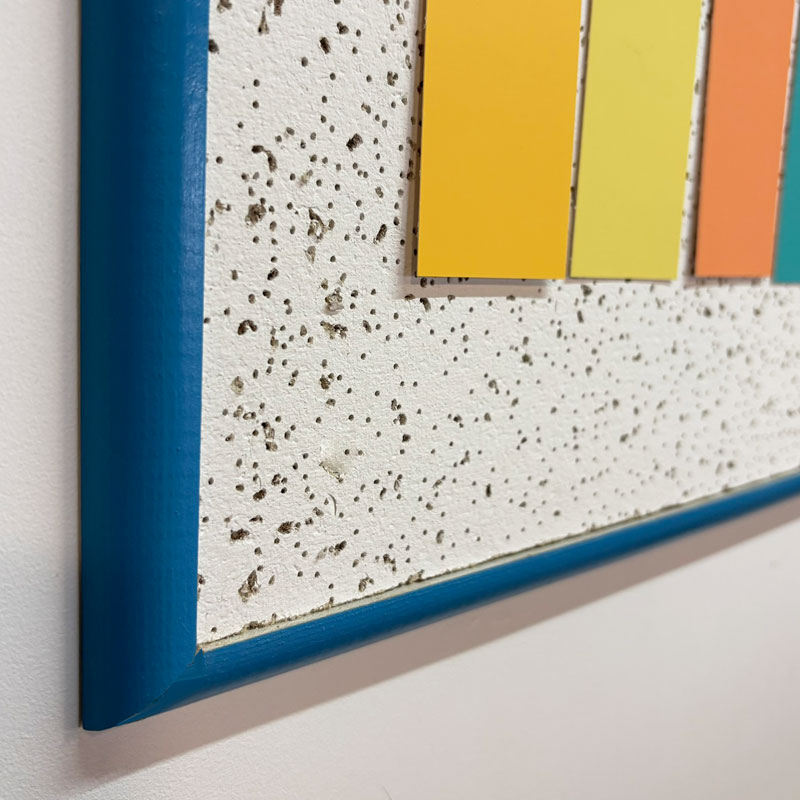
To finish off the edges of my panel, which were are admittedly a bit rough, I used some simple quarter-round molding that I painted a bright blue color. I cut pieces to length and pin-nailed it right in place.
How to make custom sized bulletin boards
One of the best things about using ceiling tiles as bulletin boards is that they can easily be cut or grouped together to create custom sizes. You can line up a series of 2 foot by 4 foot panels next to each other to cover a huge area of the wall.
As I demonstrated in my video above, you can arrange the panels in any way and easily cut them with a utility knife to get the size you need.
That's exactly what we did for Jo's recent craft room makeover. We used duct tape to hold two and a half panels together, and then covered the whole thing with fabric.
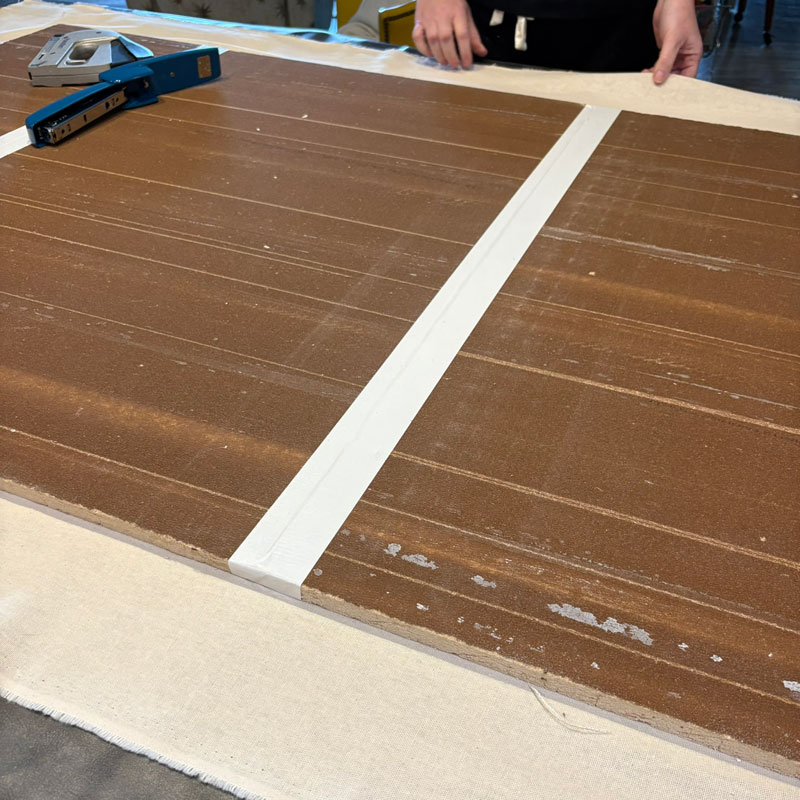
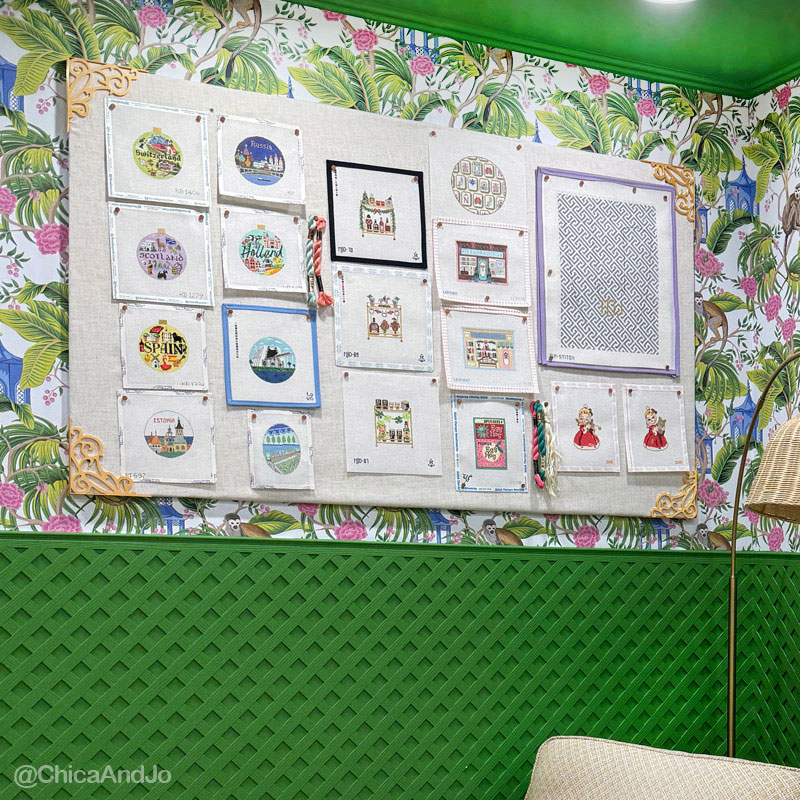
The result was a huge bulletin board that fit the space perfectly. She uses it to hold her needlepoint canvases that are waiting to be stitched. It's the perfect way to display them in the room for inspiration.
Finishing ideas for colorful bulletin boards
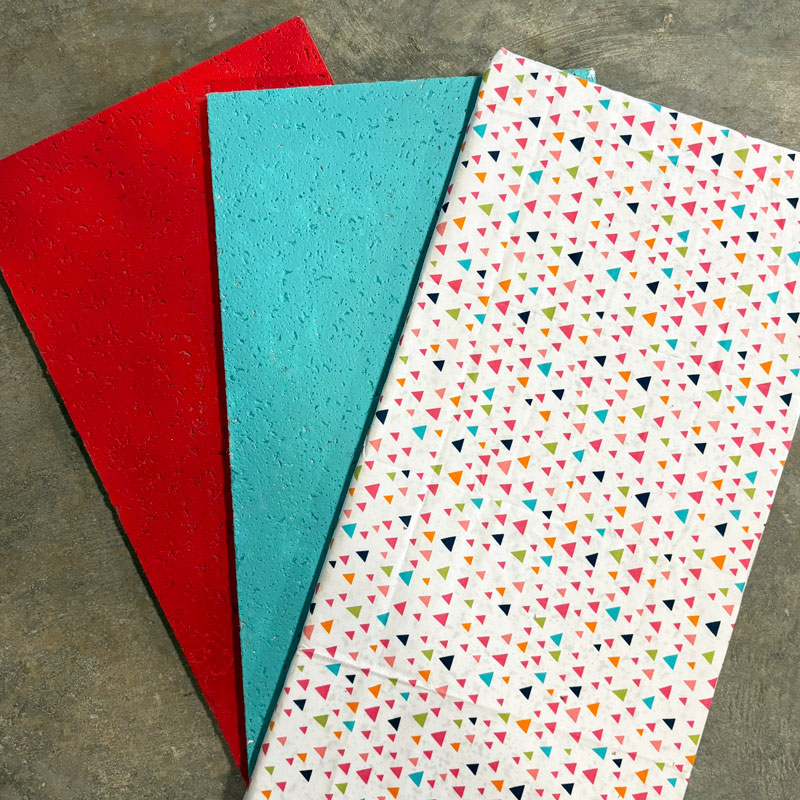
While my plain white bulletin board is find for my office, and Jo's simple linen-covered great works great for her craft room, there are more options for creating bold, colorful looks.
As I demonstrated in my tutorial video, you can use spray paint or acrylic paint to customize these panels to any color you wish. Or you can cover them with a fun, patterned fabric to bring a strong design element to the space. The color and pattern possibilities are endless!
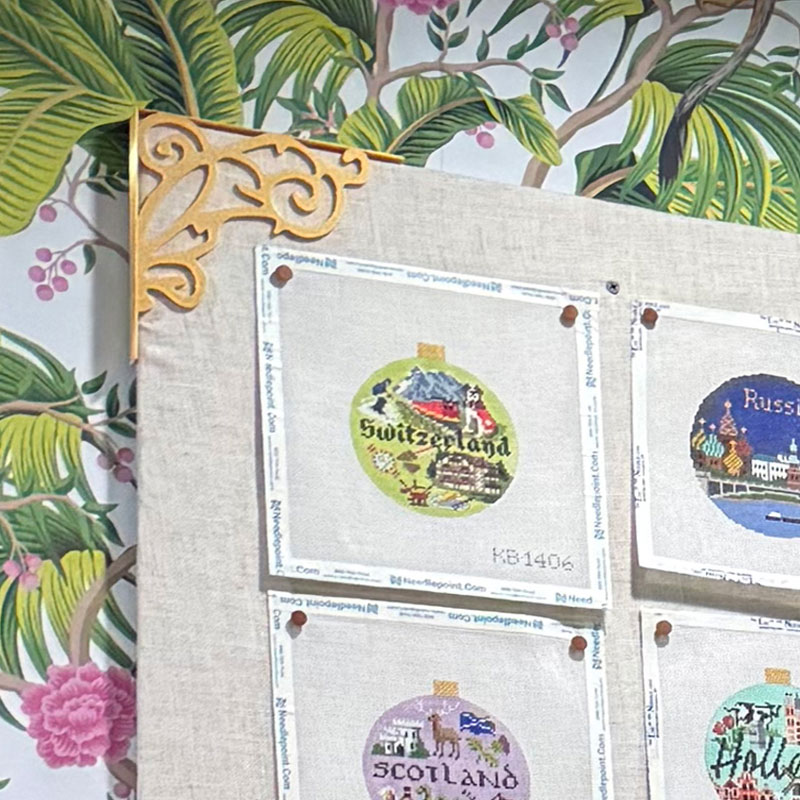
If you look closely at Jo's finished bulletin board, you'll also notice something special in the corners. She spray-painted some decorative shelf brackets gold and placed one on each corner to give the whole piece a "photo corner" look. It's the perfect little accent.
similar projects
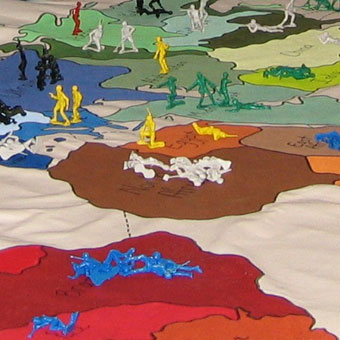
Giant Risk Board Game Party

Bathroom Makeover on a Budget
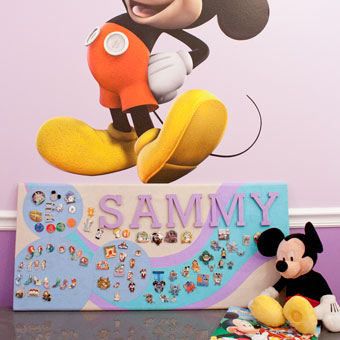
Disney Pin Collection Display Board


