


DIY "Pool Rules" Sign

I really like some of the designs available through the Social Artworking program but I don't really have a need for additional canvas art for my walls. So instead, I like to use the patterns on alternative surfaces. This time, I used one to make a fun "Pool Rules" sign for my mom to hang near her swimming pool.
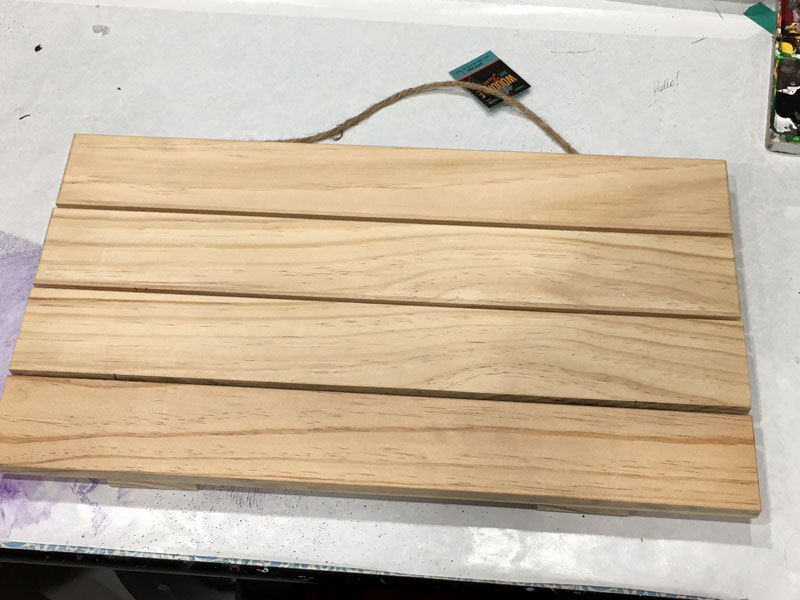
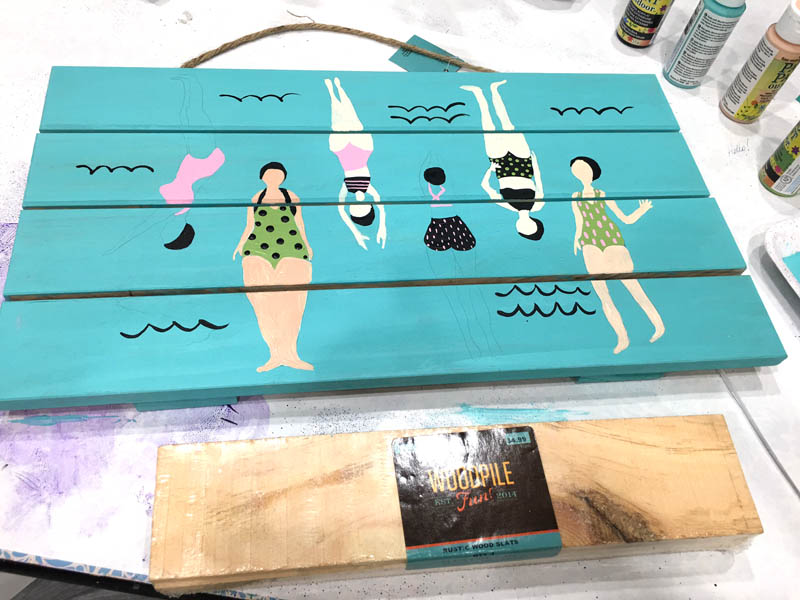
I started with a wooden pallet-like sign that I found at Hobby Lobby for the main sign.
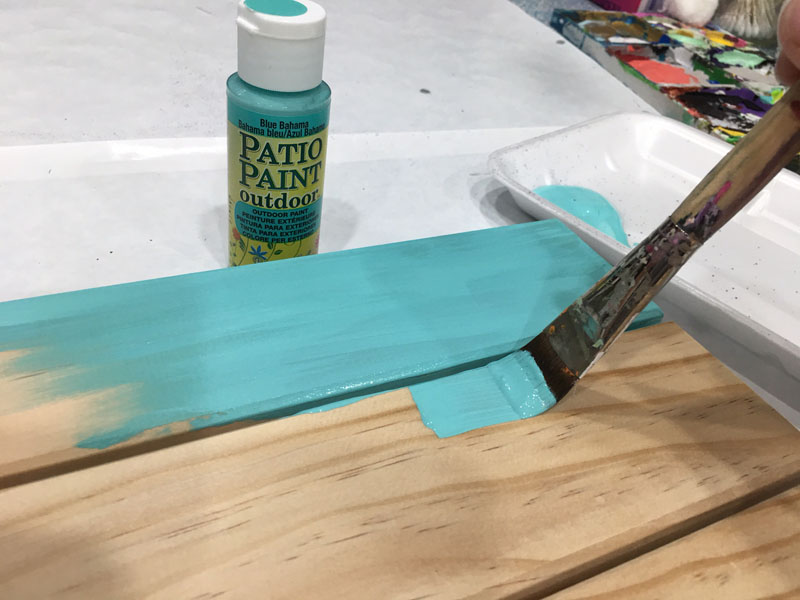
I used an outdoor paint for this project to help protect it from the elements. I base coated the entire piece with a pretty swimming pool blue.
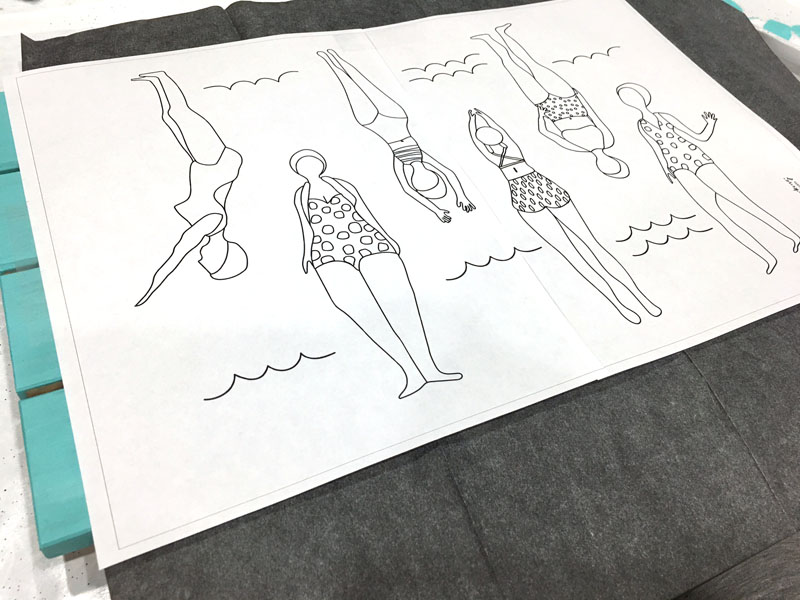
After the base coat dried, I resized my pattern from the original 16"x20" to fit onto my sign, then I used black carbon paper to trace/transfer the image.
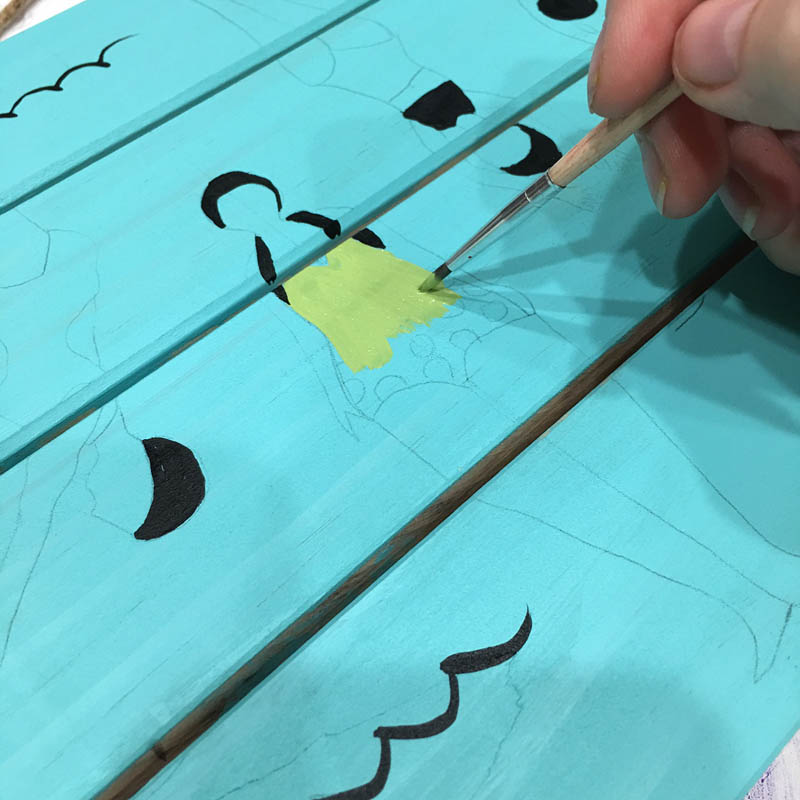
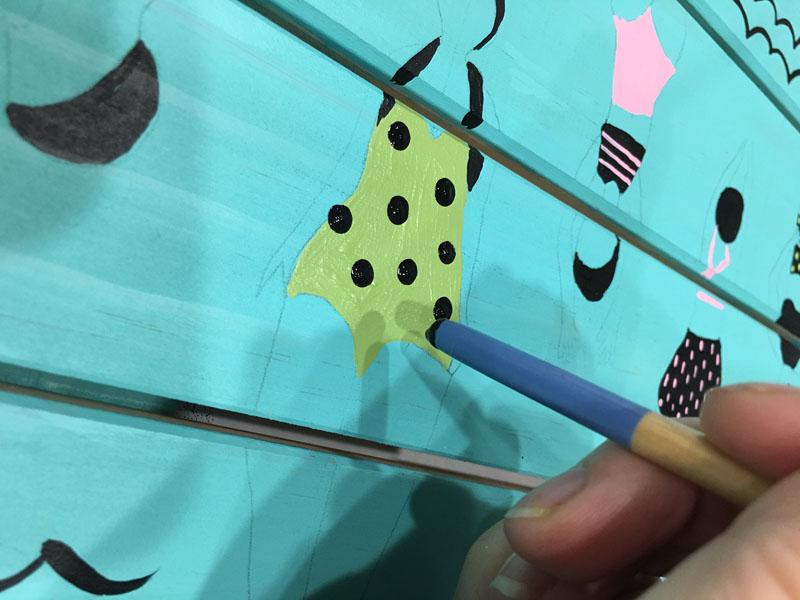
Following the finished painting design as a guide, I just filled in with colors that closely matched. You could really use any color scheme you want, but I liked the retro vibe of the original design's colors.
To make polka dots easily, just dip the handle of your brush into the paint and then make a dot on the surface. To keep them all the same size, dip your handle each and every time. To make them progressively smaller, dip once and then do 3-4 dots before re-dipping. Of course, the size of your polka dots will also depend on the size of your brush handle!
With the main part of the sign done, I was ready to work on the rules that would hang below it. For that, I used some wood slats (also from Hobby Lobby) that I also base coated the same blue color.
Using my Silhouette cutting machine, I cut the title and rules I wanted out of a coordinating green vinyl.
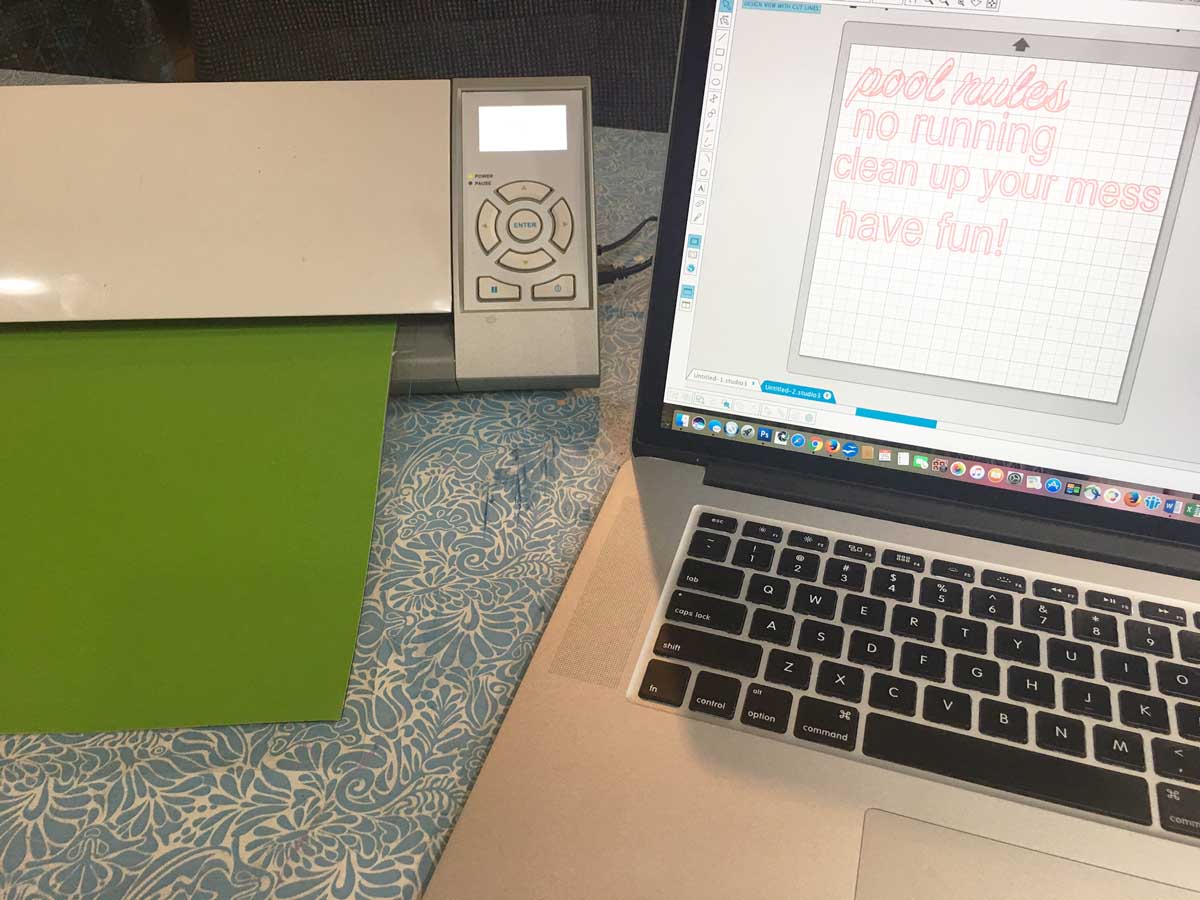
I find that using transfer paper makes it SO much easier when working with cut vinyl. I used it to help me line up my letters correctly on each wood slat.
![]()
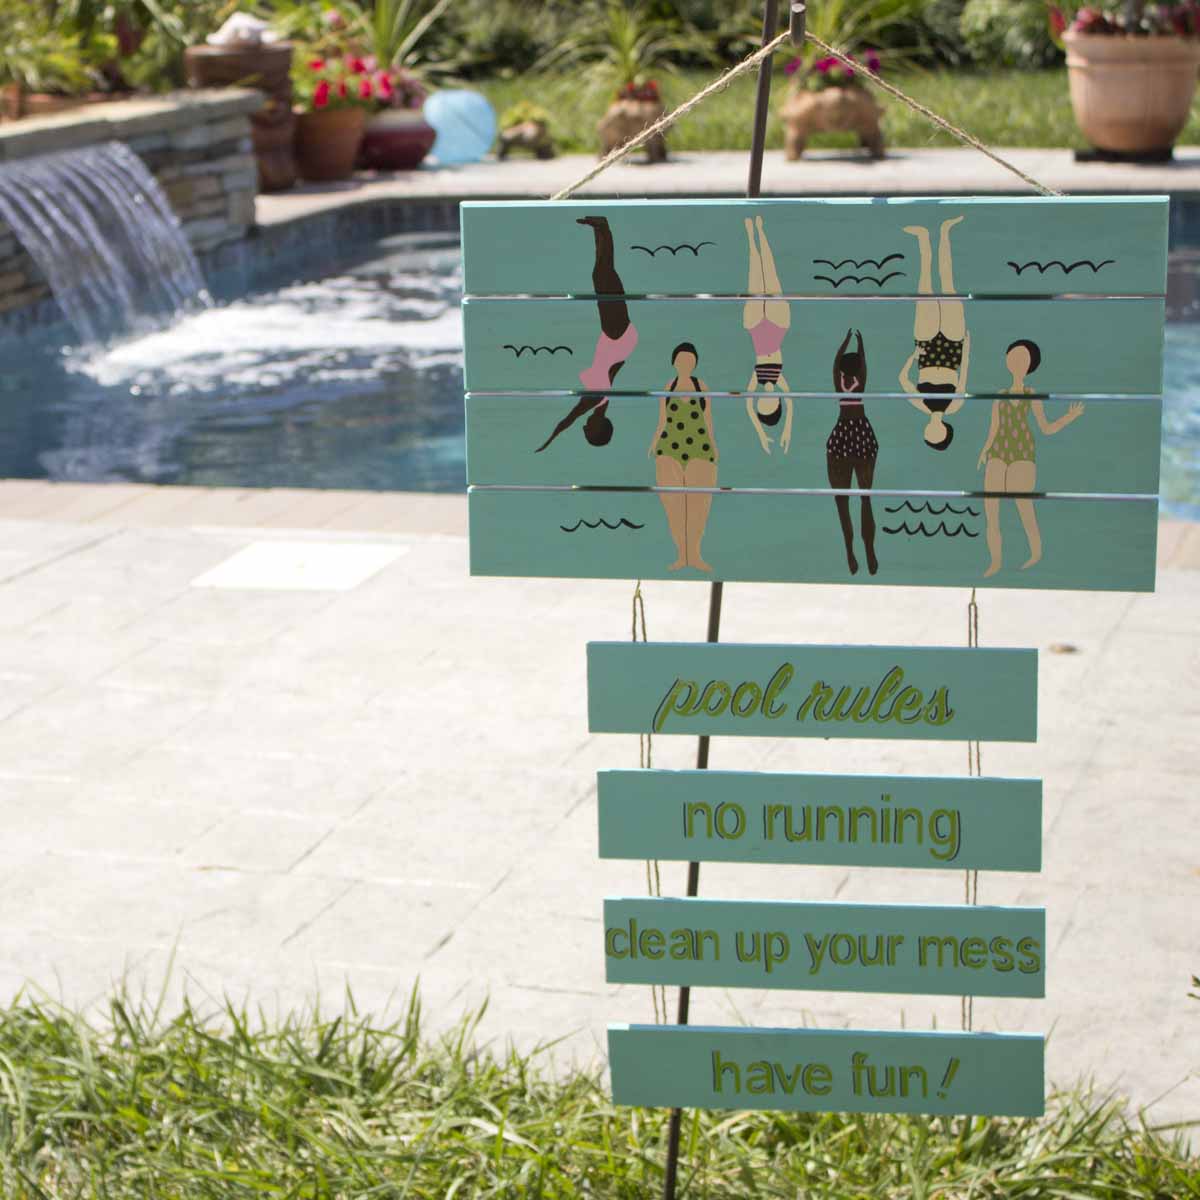
I also added a few accent lines with a black Sharpie to make the letters stand out more. I love how it looks next to the pool! You can also add more wooden slats to have more rules. I am sure my parents will come up with a few more!


2 comments so far:
What do you recommend be used to seal the artwork and wood from water damage, sun fading, and other weather elements? ...That will also not cause Sharpie & paint colours to reactivate and run... What do you find is a long enough curing time for your paints & Sharpies before sealing?
Sarah, you can use any sealer that's rated for outdoor use. Check either your craft store or home improvement store, and be sure to read the label for features and drying times. As for curing time on paints and Sharpies, it will depend on what type of paint you use and how thick you apply it, but we typically only wait a day or two for it to fully dry.