Easy DIY Wedding Invitations
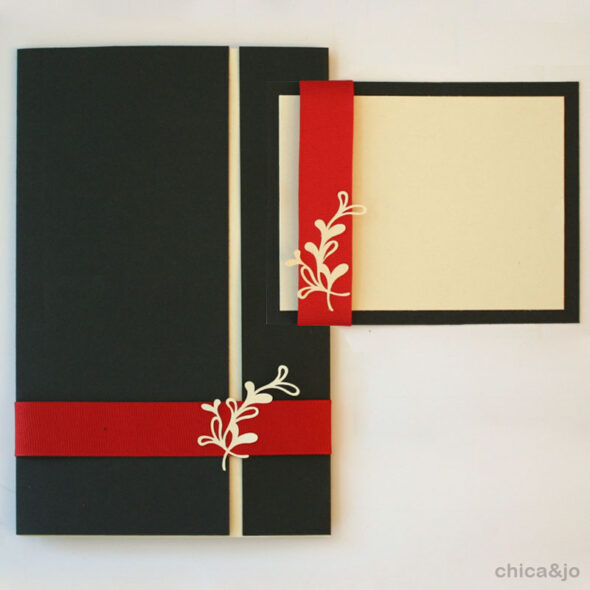
Jo's sister-in-law is getting married this fall, and she has given me and Jo free reign to be about as crafty as we want to be during the wedding planning. Of course our heads are swimming with ideas, and this weekend I decided to come up with an invitation design I thought she might like. I tried to make the invitation elegant while keeping it affordable and easy to make. I think I struck a pretty good balance, but we'll have to see if the bride approves!
Her colors are black, cream, and red, so I started with 8-1/2" x 11" sheets of black and cream cardstock that I would accent later with red ribbon. Obviously you can use whatever colors you like, to match your wedding theme. In my case, the black will be the outer wrapping and the cream will be where the invitation details are printed. You can use your favorite text editing software to design your invitation details and print it onto the cream cardstock so that there are two copies of the text, sideways. Then when you cut it in half, you'll have two printed pieces.
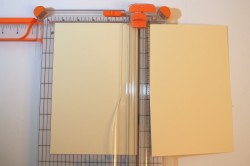
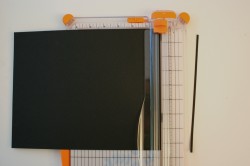
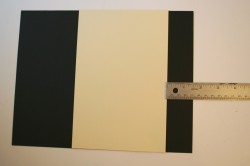
After you've got the invitation details printed, cut the cream cardstock in half and put one piece aside (use it for the next invitation). Trim 1/8" off one of the short sides of the black cardstock.
P.S. Have I told you how much I love the Fiskars SureCut paper trimmer that Jo got me for Christmas last year? It has a little wire that runs along the cutting track, above the paper, that shows you EXACTLY where your cut will be when you swipe the blade. It is amazing!
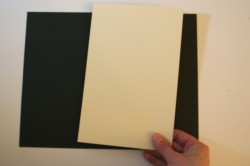
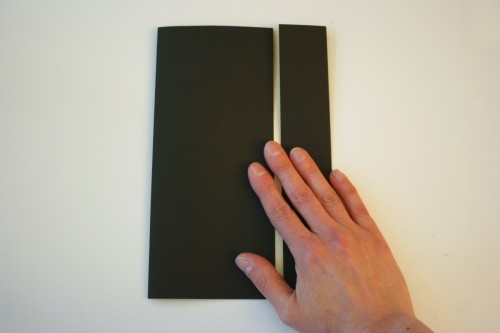
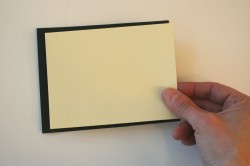
Put the cream piece on top of the black, and line it up so that it is 1-1/2" from the right edge. You can use a little adhesive to attach it in place or you can leave it loose -- that's up to you.
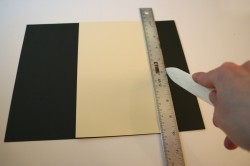
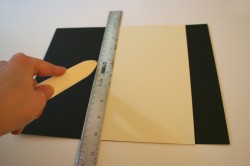
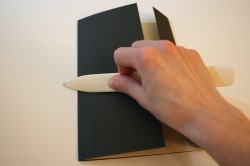
Using a ruler for extra support, use a bone folder to score the black on either side of the cream.
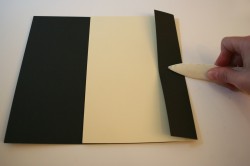
Fold over each flap and use the bone folder to make the crease nice and smooth.
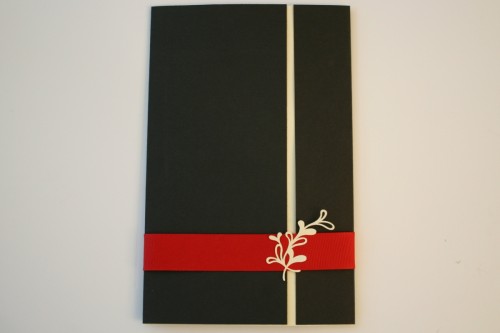
Now you've got a pretty wrapped invitation with a seam that reveals the cream color underneath. I love this little pop of color. Be sure that when you print your invitation details on the cream liner that the text does not extend into this area that shows through the seam.
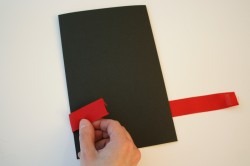
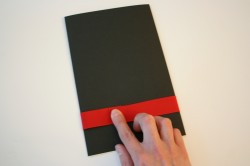
This invitation isn't going to hold itself closed, so the next step is to add some ribbon. Flip the invitation over and wrap a coordinating ribbon around (I used a deep red grosgrain). Seal the band on the back with some very strong double-sided tape. (The double-sided tape sheets we sell in our Amazon store work great for this.)
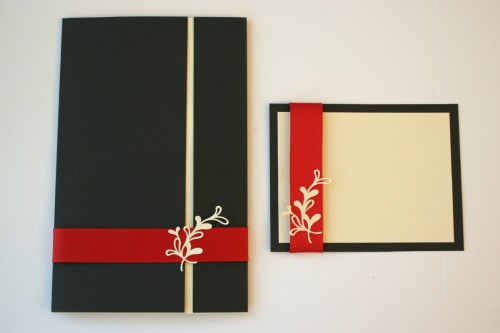
As a final accent on the front, I cut out a design out of the cream cardstock using my Silhouette electronic cutter. I used the "flourish" design that came with the machine, but the possibilities are endless when choosing which element to accent your invitation with. (Think about it... your logo, your initials, your names, a butterfly, a heart, etc...)
Anyone who has ever seen a wedding invitation knows that you need more in the envelope than just the invitation, so I wanted to also make a smaller card to match. This smaller card can be used for RSVP cards, directions, or any additional information. Beyond the invitation, it could also be used for place cards at the reception or thank you cards after the event.
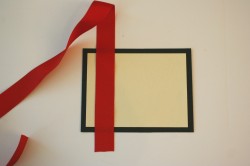
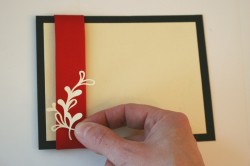
Start by cutting a piece of 8-1/2" x 11" black cardstock in half and then in half again, giving you four pieces that are 4-1/4" x 5-1/2" in size. Then print your text (4 times) onto some cream cardstock and cut it down to four pieces that are 3-3/4" x 5" in size. Glue or tape it the cream in place, centering it on the black. Then line up the same red ribbon along one side and use a little glue or tape to hold it in place.
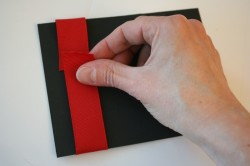
Flip the card over and attach the ends of the ribbon. Flip it back to the front and put another flourish on the ribbon to finish it off.
Isn't the result gorgeous? I really hope the bride likes it enough to use it. (Even though that means Jo and I will end up making hundreds of them!) The invitation will fit in a standard A9 invitation envelope (5-3/4" x 8-3/4") and the smaller card will fit into a standard A2 invitation envelope (4-3/8" x 5-3/4").
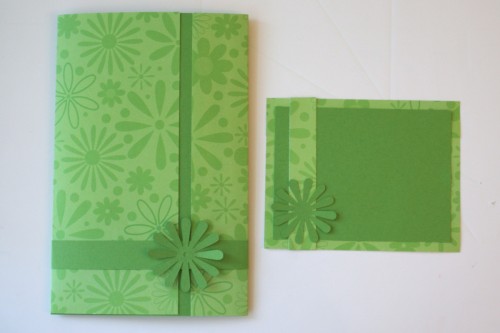
And to show you just how easy it is to customize this invitation to any color or design, I made another one with a bright green floral theme. This time, I used paper for the band instead of ribbon. I love it!





11 comments so far:
Just exquisite! Hope the bride loves 'em!
Casey
Very nice. Is the ribbon only attached to itself so it can be slid off? Or do you have to break off the ribbon to get to the invitation? It's too nice of an invitation to want to break apart!
Mags, I made the ribbon attached just to itself so that it could slide off.
These are just so simple and beautiful! Honestly, it's amazing. Any colour, print, or anything, how incredibly versatile! I will definitely show this to my mum who will be getting married soon! They are just too gorgeous to not attempt! :D
Kimberly, thanks so much for the compliment. You mentioned exactly the design elements we were aiming for :)
Hi, firstly congrats, beautiful design! Would love this design and was wondering if you could help me? I would like to put my and my fiance's initials where you have used the 'flourish' design. Any idea how I can do this? I have no tools to my disposal and I'm already over budget so can't afford to buy anything expensive. Please help! xxx
Mari, if you don't have a friend with a Cricut or Silhouette who can cut out letters for you, perhaps you can find a paper punch at the craft store in your initials? Or many scrapbook stores have die cutting tools that you can use for free if you buy the paper there. Or, perhaps you could find stickers to use?
Thanks Chica for the ideas, will be googling away now! Unfotunately don't know anybody with any tools like that. Will defo pop into my local craft store, fingers crossed I'll find something x
Good luck, Mari. Let us know how it works out!
Wow.. This one is just awesome.. Simple and elegant..
Thanks for sharing way how to make such beautiful card..
very elegant and sweet. Love this design!