


How to Sew a Button Closure Pouch

If you're ever wanted to make a small bag or pouch for storing your makeup, travel toiletries, or anything else that you need a little custom bag for, you're going to love this tutorial! I'm going to show you how to sew your cute little fabric pouch with a button closure.
For this button-closure pouch, you can customize the size and the fabric to your taste, giving you a very versatile design.
Step 1: Make a pattern
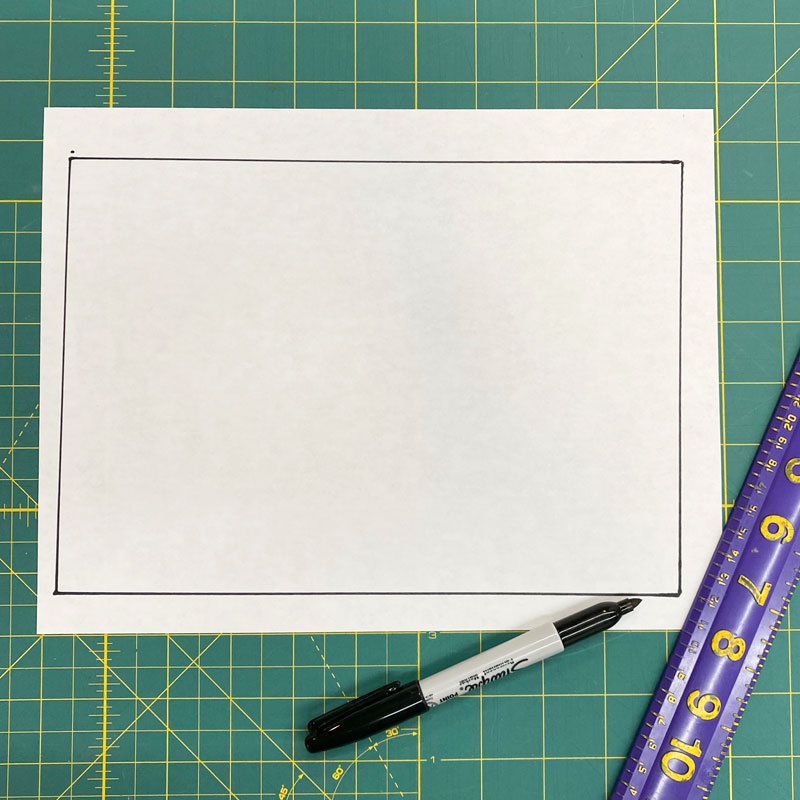
The most fun and customizable part of this is that you get to decide how big you want your bag to be, so take a moment to figure out the length and width you want. For example, the finished bag I'm illustrating for you here is 6 inches tall and 9 inches wide.
Once you've decided on the size of your bag, add 1 inch to the height and 1.5 inches to the width to account for seam allowances. For my bag, that's 7" x 10.5". Draw this shape on a piece of paper.
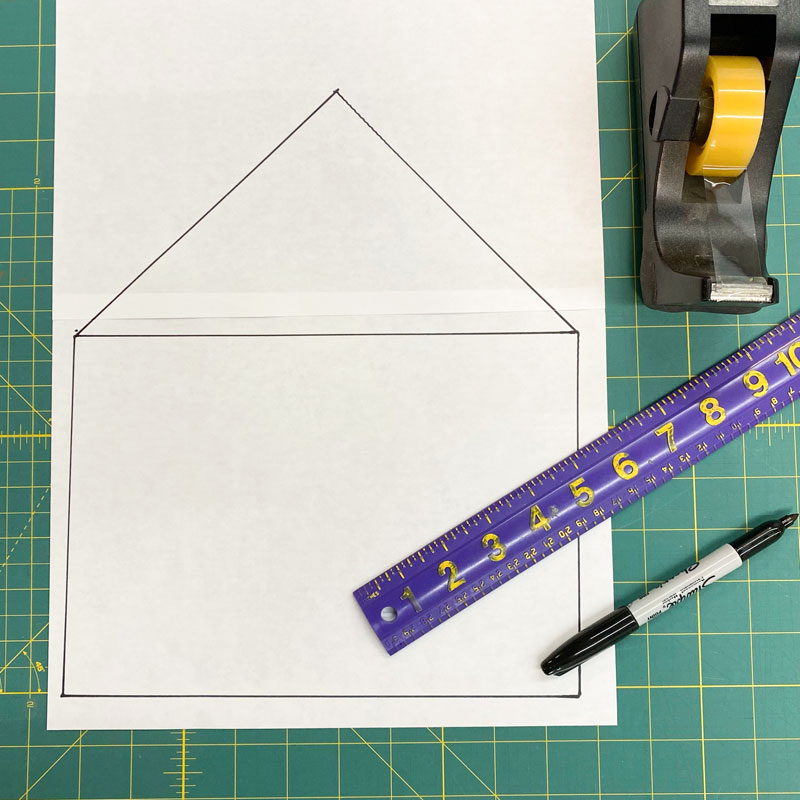
Next, draw a triangle right above it that has a height that's 2 inches less than the height of your bag (in my case, my triangle was 5" tall at the peak). If your paper isn't large enough, just tape another piece of paper to it.
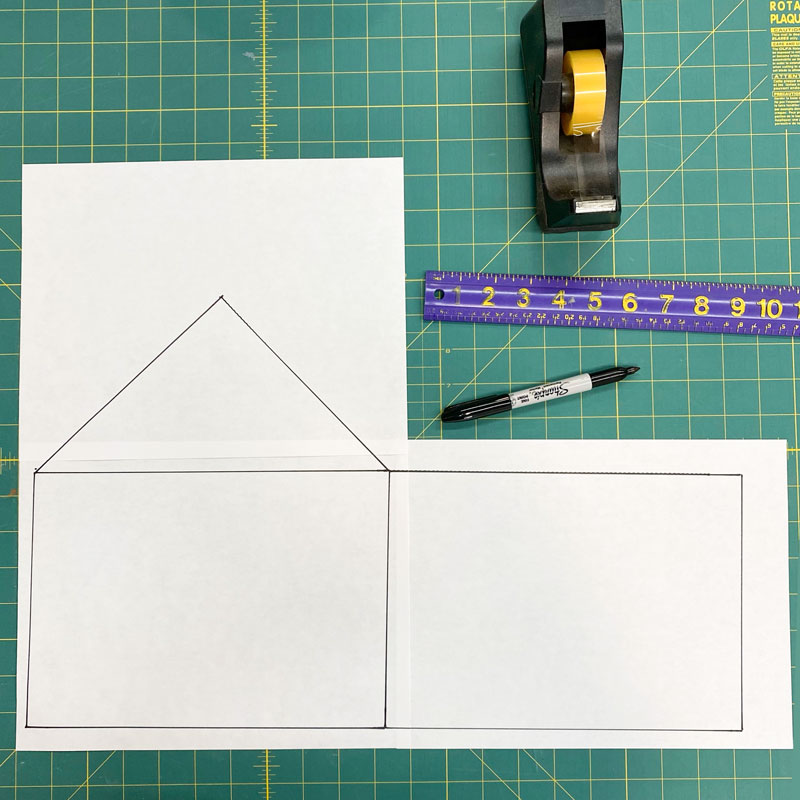
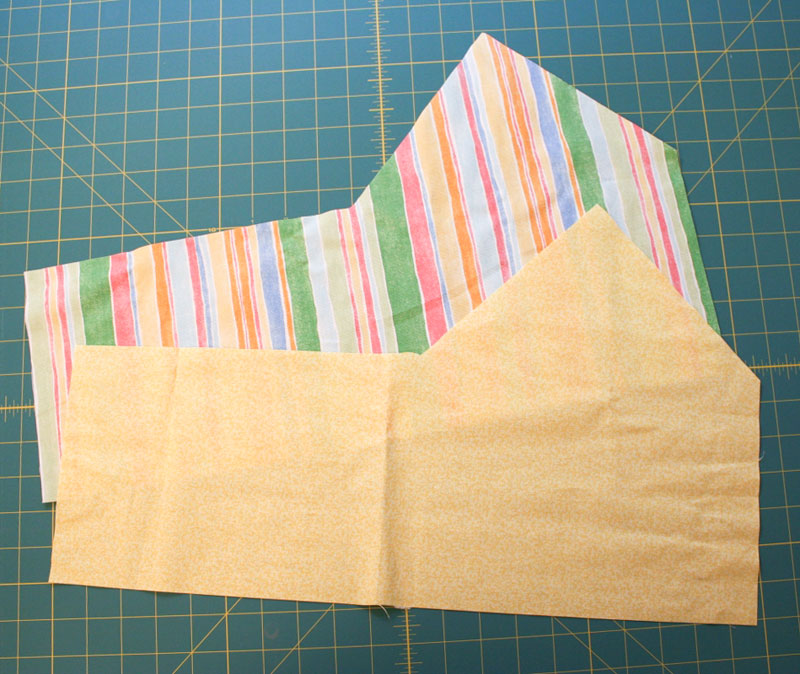
Finally, draw another rectangle the same size as the first one, right next to it. It can be on either the left or right, it doesn't matter. (Again, tape on more paper if you need it.)
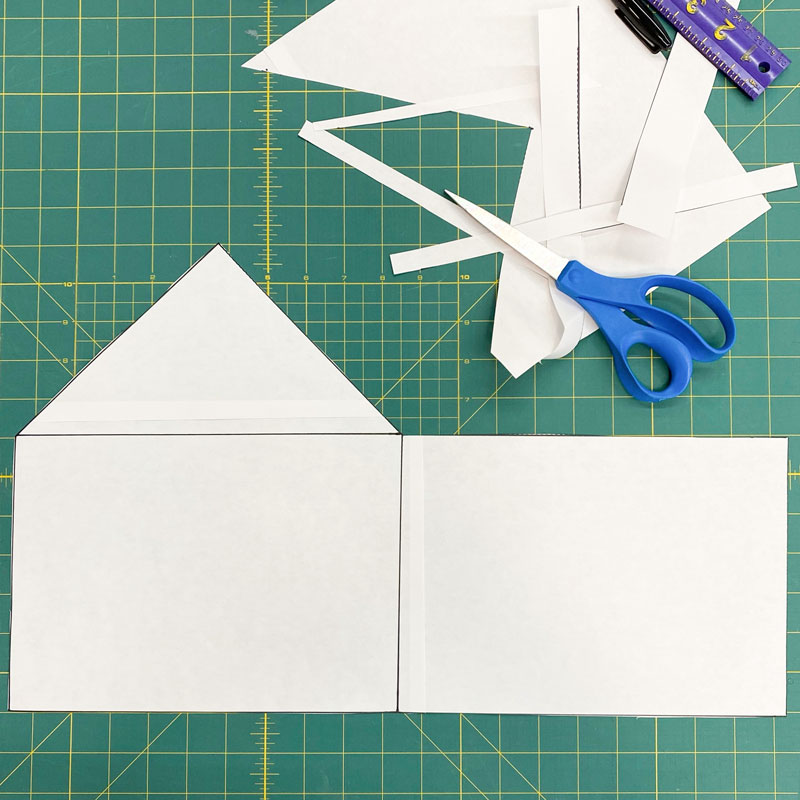
Now cut the whole thing out, and you've got your pattern.
Step 2: Cut the fabric
Use your new pattern to cut out two pieces of fabric, both the same size. If you want the inside and outside of the bag to be different patterns, you can use two different fabrics, like I did. When you cut the pieces, it doesn't matter which side the extra hanging rectangle is on, as long as it's the same on both pieces.
At this point, you can optionally apply a fusible interfacing to one of the fabric pieces, if you want the bag to be a little stiffer.
Step 3: Attach the two pieces
Start by folding each piece of fabric in half, crosswise, with the right sides touching (in other words, inside out). Pin along the sides.
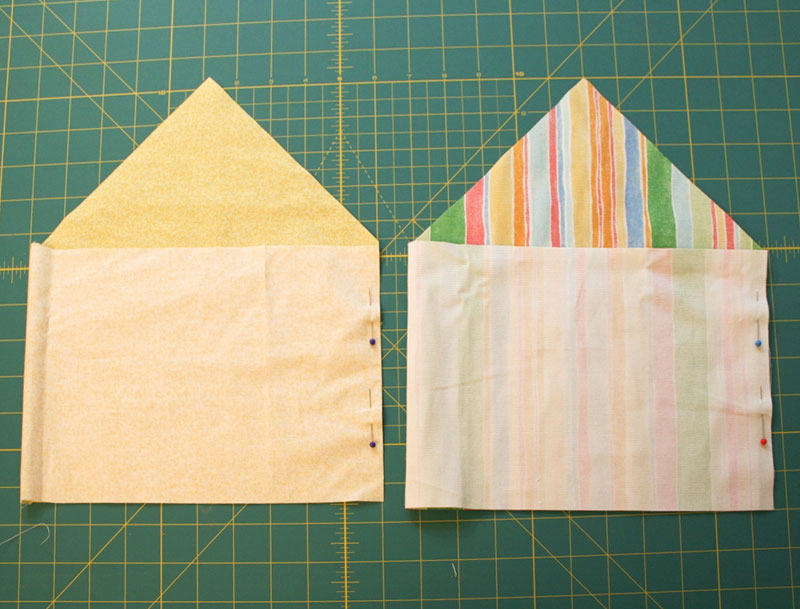
Sew the pinned side of both pieces.
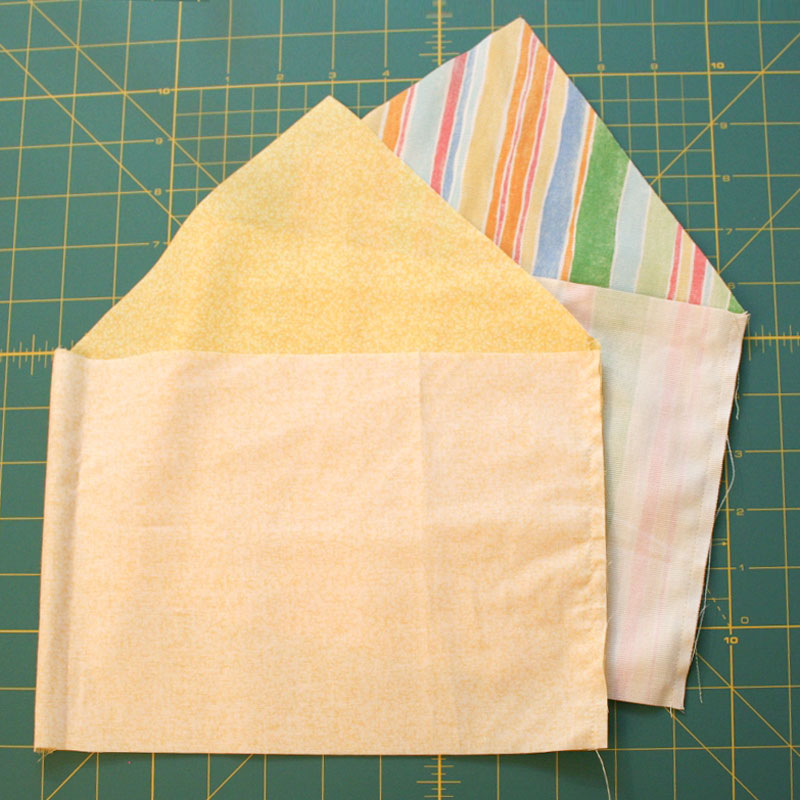
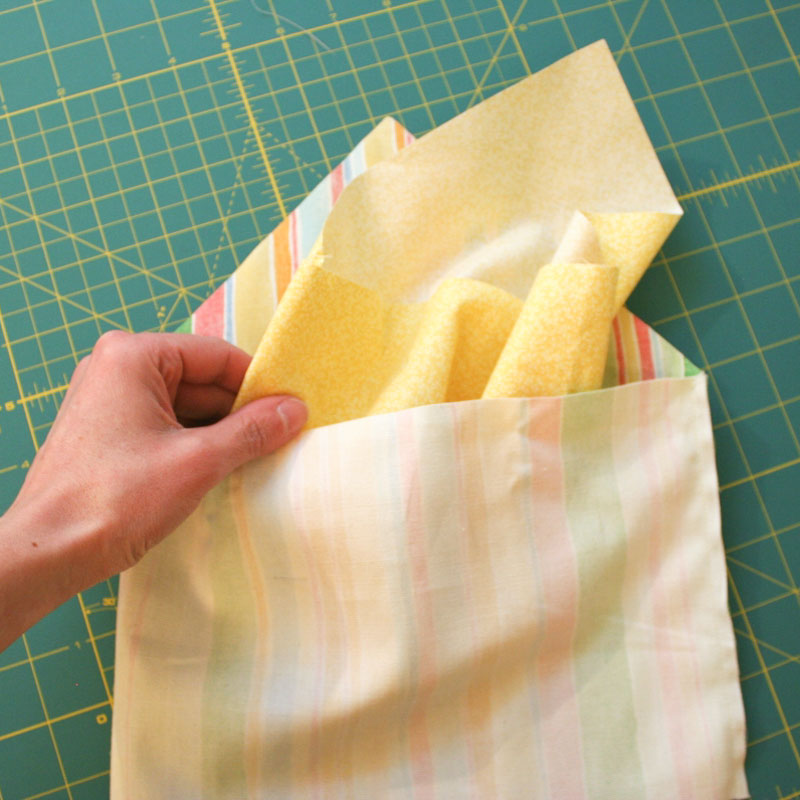
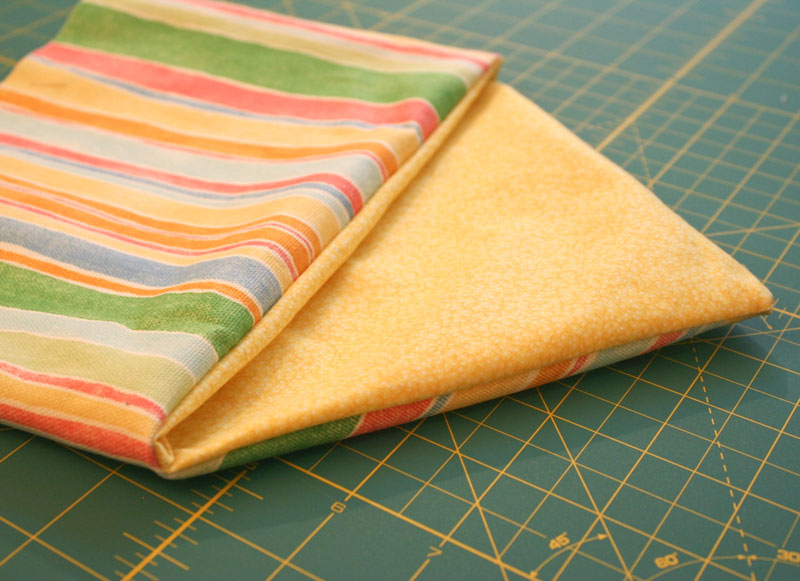
Now take whichever piece of fabric you want to be in the inside of the bag (for me, it was the yellow one) and turn it right side out, so that the finished side of the fabric is on the outside. (Leave the other piece inside out.)
Stuff the inside fabric (the one you just flipped) down inside the other piece.
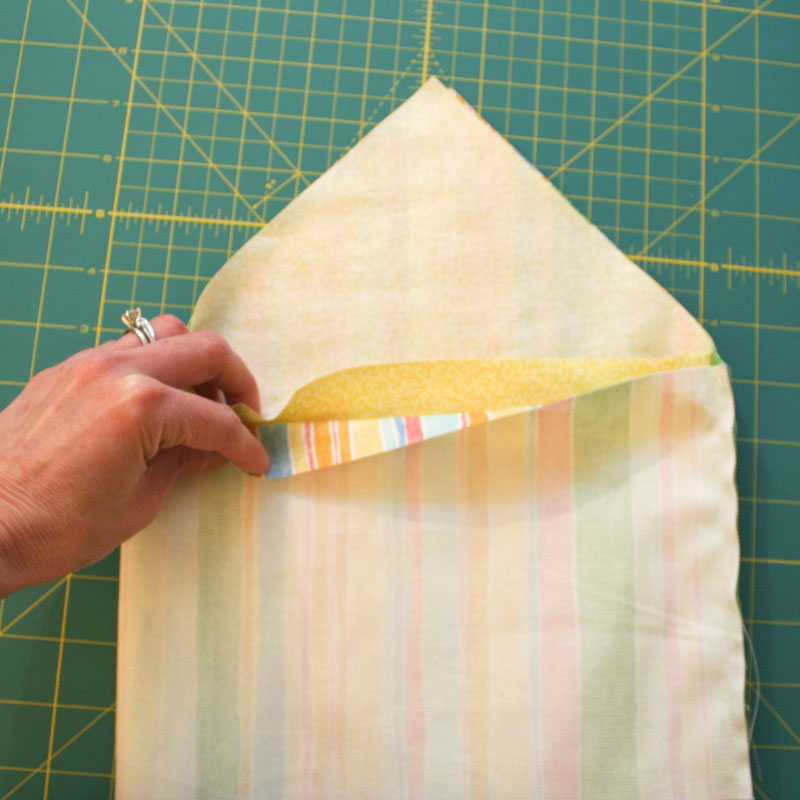
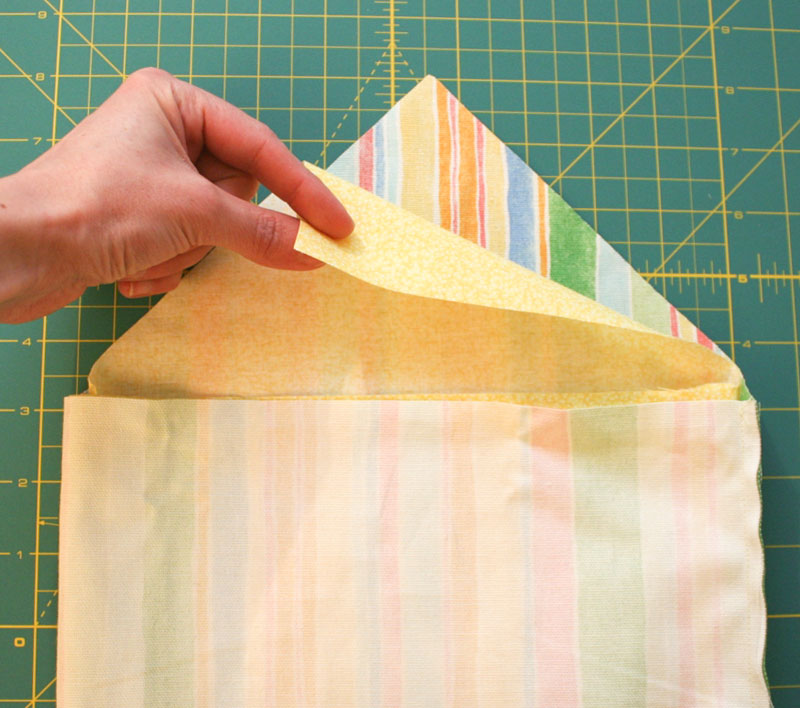
Line the pieces up along the edges and smooth them flat. The two pieces of fabric should have their finished sides touching.
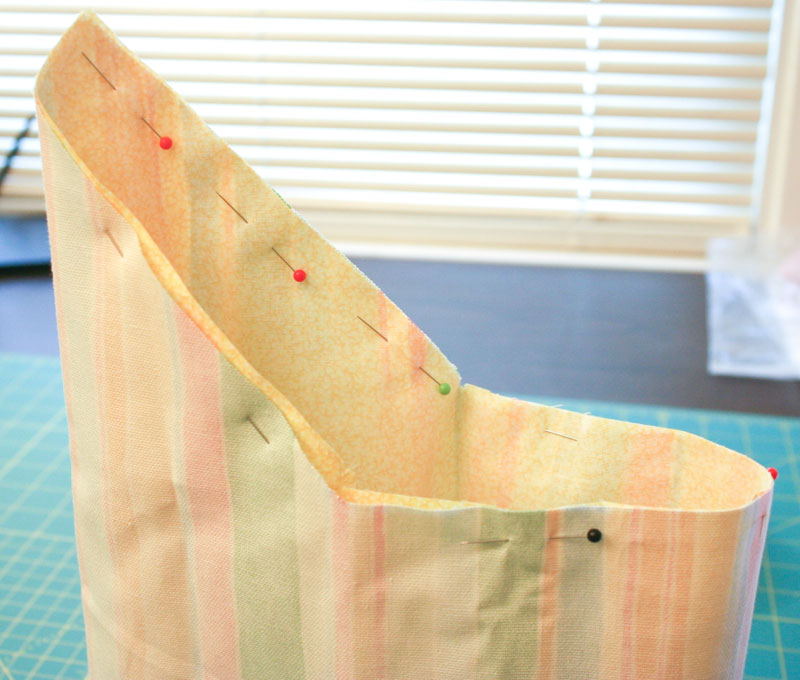
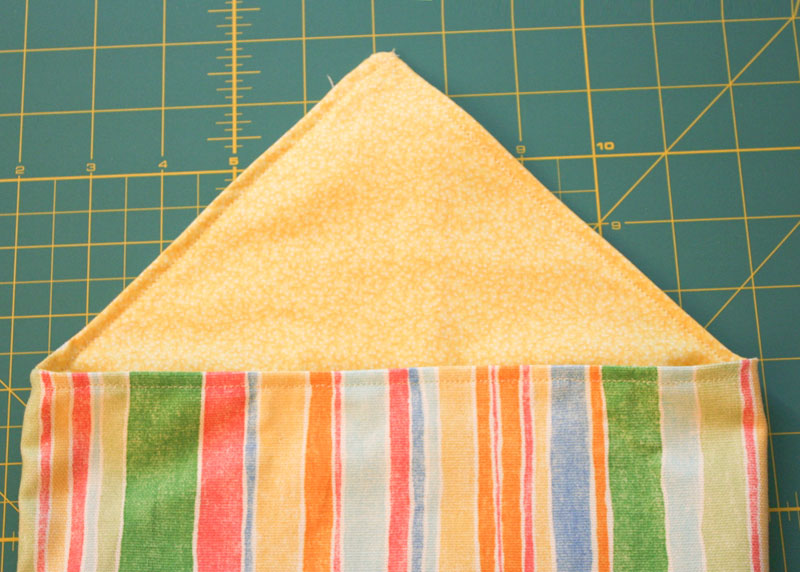
Pin along the triangle and the top of the rectangle, pinning the two fabrics together along the edges, but be careful not to pin the front and back of the bag to each other.
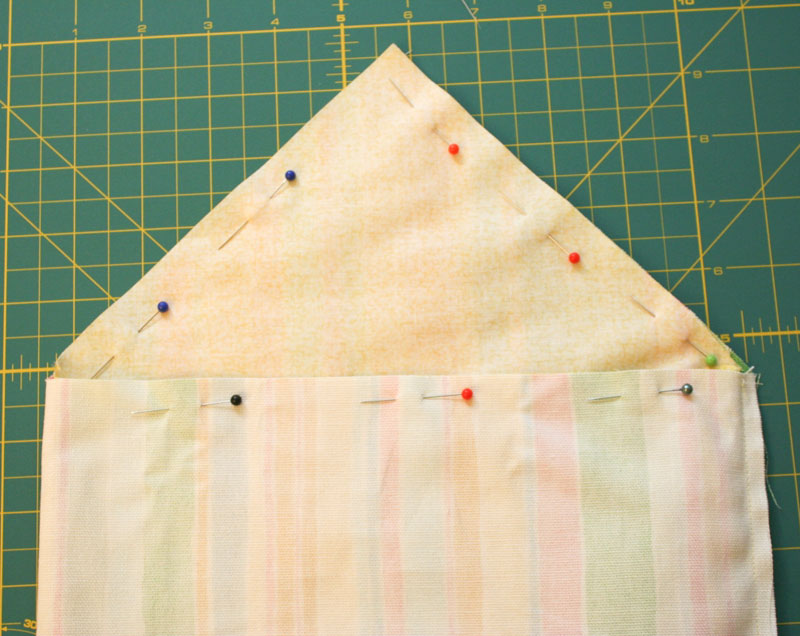
The pinned bag should be able to stand up on its own, sort of like a tube.
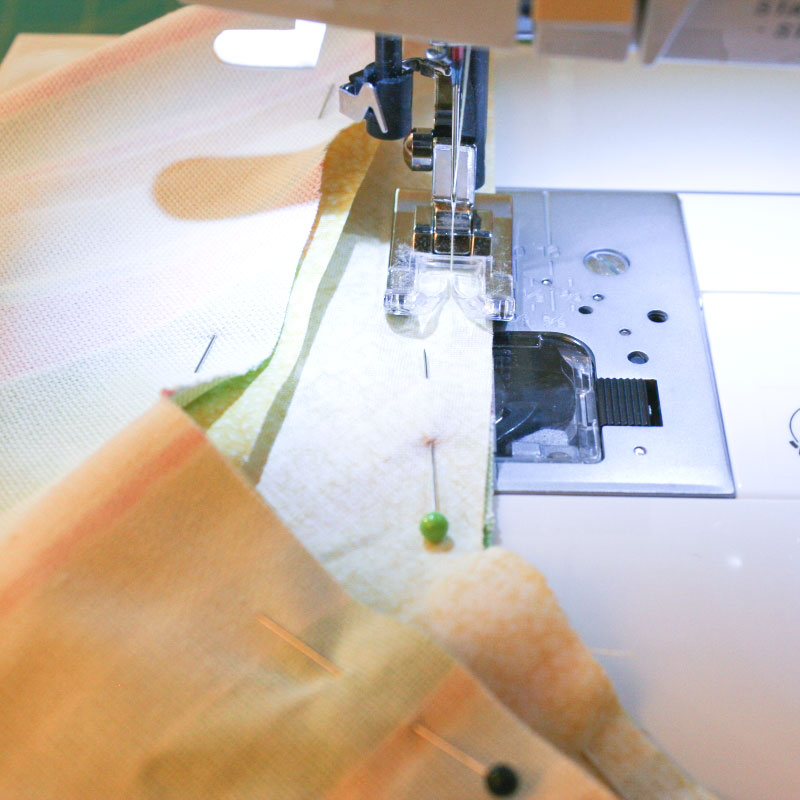
Sew along the pinned lines, all the way around the triangle and the flat front.
Use a pair of scissors to carefully trim the very tip of the fabric at the peak of the triangle, being careful not to cut the stitches. Getting rid of this excess fabric will help in a minute when we flip it inside out.
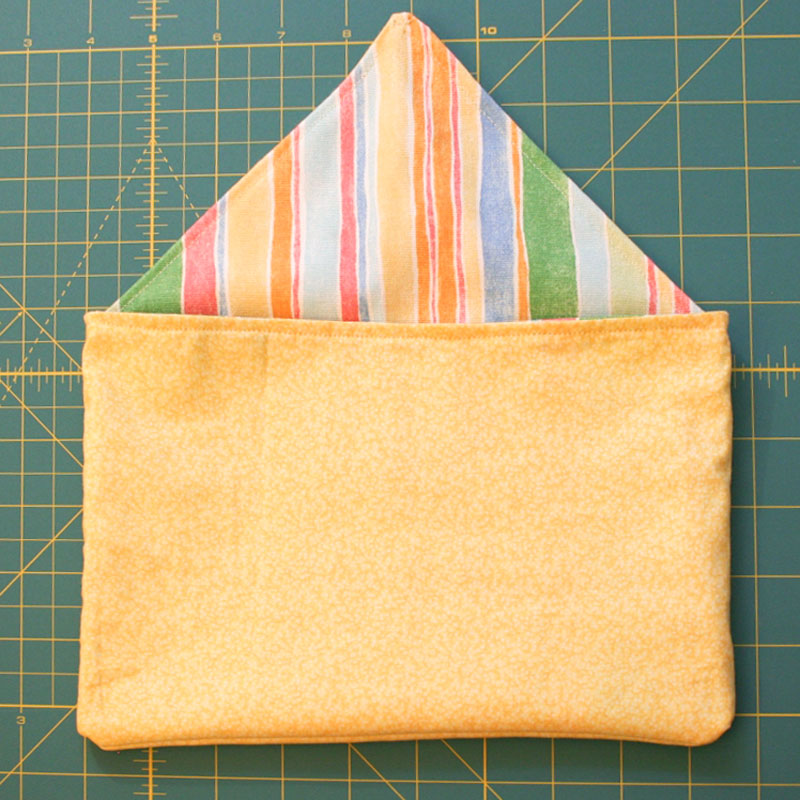
Step 4: Finish the top
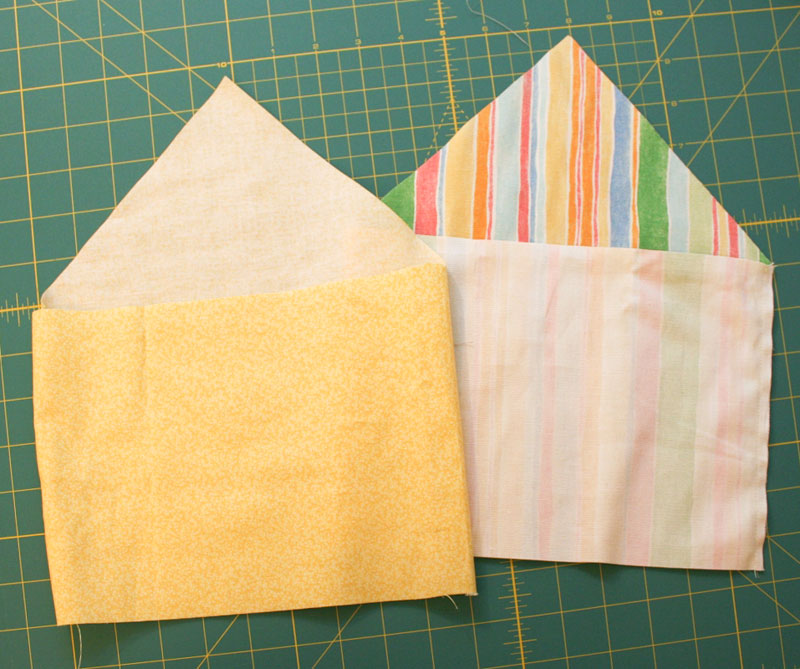
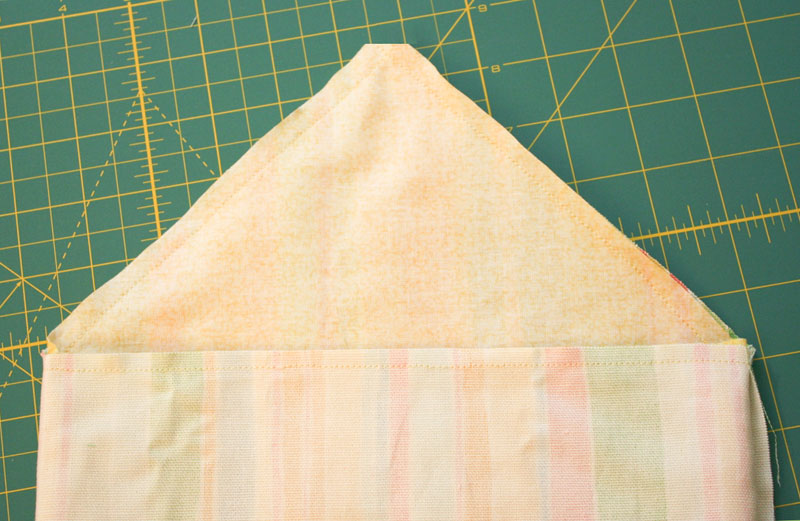
Flip the bag right side out, so that the outer fabric (for me, it was the striped one) is on the outside, and the liner fabric (yellow) is on the inside. Poke a pencil inside the peak of the triangle to shape it, if needed.
Lay the bag out nice and flat and smooth out the edges. You may optionally iron it flat if you wish (I didn't) to make the next step a little easier.
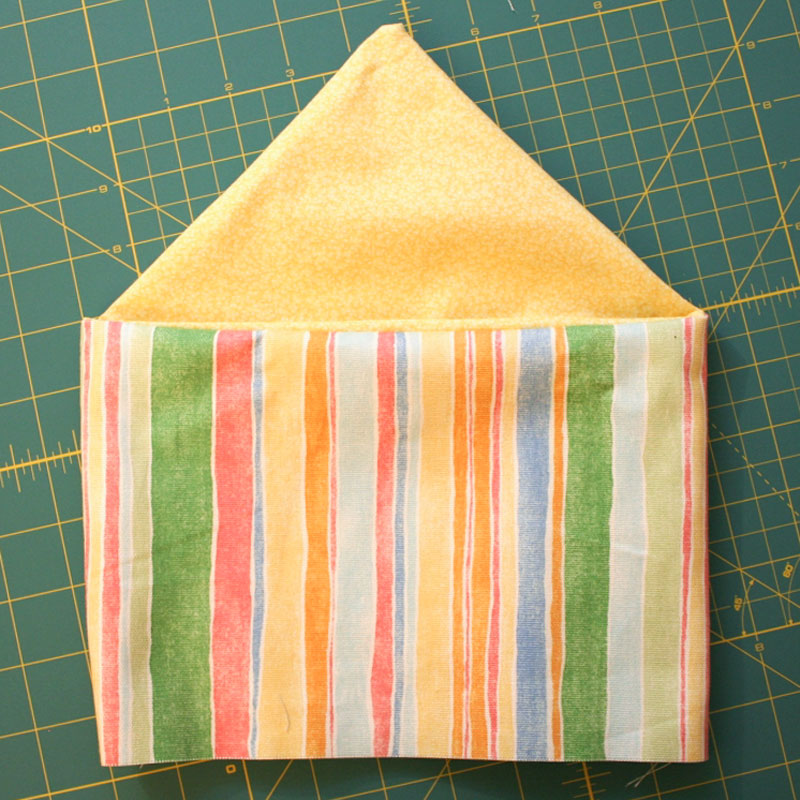
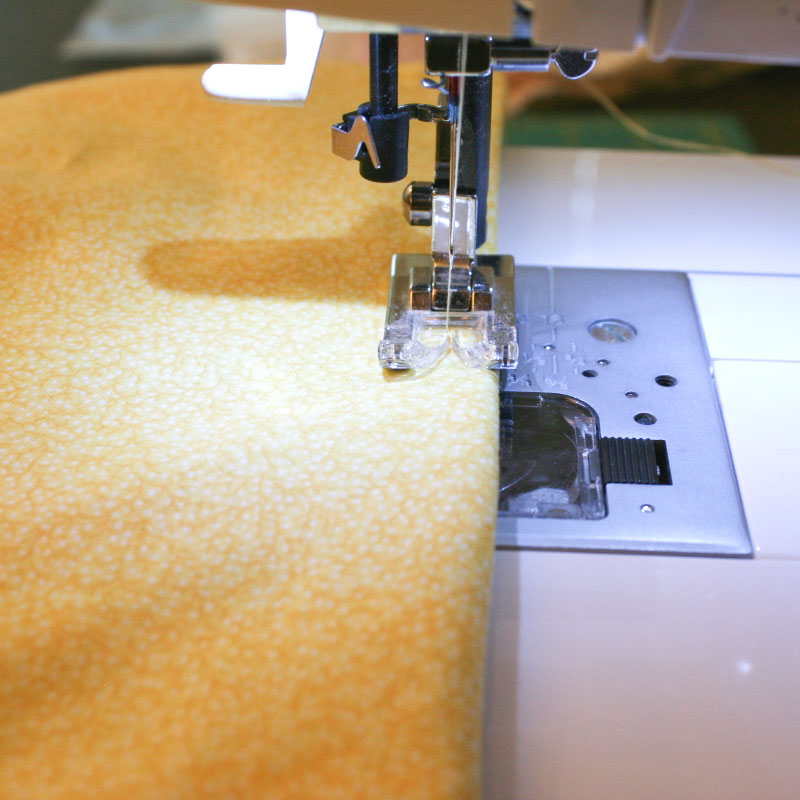
Use the sewing machine to run a row of top stitching all around the top edge. This will make the opening of the bag more finished looking, and the flap will be much more stable.
Step 5: Sew the bottom
With the bag right side out, pin along the bottom edge.
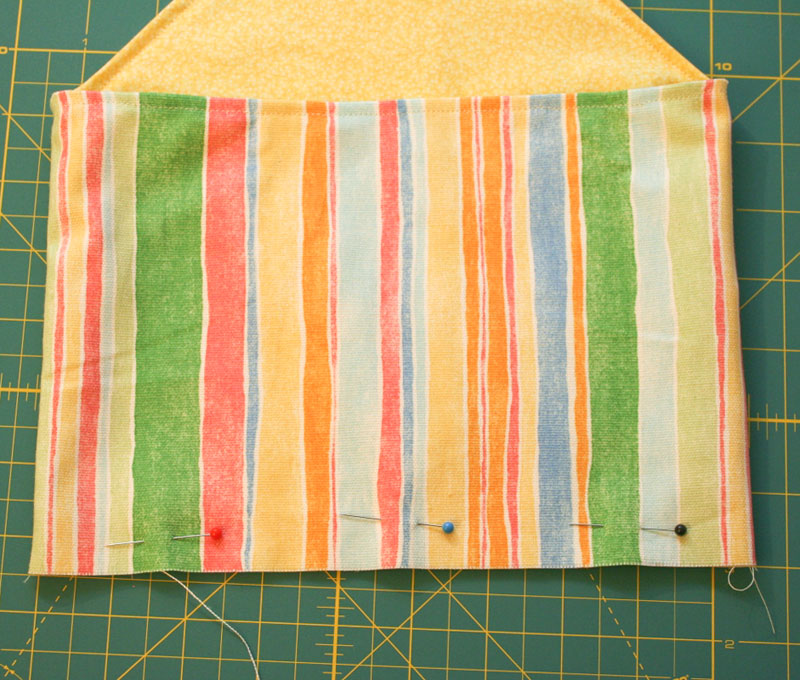
Now use the sewing machine to sew it in place. It may seem wrong to have the bag right side out, but we're going to do a French seam, which will make sense in just a minute, so hang tight!

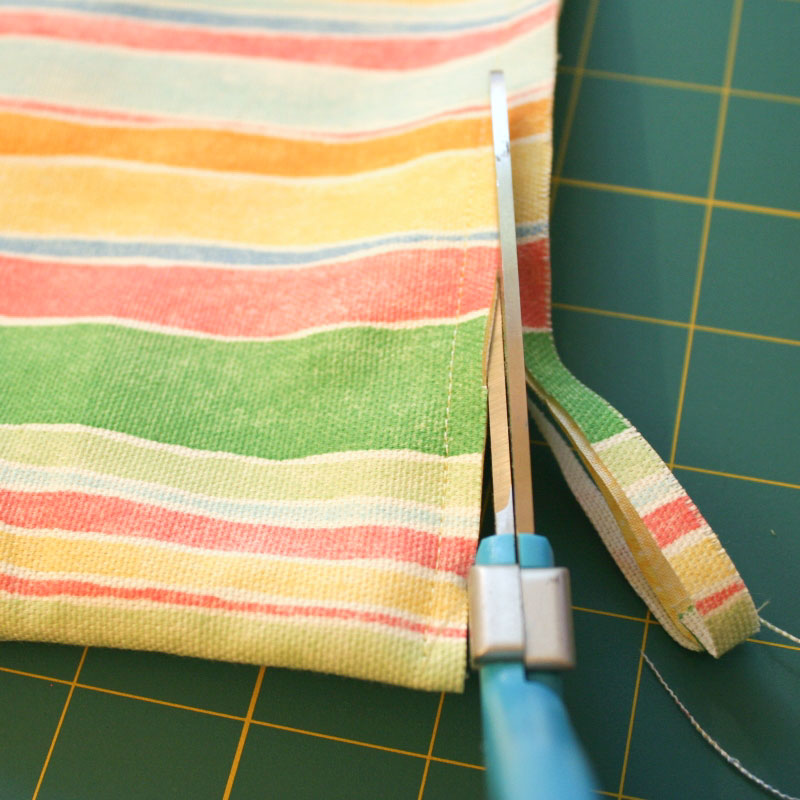
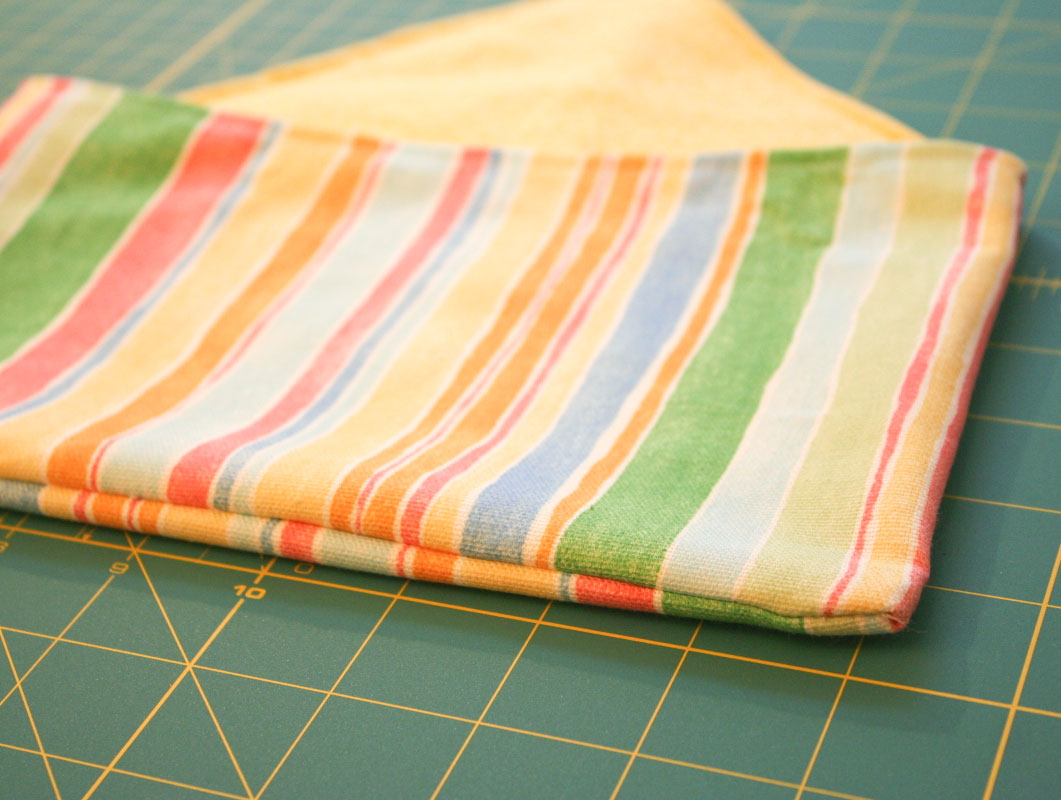
Use a pair of scissors to trim the bottom of the bag as close as you can get to the row of stitches, but be careful not to cut them.
Then flip the bag inside out, so that the lining (yellow in my case) is on the outside.
Sew along the bottom edge of the bag, coming up enough to encase the row of stitches you made a minute ago, which are now on the inside.
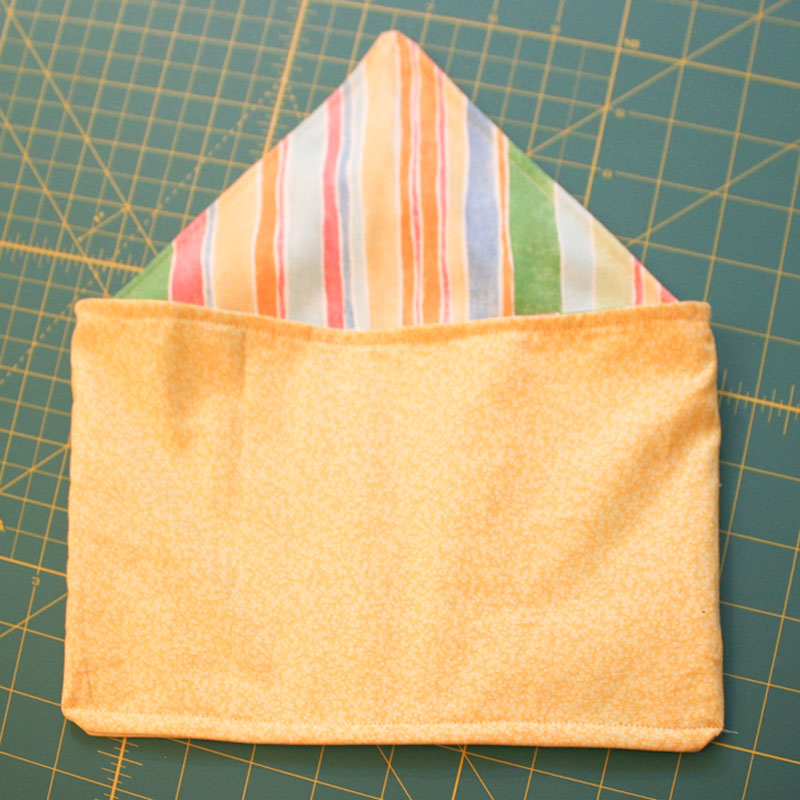
Turn the bag right side out again, and notice how nice the seam looks on the bottom of the bag, with no stitches showing.
And if you look inside the bag, you'll see a nice, clean, sewn edge inside, with no frayed edges showing. That's the French seam!

The bag is now all done except for a button to close it with!

Step 6: Add the closure
Most sewing machines these days have a buttonhole feature, so if you've got one, use it to add a buttonhole to the point of your bag's flap. Then sew a button in place and you're set.
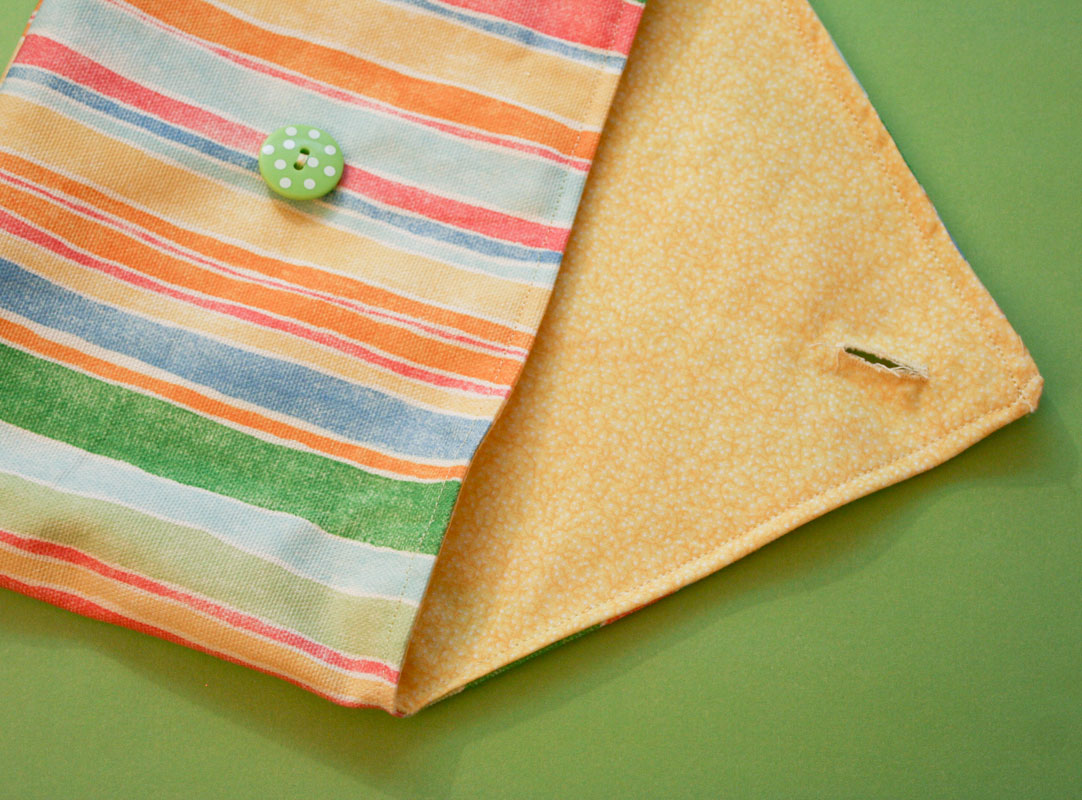
If you don't have a buttonhole feature, or are afraid to deal with buttonholes, you can cheat a little — just sew a button on the flap and add some sew-on Velcro circles or a snap underneath.
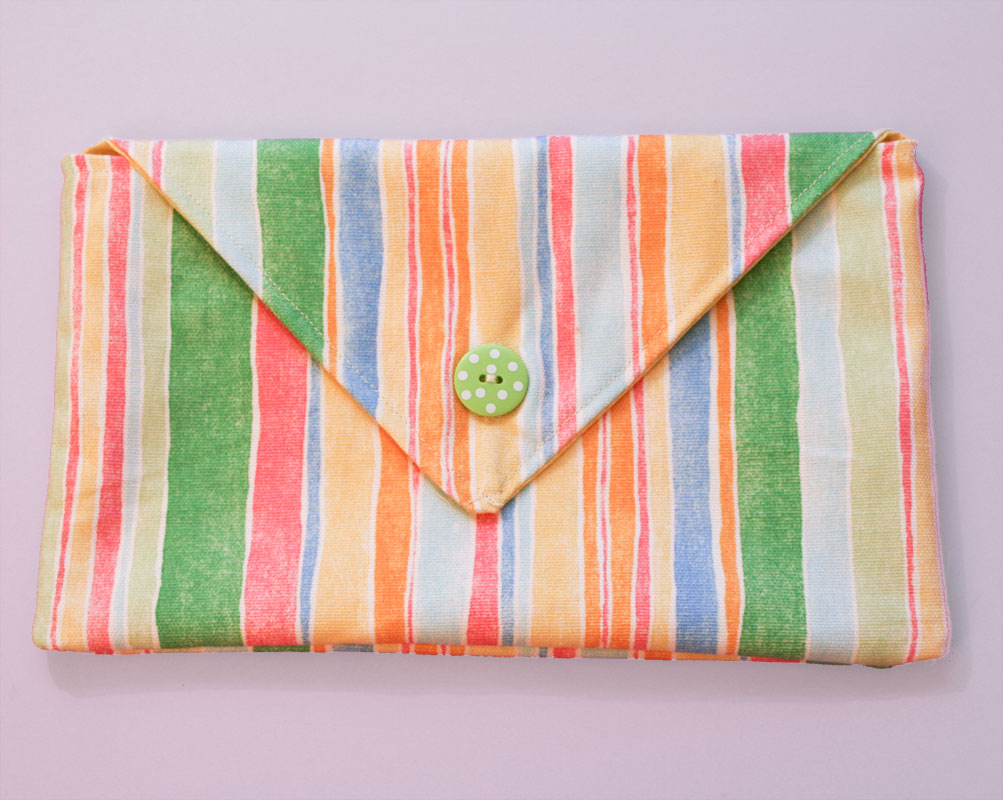
The finished bag
Isn't this the cutest thing ever? And it was so easy to make!


31 comments so far:
Thank you I am a beginner sewer and this was great. I did cheat and sewed velcro closures. I have a questions, where did you leave the open hole in order to flip it right side out?
Sue, thank you! Velcro isn't cheating.. it's just another method that works better for you, and there's nothing wrong with that :) As for leaving an open hole, the entire bottom of the pouch is left open until the very end, which makes it very easy to flip the whole thing right side out. Then I sew up the bottom at the end with a French seam. Hope that helps!
Thanks for clearing up the seam issue.I now know why your french seam makes sense. I am going to make another one with the french seam. I have already used it to store my checkbook, bills, stamps and a pen. It is nice to have everything together in such a cute bag.
Thanks that was so fun and easy!!
this is such an easy to follow tutorial, I've been trying to figure this out on my machine ALL morning!!! I'm so glad I came across your page, I feel so silly now that I realize I was making this project way harder than it actually is!
L.A. we're so glad we could help!
In Step 3, did you have the seam allowance pressed open, or to the front or the back?
Thanks!
Karen, I'll be honest with ya... I tend to get pretty lazy when it comes to seam allowances, and let them go where they want. :)
You said to add 1" to the width. That would then make yours 10" wide, not 10.5. Are they just backwards? I'm pretty sure they are. Also, when you sew the one open side of the rectangle, how does your flap still fold over evenly to match the other side of the rectangle? Your finished product shows perfectly even edges on your flap. Thanks.
Debbie, thank you for pointing out that typo in my measurements! You're right, I had the width and height reversed. I have corrected it in the tutorial above. As for your other question, I'm afraid I'm not sure I understand... can you point me to the photo that shows the step you're talking about? (Right click on the image, choose "copy image location", and paste the URL into a comment)
In step 3 where your pins are you have to stitch that side closed, when you do that you will come up to the envelope flap and your sewing will have taken up some of the fabric on that side but not on the opposite side. Then when you fold your flap over it will not be equal on both sides. I hope this makes sense. I am anxious to get to sewing this. Thanks.
Thanks for the clarification, Debbie. I see what you mean now. It has been a few years since I completed this project, so it's hard for me to remember exactly how it worked out, but I think the key is to not focus on keeping the seam exactly lined up on the side. Rather, focus on keeping the rectangle even so that the flaps are centered and the points line up. That little bit of the flap that gets "used up" by the side seam shouldn't matter by the time you're done, because you'll end up using up some of that flap fabric to your seam allowance anyway. Hopefully you can fiddle with it and get it all lined up. Hope that helps!
Chica, I just finished making one for my friends birthday and it turned out sooo cute! I did it exactly like your easy instructions show and I'm so thrilled with how it turned out. I made mine 1" smaller all around and I did use some interfacing on the liner fabric. It gives it a nice sturdy feel. Thank you for answering both of my replies promptly and thank you for an excellent tutorial.
Congrats, Debbie! I'm happy to help when I can, and glad to hear your pouch came out great.
Hola Chica, I have been sewing for many many years and every now and then I run into something that baffles me
As I did when a friend asked me to make a flap bag for her travel pillow and, until I found your easy tutorial I was flummoxed
Thank you and God bless you
Christina
Christina, I'm so glad we could un-baffle you! If it makes you feel any better, I had to try a few times before I got this one right. Enjoy the tutorial, and thanks for the nice comments :)
Just finished the flap pillow case and am loving it
Omg, I just stumbled onto you two. Your verbiage and visuals are "right on the money"
I was looking for an easier way to make a flapped pouch and found your wonderful tutorial.
These are so cute and easy! I'm making several for a nursing home to give away at their Bingo games. I'm putting a pen and notepad in each so the Residents can make lists or memos.
What size seam are you sewing in this project?
Jan, I usually try for 1/4" seam allowances, but sometimes I go a little beyond that. :)
Thanks for the tutorial. I can't wait to get started. I plan to make Advent bags, each to hold a different Christmas or winter book for December 1-25 :)
Thank you so much for this tutorial! The first one took some time and patience but once I got a hold of it, they were super easy and quick to make. I now have 30 of these ready and filled with hygiene items to be sent to a homeless women’s shelter, I think they work great for that purpose. Thanks again!
Gianna, that's such a thoughtful gesture. We're glad you stuck with it and mastered the project. Thanks so much for sharing your story!
Great tutorial thanks
Thank you so much for such a great tutorial! I was trying to figure this out on my own, and probably could have figured a workaround out eventually, but this is such an elegant solution! The directions were very clear and easy to follow.
Great tutorial! I helped my 11 year old to make these as gifts for her friends this holiday season, with some candy tucked inside for gifting. This was simple enough for her to do mostly independently, and the finished product is adorable.
Katie, that's a wonderful idea. We'd love to see what they made, so please tag us @chicaandjo if you post pictures online!
I loved making this! I am a beginner and hand sew everything, so thank you for making everything so simple and easy to understand. My bag turned out so cute
Regan, I'm so glad we could help you with this project. We'd love to see your finished bag, so if you share it online, please tag @chicaandjo so we can see :)