DIY Mermaid Sequin Sensory Bracelet

Like most kids these days, my niece is infatuated with mermaid sequin fabric, which features thousands of tiny sequins that change colors when you flip them over by sliding your hands along the fabric. Flipping the sequins back and forth can have a very soothing effect, so this fabric is now often being used in sensory applications, especially for kids who need a little help with the urge to fidget. My niece's friend has this challenge, so she asked me to make her a mermaid sequin sensory bracelet.
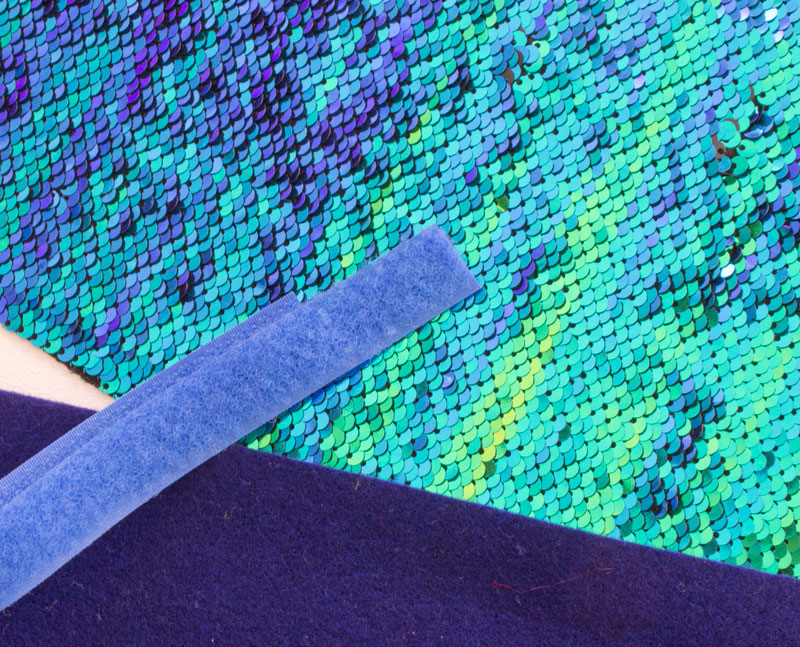
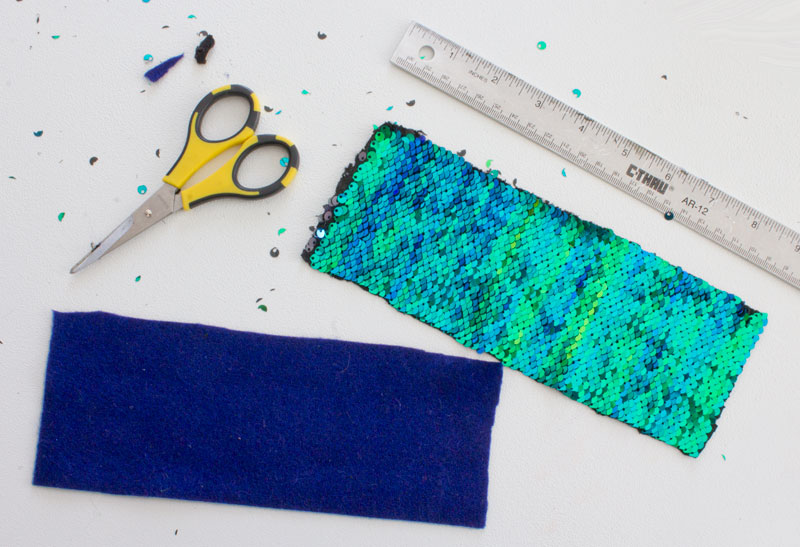
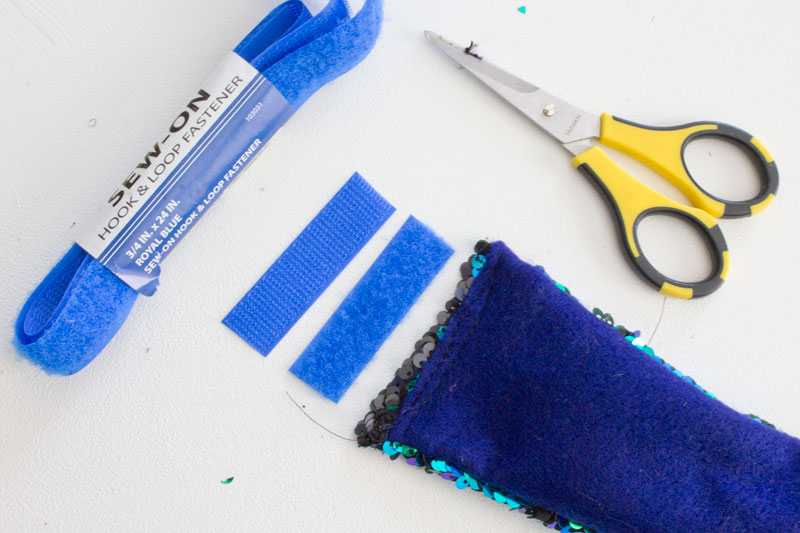
The first thing I did was pick up some gorgeous blue/green sequin fabric, and some coordinating felt and sew-on Velcro. (Make sure you get the sew-on type, or else you'll never get your needle through it!)
Then I read some advice online about sewing sequin fabric. Most articles suggested using a seam ripper to carefully cut away the sequins wherever you plan to sew. This seemed like a very daunting task to me, and I simply didn't have the time (or desire) to do this much work. When I read another article saying you could just sew right over them, I was much more interested, and decided to go for it! You can choose the method you want to use, but if you decide to sew over the sequins, please keep these tips in mind:
- Use a thin needle, not a heavy-duty one. It will go through the sequins more easily.
- Adjust your machine to sew long stitches, so there are fewer stitches required.
- Sew slowly! Watch your sewing machine carefully to be sure it's doing okay.
With my "go for it" courage in place, I was ready to start. I did some quick measurements and decided I wanted the finished bracelet to be 8" x 2-1/2". To account for seam allowances, that meant cutting the sequin fabric and felt to 8-1/2" x 3". You can adjust these sizes as desired if you want to customize this for your wrist.
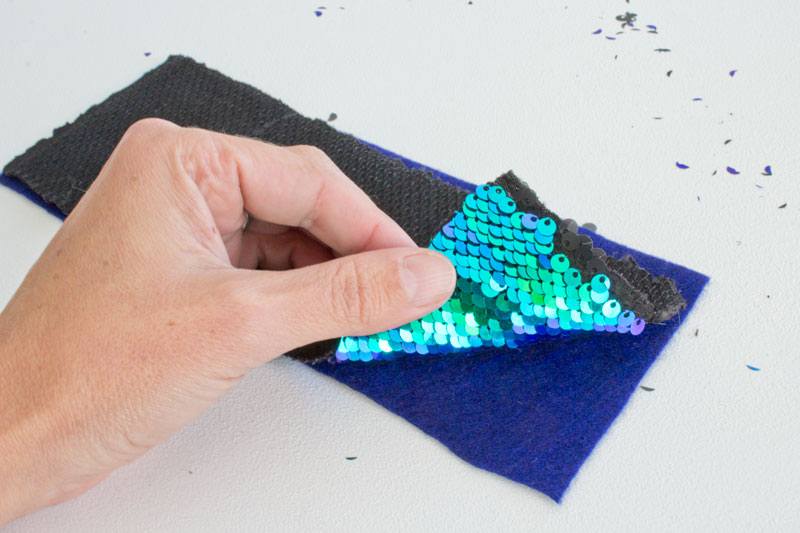
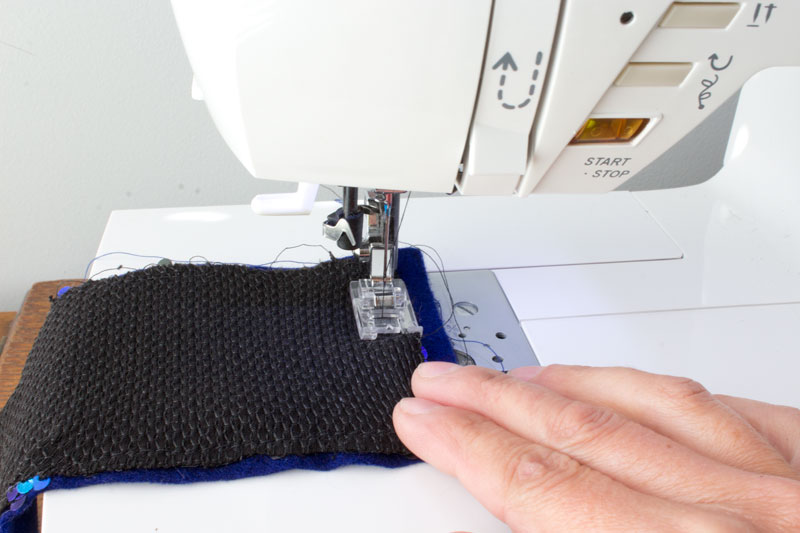
Then I placed the sequin fabric, face down, on the felt.
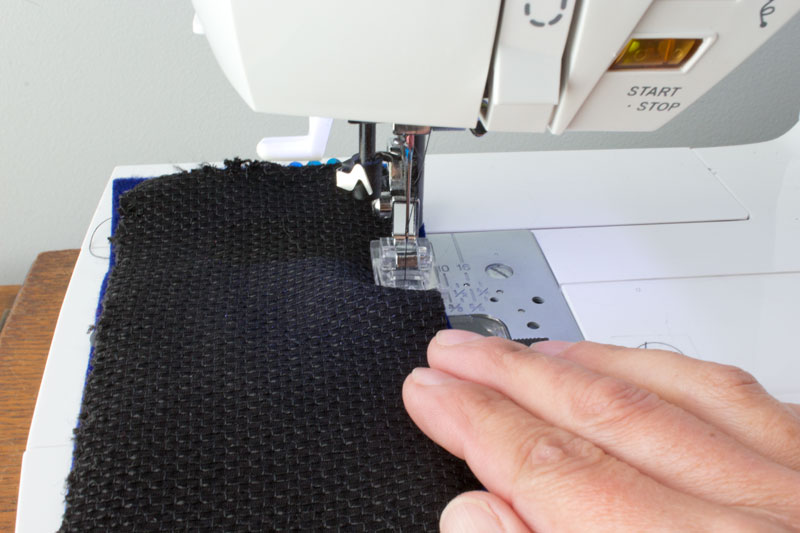
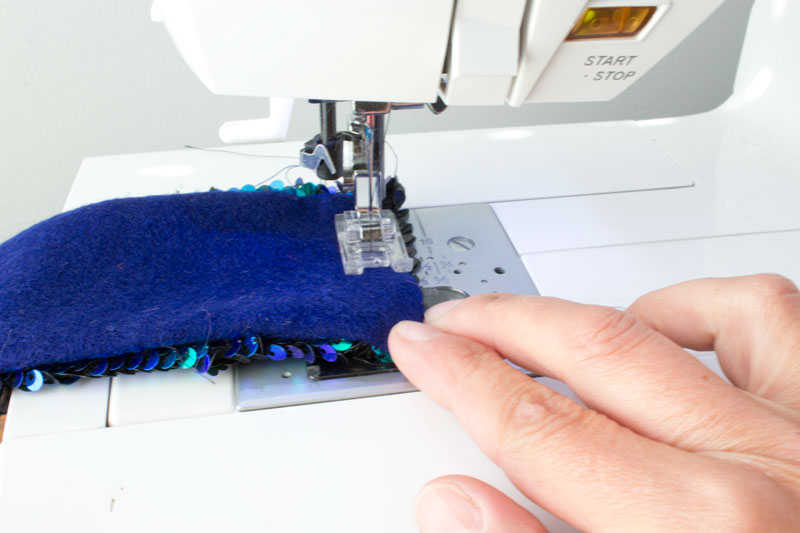
I placed the fabrics in the machine with the sequins laying nice and flat, then sewed them together along one side.
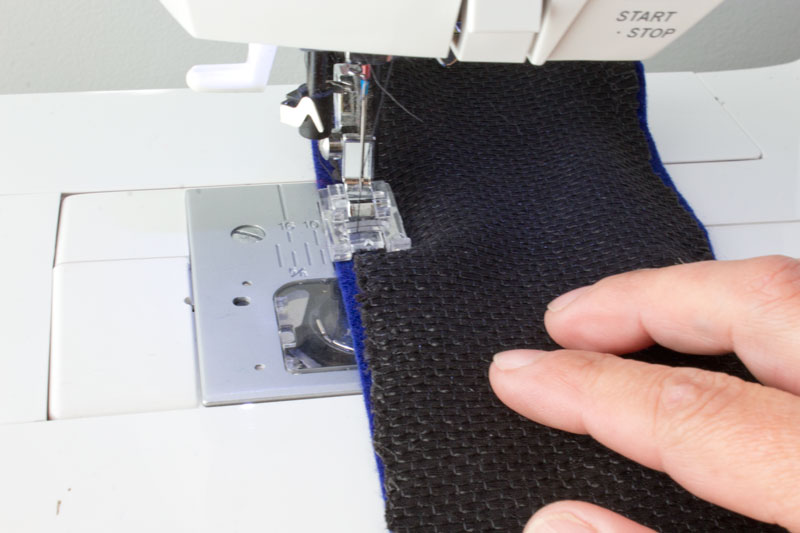
Then I fed the fabric through the other side, making sure to sew in the same direction (rather than turn the fabric around). This was critical because I found that the sequin fabric stretched as I sewed, so starting at the same end both times was necessary to keep everything lined up right.
Then I sewed across one end to close it up.
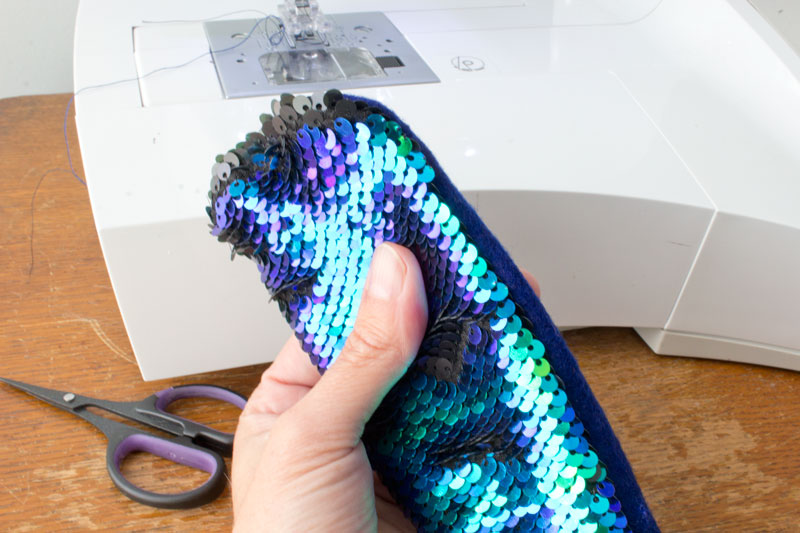
Next, I flipped the tube right-side out again, and used a pencil to poke the corners of the sewn end.
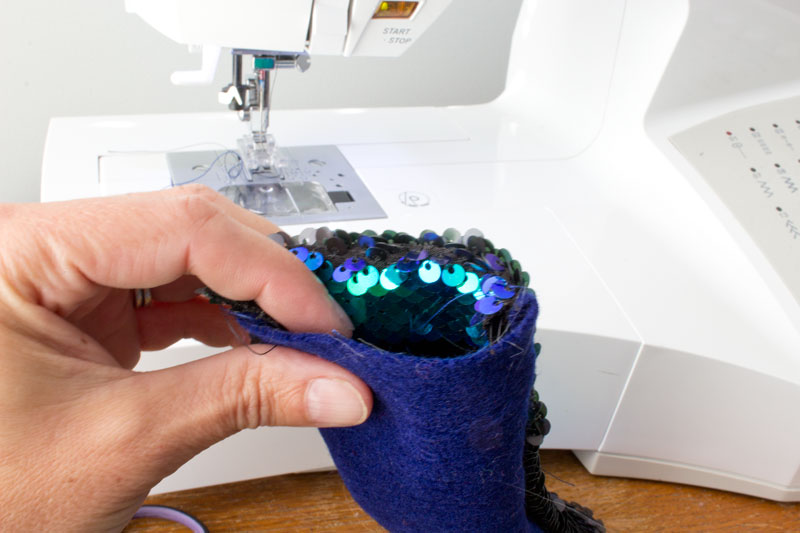
To close up the other end, I first tucked in the sequin fabric. Remember I said it stretched as I sewed? That actually worked out fine, because I had an extra half inch of fabric to tuck in.
Then I pressed the fabrics together, lining up the edges, to close the gap.
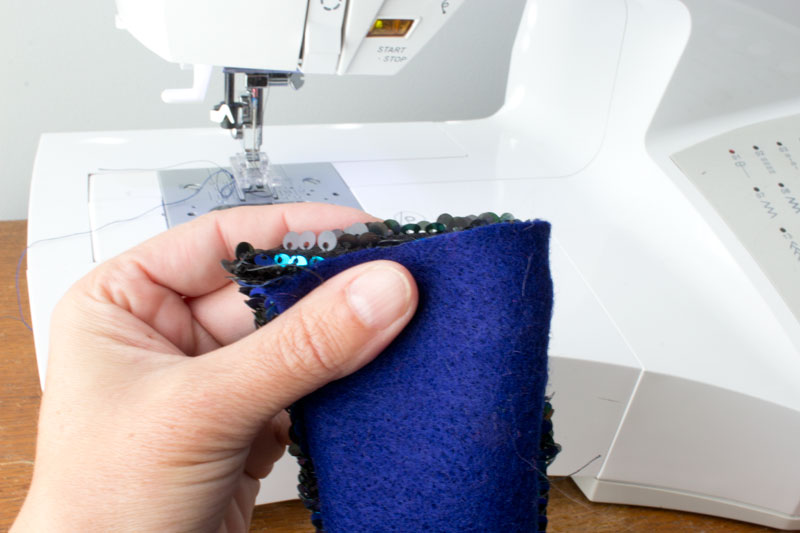
One more quick run through the machine, and the tube was all closed.
To create an adjustable closure, I cut two pieces of the sew-on Velcro to a little less than the width of the bracelet.
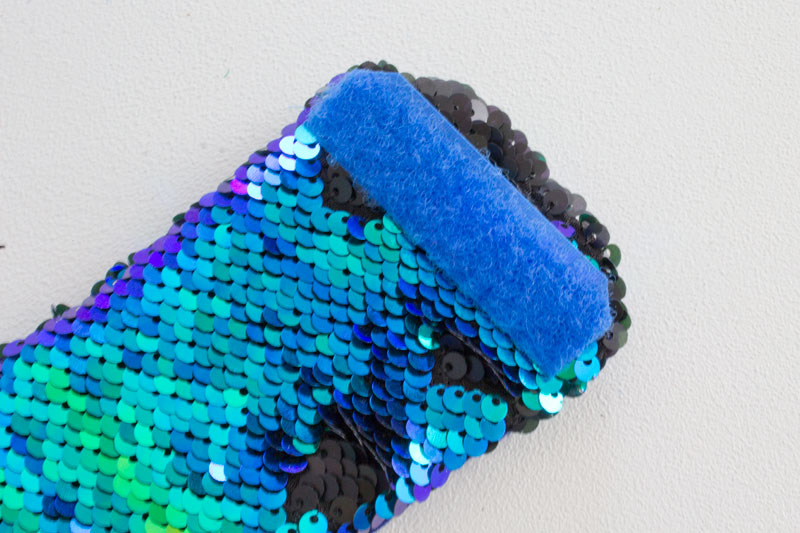
I used the scissors to round two corners of the fuzzy half of the Velcro, and attached it to the sequin size of the more rounded end of the bracelet.
Then I very slowly and carefully sewed it on, running my stitches around all four sides of the Velcro. I was surprised to see it sew through the sequins just fine.
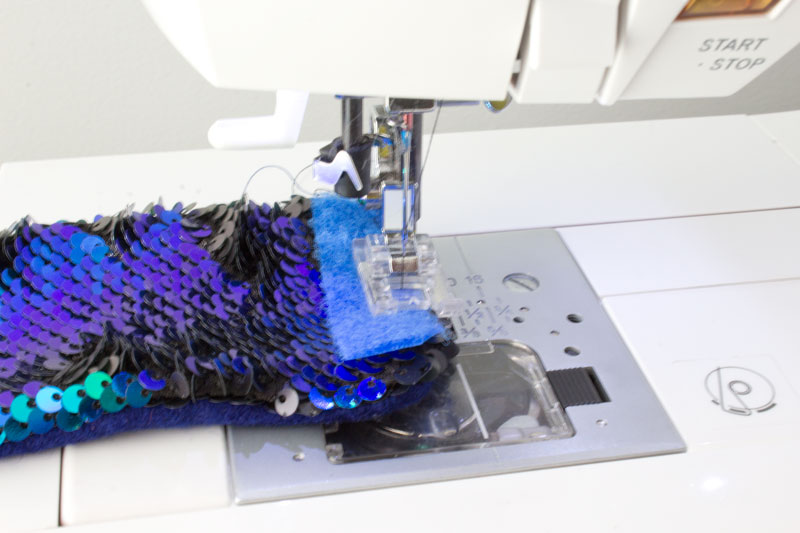
I used the same technique to sew the hook side of the Velcro to the felt size of the other end, completing the adjustable closure.
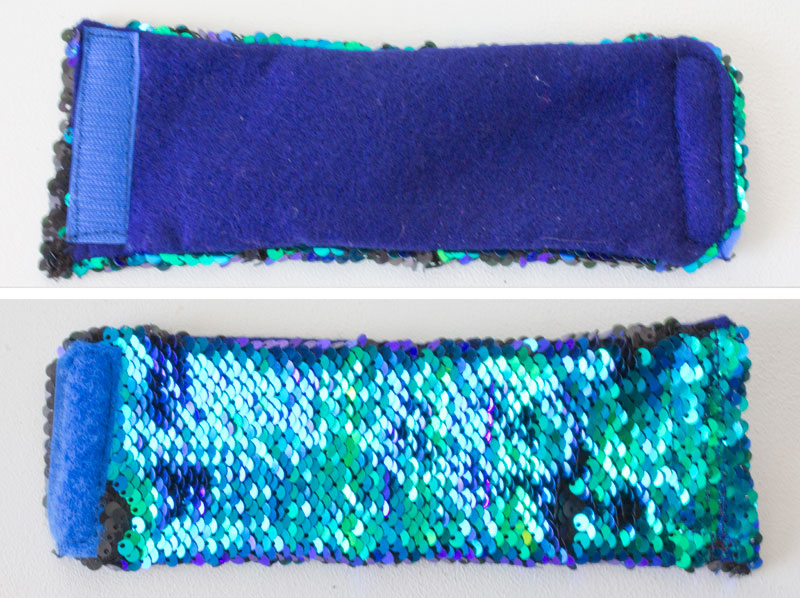
And that was it! To wear the bracelet, just wrap it around your wrist and attach the Velcro pieces to secure it. It's so fun (and kind of addictive) to rub the sequins back and forth, too.
If you want to see the bracelet in action, check out our mermaid bracelet demo video on YouTube.