


How to Make Shrinky Dink Christmas Ornaments

As a quintessential 80s kid, I am often nostalgic for the decade and love everything from the video games to the cheesy movies. I want to decorate a Christmas tree with 80s memorabilia this year, and I figured what better way to make ornaments than with another classic staple from the 80s — Shrinky Dinks.
I bought a pack of plain Shrinky Dink sheets with a frosted finish, because that's the easiest to color. Then I printed a bunch of images I found online and traced them onto the plastic with a black Sharpie.
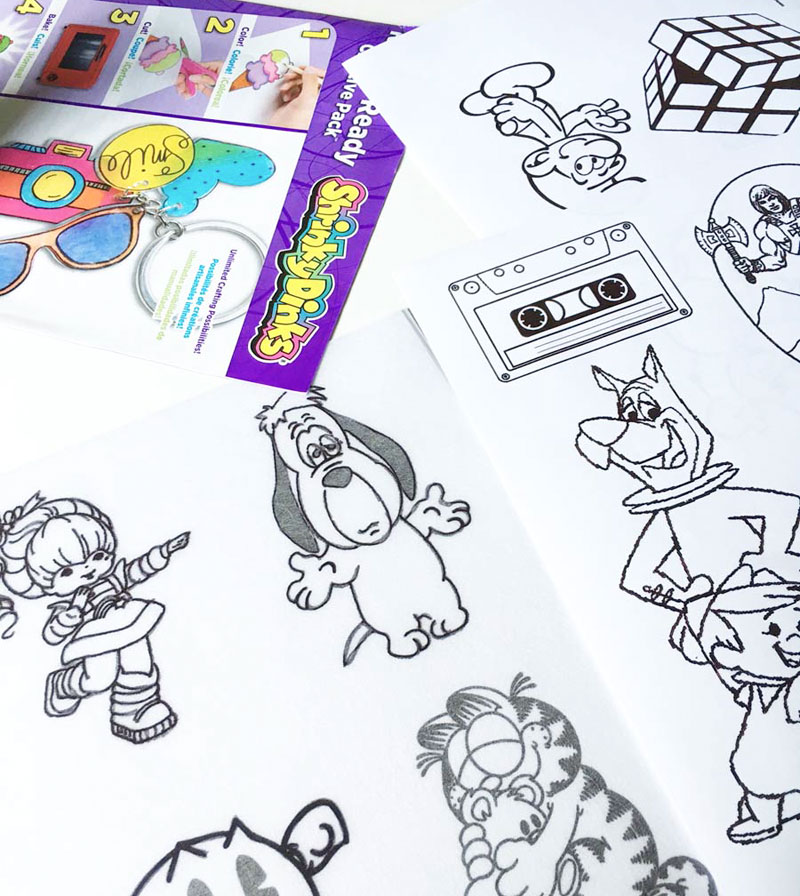
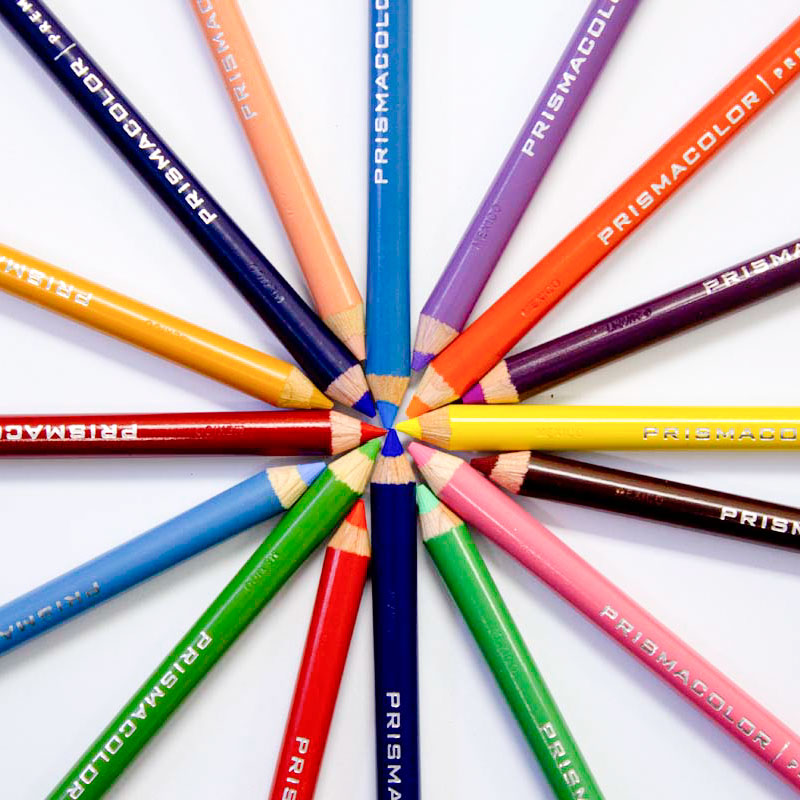
Once my tracing was complete, I colored them in with colored pencils. I recently received some new Prismacolor colored pencils, so I gave them a try. As a quick quality test, I first compared some no-name colored pencils to the Prismacolor ones, thinking it wouldn't make much of a difference. But it actually did. The color of the Prismacolor pencils was more intense and the application was smoother, so that's what I used.
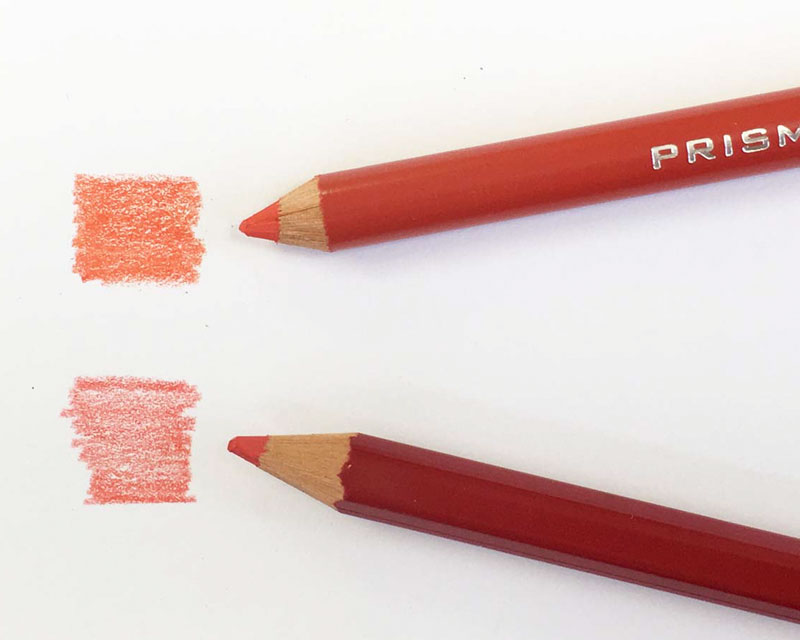
It wasn't until I had used up a lot of the white pencil and had to sharpen it that I noticed a key difference between the two brands. The color in my old colored pencils broke repeatedly when I sharpened them, but the Prismacolor pencils sharpened much better, with no weird uneven finish. It may seem like a small point but it really makes a difference to me.
After coloring all the shapes, I cut them out and used a basic hole punch to make a hole at the top so I would have a way to hang them as ornaments later. I laid them out on aluminum foil to bake.
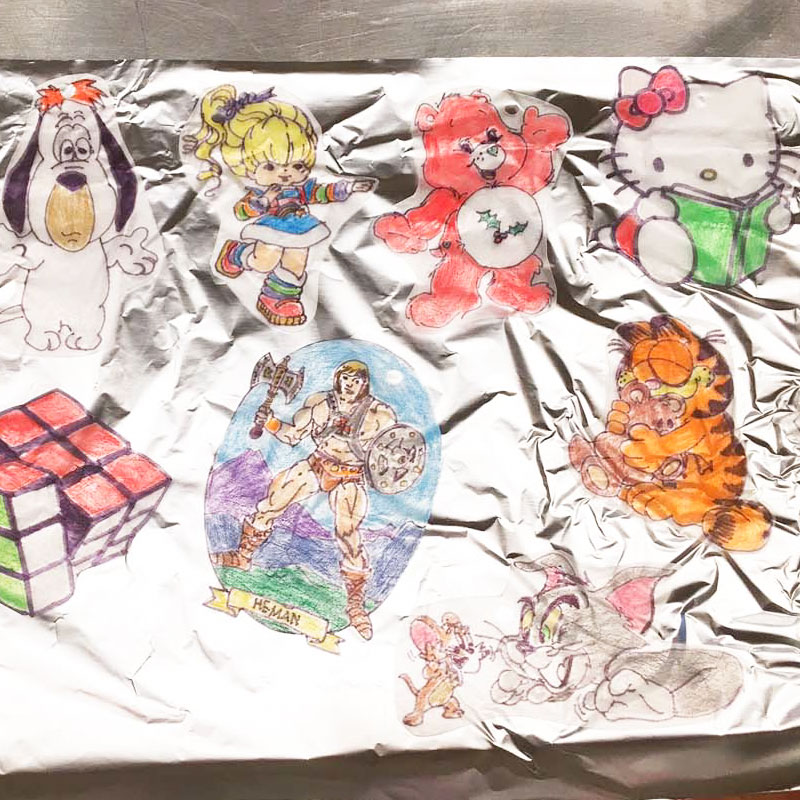
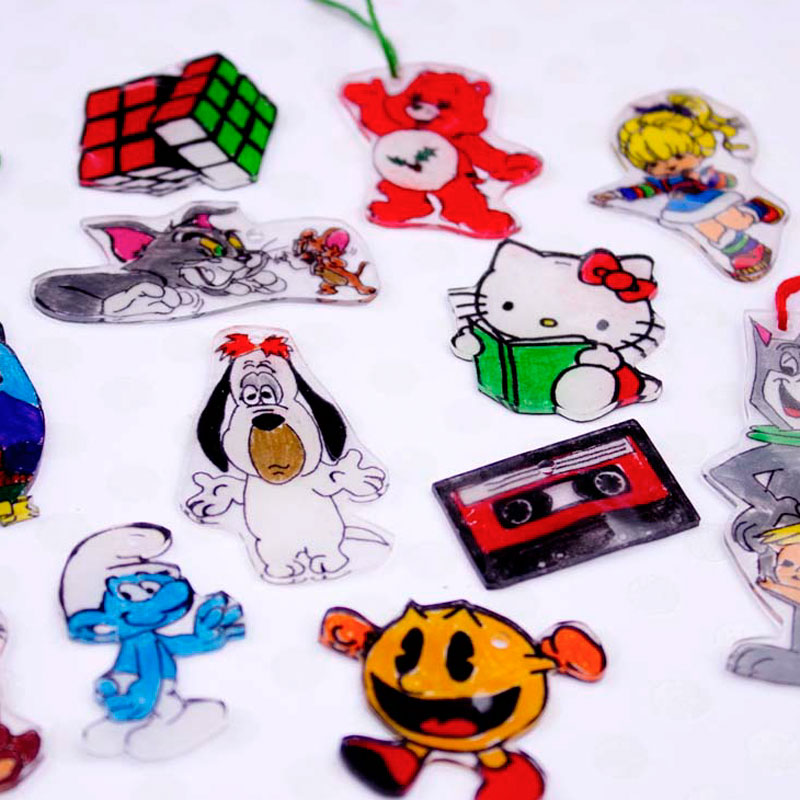
Then I baked them according to the package directions. It always amazes me how much they shrink, and it's just as delightful to watch as it was when I was a kid.
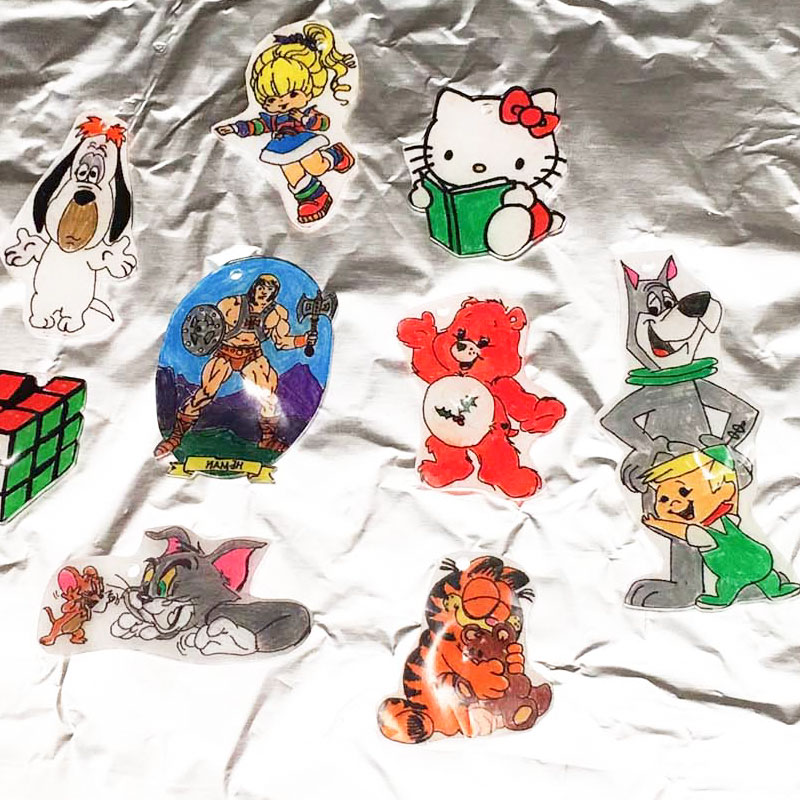
I just love how they turned out and think they will look adorable on my 80s Christmas tree.
Tips for working with Shrinky Dinks shrink plastic
Here are some tips to help you when working with Shrinky Dinks or other shrink plastic:
- If you want to hang your finished piece as an ornament or keychain, be sure to punch a hole in it before baking. If you wait until afterwards, you'll need to use a drill to make a hole.
- Remember that your plastic will shrink to roughly 20% of its original size, so be sure to make your piece large enough for the end result you want.
- Do not use an insulated cookie sheet (like an AirBake) to bake your Shrinky Dinks. That insulation that works so well to prevent burned cookies will actually prevent your plastic from shrinking properly.
- For easiest coloring, buy shrink plastic that's labeled as sanded, frosted, or rough-and-ready. This will allow you to color on them easily. If you get glossy plastic and it won't take your color, just lightly sand it first.
- Colors will intensify as the plastic shrinks, so don't worry if you don't have 100% coverage when you color your design.
- Don't forget that white areas will need to be colored with white pencil, or else they will be clear after baking.
- Most shrink plastic can accept markers and colored pencils, and some may also work with crayons or paint. Read the package carefully to be sure you're using something that will work.
- Some shrink plastic can be printed on directly put through your household printer, which removes the step of having to trace images onto it. Be sure you get plastic meant for the type of printer you have (inkjet vs laser).


4 comments so far:
Hi! Thanks for such a great post! I just came across the shrinky dink concept and am super excited to test it out with my kids for their own Christmas ornament creations. I notice that you have four images to a page - after watching them shrink do you feel that the size you chose was large enough for good size ornaments? I can't quite figure out how much shrinkage actually happens. Thanks in advance for any help! :)
Laura, I actually wish I had done only two per page or even one for larger ornaments. Try doing two on a page to see what you think.
So I'm wondering, which side would be the 'front'? If you use text for example, would you need to mirror the image?
Marie, you should check the package to be sure, but in our experience, one side of the plastic will be shiny, but the other will have a dull, matte finish that accepts colored pencils. This dull side is the side you should draw on. You do not need to mirror the image.