


Charlie Brown Christmas Advent Calendar

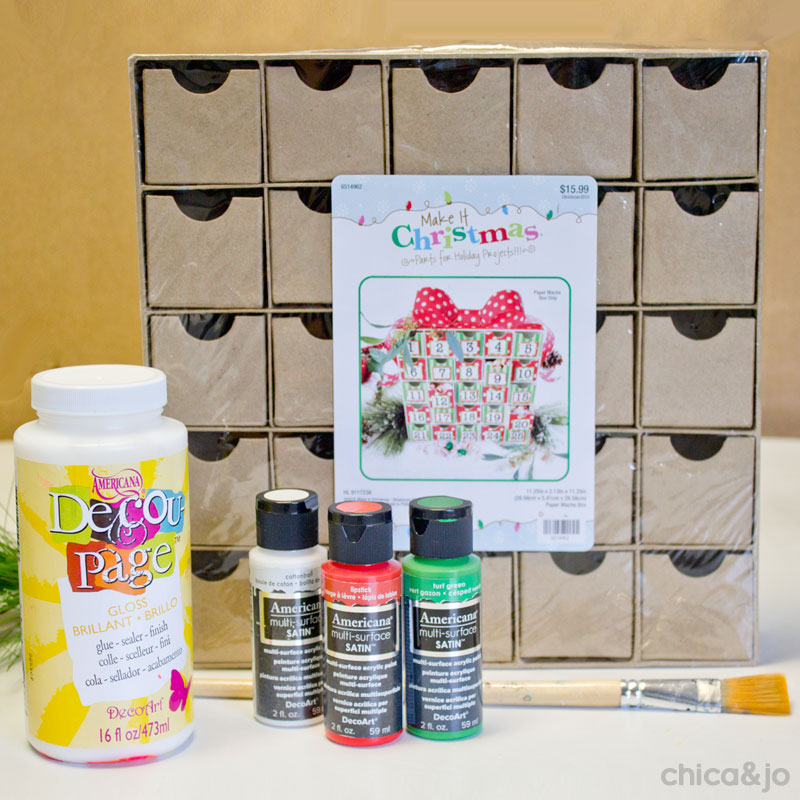
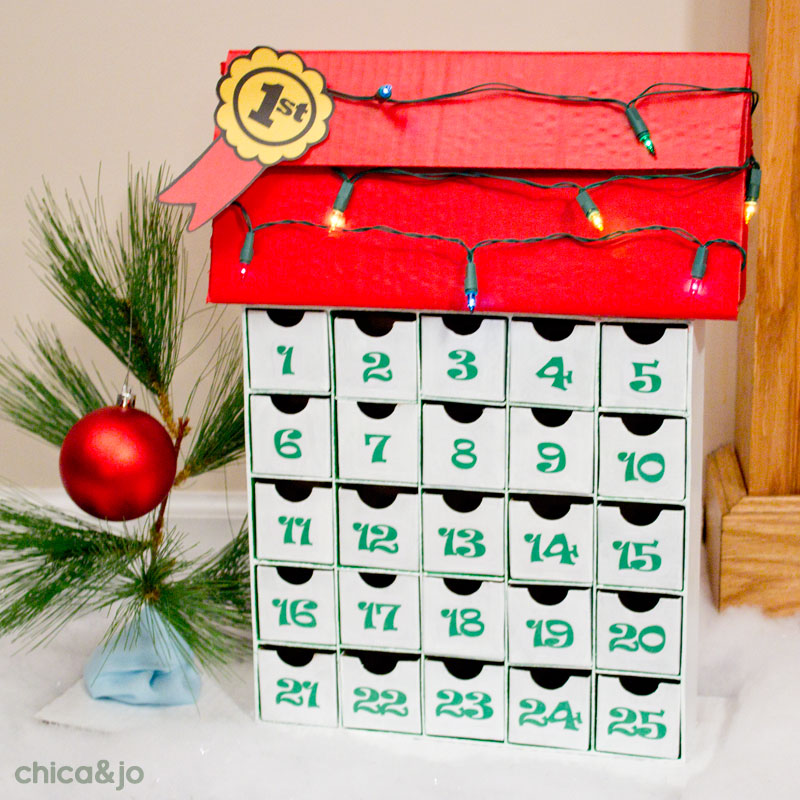
Jo challenged me this year to an Advent calendar showdown! We both started with the same 25-compartment chipboard box, and each transformed it using our own inspiration. She created a retro Santa Advent calendar with hers, and I focused on one of my seasonal favorites, the movie A Charlie Brown Christmas. I made the box into a replica of Snoopy's doghouse, decorated for Christmas, and added a few more fun touches along the way.
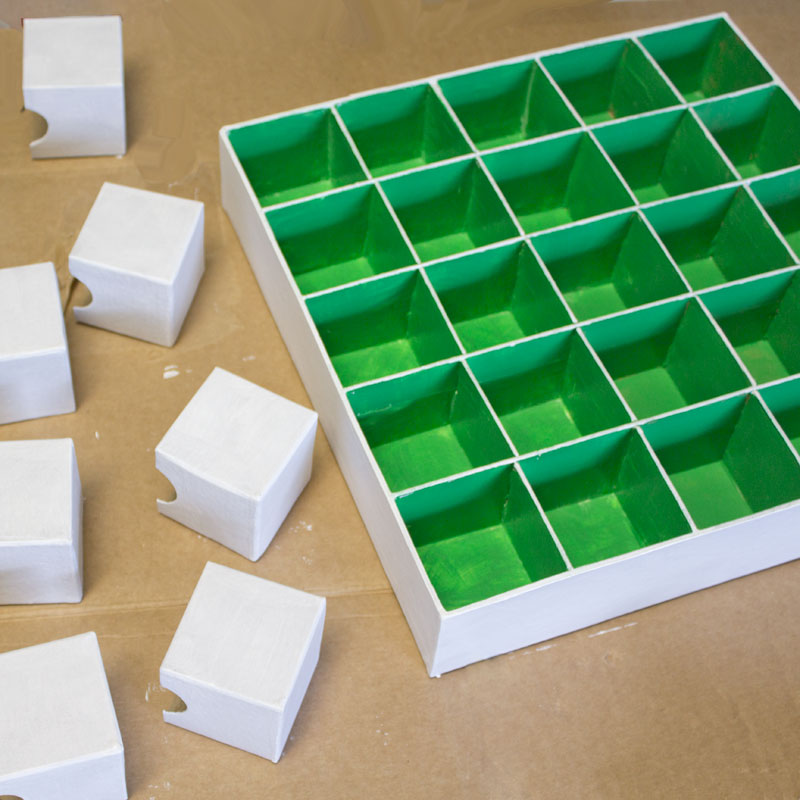
We got our 25-compartment papiér mâché boxes from Hobby Lobby, but there are several versions available in craft stores and on Amazon that will do the trick, so shop around. To decorate mine, I grabbed some Americana Multi-Surface paints in Cottonball, Lipstick, and Turf Green and a jar of Americana Decou-Page.
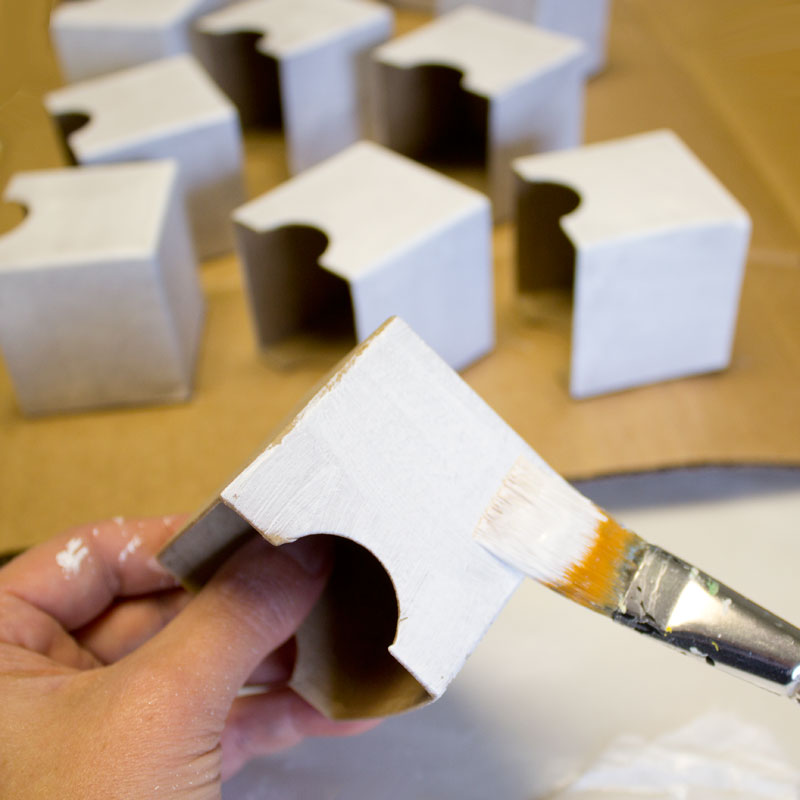
I basecoated all of the boxes with Cottonball. I probably could have skipped this step, but I wanted to be sure the brown didn't show through the paper.
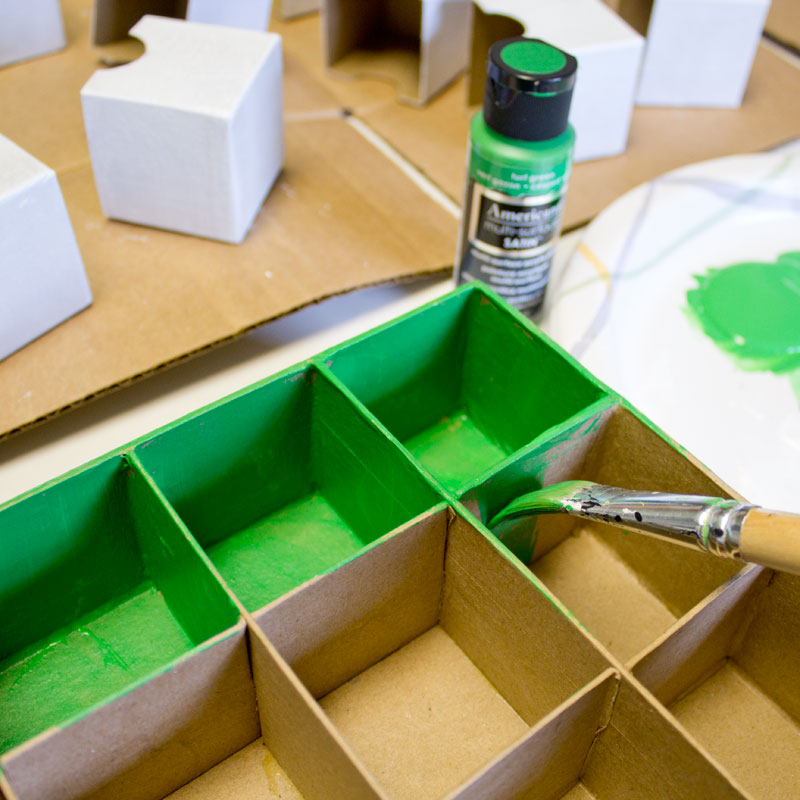
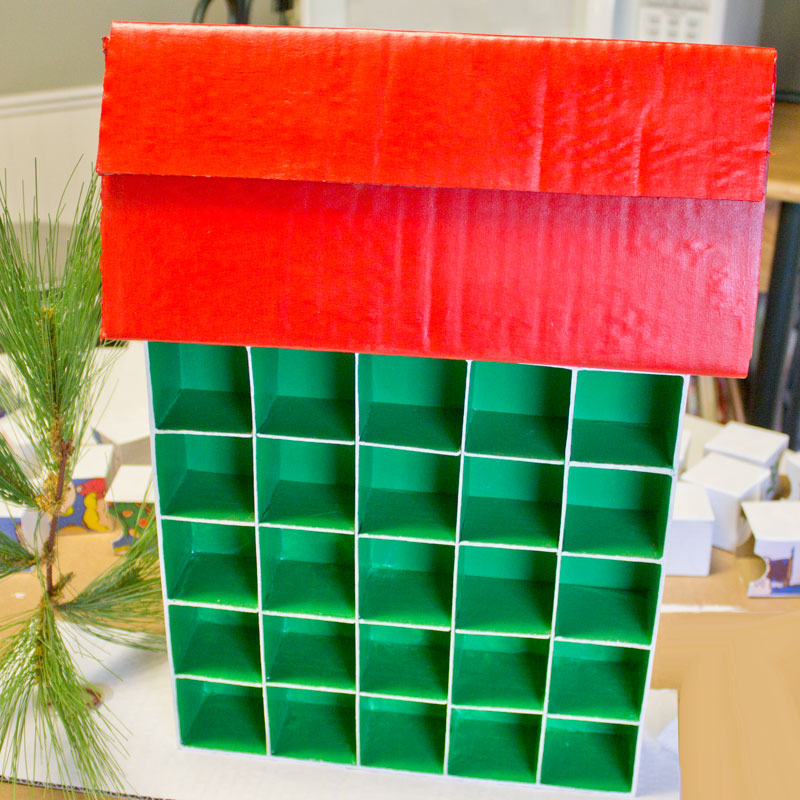
Then I painted all of the inside of the box with Turf Green.
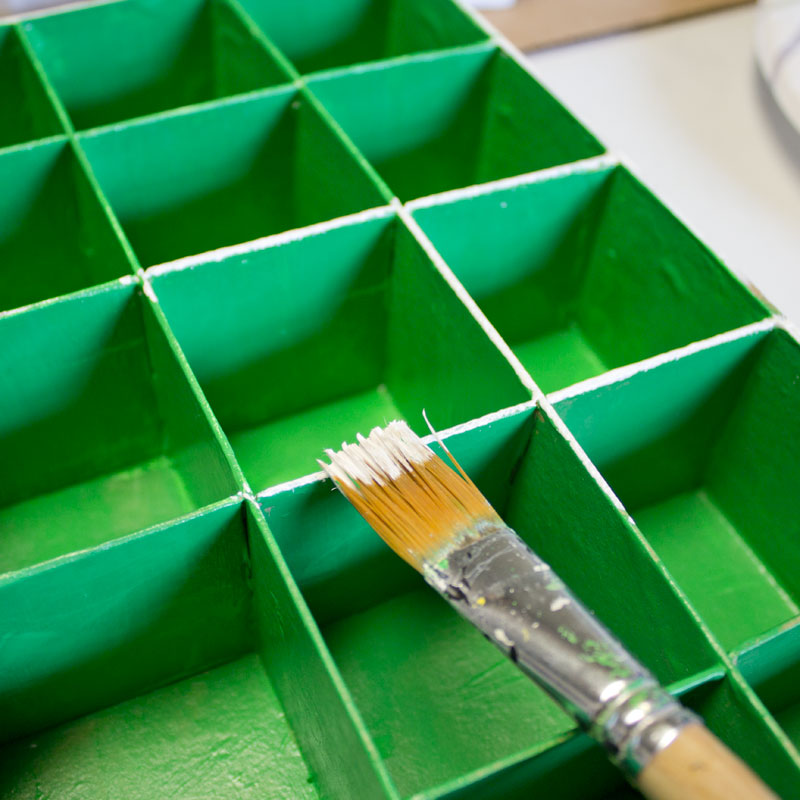
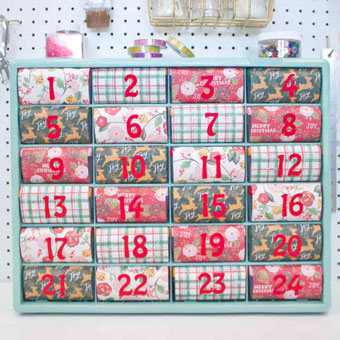
I used the side of my brush to dab white paint onto the edges so that there was a nice white frame around all the compartments.
I painted the outside of the box white, then made sure to let all the paint dry for a good long time so that I didn't risk the boxes sticking when I put them inside.
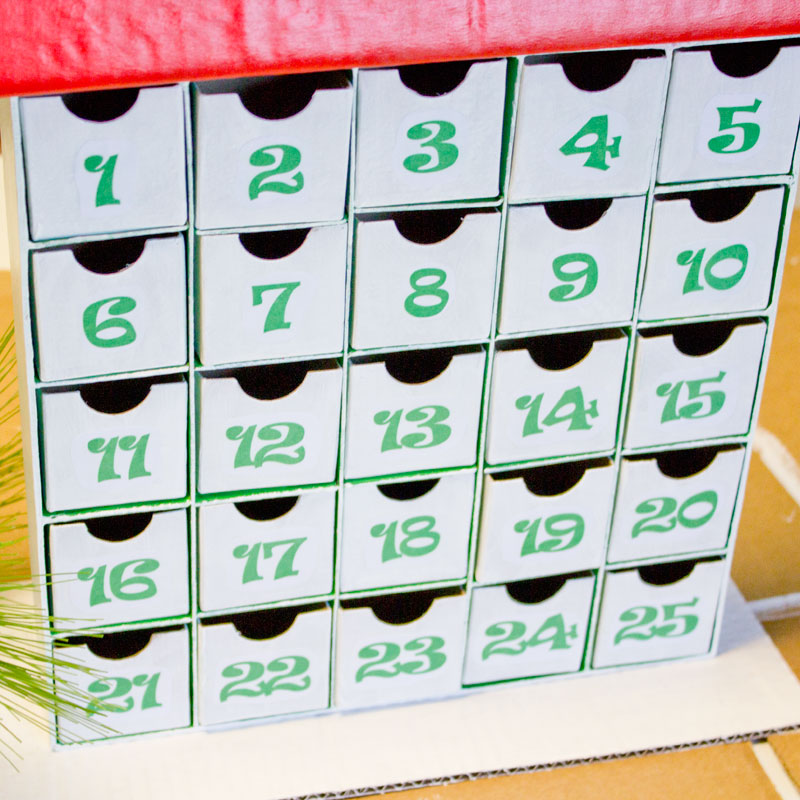
To decorate the fronts, I made a mosaic of the most classic scene from the movie, where the Peanuts gang is standing around the tree, singing. I also made some funky numbers for labeling the days of the Advent countdown. To make it easy for you to reproduce at home, I made a handy Charlie Brown Christmas Advent calendar printable for you to download for free! (My pattern assumes your drawers are 2" x 2" but if you need a different size, try scaling your printout up or down to fit.)
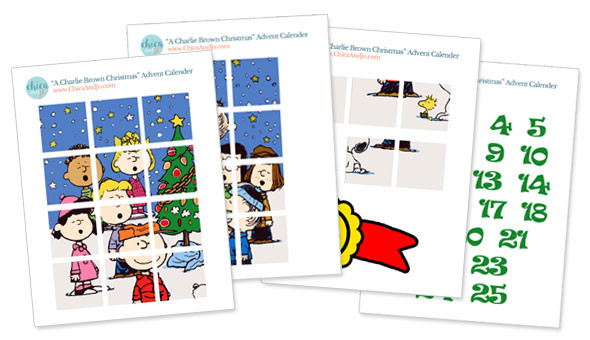
I printed the pages onto regular white paper and cut the pieces out. For the numbers, I just cut a general oval shape around each one.
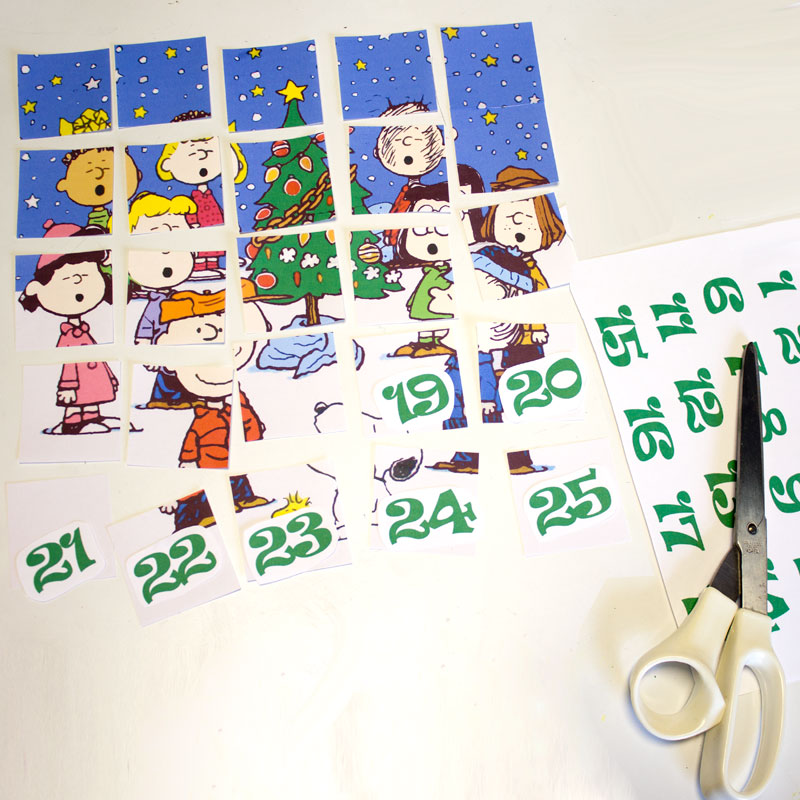
The most important part of this step is keeping the tiles in order and properly numbered. I suggest stacking the numbers on top of the corresponding pieces so you don't get them mixed up.

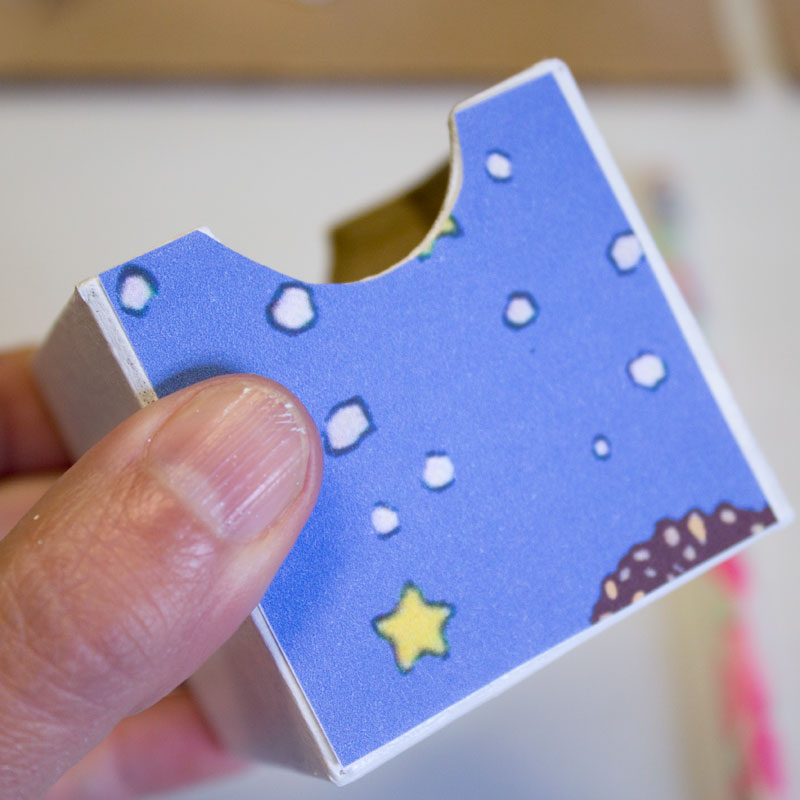
To account for the rounded notches in each box, I started by holding a paper tile onto the front...

...then I flipped it over and traced the curve...
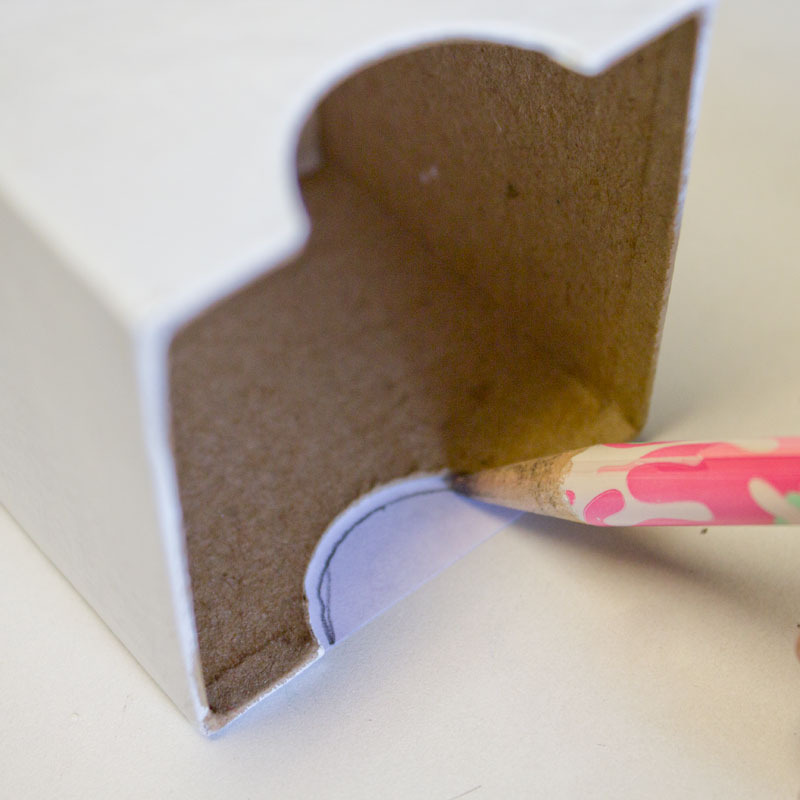
...then I cut it out with scissors. I double-checked to make sure it fit, then I used that one as a template to cut them all out.
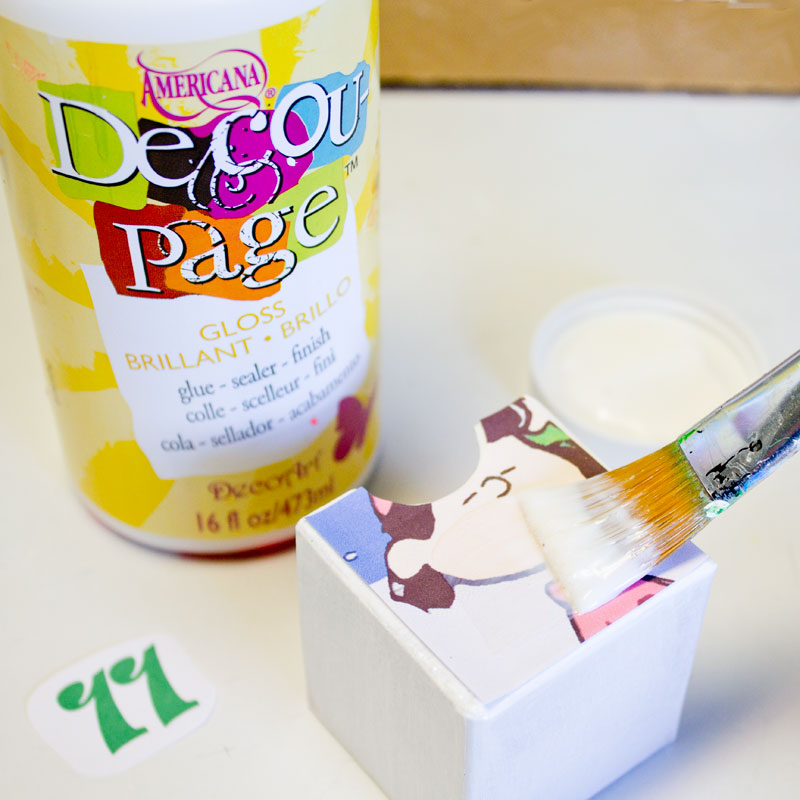
I used the Decou-Page to attach the image tiles to the front of each box. I applied one coat of the glue, stuck the paper on, then brushed over top to seal it in.
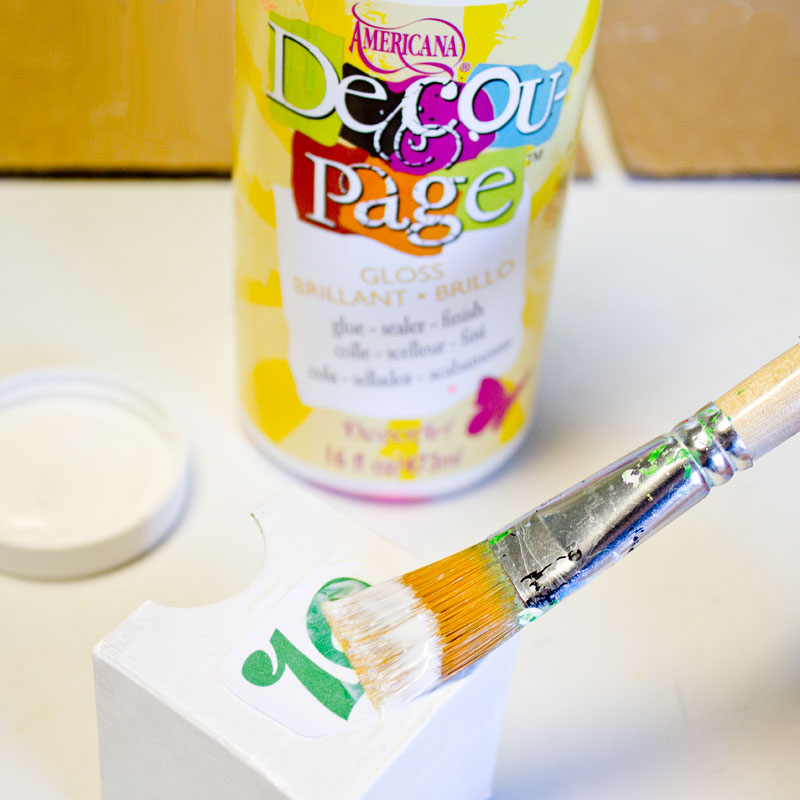
The numbers went on the opposite side of the boxes as the image, and were glued on in the same way.
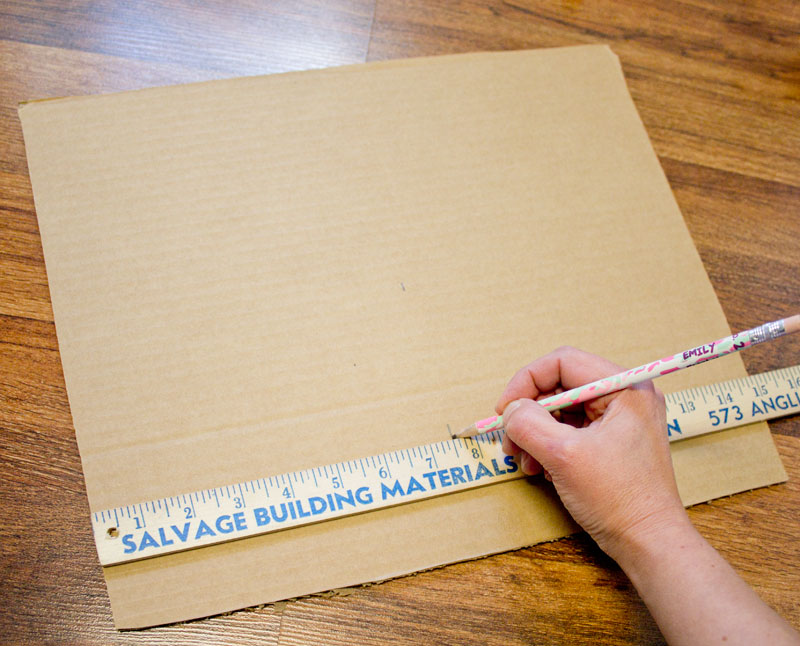
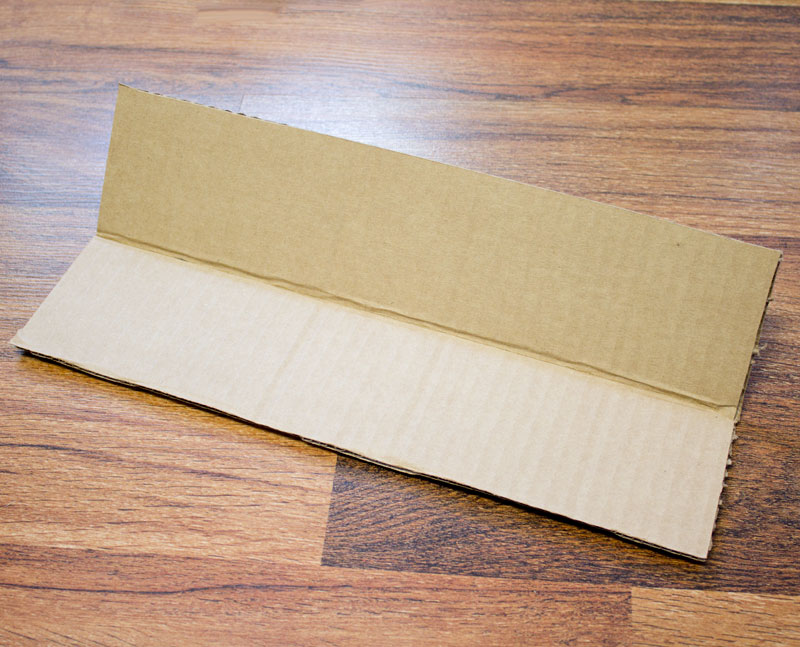
Next is the tricky part of the construction, the roof. Fortunately I've got all the measurements to share with you! First, I cut a piece of cardboard box to 13" tall and 15" wide. Then, along the 15" side, I measured from the left and made marks at 1.5", 7.5", and 13.5".
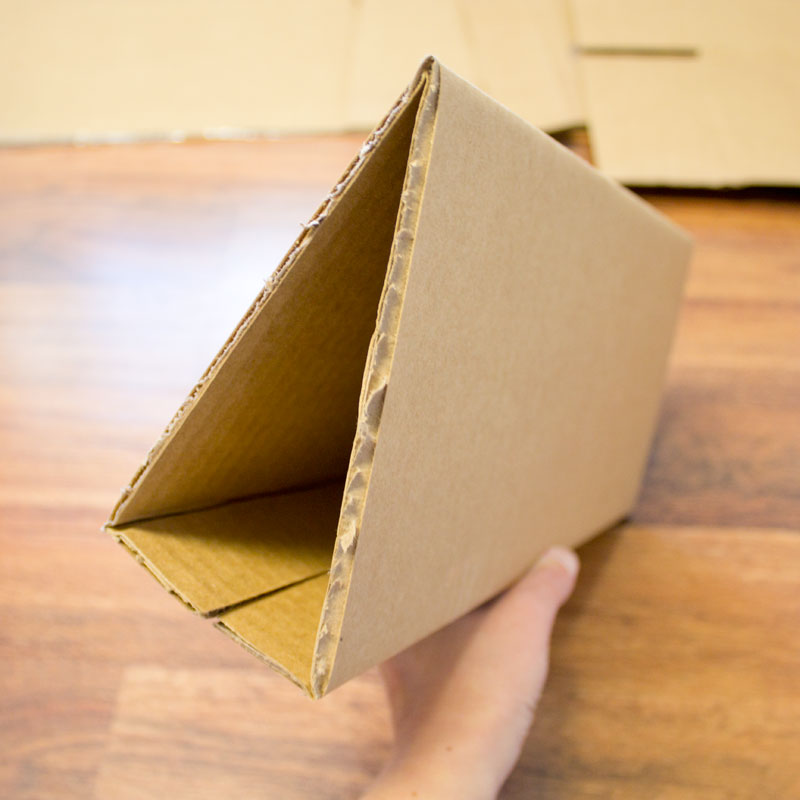
I scored lines at these three places and folded the cardboard.
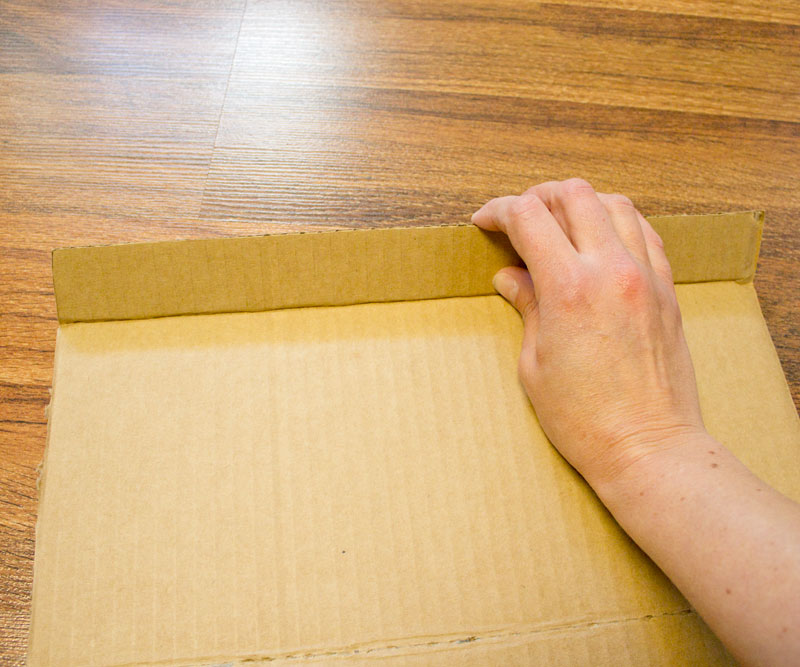
When it was all folded up, it was the perfect base for the roof for Snoopy's house!
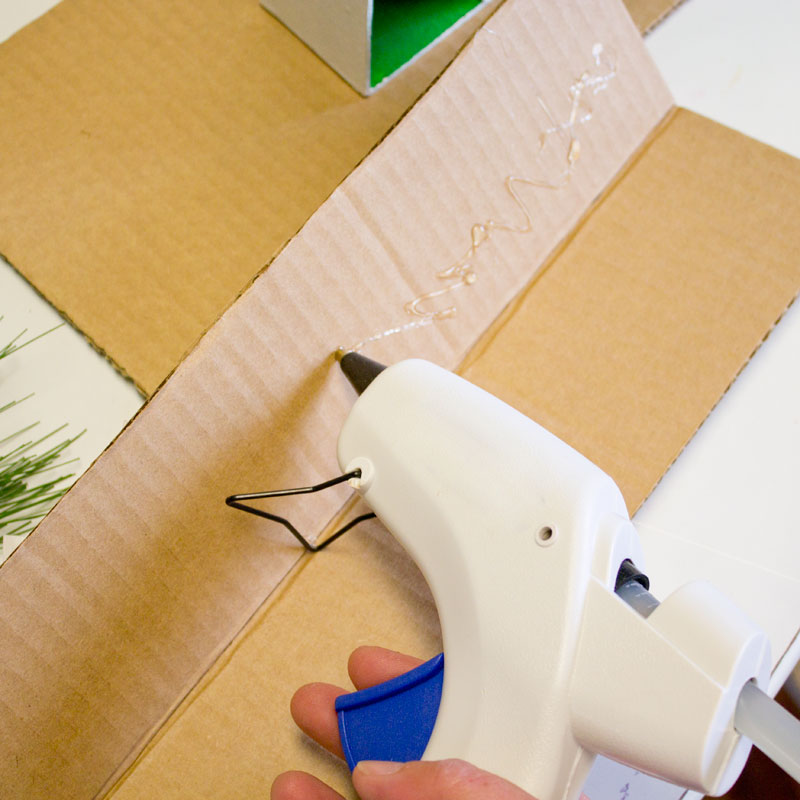
I put a very liberal amount of hot glue on the top of the main box...
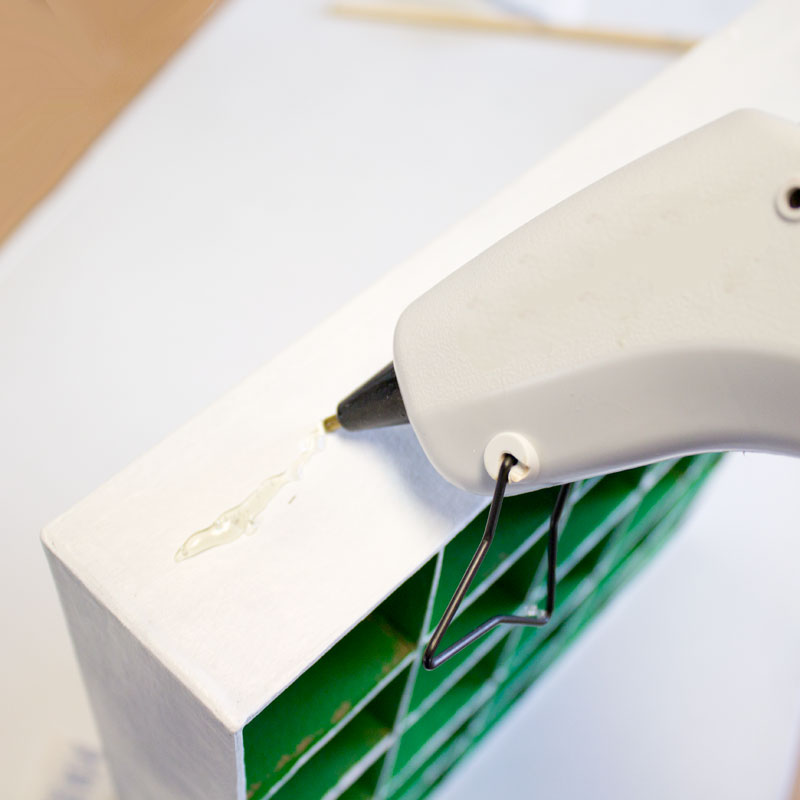
...then added the roof, holding it firmly in place until the glue was completely cooled and set.
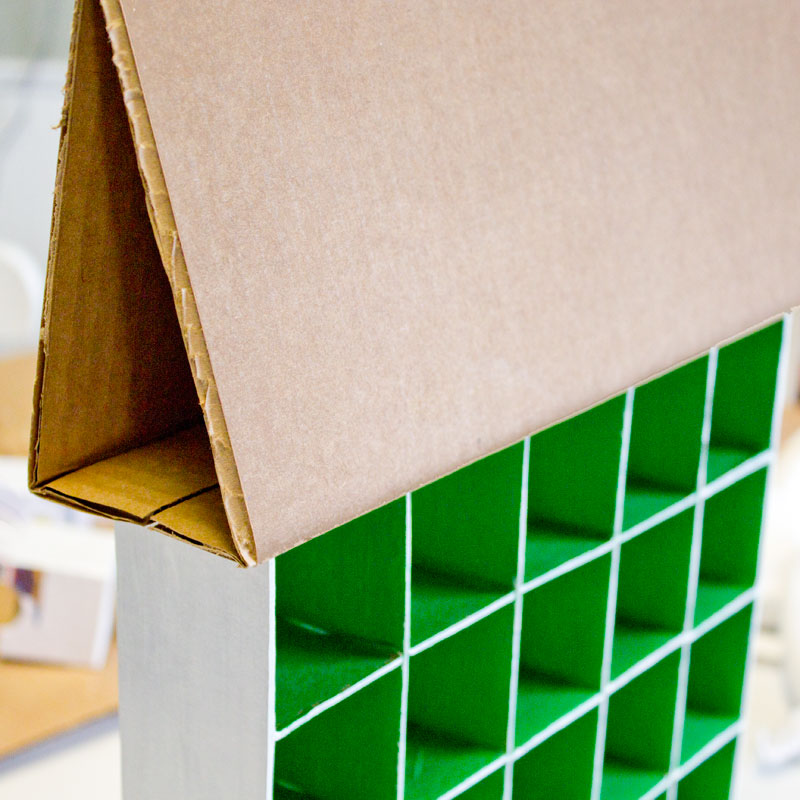
To create the second layer of the roof, I cut another piece of cardboard that was 6" wide and 13" long. I scored right down the middle and folded to create a peak.
A little more hot glue near the crease...
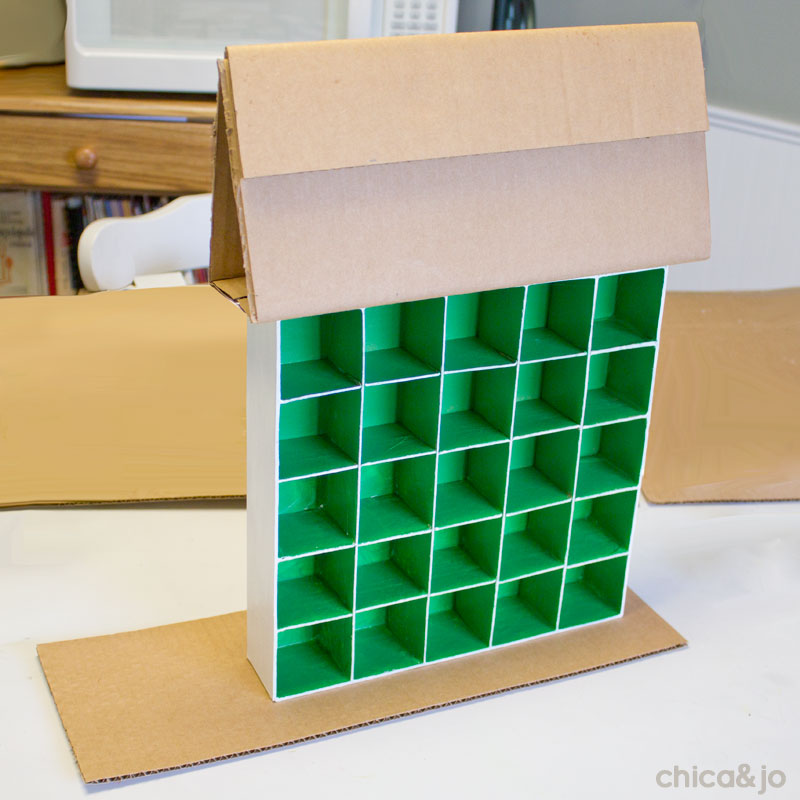
...and the peak of the roof was ready to stick right on top. Again, I held it until it was completely cooled and set. One more piece of cardboard finished it off, and that was a 18" x 6" piece that I glued to the bottom. I put the box/house over to the side to make room for something special on the left.
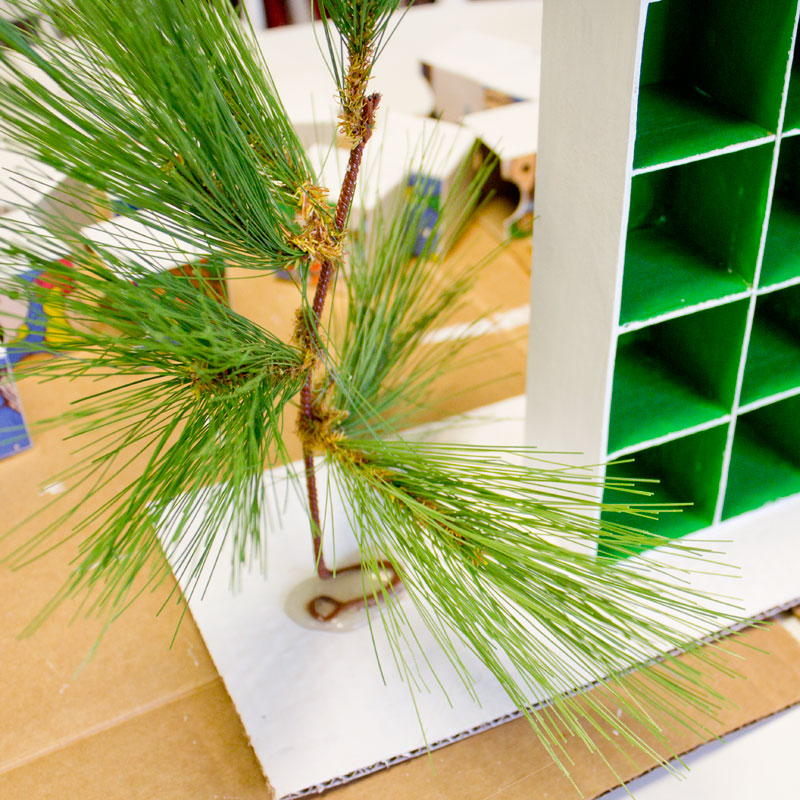
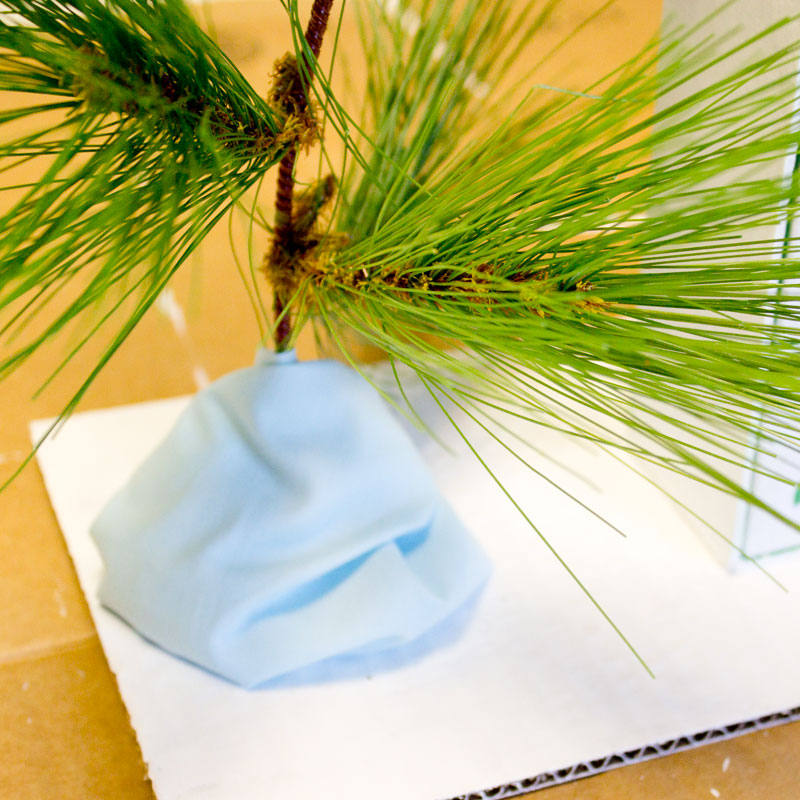
And that something is my Charlie Brown Christmas tree. I just used a simple, fake, pine sprig and twisted the end of the wire into a loop. After painting the base white, I attached the loop with a huge glob of hot glue, and held it (what seemed like forever!) until it was fully cooled and set.
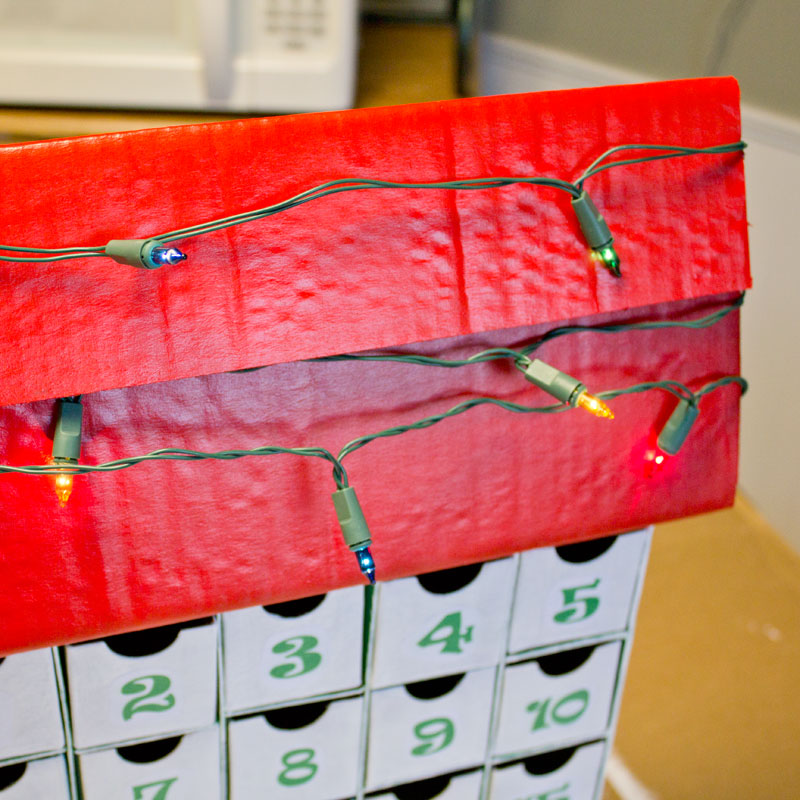
Then I painted the roof red, and it was really starting to come together. What a transformation it made to add that pop of red.
With all the painting done, it was time to add some finishing touches. I wrapped a small scrap of blue fabric around the base of the tree, to resemble Linus' blanket.
Then I got a little battery-operated string of 20 lights and wrapped them around the roof, tucking the switch and extra cord inside.
Then I popped all the boxes into the slots, in order, with the numbers facing out.
Finally, I added a "1st place" ribbon just like the one Snoopy won on his house (included in the printable above), and I hung a big red ornament on the scrappy little tree.
Okay, you see the numbered boxes, but what about that image mosaic? The fun part is that it'll be revealed a little bit at a time. Each day, you take the numbered box out and open the prize. Then you flip it around and stick it in the other way, showing a piece of the picture.
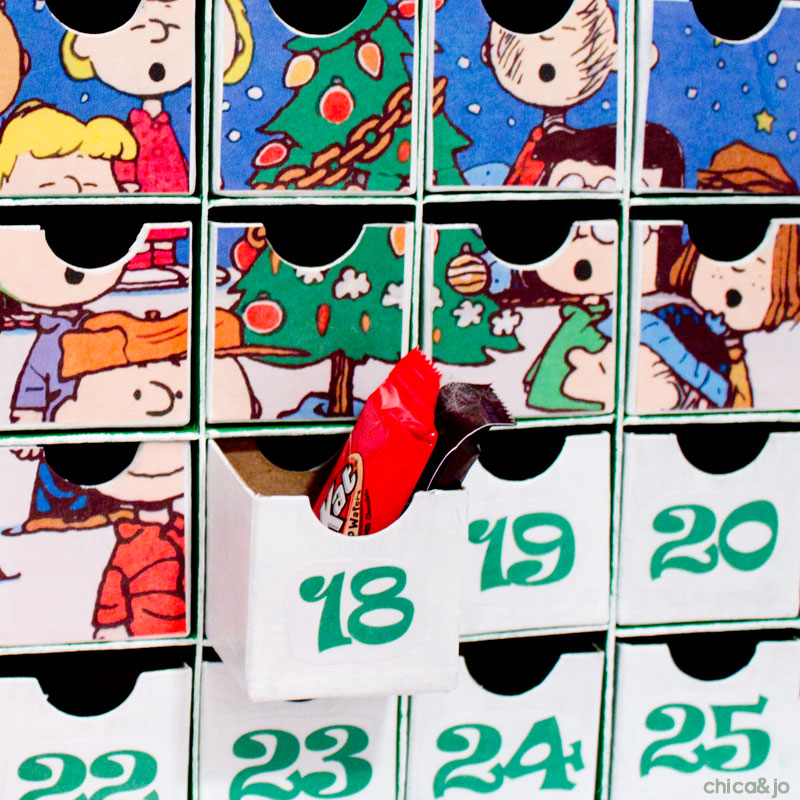
Eventually the whole image will be complete as the last piece is displayed on Christmas morning. This Peanuts advent calendar is such a fun way to anticipate Christmas, and Charlie Brown's story is a great reminder of the true meaning of Christmas.


15 comments so far:
I love this Charlie Brown advent calendar!! I want to make one right now (but, alas, I'm stuck at work and have been instructed by the hubby to NOT spend any more money).
Thanks, Mercedes! I don't want to encourage you to push the limits with the hubby, but this didn't cost much to make. I'd say I spent $15-$20 in supplies.
This is really, really a cute Advent calendar! This is getting bookmarked. Does Hobby Lobby typically have those 25-day boxes?
So cute!
(P.S. Came to your site while searching for a clone to Sahale Snacks. Dear Husband is going to make those later today. So good! So expensive to buy!)
Merry Christmas!
Thank you! Yes, you can usually find them at a few of the craft store. Enjoy your pecans, we are so addicted and I give them out as Christmas presents.
I absolutely love this! I have already bought all my supplies and am in the process of painting everything!! Thank you so much for the adorable idea ladies! I hope you both have a Merry Christmas!
Thank you so much for your tutorial on the Snoopy advent calendar. I made it on time to start the countdown to Christmas today and the huge smile on my little ones face this morning was just the best. We all love it!
Anne, I'm glad we could help! Have a wonderful Christmas season!
Sarah, Merry Christmas to you too!
Hello,
I bought the chipboard box but my drawers are 1.5 inches and the free printable you provided is a bit bigger. Is there any way to make it smaller?
Melissa
Melissa, try adjusting the scaling on your print settings to reduce the size of the printout. The exact steps will be different for each computer/printer, but after you hit "Print" a pop-up should appear with options. Look for an option for scaling, sizing, or zooming. (You might need to look in the advanced options.) Play around with the scaling (for example 90%) until you get a size that works for you. Hope that helps!
I LOVE this! So clever!
This is adorable! I'm starting it tonight, only making two slight changes. I won't cut the finger notches out on the print side, I'll get those little boxes back out some other way. I want to see the whole picture. I'll probably use poster putty to grab them. Second, I'm going to scramble the numbers up, making sure the picture side ends up in the correct cubby hole. I want the picture revealed more randomly.
Thank you so much for this idea!
Cindy, those are fun ideas. Thanks for sharing!
Beautiful!!! I just bought the drawers and downloaded the images!! I will make it and share it with you!
Laura, we're delighted to have inspired you. Share your photo with us on Facebook or Instagram!