


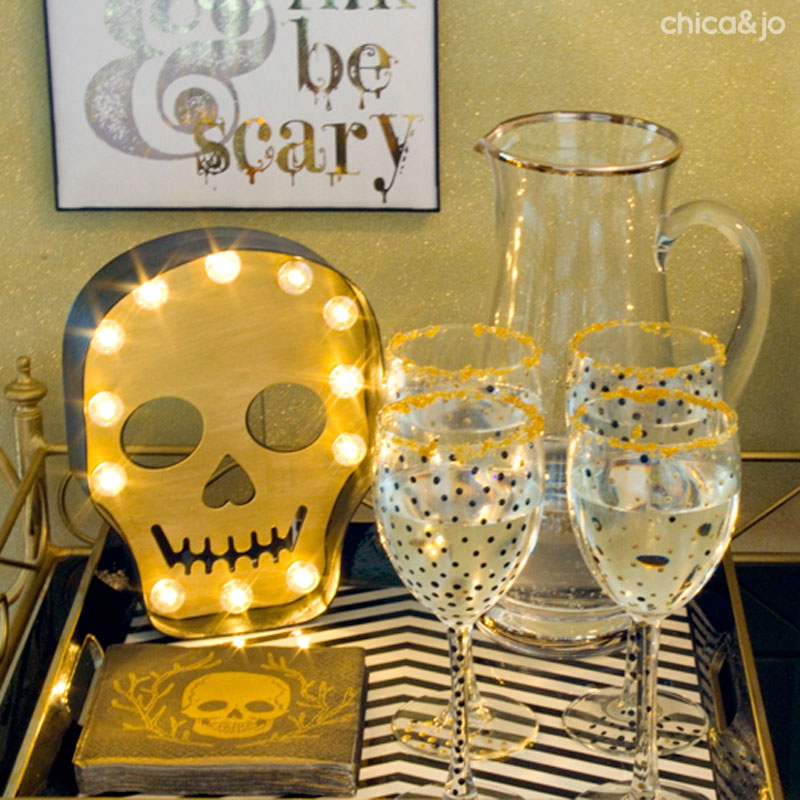
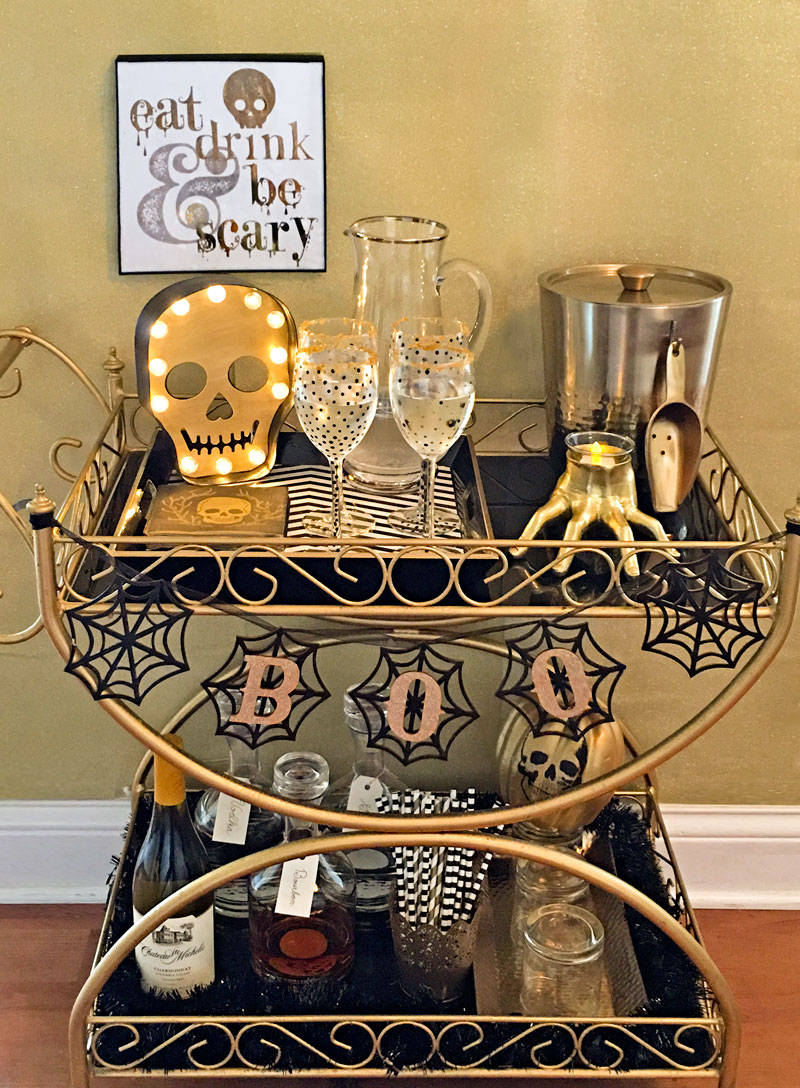
Style a Halloween Bar Cart

My favorite thing about having a bar cart in my house is having an excuse to style it for different holidays and seasons! I created a Halloween bar cart with a black and gold color palette that's just the right balance of creepy and chic.
My cart was already gold, so I added some black contact paper to the shelves to ground it with a dark color. Then I added a few ready-made decorations from the store, such as a black and white chevron tray (Hobby Lobby), a severed hand votive holder (Target), and a pile of skull cocktail napkins (Target)
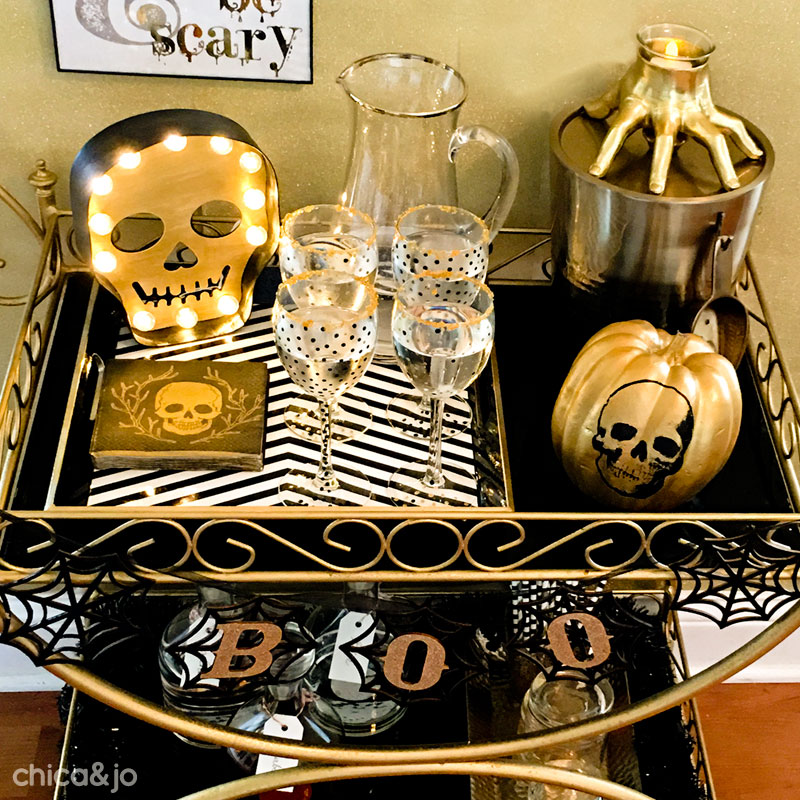
Then I got crafting and added some special DIY touches that made it personal and perfect.
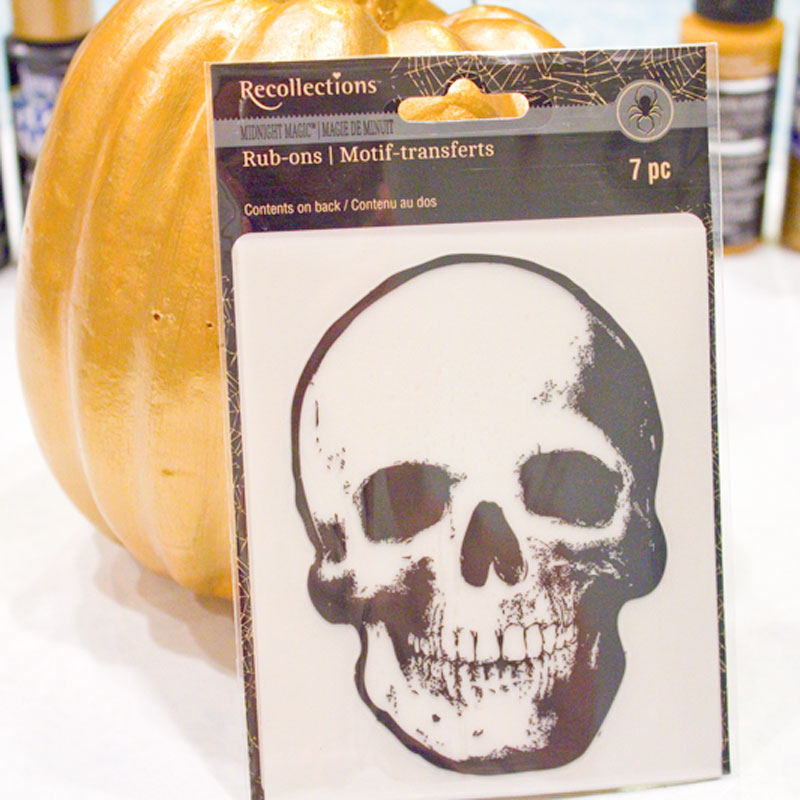
Metallic gold pumpkin with skull transfer
I really liked the shape of a faux pumpkin I found at Hobby Lobby, but the color wasn't quite right. No problem, that's what paint is for!

After two coats of for the base color and then a top coat of Americana Gloss Enamels in Glorious Gold, it was ready for the main focus, which would be a skull transfer that I found at Michaels.
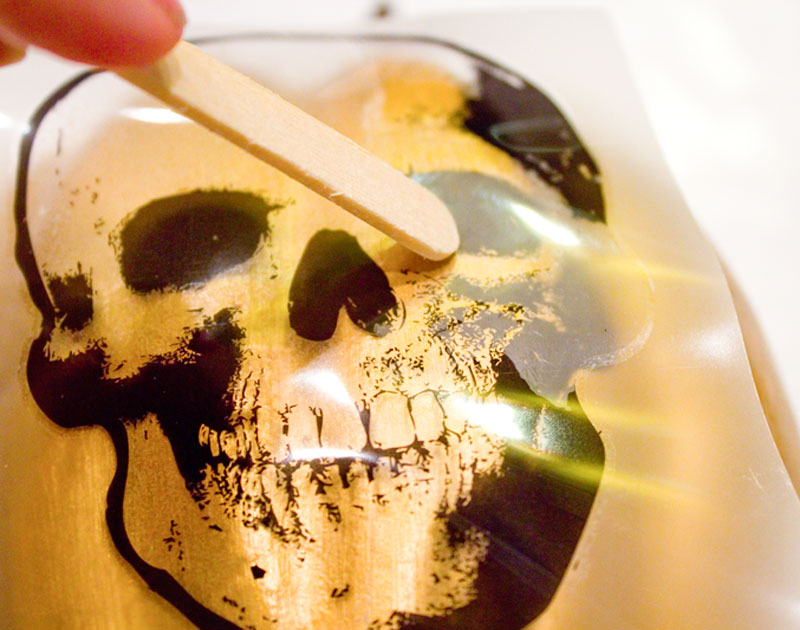
I was a bit skeptical about how well the transfer would work on such a weirdly shaped surface, but it was AMAZING! Honestly, rubbing that transfer onto that pumpkin was so satisfying because of just how well it transferred.
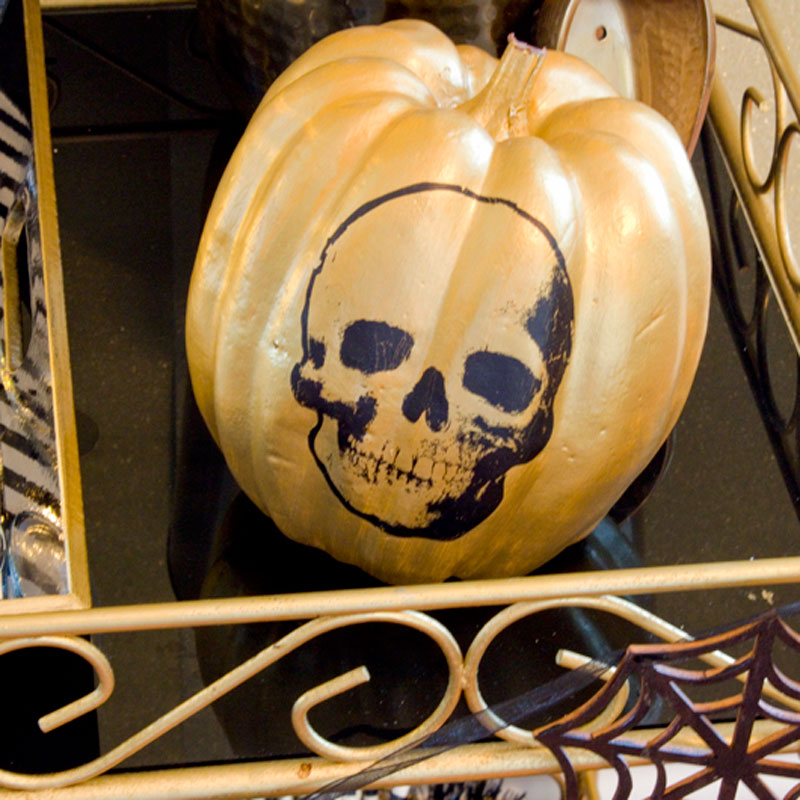
These simple steps really transformed the pumpkin and made it look both spooky and elegant at the same time, which was perfect on my Halloween bar cart.
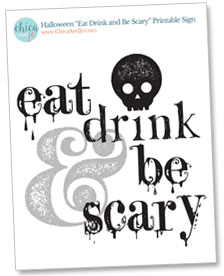
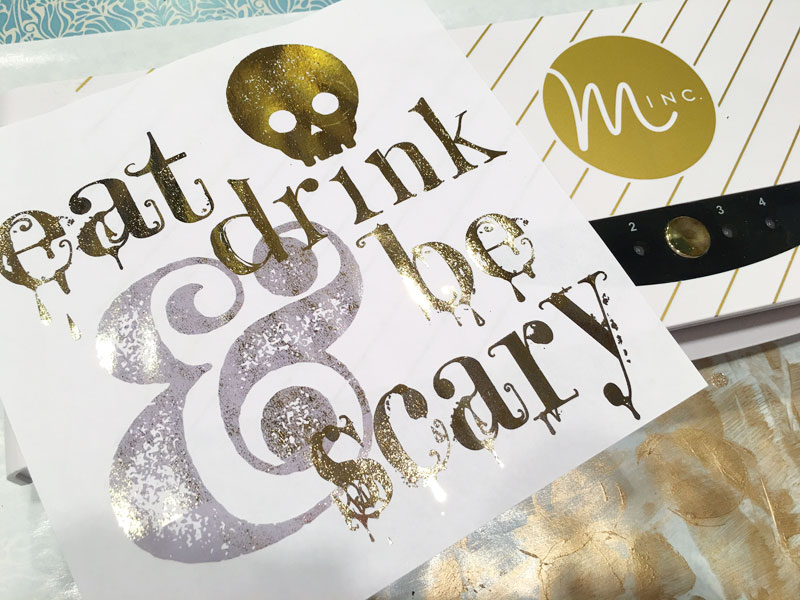
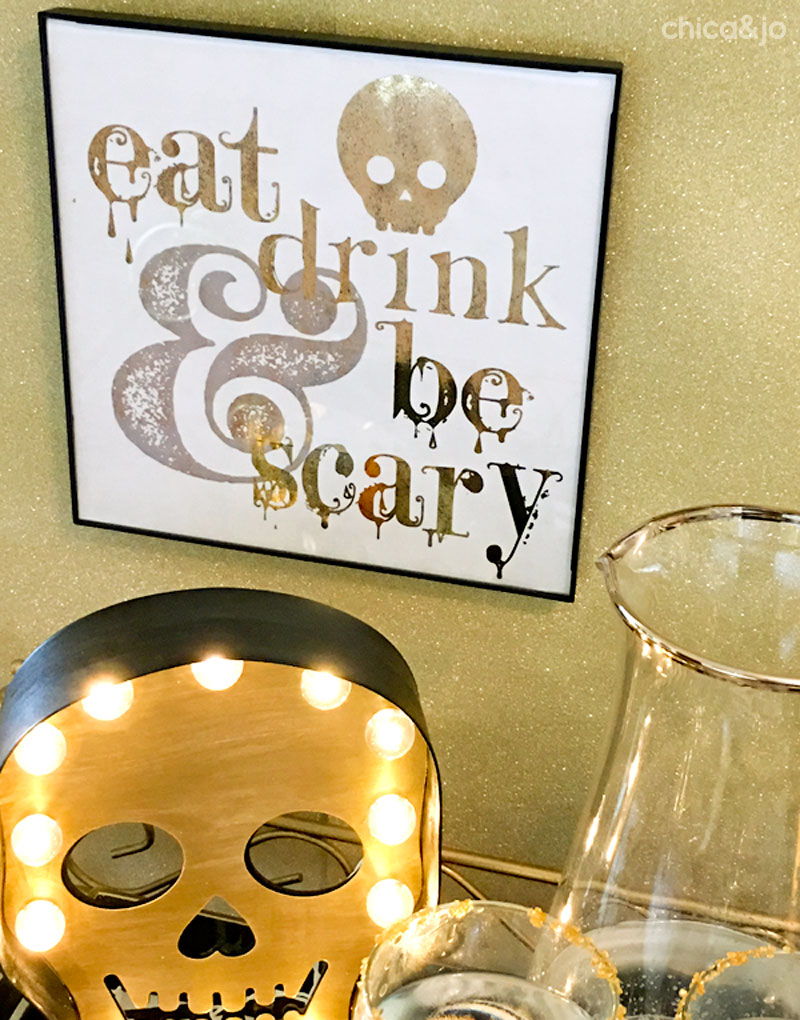
"Eat, Drink, & Be Scary" metallic word art
For a wall decoration, we created a cool "Eat, Drink, & Be Scary" printable word art sign that I'm happy to share with you. Just download it and print it onto regular paper, then tuck into a frame.
The sign is ready to go as is, but I decided to add some extra sparkle to mine by running in through my Minc foil applicator machine, which turns all the black areas into metallic foil. I used gold foil and the result was perfect.
Look at how wonderful that turned out! I put my sign in a simple 8" x 8" frame, but you could even shrink it down smaller when you print it and put it in a 4" x 4" frame.
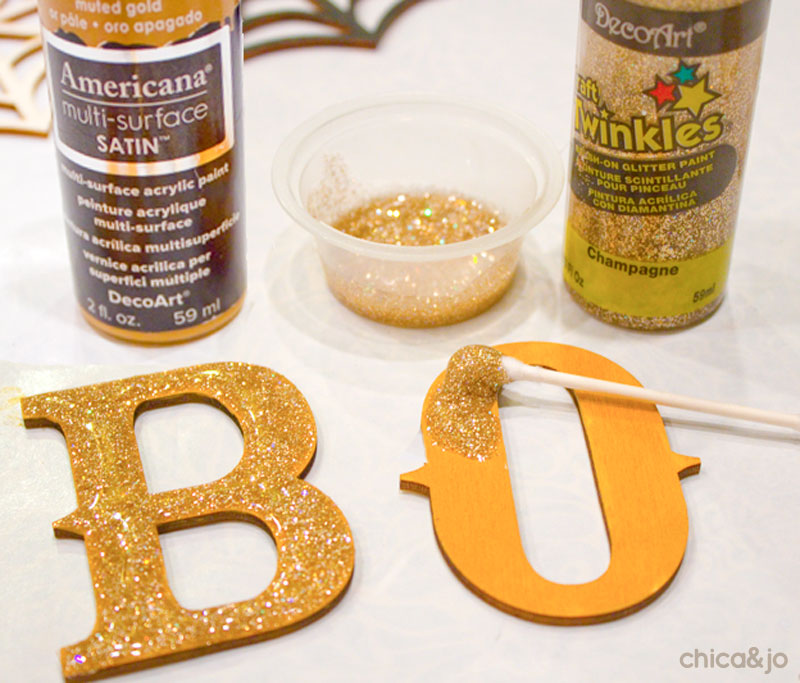
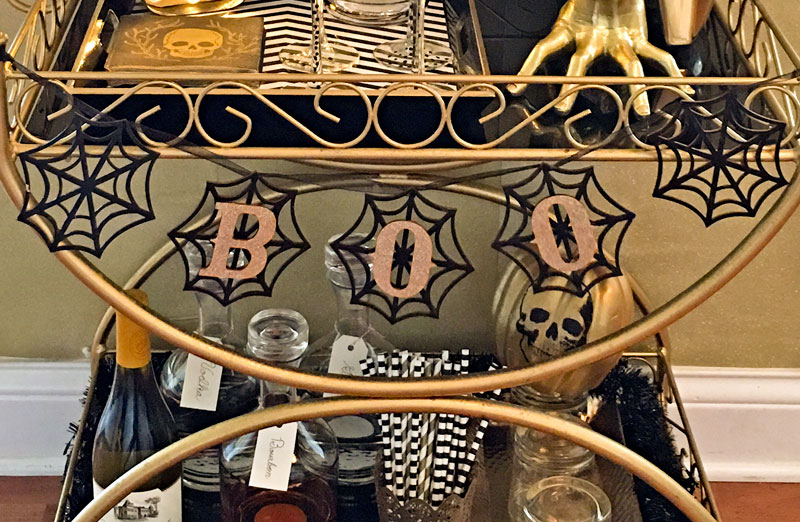
"BOO" spider web garland
This was a super simple project to tackle since it came in a kit from Michaels, complete with the ribbon to hang it. The kit contained laser-cut wooden spider webs, and the letters B-O-O.
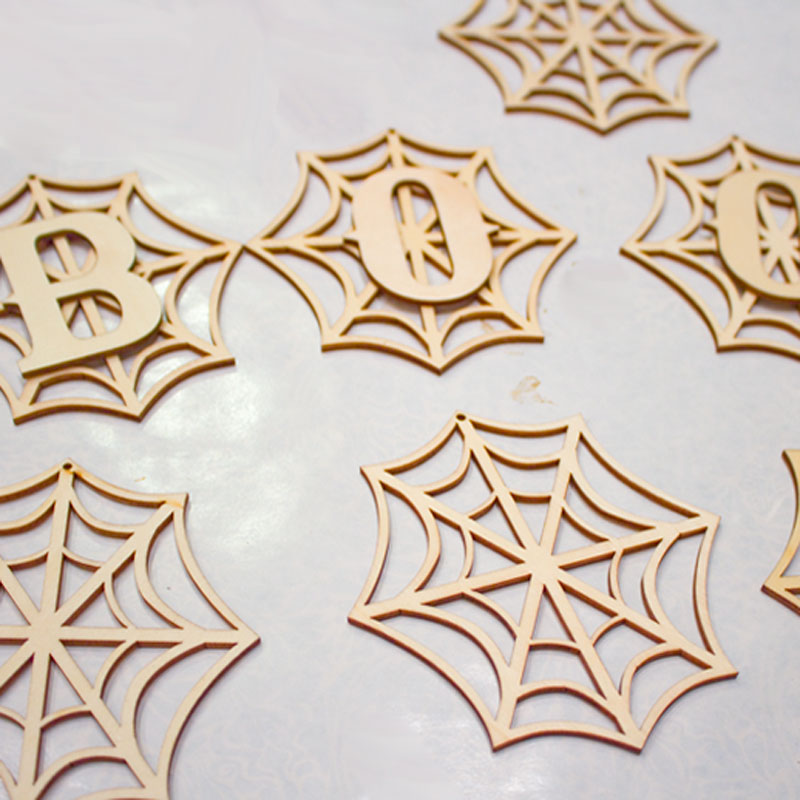
I painted the letters first with more of the Muted Gold paint, to give it a good base coat. Then I applied a heavy coat of Craft Twinkles glitter paint in Champagne. Trust me — don't skip that gold basecoat. Having an underlying color that matches your glitter will give you MUCH better coverage and your glitter will look solid and not spotty or blotchy.
I just painted the spider webs black and then mounted the letters on with a glue gun once everything had dried. Then I draped it across the front of the cart.
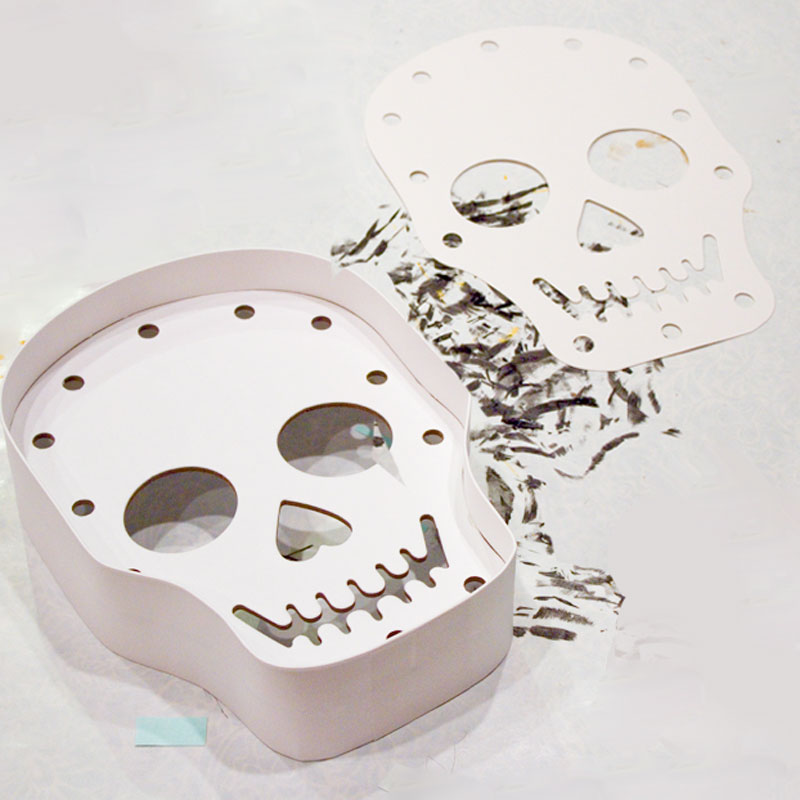
Heidi Swapp skull marquee light
I've been itching to buy a Heidi Swapp marquee lights for a long time, and this was finally my chance. I chose a skull marquee kit, and quickly took out the insert to get started with decoration.
I painted the face insert with more Gloss Enamels in Glorious Gold...
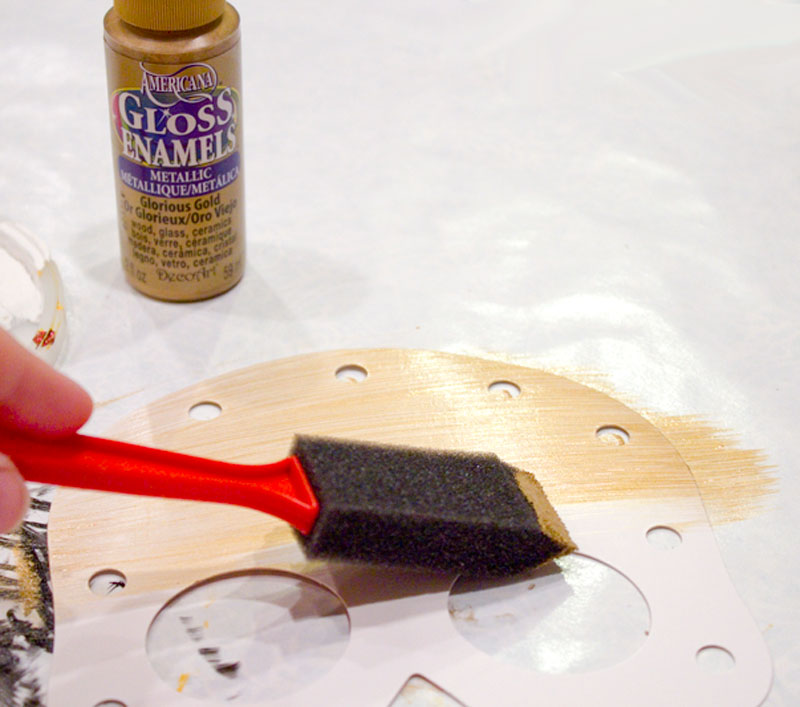
...and the frame (inside and out) with black.
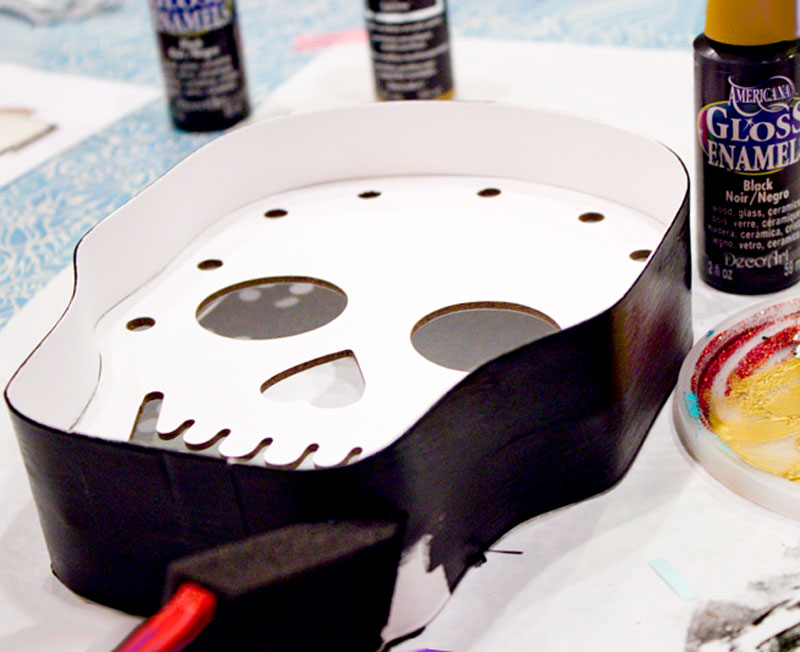
After putting the light back together, it was the perfect lighting element to add to the corner of the cart.
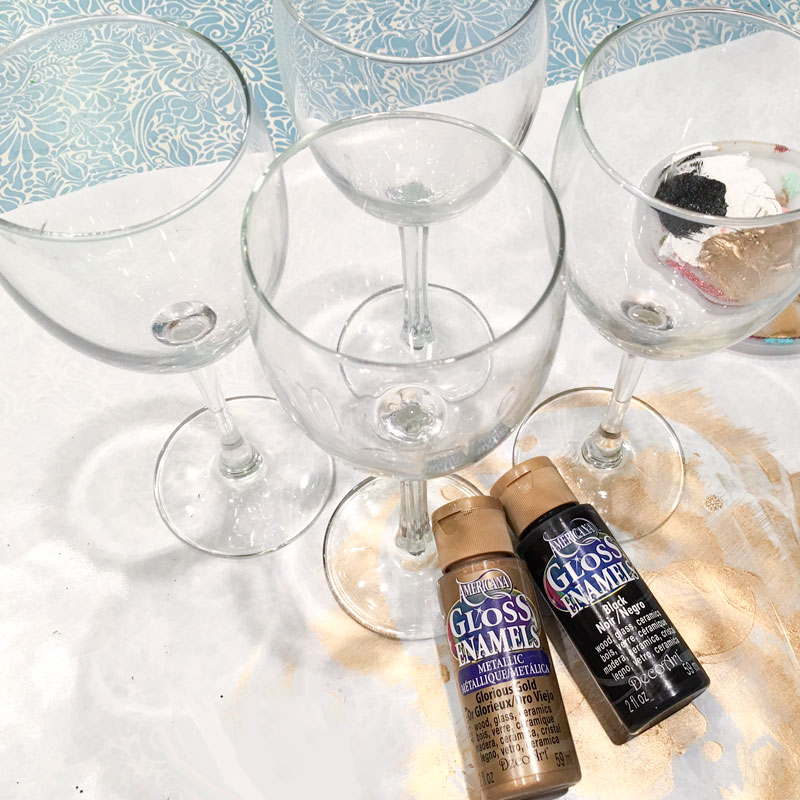
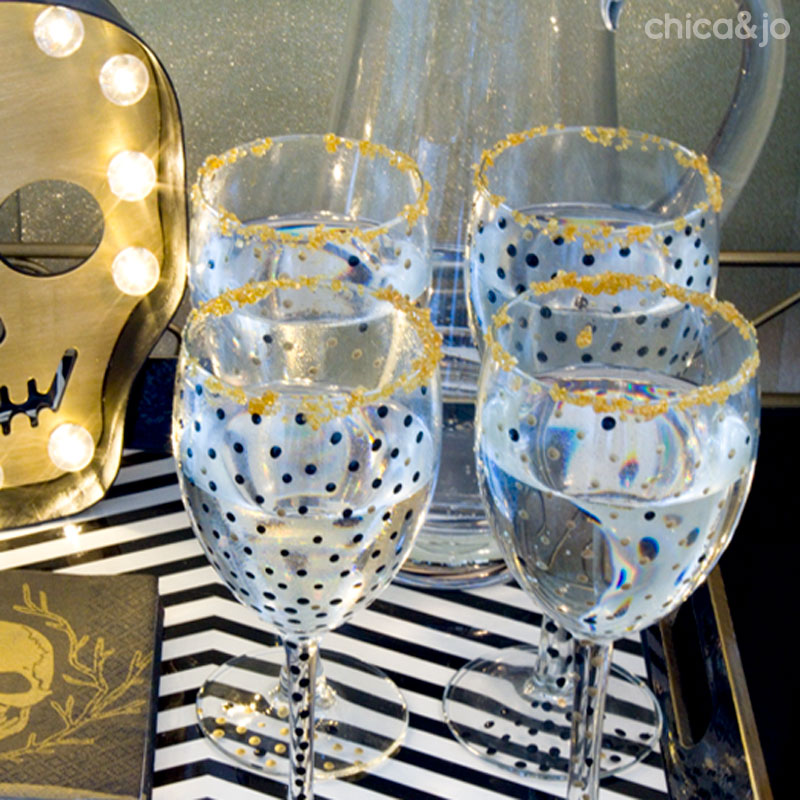
Black polka-dotted wine glasses
The final mini-project I did for this bar cart was to spruce up a few simple wine glasses I had, to give them extra pizzazz.
I used the handle end of a paint brush to add black dots at the base and up the stem, making sure to dip the handle for every single dot, in order to get consistent results. I ended up only adding dots on one half of the glass, top to bottom. Why? Well, first of all it looked pretty cool. Second, you're not supposed to let your food or mouth come in contact with this paint, so I wanted to leave plenty of non-painted area for people to drink from.
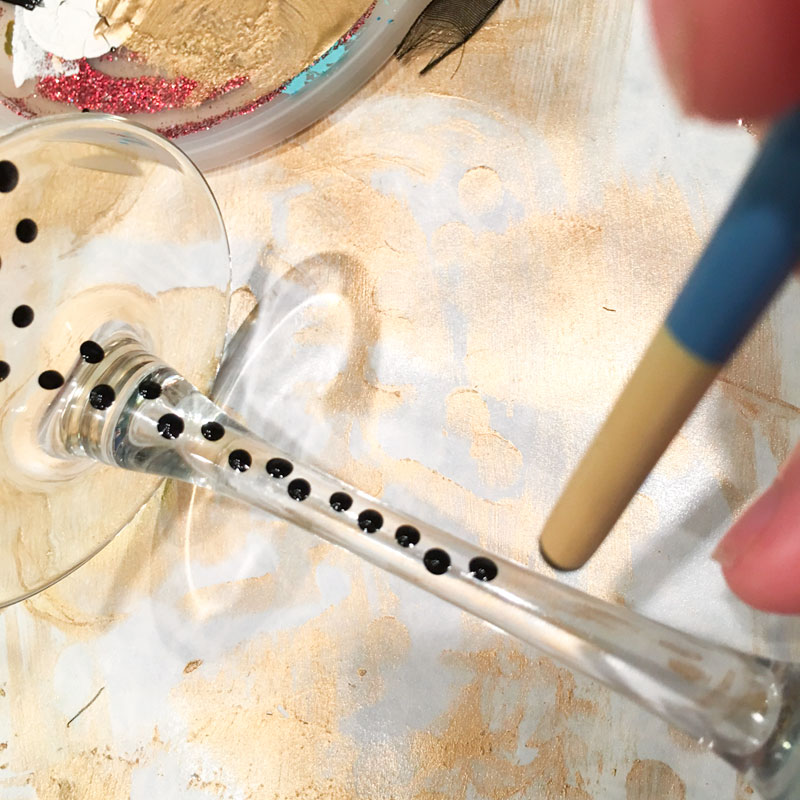
Once rimmed with gold sugar, these glasses were an amazing addition to my black and gold Halloween bar cart.
I am really happy with how all of my little mini projects came together to create this fun bar cart for the Halloween season. I can't wait to have my ghoulish friends over for some poisonous cocktails!
similar projects
DIY Bar Cart from a Vintage Sewing Machine Cabinet
Turn a Sewing Table into a Bar Cart
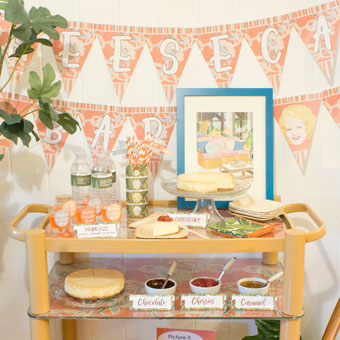
Golden Girls Party With a Cheesecake Bar Cart


2 comments so far:
Love the bar idea and keeping it all in the same color scheme, especially with the gold! Where did you get the "Thing" hand candle holder? What a great accessory!
Thanks Nicole! The hand votive holder came from Target.