


Frozen Cake Topper with Candy Ice Castle

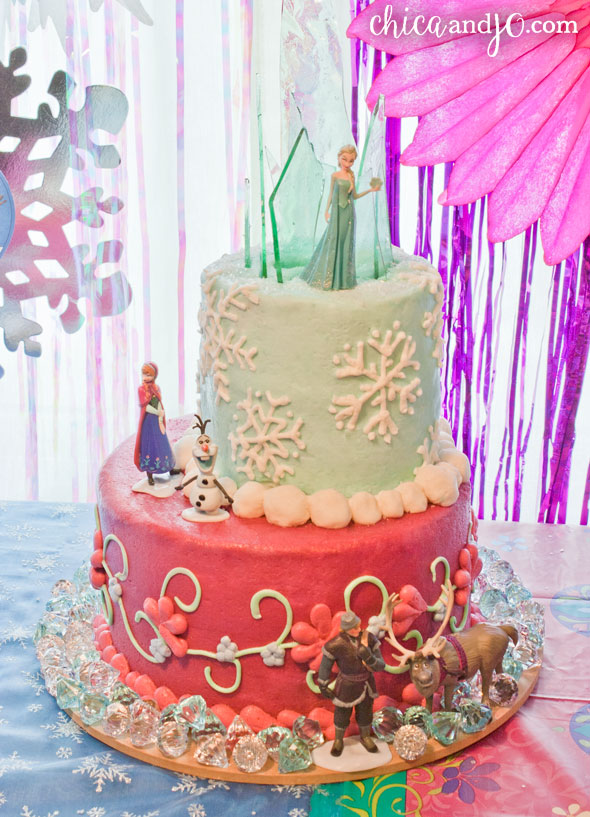
As you saw in Jo's post about Frozen birthday party ideas, I made a cake for MiniMe's recent party. It had two layers, decorated in the styles of Elsa and Anna. For the cake topper, I thought it would be a nice touch to make a candy version of Elsa's ice castle. I came up with a really easy way to do it, and it had great impact.
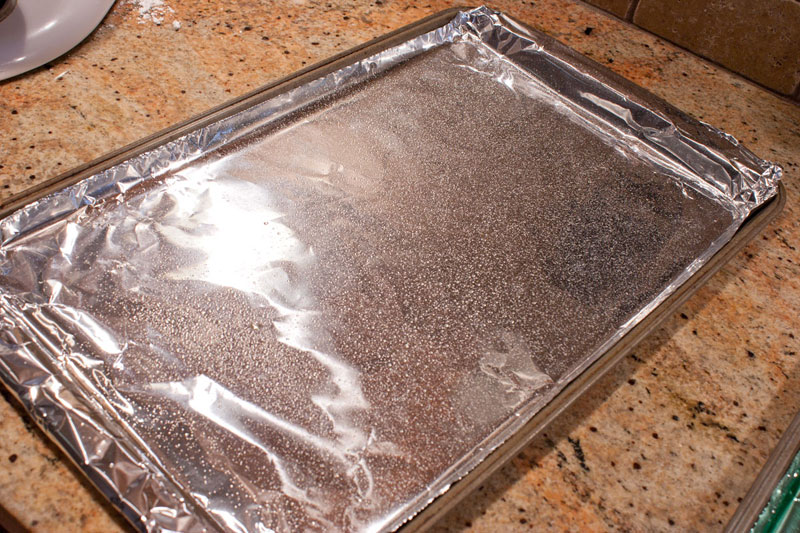
First, I got a cookie sheet (with sides) and lined it with foil. Then I sprayed a light coating of vegetable oil spray on it.
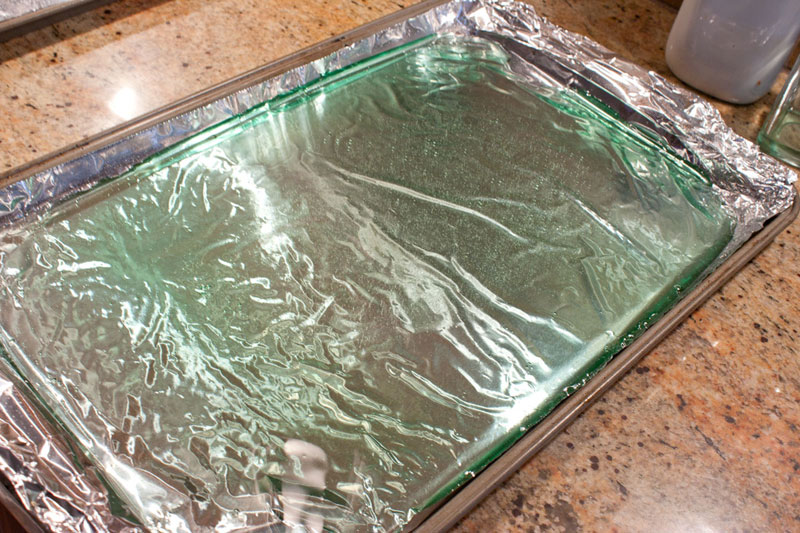
Then I made a batch of hard candy syrup using our hard candy recipe. I only used one drop of blue food coloring, because I wanted the candy to have a very faint color. I poured the entire batch into the foil-lined cookie sheet.
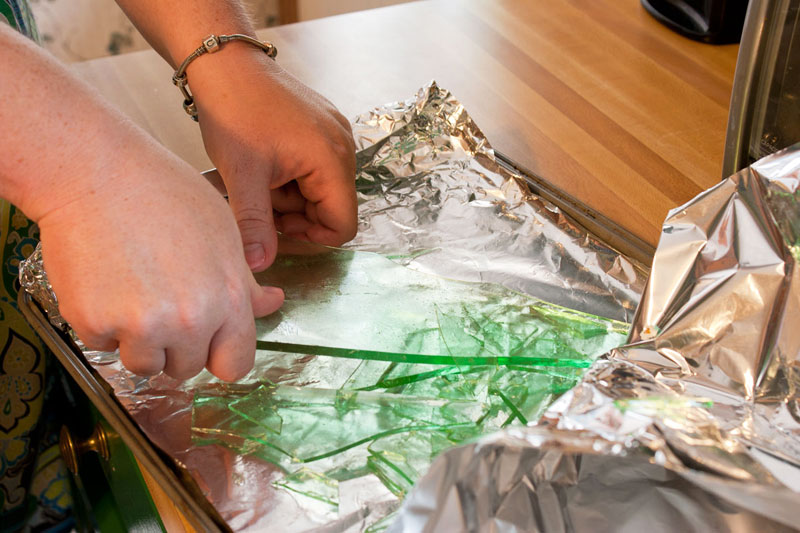
After it hardened, we carefully broke the sheet of candy into long, pointy pieces.
Then we just stuck them down in the top of the cake.
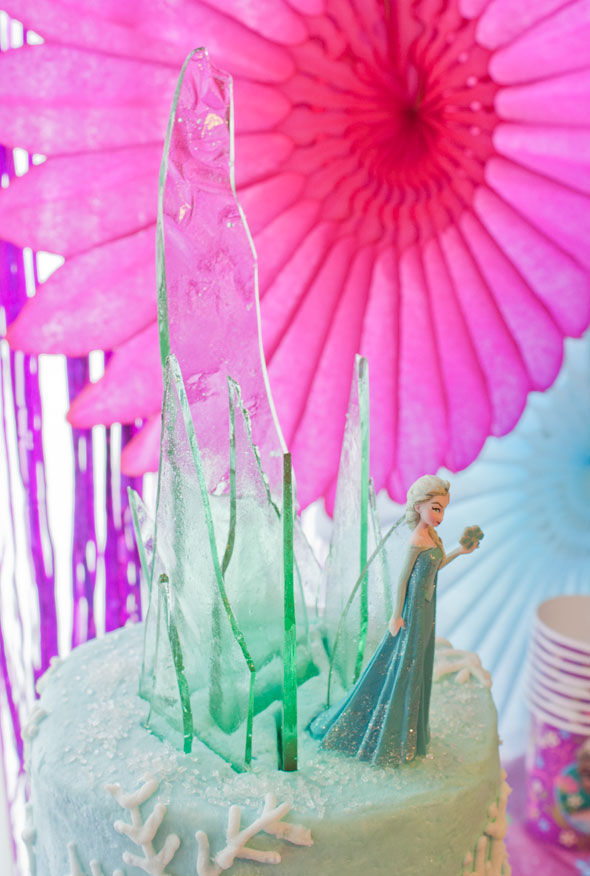
Everyone loved the result, and couldn't believe it was edible candy!
similar projects
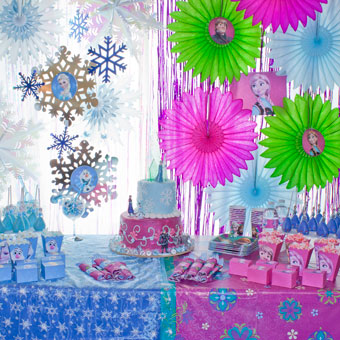
Disney's Frozen Birthday Party Ideas
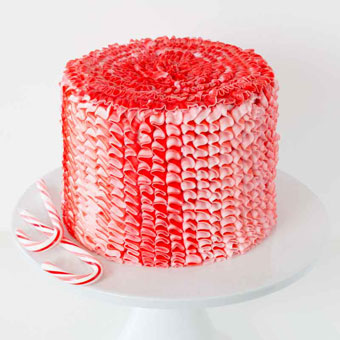
Candy Cane Cake
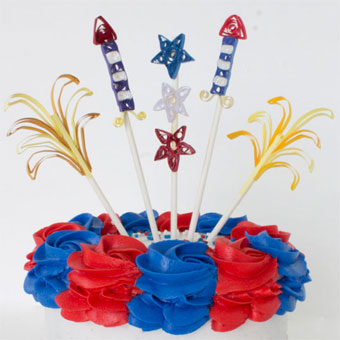
Fourth of July Quilled Paper Cake Topper


36 comments so far:
Thanks for the ideas, the ice castle worked great and I also used the same candy to poor a frozen pond. Turned out great!
Thank you for sharing this, the cake looks great! One question - i'm having a problem with the icicles only breaking into smaller pieces. Is there a trick to getting those tall pointed pieces? Thanks!
Alissa, I can give two pieces of advice for breaking the candy into long pieces. First, try holding the sheet of candy with both hands on the same long edge, then bending up to snap. Applying pressure on the whole long end, rather than on both sides, should help. Second, make a bunch of candy, so you have plenty to work with! I made a giant tray and only ended up using about 1/3 of it because I picked the pieces I liked the best.
I was wondering what size cake pans you used for each layer of the cake? This cake looks amazing!!!
Thanks, Trisha! I don't remember for sure, but I think the top layer was 6" and the bottom layer was 8". I used deep pans and doubled up the cake to make the layers nice and tall.
Where did you get the characters? Please don't tell me you made them in fondant... if so they are too good!
Here is the link to my end result cake using your tutorial.
It turned out great! My grandpa thought I had really put glass in the cake. lol
It was super tasty!
Thanks!
http://instagram.com/p/yGQPAREKDw/
Great job, Kasie. Thanks for sharing your photo!
Molly, I definitely didn't make the characters. Wow, that would be a challenge! They are just plastic toys that Jo got specifically for the cake.
Hi, Great idea for a cake but can i ask where you got the diamonds from that are around the board please. or are they made ? where could i get the mold from. thanks
Flis, the diamonds around the cake are plastic, and we had them leftover from another party, so we used them again here. Not sure where they came from, but probably the local party store.
Thanks for the recipe but especially the tutorial as my 1st batch came out green and was overcooked. Recommend checking the temperature on your thermometer first. For those in the UK corn syrup is difficult to get hold of. I halved the receipe as it made thinner ice sheets perfect for the frozen cake. The recipe I used was 2 x 140g tubes of liquid glucose, 1 3/4 cups of caster suger, 0.5 cups of water. Take note of the advise about the limitation of blue food colouring as the more you use the greener it gets. Mine didn't go very blue but certainly looked like ice. I added edible white glitter for added effect. Happy ice making.
Heidi, thanks for sharing your tips with fellow readers in the UK!
I found that if I score the candy shortly after pouring it the pan, it will break more easily to the size that I want once it's cool. I was able to get several large pieces from one pan.
I LOVE this idea! I think I'm going to try it for my son's Loki cake I'm going to do. I'll let you know how it comes out!
Great idea, Marie. I'll have to try that if I make another cake like this in the future!
flis gaynor: For the diamonds, you could use the hard candy jewels they have on their site. You can make them in any color you want that way. : )
Thank you for the tutorial for the hard candy and the Elsa cake idea!! The candy worked out great! I was a little nervous trying this for the first time. Thank you again.
Jennifer, we're so glad to hear that you put your nerves aside and tried it anyway and succeeded :)
Hi, I am hoping to make it for my daughters party this June...did anyone make the candy in a hot humid area? I live in the Middle east and it is very hot and humid in June
That cake looks amazing, what is the recipe for hard candy? Thanks pam
Pam, you can find our recipe in our hard candy tutorial post.
My first attempt was sticky on the top side and greasy on the foil side. Anyone else have this problem? I have a week before I make the cake!
Linn, if the candy is sticky it's usually because you either didn't cook it to a high enough temperature, or there's too much humidity in the room. If the bottom is greasy, you probably used a bit too much cooking spray.
Thanks! Probably the humidity in the room because I cooked it to 300 and had calibrated the thermometer. Hopefully my next batch won't be sticky! I halved the recipe and only used a drop of blue coloring, so I don't think it was because I added the color before cooking. No one else had mentioned the stickiness, so maybe it was just my kitchen.
Made your cake for my daughters bday turned out pretty good. Wish I could attach photo
I stopped to read your lovely jewelled candy tutorial but landed on your Frozen cake with candy/glass shards. This is absolutely beautiful and so creative! Well done! Keep up the great art!
Nicole, thanks for stopping by and exploring our site!
I'm preparing to make a Frozen cake for a birthday party this weekend. How many days ahead can I make the candy glass? How long can I expect it to last? How many hours before the party can the glass be stuck in the cake?
Gwen, hard candy will theoretically last for weeks, but only if the humidity cooperates. Moisture is its enemy, so as long as you keep it in an airtight container, dry as possible, you should be able to make it ahead of time. (We've heard of tossing some silica gel packets in the container too, to suck up the moisture.) I didn't want to risk the candy "melting" or going soft from moisture when I made this cake, though, so I waited and made the candy a few hours before the party. Sorry I can't give you an exact timeframe, but I haven't experimented that much with it and I can't predict the humidity where you live. :)
Hi your cake looks amazing I’m going to try it for my granddaughter who will be 4 she has a twin brother so got to make two cakes although his is a simple one he’s having a car on his. I was just wondering how do you get the candy to stand up on the cake did you just push them into the cake....
Joan, sounds like a fun party! I just pushed the candy down into the cake to make it stand up.
How long does it stand without melting
Hafsa, the candy sets up very hard and won't melt under normal conditions. If it's very humid, though, it may soften from the moisture and could bend over.
Hello! I love this. I tried it today with a calibrated thermometer, but by the time the liquid reached 300F, the liquid was brown/burnt. Any suggestions? I want to make this cake tomorrow for my daughter. Not sure why it burnt? It started to change colour around 250F. Also, how do you clean the hard candy out of the pot and pyrex measuring cup? Mine is rock solid stuck to them. Thanks!
Kristin, check out our hard candy tutorial for specific tips on temperature/browning and how to clean up (hint: fill it with water and just wait for it to dissolve!)