


Ice Cream Party

At the end of last summer, we hosted a back-to-school ice cream party for the kids. I wanted to share all the fun we had with you all so that you can host your own ice cream party this summer! We had games and prizes and of course, lots and lots of ice cream!
The most fun decorations we made for the party were giant ice cream cones made from balloons and paper. I had a very specific use for them (you'll see later), but they are great all-around decorations for any ice cream-themed party. Let me show you how easy they were to make!
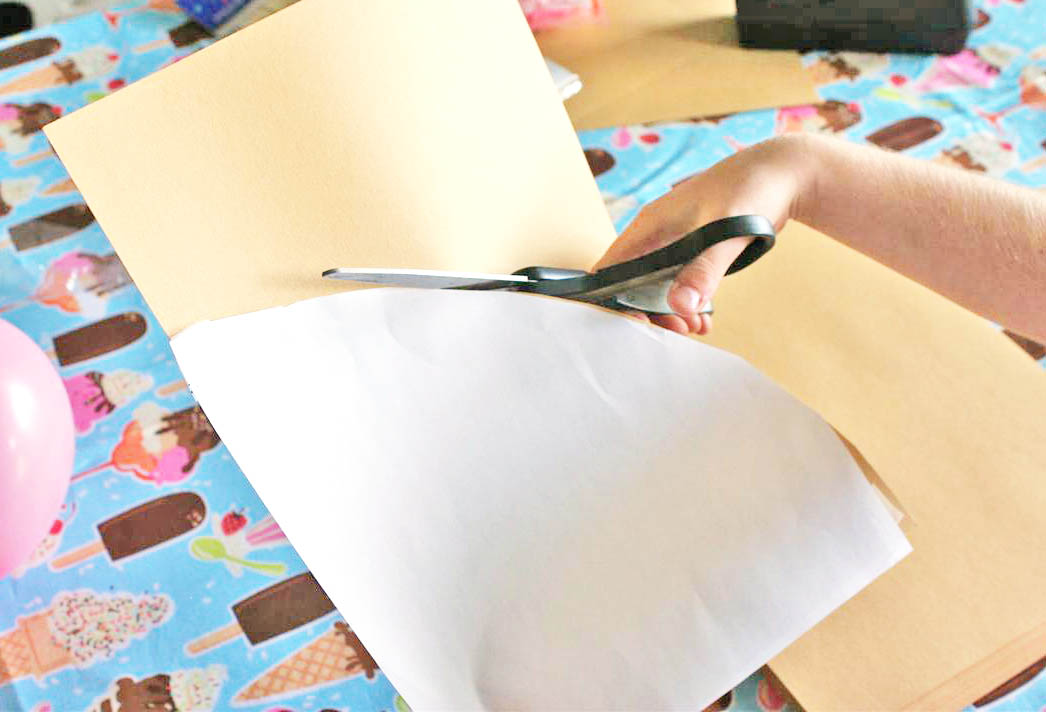
First, you will need to cut out a cone shape from some light brown paper. I made a template out of regular white paper to make it easier to make a whole bunch of them of uniform size. For best results, make them a couple of inches shorter than a bamboo skewer, because you'll be using those skewers to secure these cones in a later step. I used 12" bamboo skewers.
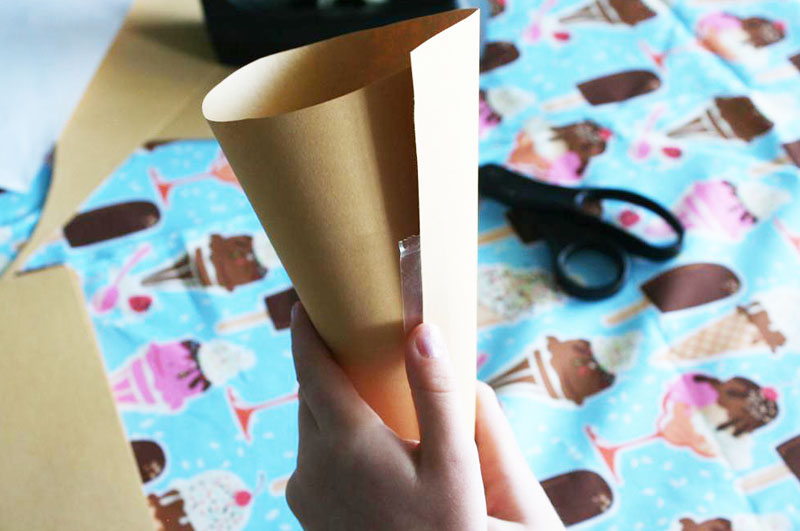
Roll your cone shape up and secure with a piece of tape. Next, blow up a balloon to be your ice cream. I chose pink balloons because they coordinated with my fabric nicely. Make sure you don't blow it up too big or it won't fit in your cone!
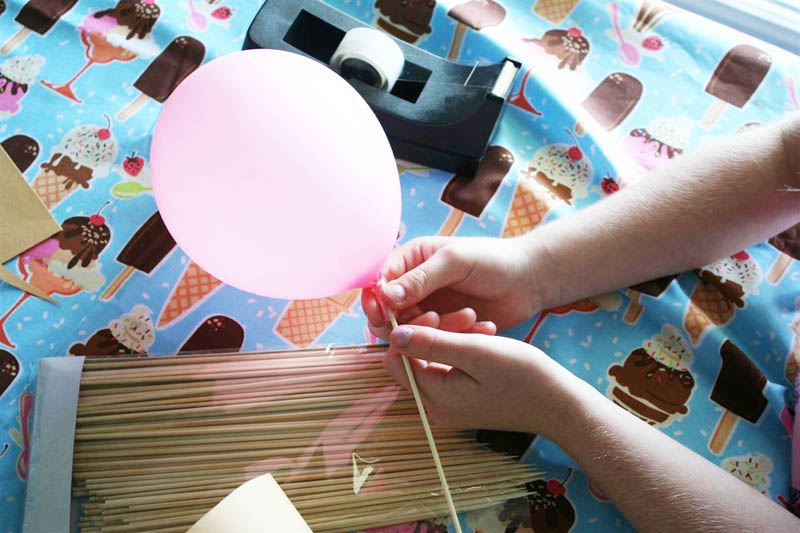
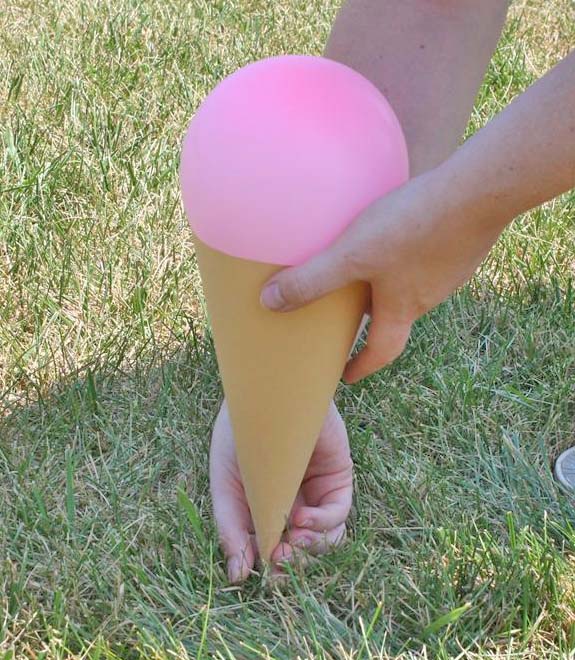
Tape the knot of your balloon to the non-pointy end of a bamboo skewer. I know, it sounds weird, but just trust me here!
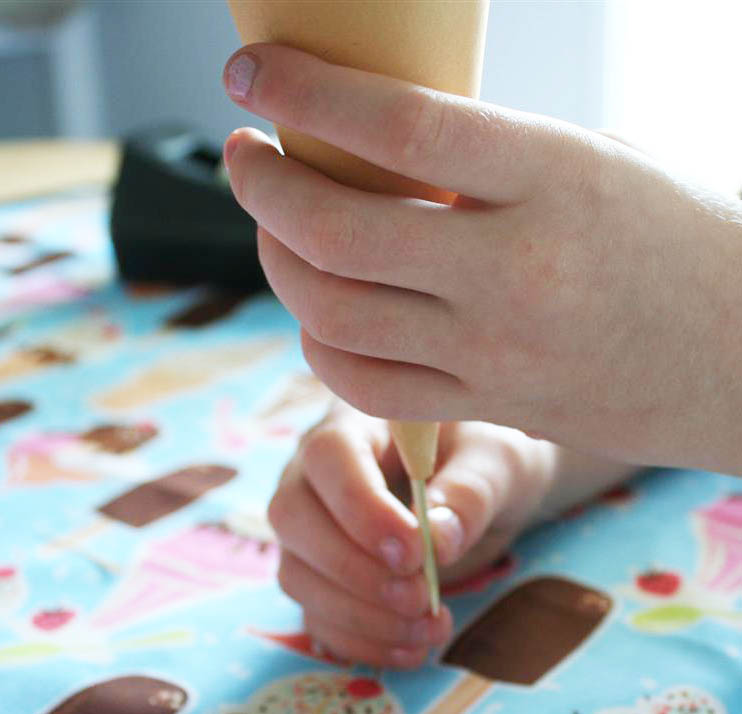
Insert the skewer into the cone. The pointy end should poke through the base of your cone by about an inch or so.
 Now, you are able to put the ice cream cones in the ground just by sticking the sharp skewer into the dirt. See? It all makes sense now, doesn't it?
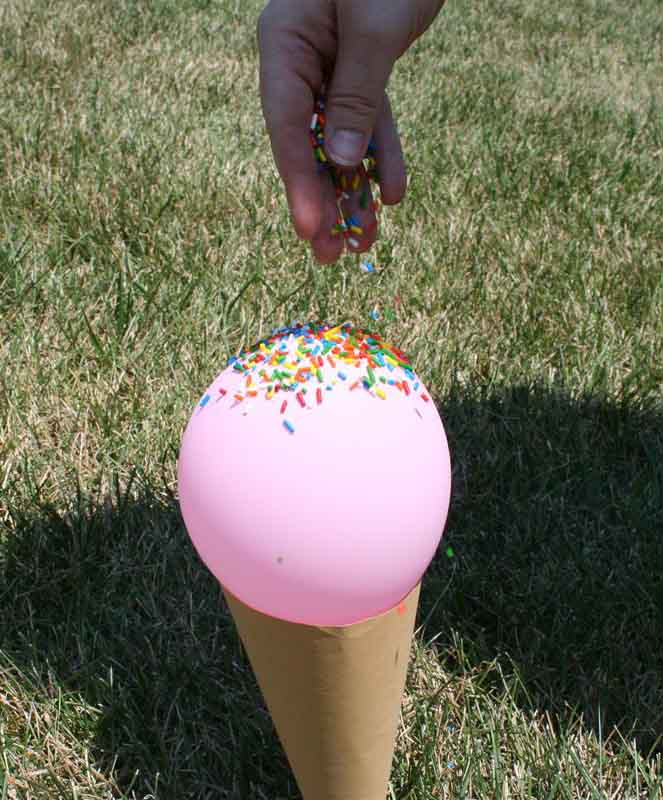
As a final touch, spray the top of the balloon with spray adhesive and then sprinkle real rainbow sprinkles on top. How cute!
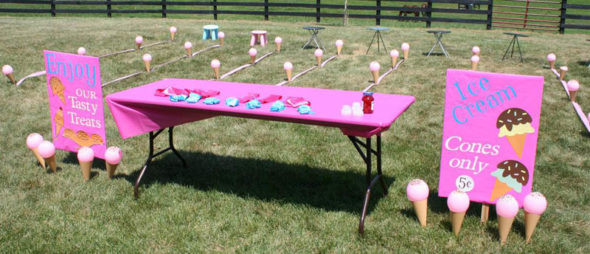
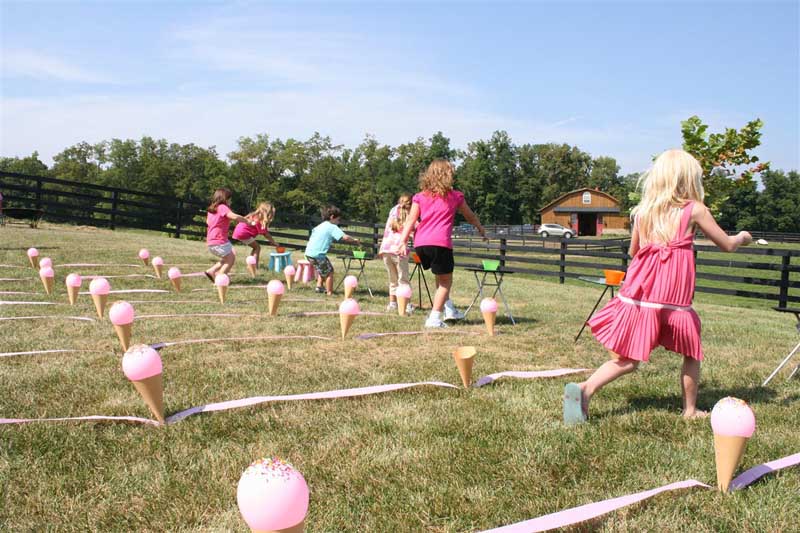
Like I said before, these are great decorations for lining a walkway up to the house or for general lawn decor, but I had a more clever use in mind. I wanted to have a sundae-building relay game for the kids, and I used rows of these cones as lane markers! I added pink streamers in between the spaced cones to help make the lanes even clearer. We put the streamers on the ground first and then shoved the skewers right through into the ground, which held the streamers in place.
The whole set-up was so adorable once we got all the decorations in place. Besides a colorful table for the game supplies, I made some fun ice cream signs to set around. I used my Sweet Treats Cricut cartridge to cut out the ice cream shapes and adhered them to foam core I had wrapped in pink wrapping paper.
The overall object of the game was to be the first one to assemble a sundae on your table at the other end of the lane.
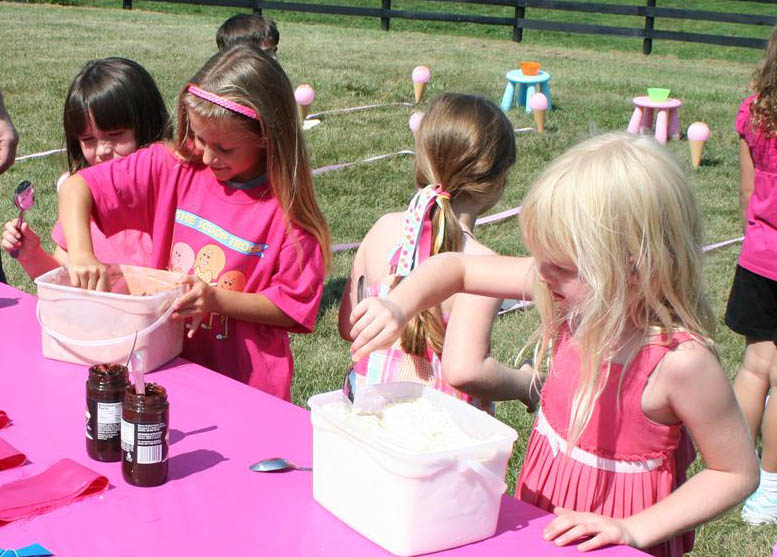
To start, the kids had to scoop ice cream three different times and run the scoops to their bowls on the tables at the other end of the lane.
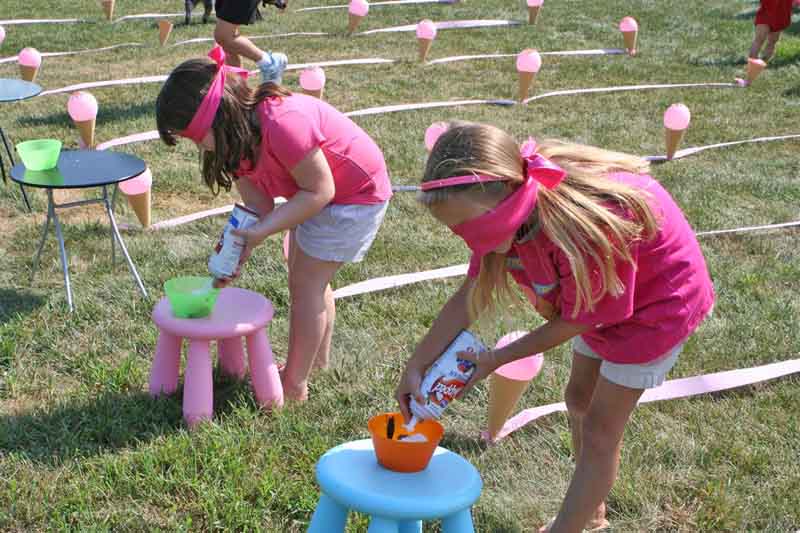
Then, they needed a spoon full of hot fudge sauce. The funniest part of the race was when they had to spray whipped cream on top of the sundae, while wearing a blindfold.
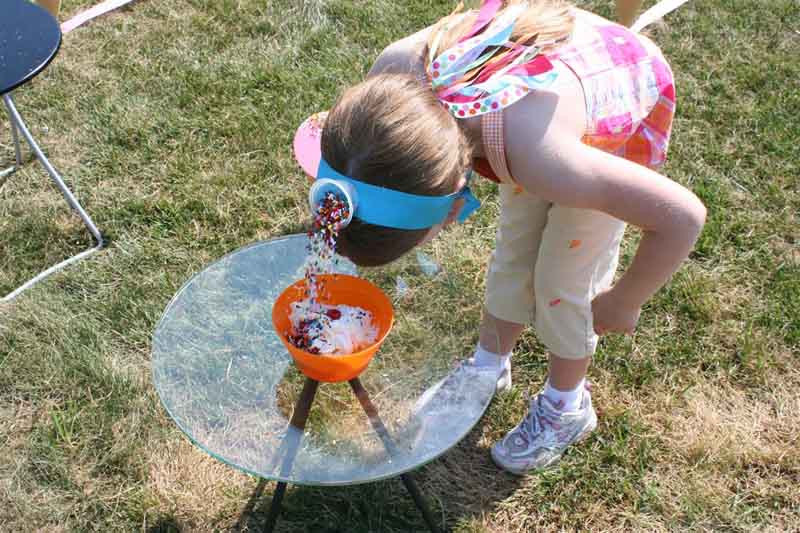
A sundae wouldn't be as festive without sprinkles on top! For this, we attached a small portion cup to a length of ribbon with a dab of hot glue. They had to pour the sprinkles onto the sundae by bending their heads over. Fun!
The final step was, of course, putting a cherry on top. The kids had to bite the cherry stems and carry them in their teeth to drop them on the sundae at the end.
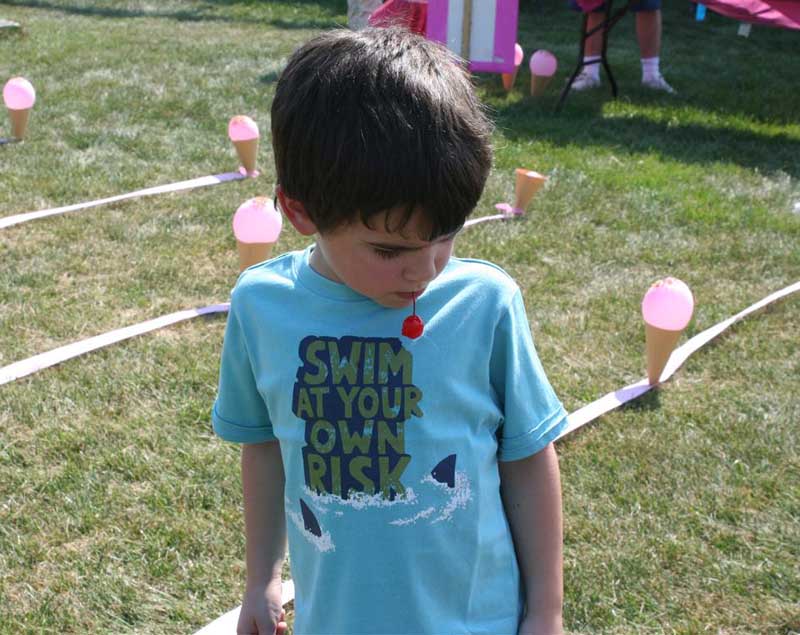
They ended up quite messy, but the kids had a great time doing the ice cream relay and loved every minute of it.
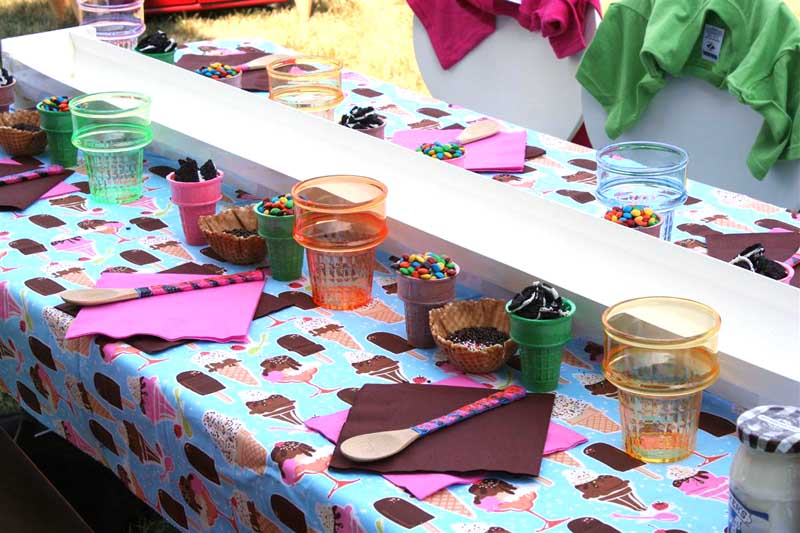
Once they had used all that energy up, they needed refueling so it was time to actually eat some ice cream! To set the table, I started with Michael Miller Sweets Cool Treats fabric as a tablecloth. This fabric was where I pulled my color scheme for the party as well.
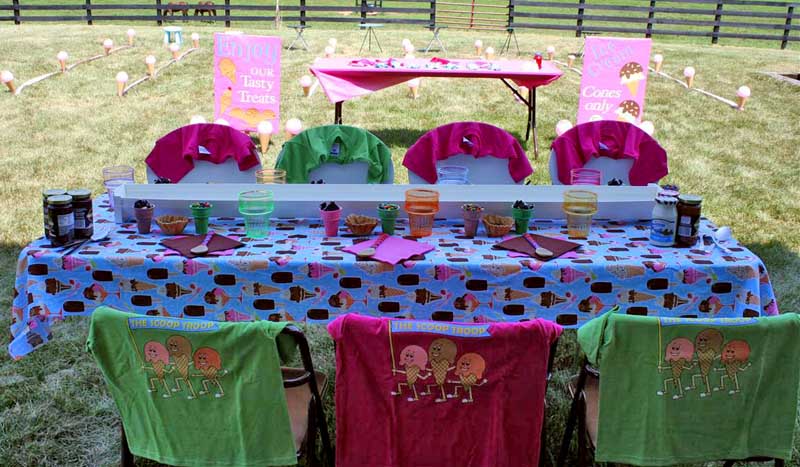
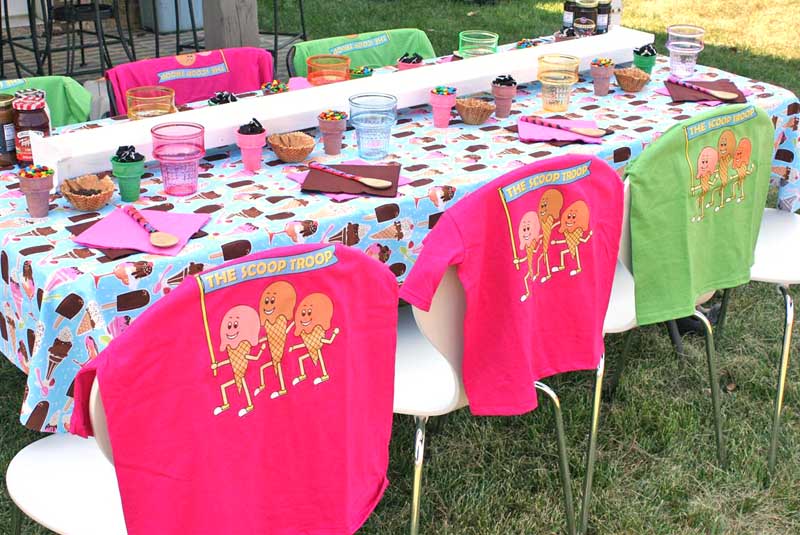
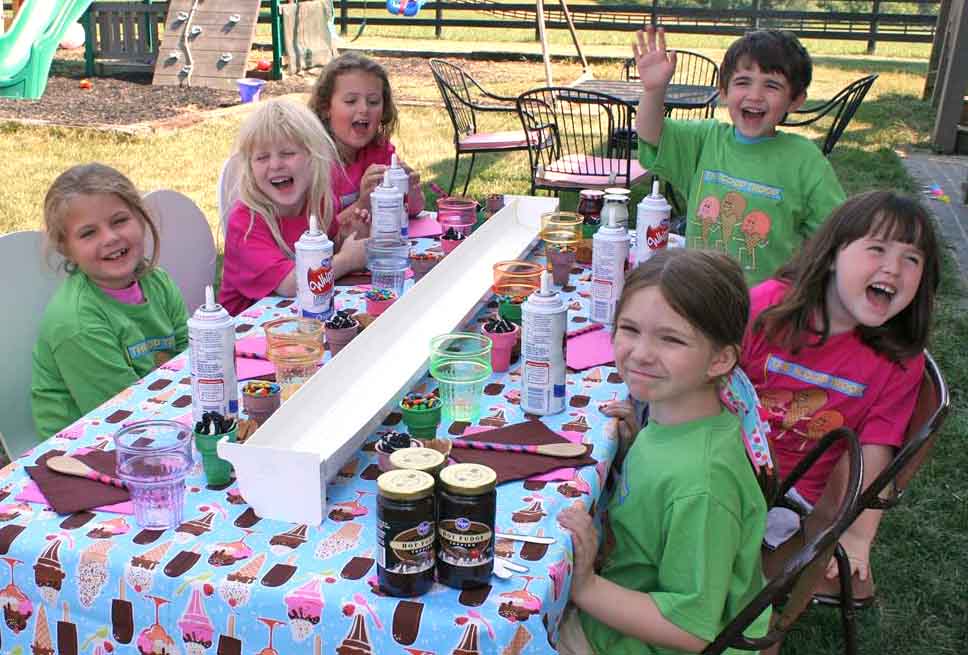
We also designed a fun shirt for them to wear. The kids all together, thinking of nothing but ice cream, made us call them a Scoop Troop.
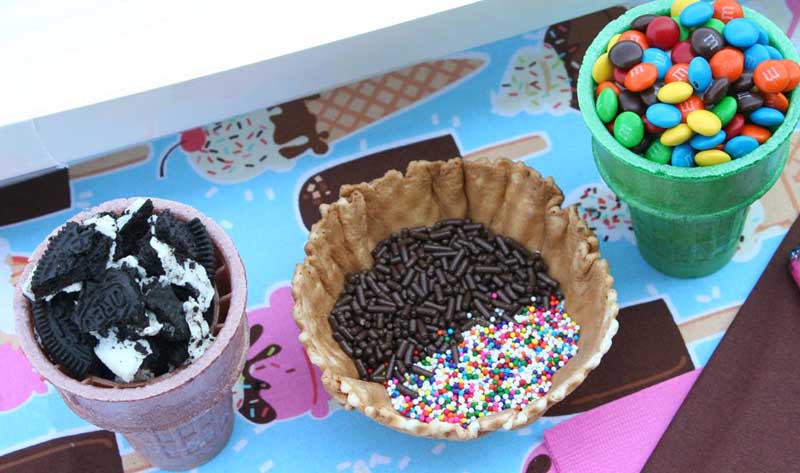
Each place setting had an assortment of ice cream toppings, a napkin and a cup. The toppings were in edible ice cream cones and a waffle bowl.
But where will the sundaes themselves be built? Well, did you notice that long white thing down the middle of the table? That's a piece of gutter I bought at our local home improvement store! We cut it to the length of the table, put end caps on, and then used packing tape on the outside to make it secure and to help prevent any leaks. The gutter is going to be a trough for the ice cream. The kids are going to make a giant sundae!
The kids are all set wearing their Scoop Troop shirts!
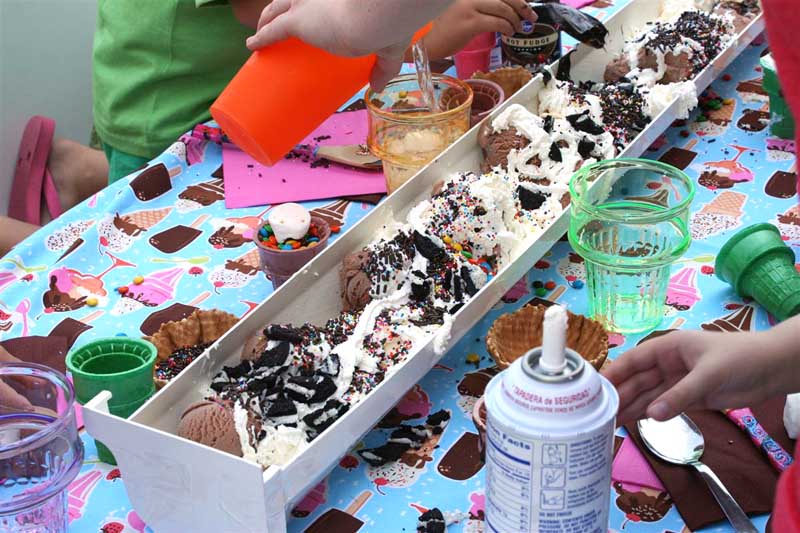
I had a few adults help me scoop chocolate and vanilla ice cream into the gutter.

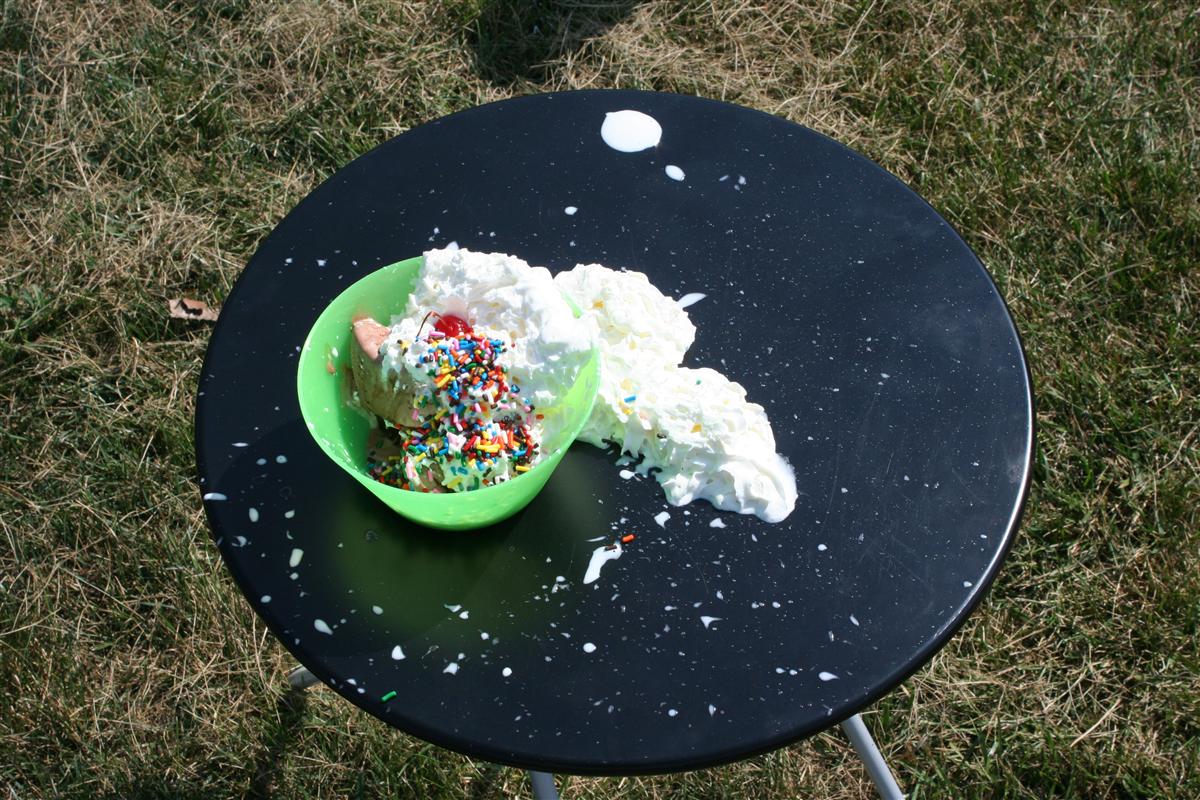
Once it was full, the kids set to work adding toppings to the section in front of them. It looks sinfully delicious, don't you think?
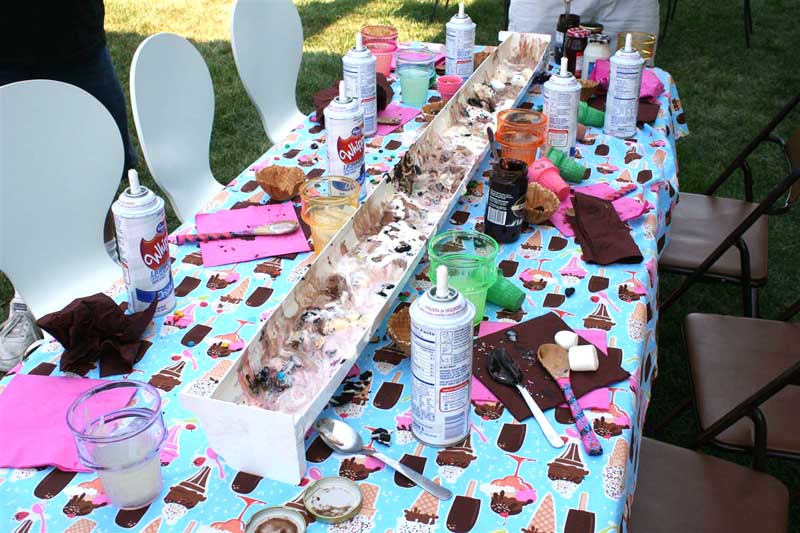
The kids loved eating the huge sundae but there was quite the mess when we were finished. Good thing I had this party outside!
In my mind, no party is truly complete without some fun party favors. For my favors, I used my computer to scan in my fabric and create a digital image that I printed on paper. Then I just cut out the individual ice cream images and taped them to simple blue bags. I love how I was able to scan the fabric to create coordinating details like this.

The party was a smashing success, and the kids still talk about how much they loved it.
similar projects
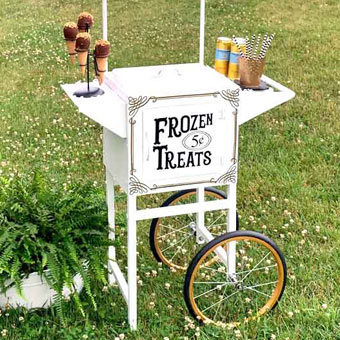
DIY Ice Cream Cart from Popcorn Cart

Easter Peep Cookie Cream Tart for Spring
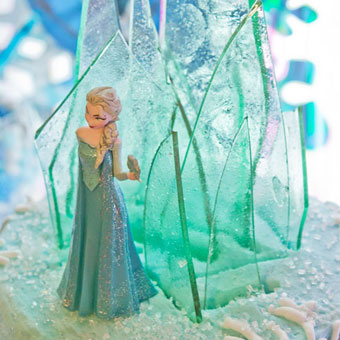
Frozen Cake Topper with Candy Ice Castle


9 comments so far:
this is a cool party, so SWEET! Thanks for sharing. I will have to use some of your ideas for my next ice cream event.
Sounds like a VERY refreshing and cool party - but here in Texas (where we're on day 20+something of 100 plus degrees), we couldn't even have the party at night! Maybe in October it'll cool down enough for an ice cream party - hah!
That looks like the most fun party ever. Ice Cream in this heat. Yummy for my tummy!
I am so impressed with your party! I was just thinking I wanted to something fun before school starts for my kids and their friends and this would be PERFECT considering we have had 106 degree weather for the past 2 weeks now! Thanks so much for posting!
VERY cool (get it?) party. It's so hot here that ice cream is soup in about 4 seconds flat, tho. :-(
Has anyone tried those new Magnum ice cream bars? They're pretty awesome....just not as awesome as a trough of ice cream.
In response to Jan, those Magnum ice cream bars are TOO GOOD! And it's so hot here in MD as well. 102 today, not factoring in the heat index! UGH!
I keep hearing about these Magnum ice cream bars, I think I am going to have to investigate.
Planning to host an ice cream event for the kiddos at our local CASA office. What did you put in the gift bags?
Karen, we used ice cream themed party favors such as stickers, candy, and toys.