


Make Your Own Harry Potter Tattoos

Anyone who is a fan of the Harry Potter books and movies knows how iconic Harry's lightning bolt scar is, as well as Lord Voldemort's Dark Mark symbol. My niece is a huge fan, so I recently decided to make her some temporary tattoos so she could have a mark just like the characters.
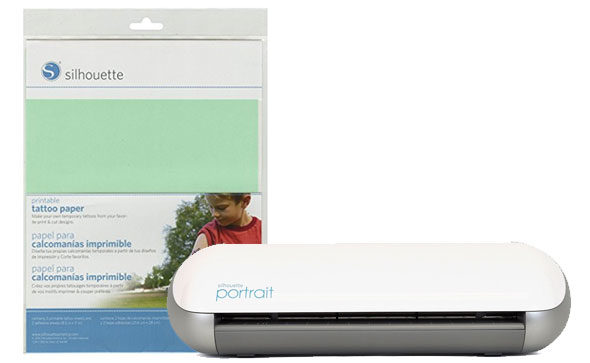
Did you even know you could MAKE temporary tattoos yourself? It's really easy, thanks to the invention of printable tattoo paper from Silhouette. Designed to be used with a Silhouette electronic cutter, this paper lets you design and print your own custom temporary tattoos, and the Silhouette will cut them out for you! I could hardly believe it myself, but it actually works like a charm.
I started by creating the designs first. I found an image of the Dark Mark (the symbol of Lord Voldemort and his Death Eaters) and then I created a simple lightning bolt like the one that emblazons Harry's forehead.
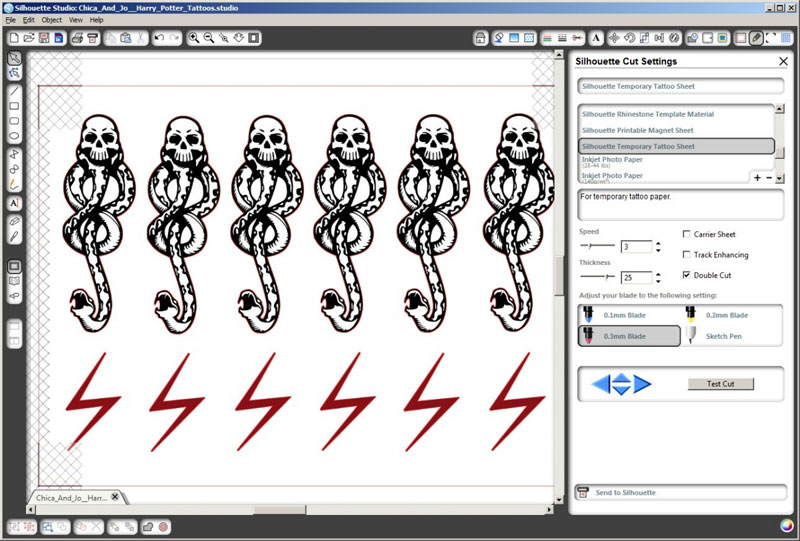
I created a layout in the Silhouette Studio software and repeated the design several times on the page. Then I made sure to REVERSE the whole image so that it was mirrored — this is necessary in order for the tattoos to look right when finished. I then used the convenient "trace outer edge" tool to draw a cut line around the edge of each shape. Here's my Harry Potter tattoos .studio file so that you can make your own at home without having to start from scratch.
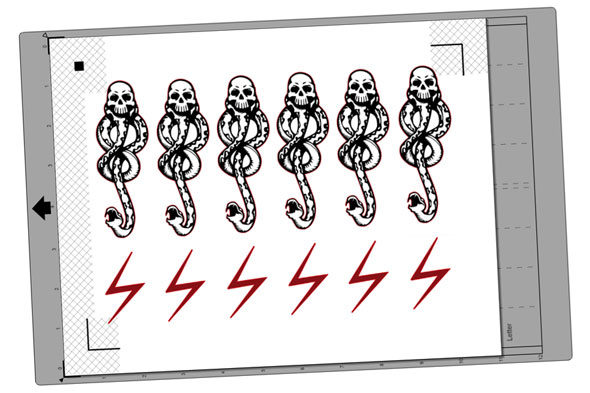
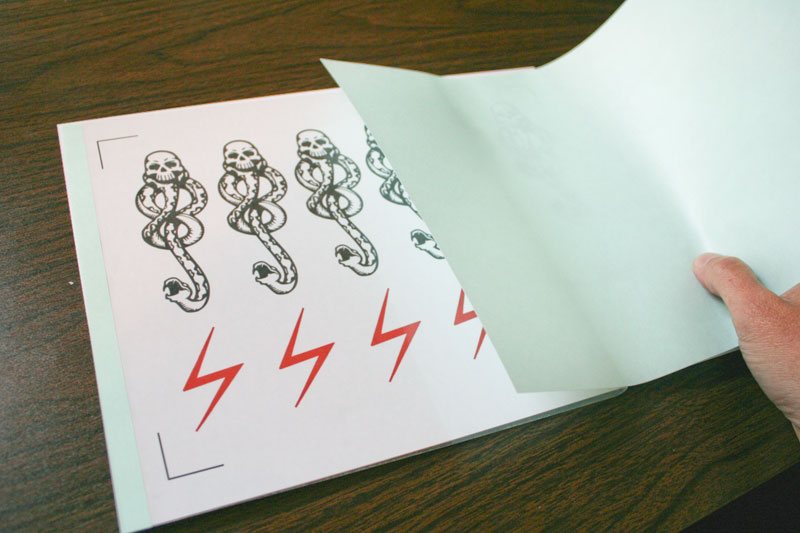
With the design done, I was ready to print. I made sure that the registration marks were visible in my design (those are the angled lines in three corners of the page) so that the cutting process later on would line up correctly. Then I printed the design onto the glossy side of the special tattoo paper that came in the package.

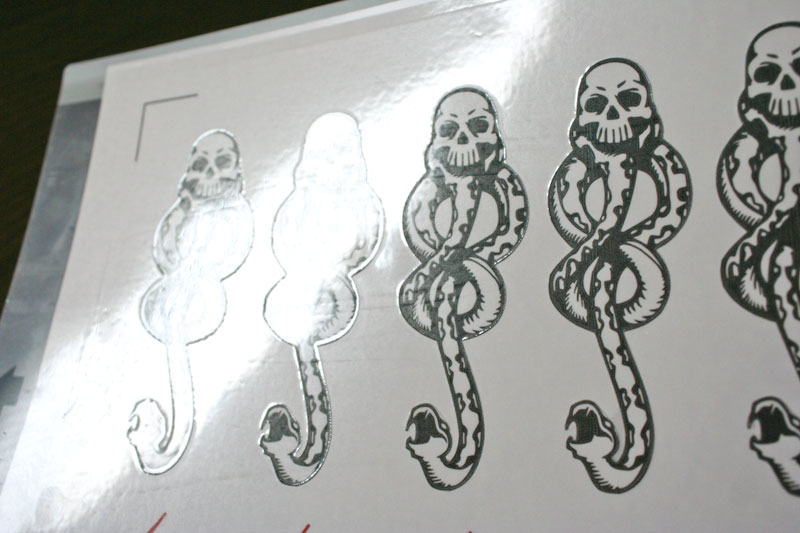
Once the ink had dried, I applied the clear adhesive film (included in the package) over the top of the printed image.
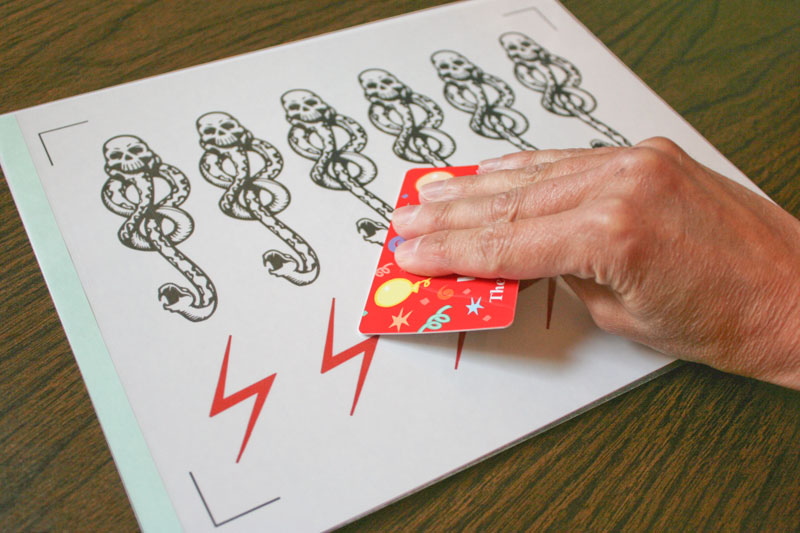
Then I used a plastic gift card to scrape the surface firmly, to adhere the film to the printed page.
Then I loaded the sheet onto the cutting mat and fed it into my Silhouette. (If you don't have a Silhouette electronic cutter, you could always cut them out by hand at this point, but it will take considerably longer.)
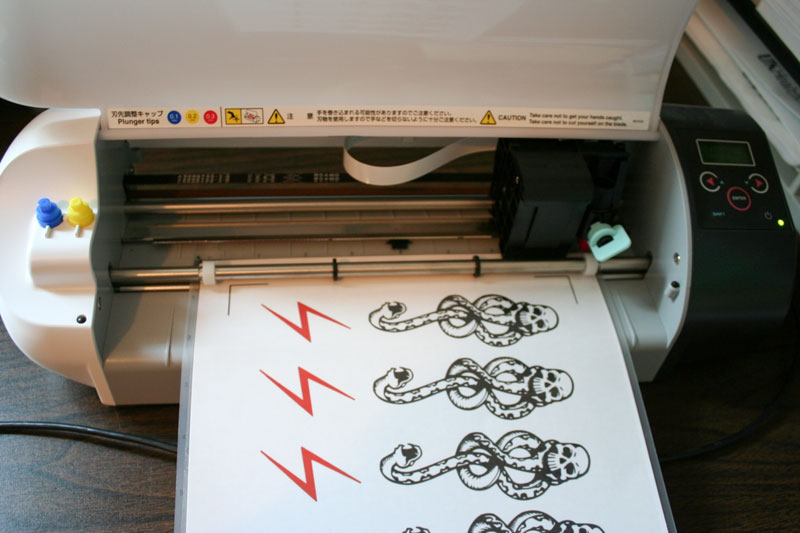
When you are ready to cut out the designs, bring up the Silhouette Studio software again and go into cut mode. If you select "Silhouette Temporary Tattoo Sheet" as your paper/material, all the right settings will automatically be set for you. If you don't have that option, though, use the pink cap, a cutting thickness of 23-28, and a speed of 3-5. Also make sure you choose the "double cut" option.
Thanks to the registration marks you printed, which the Silhouette is able to scan and adjust for, the machine does an amazingly accurate job of cutting out each design right where it should be cut.
NOTE: The lightning bolt design is very thin, and might be hard for the machine to cut. If you have issues with the cuts getting hung up in the machine, just erase the cut lines for the lightning bolts in Studio and cut those out by hand instead.
Applying the tattoos is really easy and fun. My niece was more than happy to help me illustrate. You start by peeling the clear plastic sheet off the tattoo.
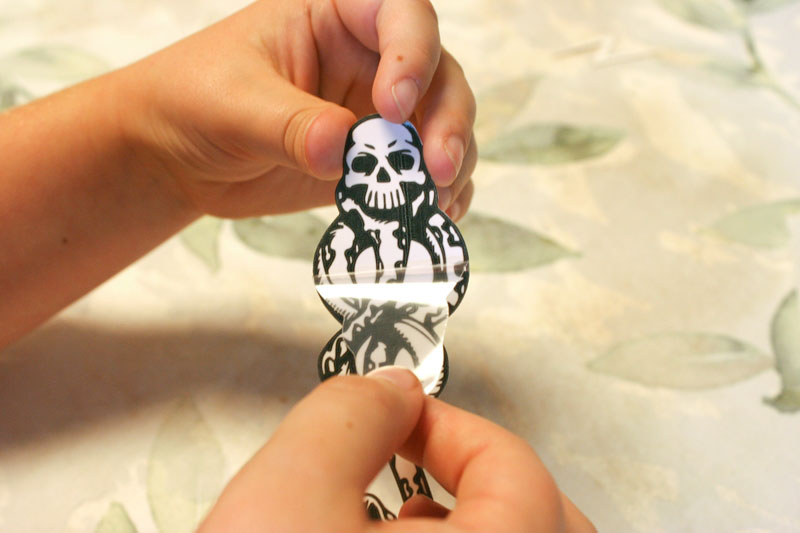
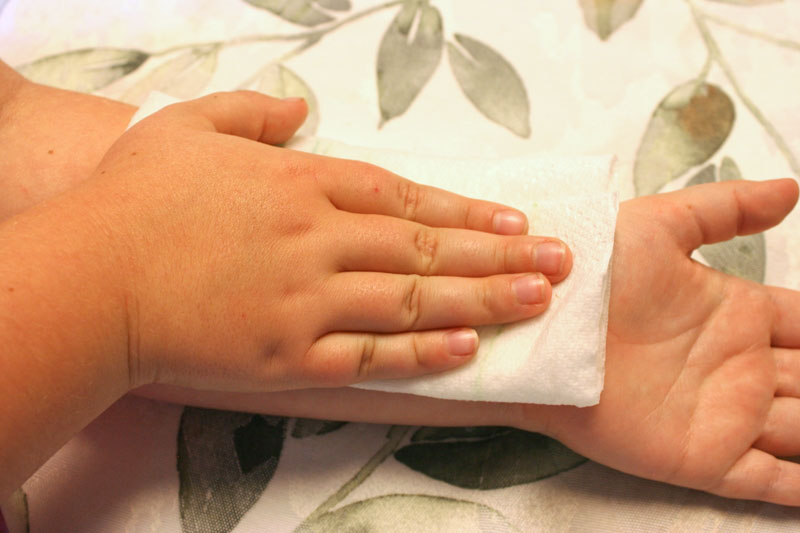
Then you place it, face down, on your skin.

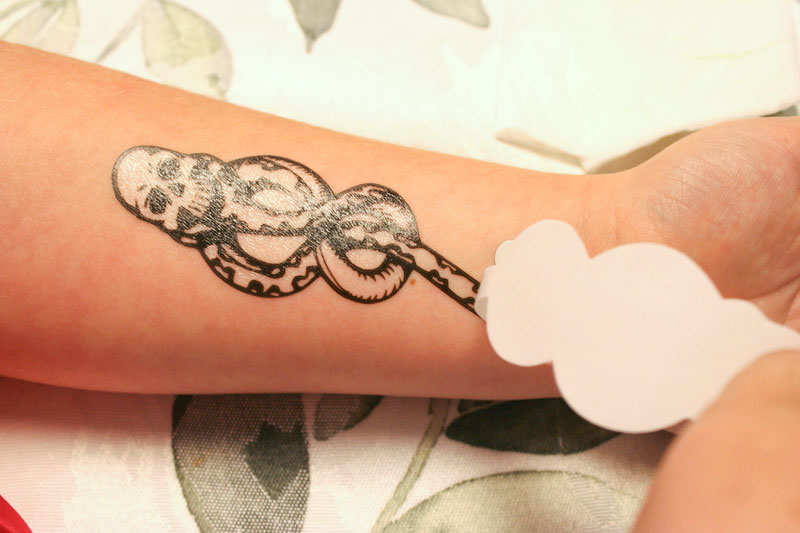
Then place a wet paper towel over the whole thing and hold it firmly in place for about 10-15 seconds.
Peel the paper away and you're all set!
Let the tattoo dry before touching it, and it should last a day or so. Of course you can remove it earlier than that by washing and gently scrubbing it if you need to.
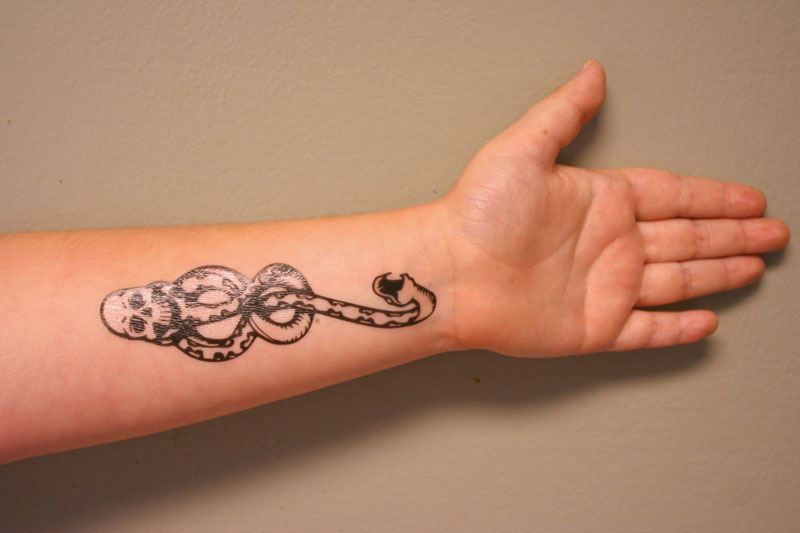
The lightning bolt is just as easy to apply, and I think it looks pretty amazing on her forehead. How cool is that?
similar projects
Harry Potter Hedwig Party Invitation

Harry Potter Funko Pop Hogwarts Castle Display
Harry Potter Potion Making Booklet with Real Recipes


4 comments so far:
I absolutely love what that piece of equipment can do!!! I'm going to have to get me one!
Awesome job on explaining the tattoos.
TFS
I tried to open the tattoo file but can't. What program did you use? My son would LOVE these!
Courtney, the file is a .studio file which is intended for use with the Silhouette electronic cutter. You will need the Silhouette Studio software to open it.