


Make Your Own Survivor Torches

During our summer beach vacation in Sanibel, we hosted our own version of Survivor for our friends. It was a lot of work, but so much fun, and everyone had a great time.
Since fire is a very big thing in the world of Survivor (Jeff Probst will be the first to tell you that "fire represents life"), we knew we had to incorporate torches into our Tribal Council. We didn't want to mess around with real fire, though, so we made some DIY Survivor torches with fake fire. The kids all said playing with the torches were their favorite part of the whole event!
After a lot of reworking and rethinking, and about fifty different directions before finally coming up with something that worked, I settled on using LED flickering tea lights attached to bamboo tiki torches. With some colorful additions from typical craft supplies, I knew I could make them look like real flames.
It all starts with my most trusted material for attaching things... duct tape! Cut a piece of yellow duct tape (red or orange would work as well) long enough to wrap around the outside of the tea light twice. You will be folding it over onto itself crosswise to hide the stickiness, so make sure you double the circumference or the light base. Stay with me, I promise this will make sense.
The duct tape is a tiny bit tall for the light so go ahead and cut about 1/4" off of one long side.
Now, take the strip and roll it around your tea light, making a duct tape tube. Use another piece of duct tape to secure the band in place.
You won't be needing the wicks in the torches so go ahead and remove those and set them aside. If you save them, you can convert these back to regular torches later if you want.

Place your duct tape ring around the wick opening of your torch.

Use more strips of duct tape to secure the ring to the torch top. Continue using small strips all the way around to hold it in place.
To make sure it sticks, wrap a piece of duct tape all the way around.
Apply as much duct tape as you need in order to get the tea light holder secure.

The light is set, but it needs something extra to look like giant flames. You'll accomplish this with some cellophane in red and yellow, cut into rectangles roughly 6"x8".
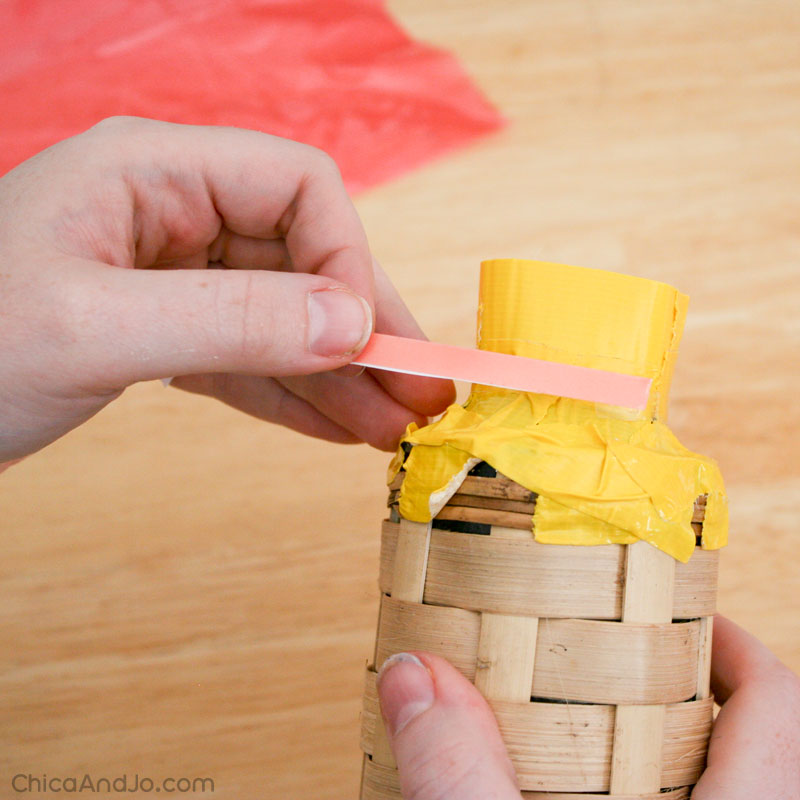
To secure the cellophane rectangles around the torch, add some thin strips of really strong double-sided tape (like our super-sticky double-sided tape sheets) around the base.
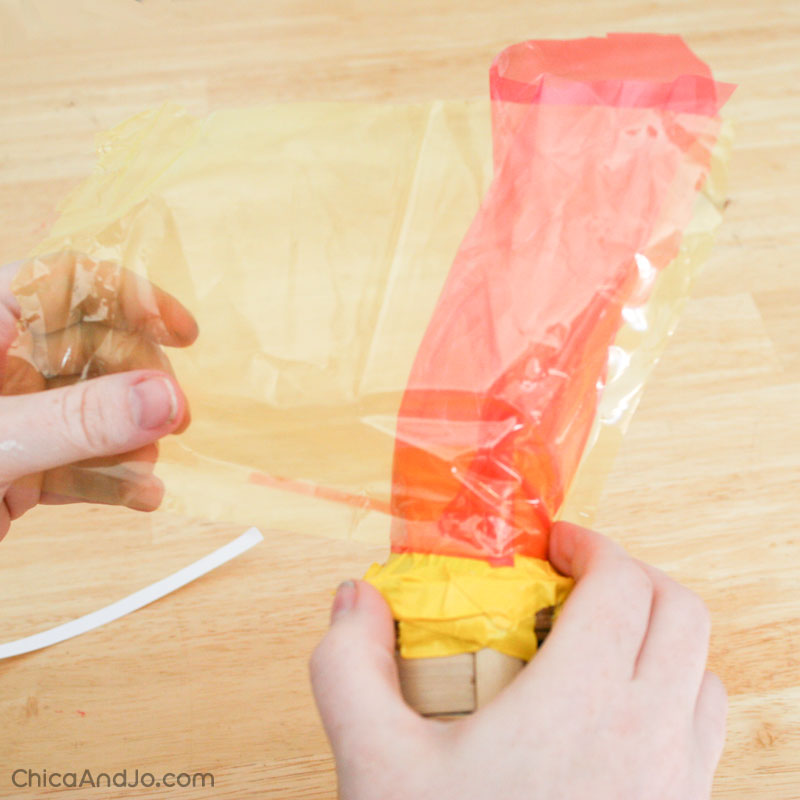
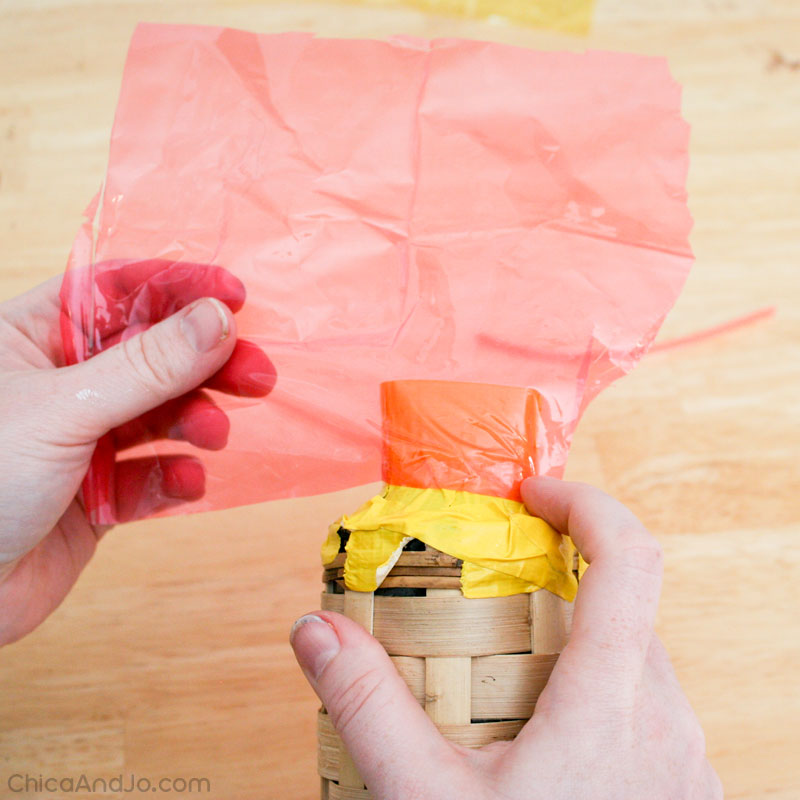
Then just wrap the red cellophane around, sticking it to the tape.
Don't worry if the tape or cellophane don't stretch all the way around. Just use more tape and add more cellophane, making sure it is stuck really well.
Add layers of yellow and red cellophane until you get nice coverage all the way around.
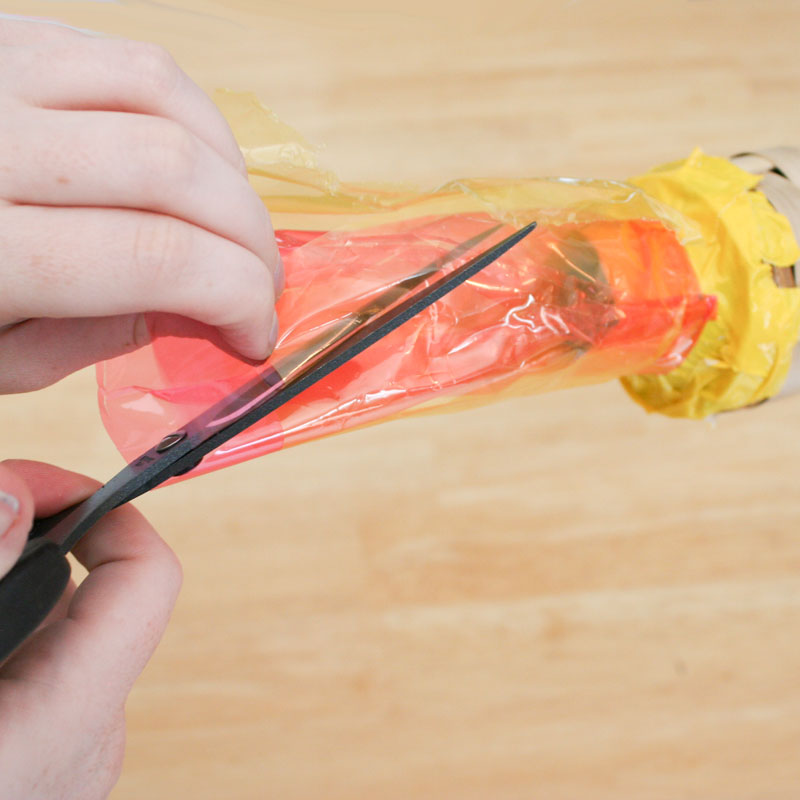
When you're happy with the red and yellow cellophane, cut the top edge of it into points and triangles so that it looks like long flames.
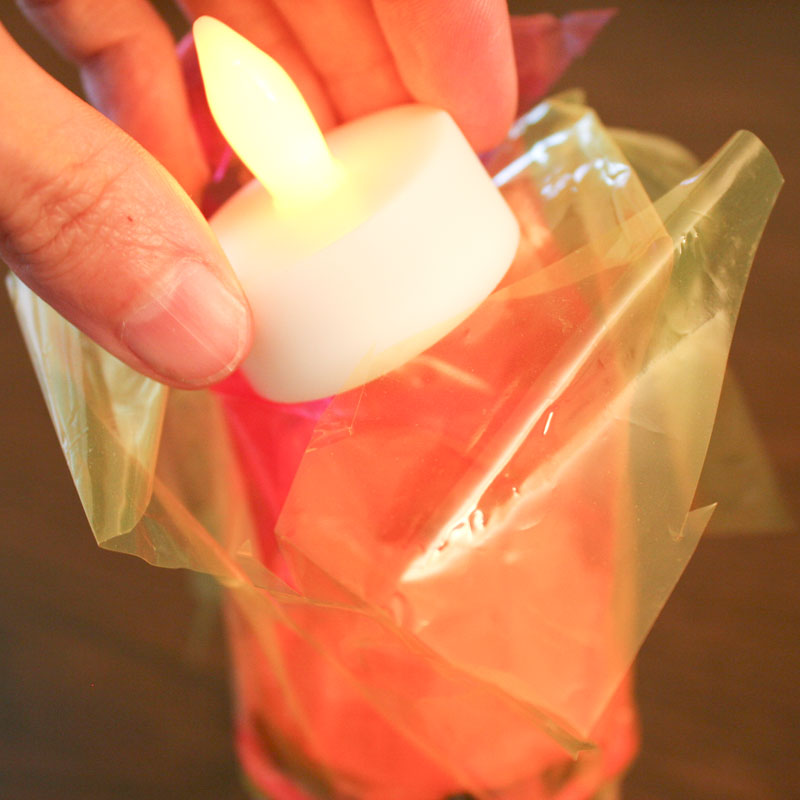
Turn on your tea light and place it down into the middle of your torch, right into the duct tape ring you affixed at the top. The nice thing about this approach is that you can remove the light later and turn it back off to save on batteries. If I had just taped the tea lights right to the torches, it would have been very difficult to turn them on and off!
I think they turned out great! The kids (and adults) loved playing with them and they were a lot safer than real fire.
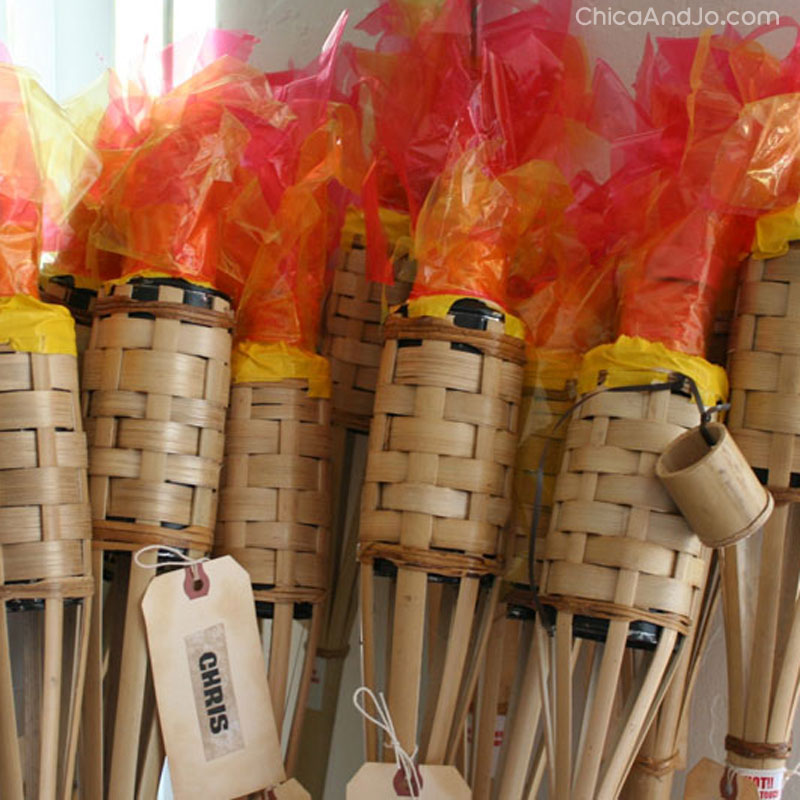
These Survivor torches (combined with our DIY Tribal Council campfire) were perfect touches to our DIY Survivor event and really made it feel that much more authentic!
similar projects
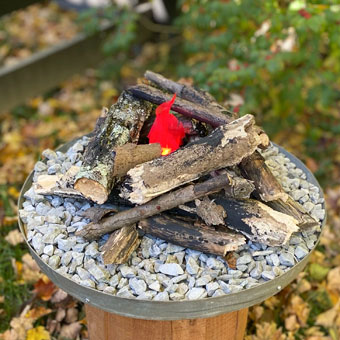
How to Make a Survivor Tribal Council Flameless Campfire
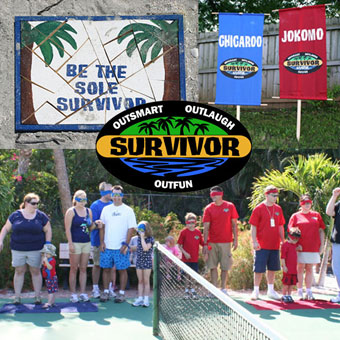
How to Host a Survivor Party
How to Make Survivor Buffs and Tribe Flags


5 comments so far:
Man you gals are AMAZING!!!!!!!!!!!!!!!!!!!! this is incredible..both the torches and the fire....simply amazing....
:)
Thanks so much, Carrie. Just wait til you see the challenges!
This is so amazing. I am doing a downsized version for my daughters 10th birthday. thank you for so many great ideas!
Where did you get the tiki torches?
Karen, we got them at a local home improvement store in the patio/garden section. You can often find them at big box stores as well at the beginning of summer.