


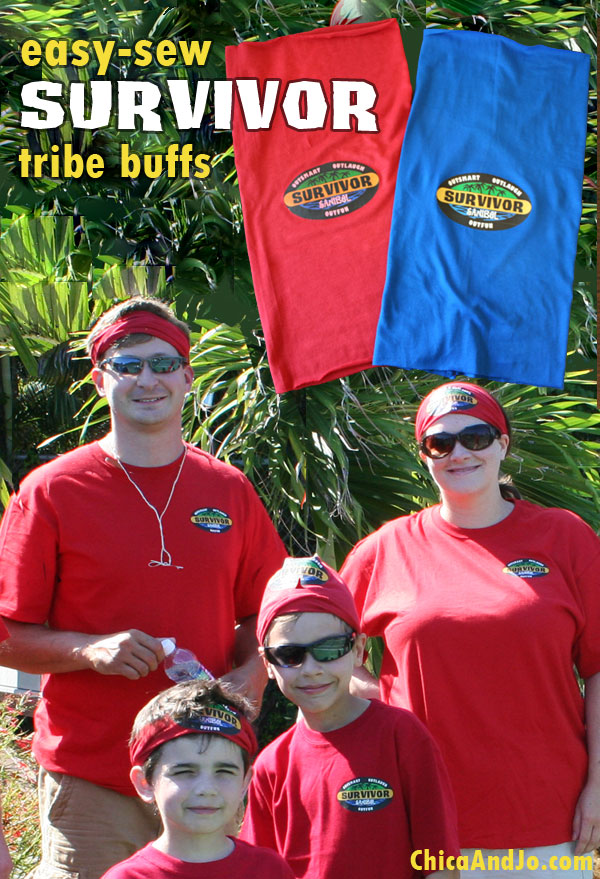
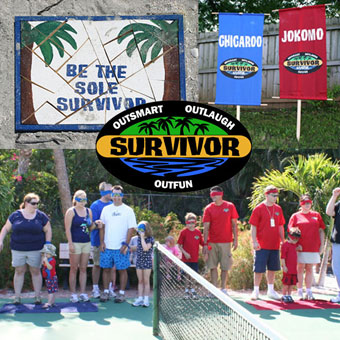
How to Make Survivor Buffs and Tribe Flags

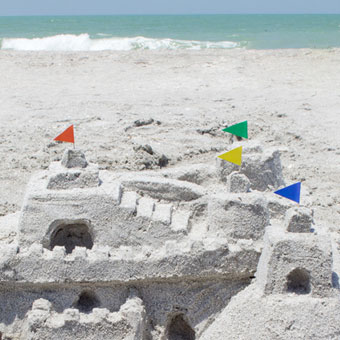
Survivor is one of my favorite TV shows and Jo and I have watched every season. We've both always thought it would be so fun to get to participate in the show's challenges, as long as we didn't have to go through the days of near starvation and heat the the castaways usually do! We decided to host our own Survivor-like event this summer during our yearly beach vacation in Sanibel, Florida. Since the Amazing Race we put on last year was so much fun, we knew we wanted to do something similar this year, and Survivor was just the ticket.
There were lots of projects involved in hosting our own version of Survivor, and you can read about them in our main Survivor party post. For now, I'm going to focus on a two elements regarding tribe identity — the buffs and the tribe flags.
For both of these items, we used a Survivor logo from our Survivor party printables set. This set included several print-ready logo sizes, and a high-res JPG version perfect for us on the large flag.
How to make your own Survivor Buffs
You simply can't play Survivor without having iconic Survivor buffs for your tribe members. They were really easy to make, too.
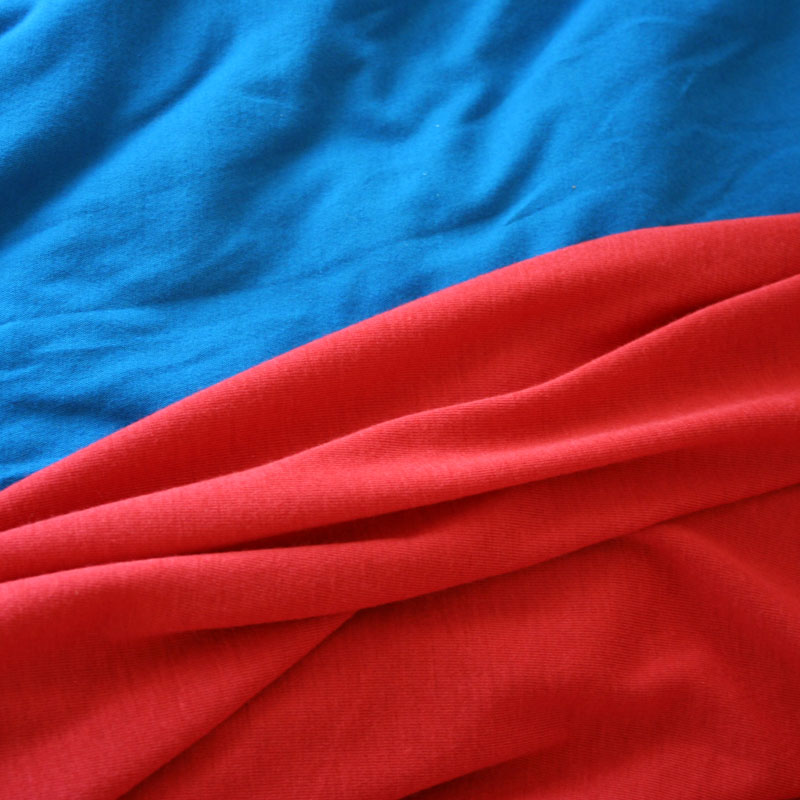
Start off with some stretch jersey knit fabric in your tribe colors. We used red jersey knit and blue jersey knit.
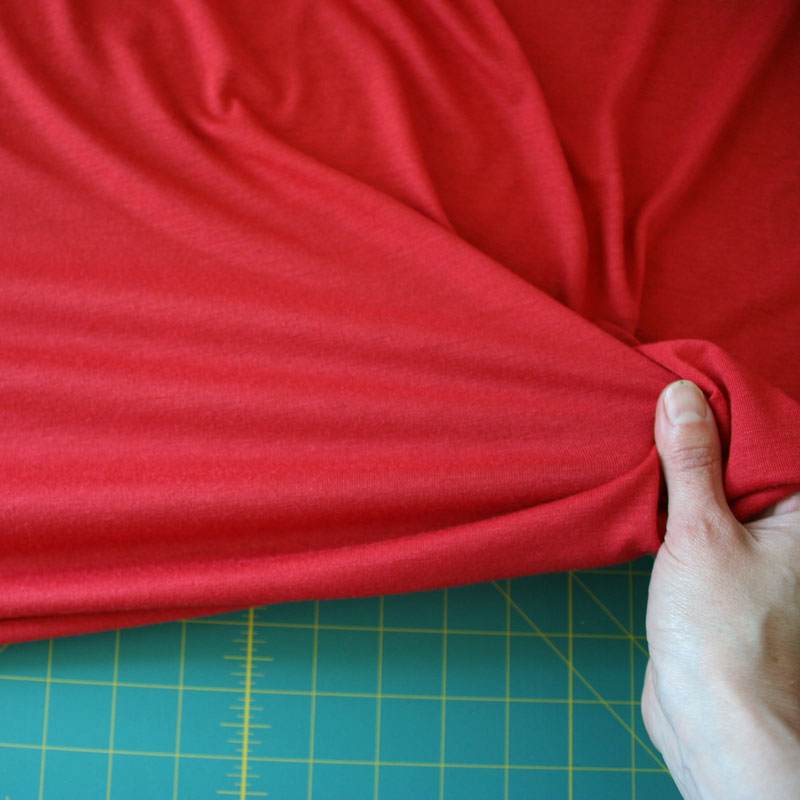
Before you start working with the fabric, take note of which direction it stretches in. One way will stretch far better than the other, and you want that easy-stretching direction to go left to right on your workspace.
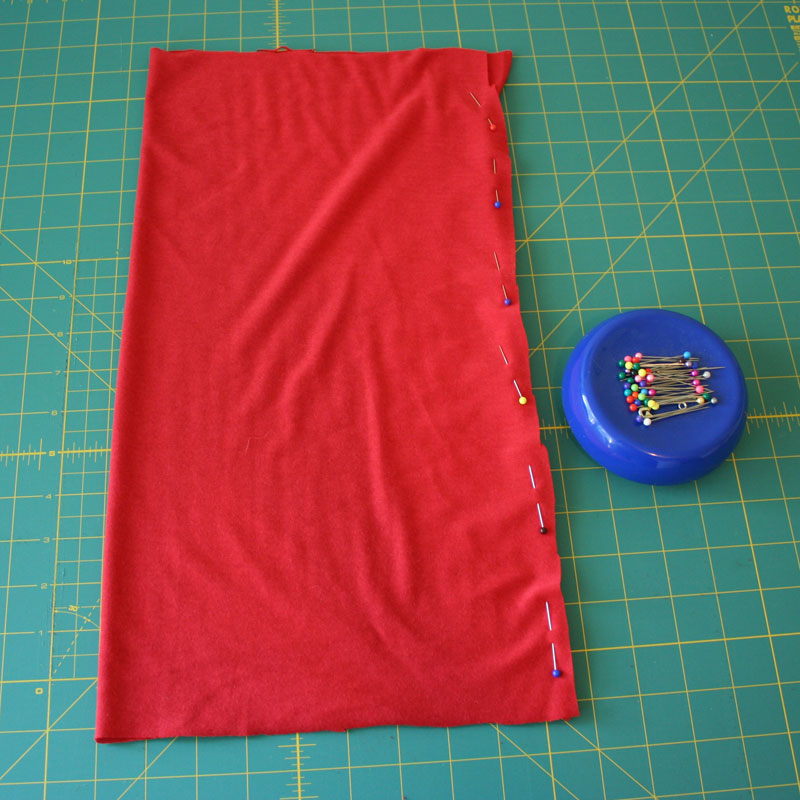
Now you need to cut a rectangle out of your fabric, and the size will depend on how stretchy your fabric is. I cut mine to 20" wide and 18" tall, but you may need to adjust those measurements with your fabric. You need it to be big enough to stretch around a person's head comfortably, so do some experimenting to get the right size for your particular fabric.
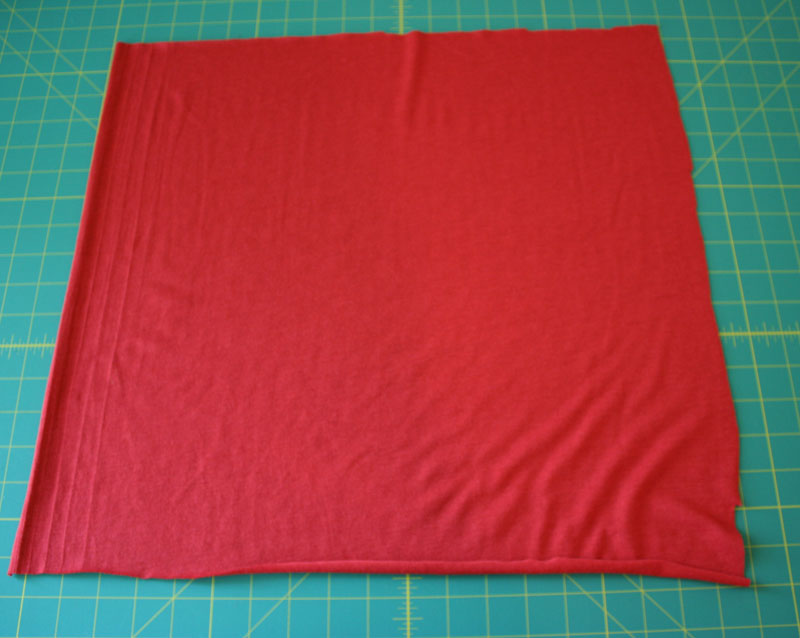
Once you've cut the fabric, fold it in half and pin the sides together.
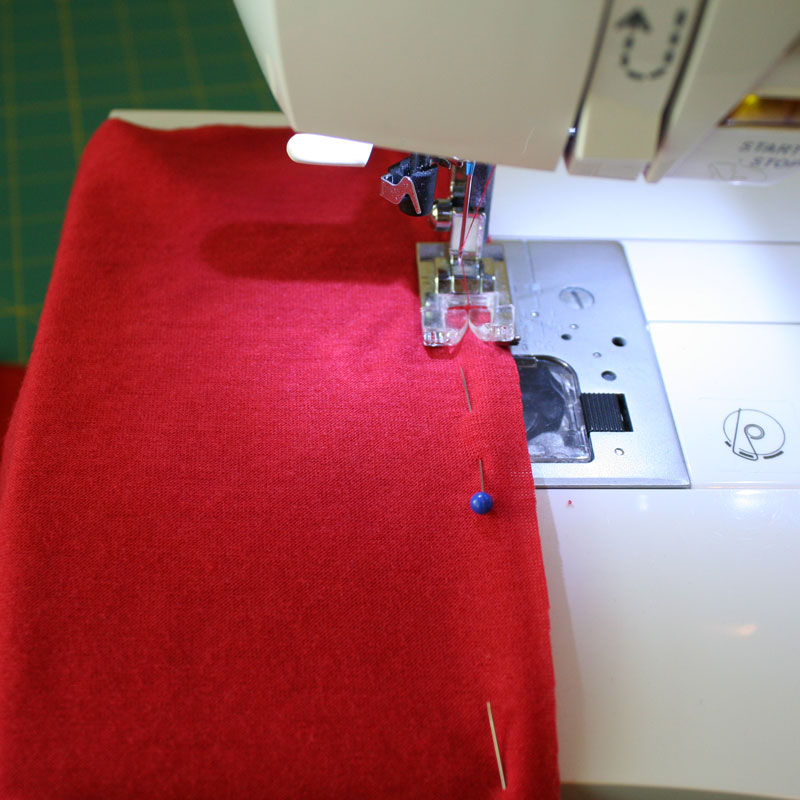
Use the sewing machine to sew the side seam with a row of zigzag stitches. Make sure you use a zigzag stitch instead of a straight stitch, or else the seam won't stretch after it's sewn.
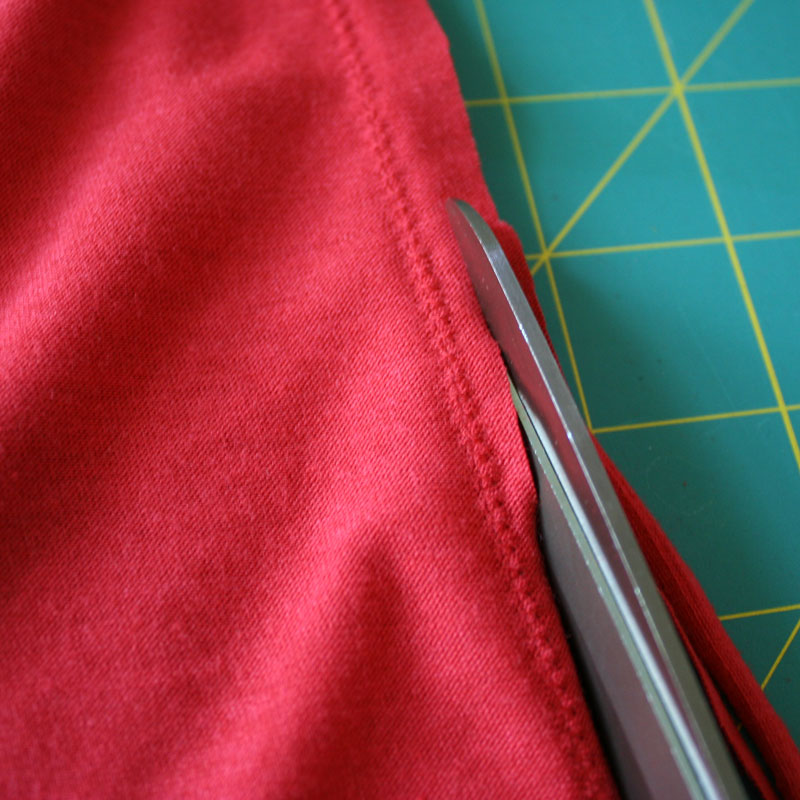
You might want to trim any excess from your seam to clean it up.
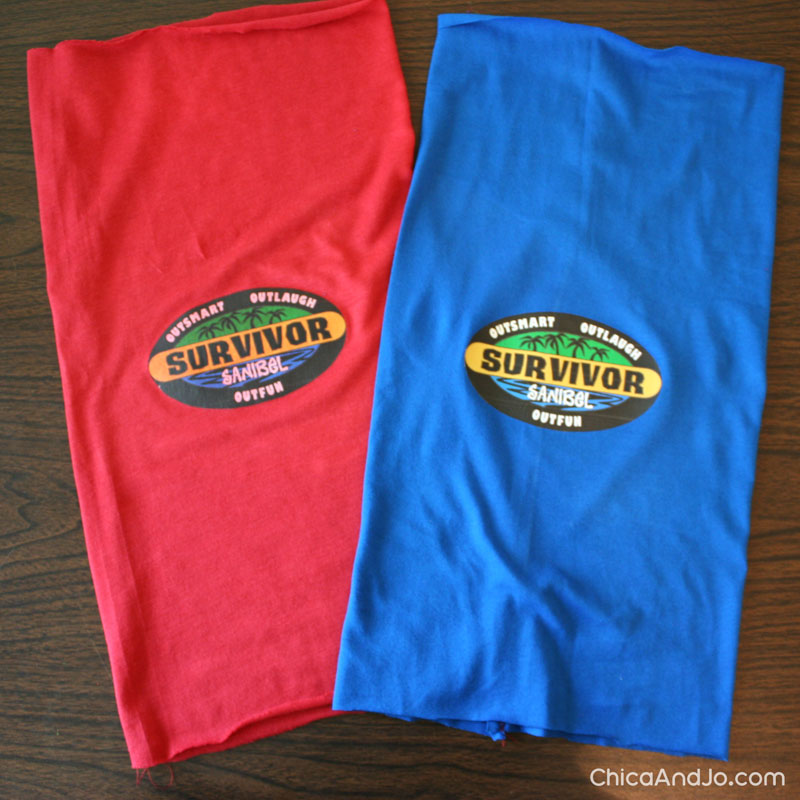
Then just flip it inside out and the sewing is done! Because the jersey knit doesn't unravel, you don't need to hem up the other edges.
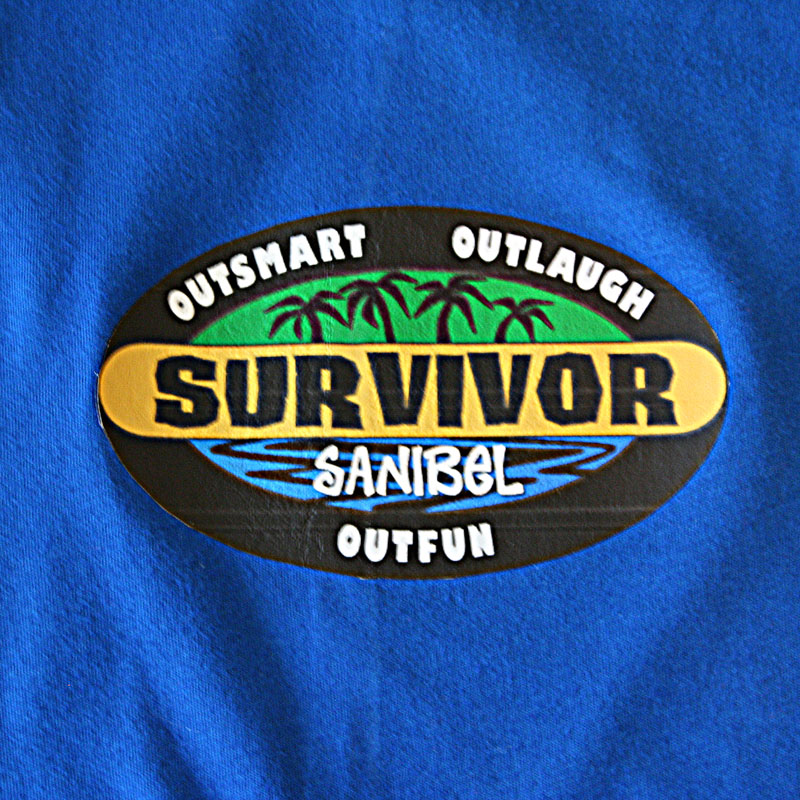
The finishing touch is to print the Survivor logo onto some dark shirt transfer paper and iron it to the center of the buff, following package directions.
Aren't these just fantastic? They can be worn as headbands, as wristbands, around the neck, or just about anywhere you want. Be sure to make enough for each member of each tribe!
How to make Survivor Tribe Flags
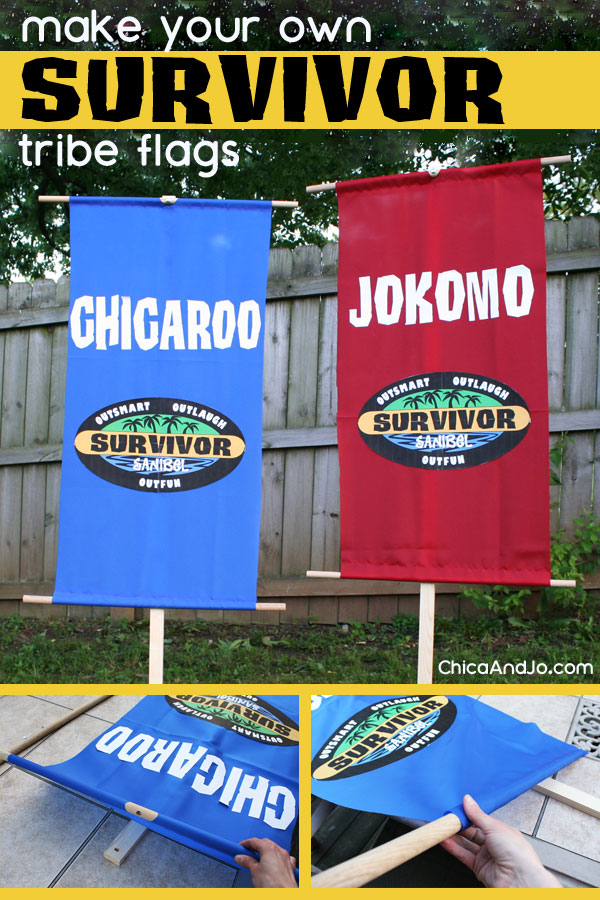
The other thing we needed for the tribes to show their identities was a pair of tribe flags. While the flags on the TV show are usually horizontal and hung between two poles, we felt that would not be easy to move around. We opted to follow tradition from some of the earlier seasons and make a vertical flag on a single pole so that a member of each tribe could carry it to challenges and stab it into the sand.
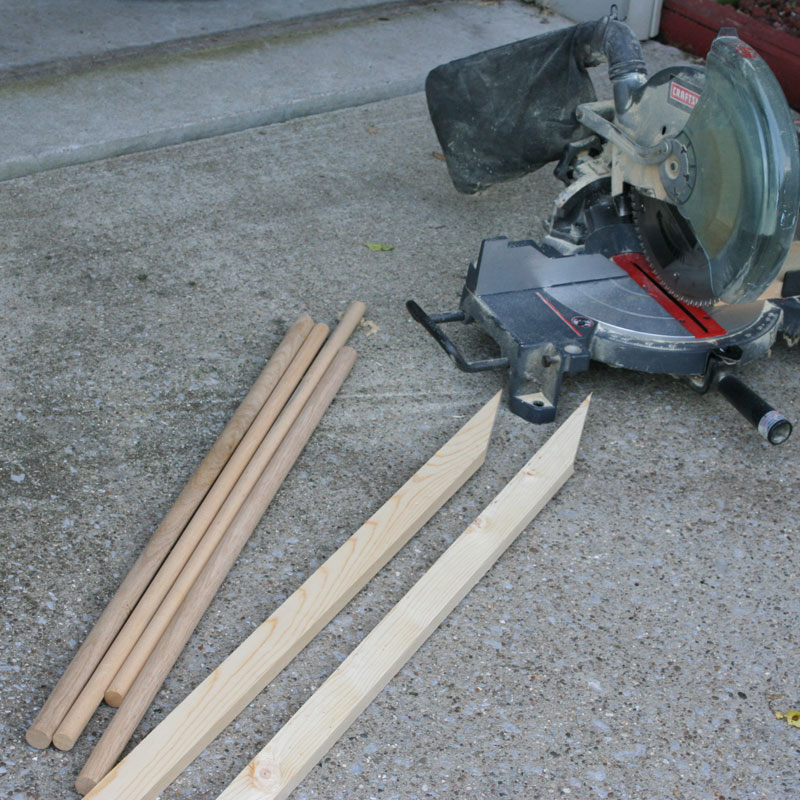
First, the hardware: to make two flags, you'll need four 3/4" wooden dowel rods that are about 30" long, two 1"x2" wooden stakes that are 6' long, and two 3" machine screws with wingnuts. Use a saw to cut the ends of the stakes at a sharp angle so that they'll be easier to stick into the sand/dirt.
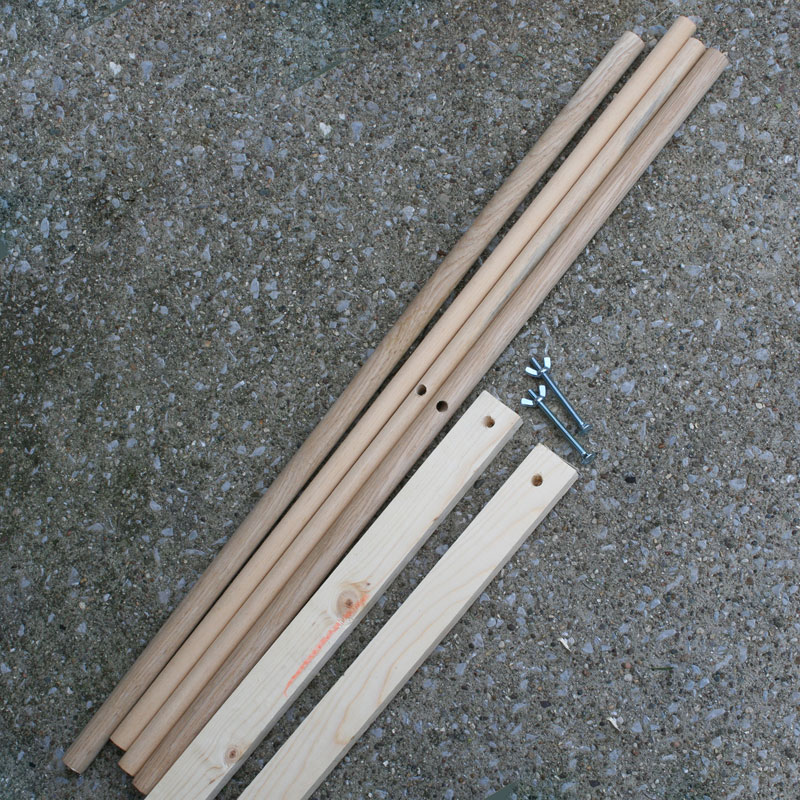
Then drill a hole into the square end of each stake that's big enough for the screw to fit through. Drill a similar hole into the middle of two of the dowel rods.
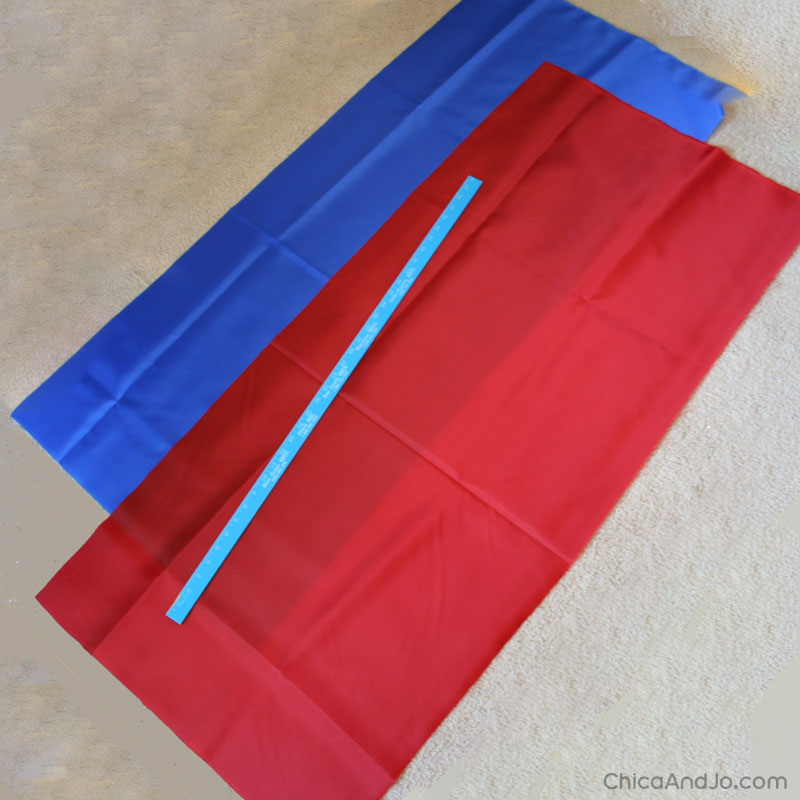
Then it's back inside to the craft room to work on the flag. You can use any material you have handy in your tribe colors, but for durability and weather-resistance, we opted to use lightweight red rip stop nylon and blue rip stop nylon. Cut a piece of each color that's 24" wide and about 52" long.
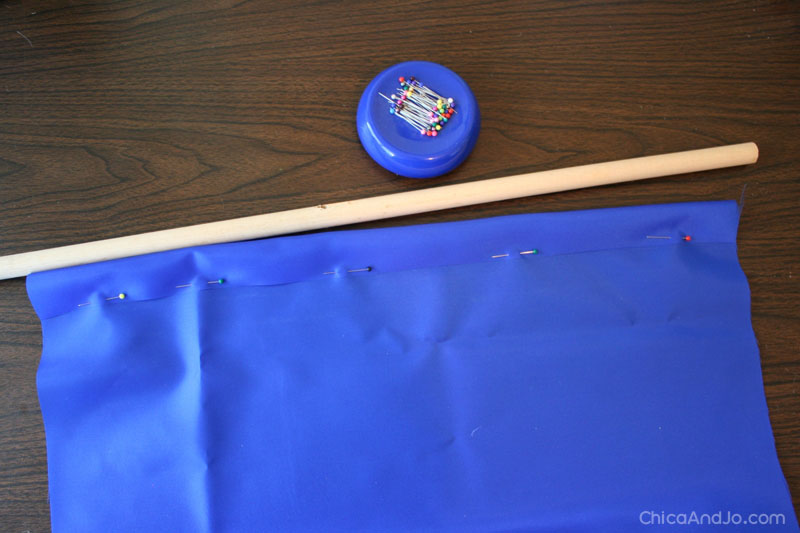
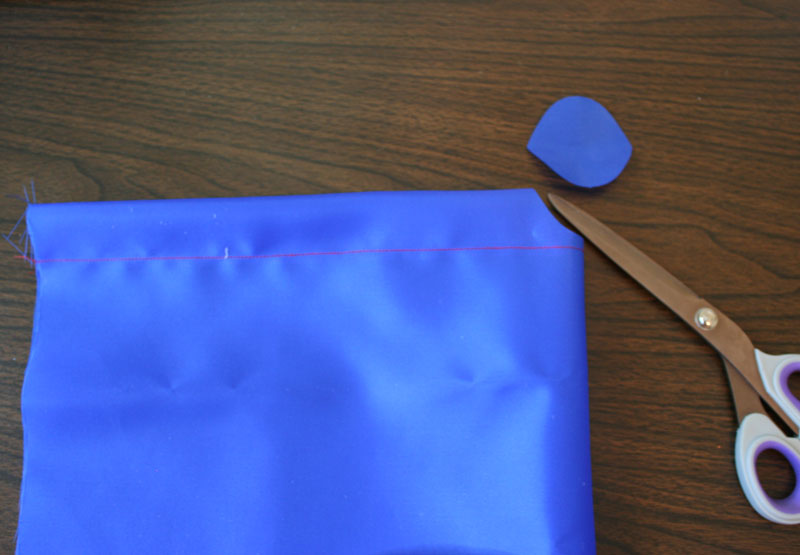
Fold over one of the short ends of the fabric to form a pocket, pinning it in place. Make sure the pocket is big enough for your dowel rod to fit through.
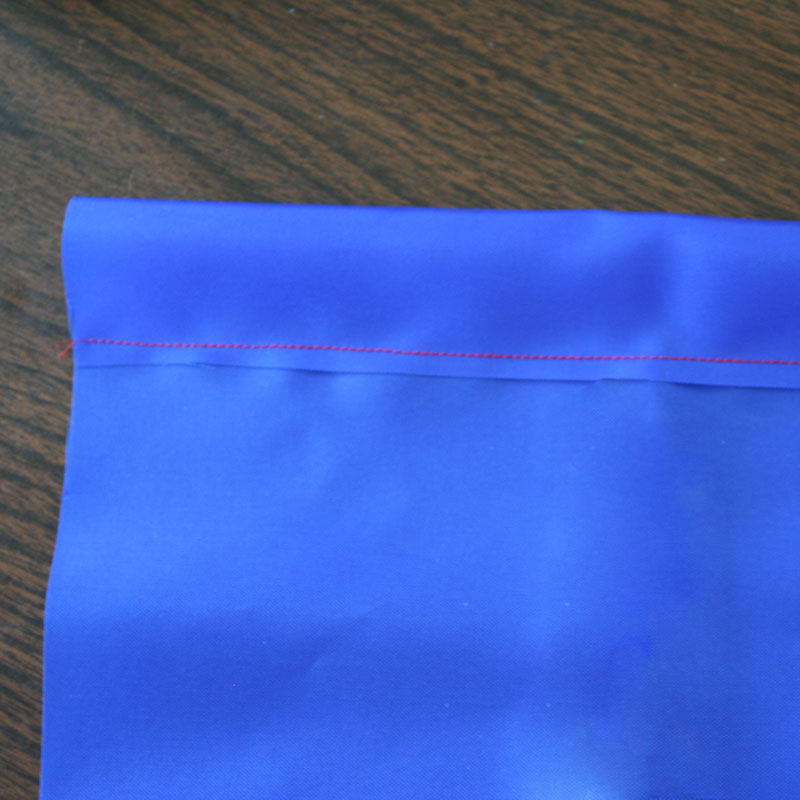
Sew the pocket in place. (Forgive my red thread... I didn't have any blue!) Do this on both ends of each flag piece.
On only one end of each flag, fold the sewn pocket in half sideways...
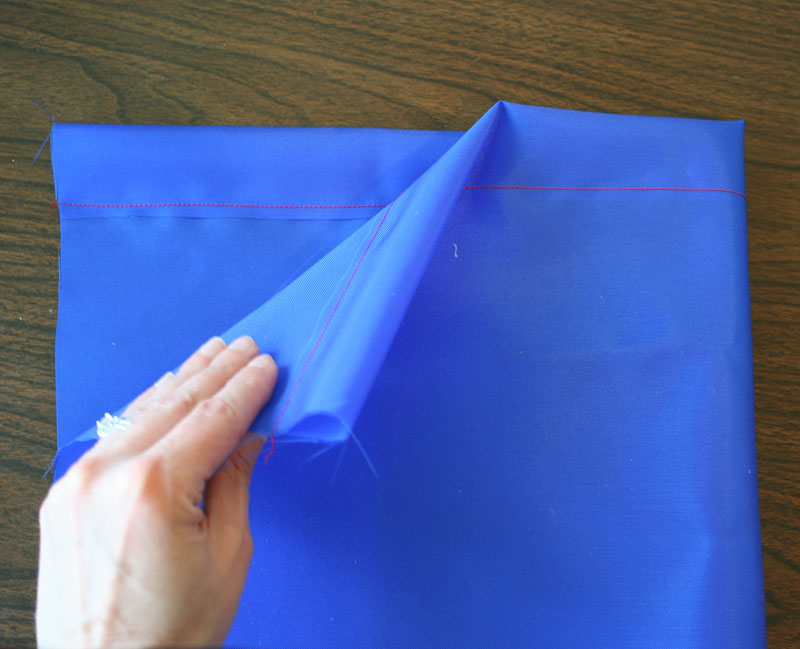
...and use a pair of scissors to cut a notch in the pocket.
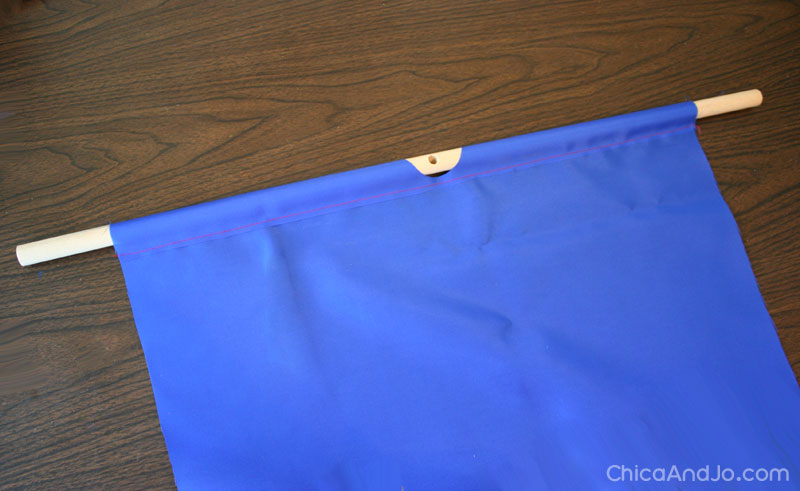
Feed one of the dowel rods with the hole in it through this pocket and you can see that the notch you cut allows the hole to be exposed. This will allow us to attach it to the stake later.
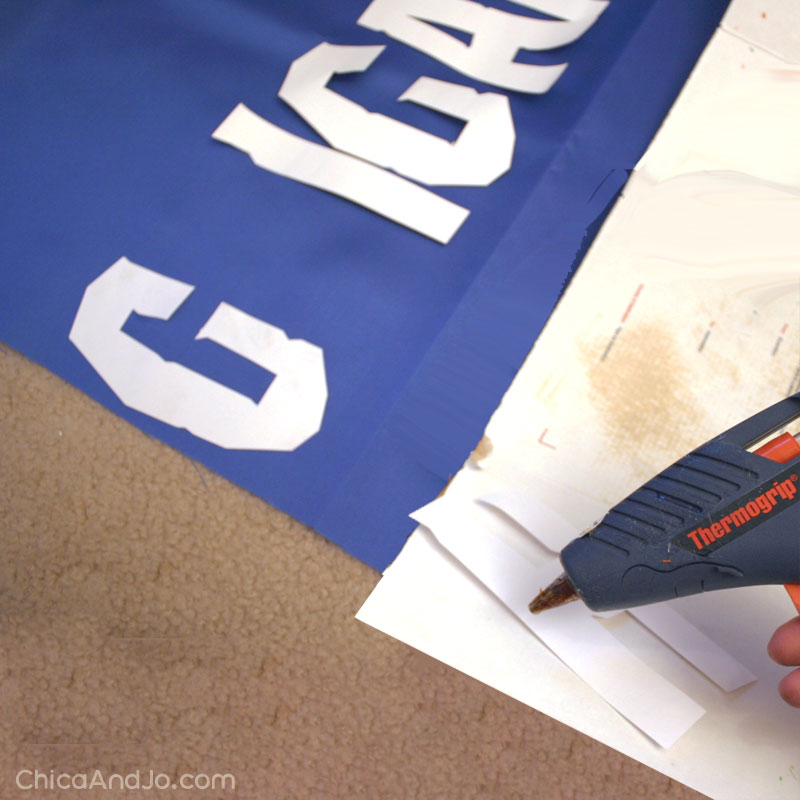
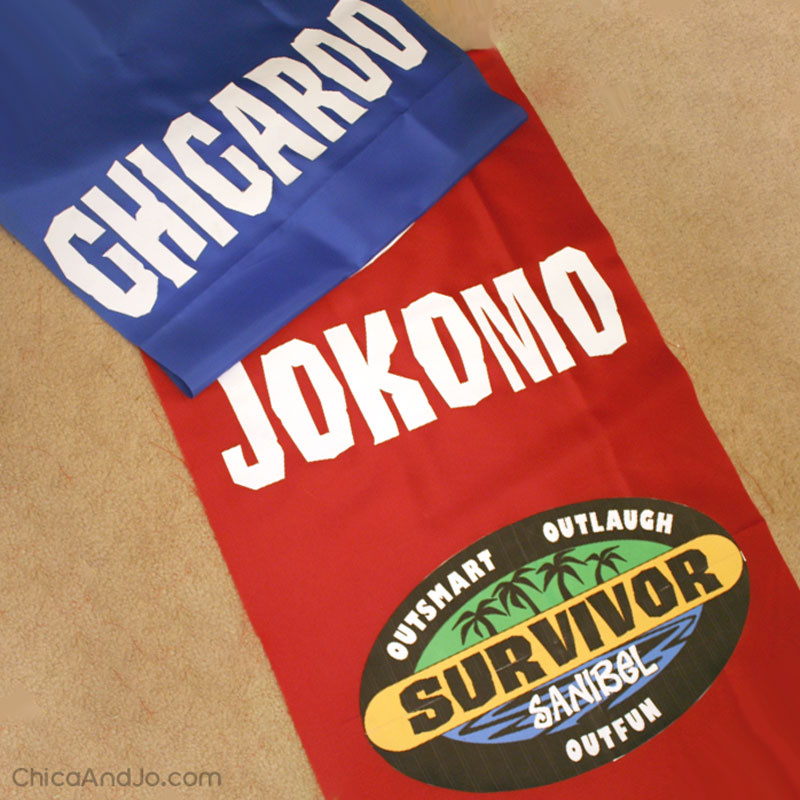
With the flag fabric ready, it's now time to decorate it! I started by using my Silhouette electronic cutting machine to cut out letters that spell our tribe names. I positioned all the pieces on the flag and then used a hot glue gun to glue them in place.
Then I printed a large Survivor logo from our Survivor party printables set onto four sheets of paper.
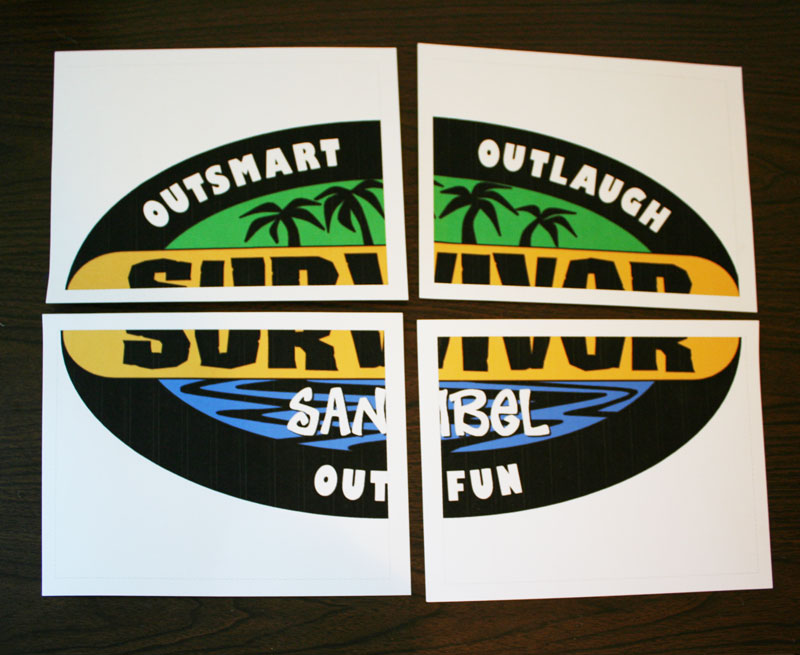
I cut the pieces out, attached them together to form a giant logo, and then glued them onto the flags, below the tribe names.
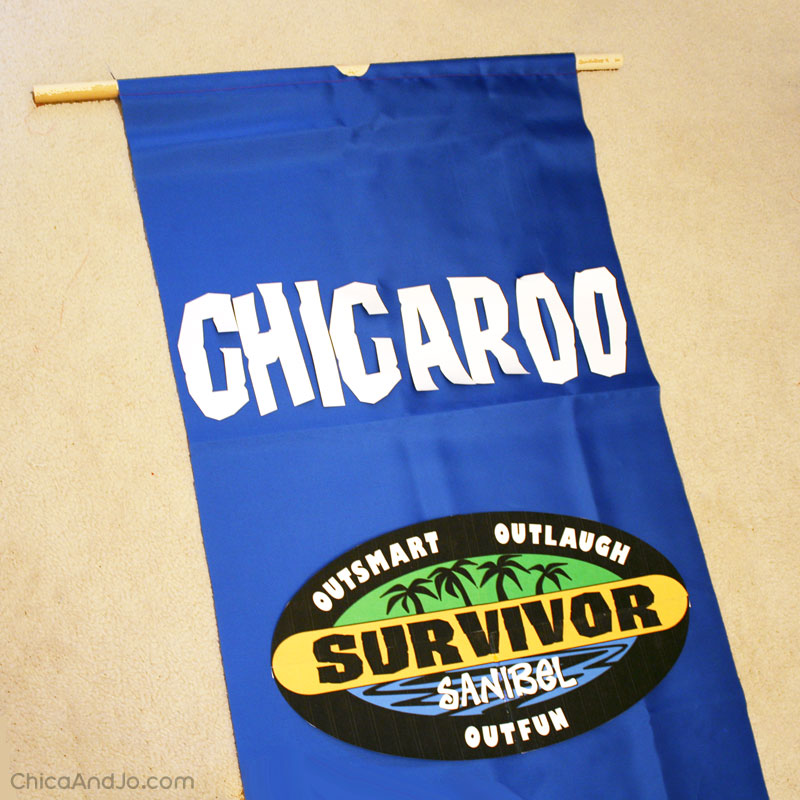
Don't you wish you could be a part of the Chicaroo and Jokomo tribes? I may be a little biased, but I happen to think those are the best Survivor tribe names ever.
For the final assembly, start by putting the long wooden stake on a table and lay the flag on top, lining up the hole in the dowel with the hole in the stake.
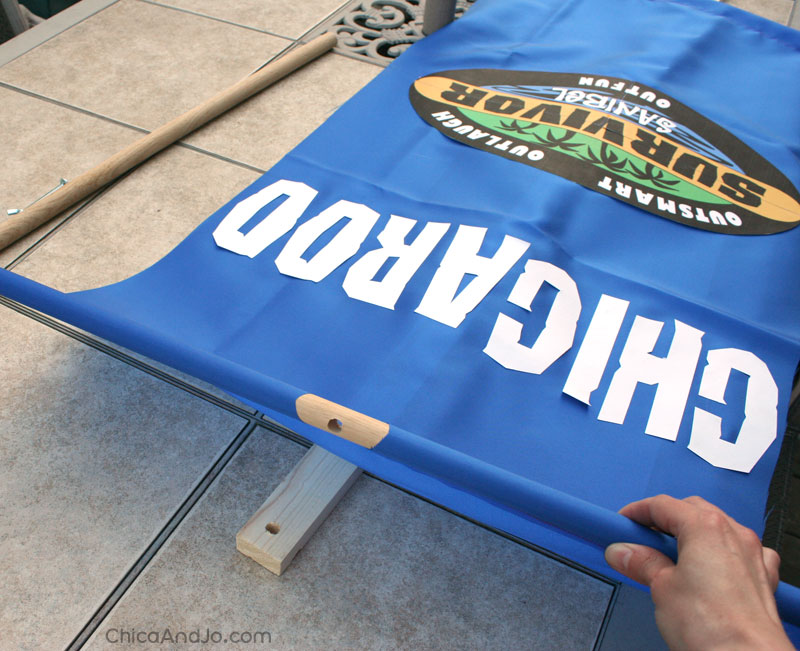
Put the screw through both holes and secure it on the back with the wingnut. The reason I used a wingnut here is so that it would be easy to assemble and disassemble the flag by hand (no tools needed) when we're out on the beach doing out challenges. It will also make it a lot easier to transport the flags down to Florida!

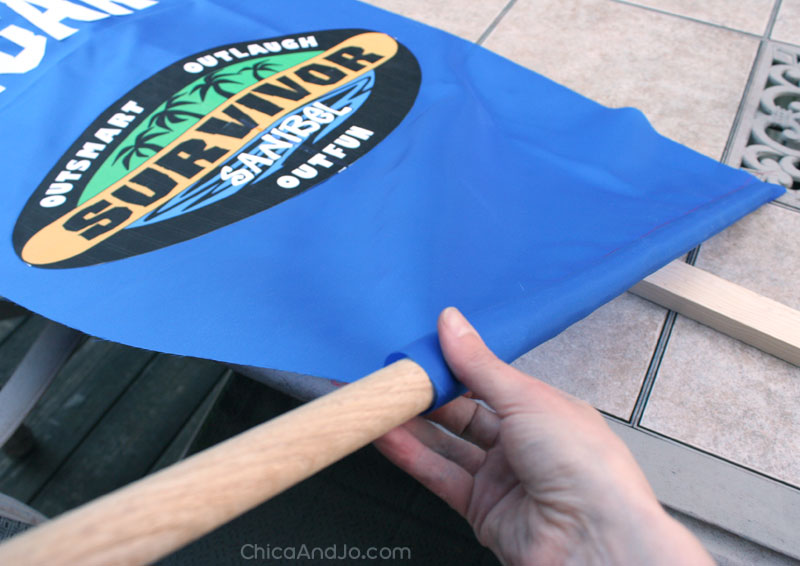
Slip the remaining dowel rod into the pocket on the bottom of the flag, which will give the flag some weight and allow it to hang straight, even in a breeze. The finished flags are easy to carry and can be stuck into the ground or sand easily, too.
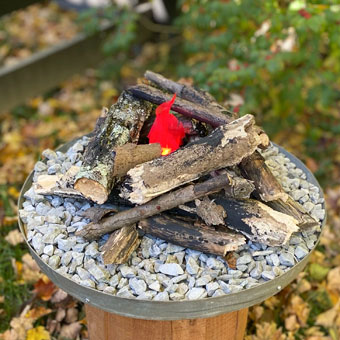
Be sure to check out our complete How to Host a Survivor Party post for more details about the rest of the elements of our DIY Survivor event, including Tribal Council, immunity idols, and challenges!


21 comments so far:
I am also a Survivor fan. I have to say Rupert was my all time favorite even though he didn't win.He won Americas heart though. Enough said about that. I love love love your Survivor idea for vacation. I can hardly wait to see what else you come up with for it. Y'all are going to have so much fun and I hope you post pictures of your experiences. Best of luck to all participants.
You guys are so stinkin creative! I wish my guy was wanting a Survivor party now! His birthday is in July and he wants LEGO Pirates of the Caribbean???? Um... yeah, that's easy ! Bleh!
April, maybe you can talk him into Survivor next year :) As for this year, we don't really have any projects related to LEGO, but we have tons of pirate party ideas that might help you!
My husband is a teacher and the school provides him with a space to hang a flag outside his classroom door. He has been upset all last year because he did not have a flag and could not find a flag he liked that was the right size. I had thought of making him one, but didn't think I had enough skill. It never occurred to me to hot glue a logo! How does it look on the reverse side? Would I need to do something to make it look better? Maybe I could print two logos and put one on either side... Any suggestions?
Melly, our flags look perfectly fine on the back, but I'm sure that will vary with the type of fabric you use. We tested several different methods before settling on hot glue, including sticker paper and spray adhesive, but the glue worked the best for us. Just test on a scrap of fabric first to make sure you get results you are happy with!
how much wood do you need for 3 tribes instead of 2?
Nathan, each flag requires two 3/4″ wooden dowel rods that are about 30″ long and two 1″x2″ wooden stakes that are 6′ long.
Thank you so much for posting your party ideas! Last year my daughter wanted an Amazing Race party and I was able to make the clues using your templates. This year she wanted a Survivor Party and I found you again when it came time to make the buffs!
So glad we've become your go-to source for party help, Karen! Have a great party.
I am in charge of planning the yearly theme for the junior high school where I teach. Any ideas how to plan a survivor theme that is school appropriate?
Thanks
You guys are great thank you so much I used you survior party thank you so much again
May we use the Survivor logo for a 3rd grade class party?
Kerri, of course!
Thank you so much for sharing this page on how to make the survivor buffs!! My son is turning 10 and having a BIG survivor party. He wanted these SO bad for all his friends, and I don't sew... At all.... Ha! I will be able to make these for all of his friends for less than what one authentic survivor buff costs! Thank you!
Hello! My mom is a huge survivor fan! We are throwing her a surprise 60th birthday survivor themed party with her siblings and her adult children. Many thanks for all the great ideas!
Amazing job!!! wow!!!!!
We've tried to do this before and I can't remember what type of iron on we used but we had the issue of the logo not stretching with the fabric. Did you experience this as well and if so how do you prevent it from happening?
Katie, we didn't have that problem. Must have been a differene in the type of iron-on sheets we each use? Unfortunately it's been so long that I don't remember what kind we used.
Hi chic and Jo
Fabulous ideas.
I am hosting a survivor weekend.
Do you know where I can find a modifiable survivor logo ?
I am not familiar with photoshop or whatever it is but could modify a created template
Thanks for any further tips
Mel
Mel, that sounds like a lot of fun. I don't think there is a modifiable one on the internet. Sorry.
I am also a fan of survivor i watch the uk one the australian one and the new zealand one. The best website EVER!