


Custom Lined Envelopes for Valentine's Day

I've always loved the look of lined envelopes and realized it's super easy to make my own. You can line an envelope with any patterned paper you want, and the envelope itself serves as a template, making it an easy DIY project for customizing birthday cards, wedding invitations, or greeting cards for any holiday, such as Christmas or Valentine's Day.
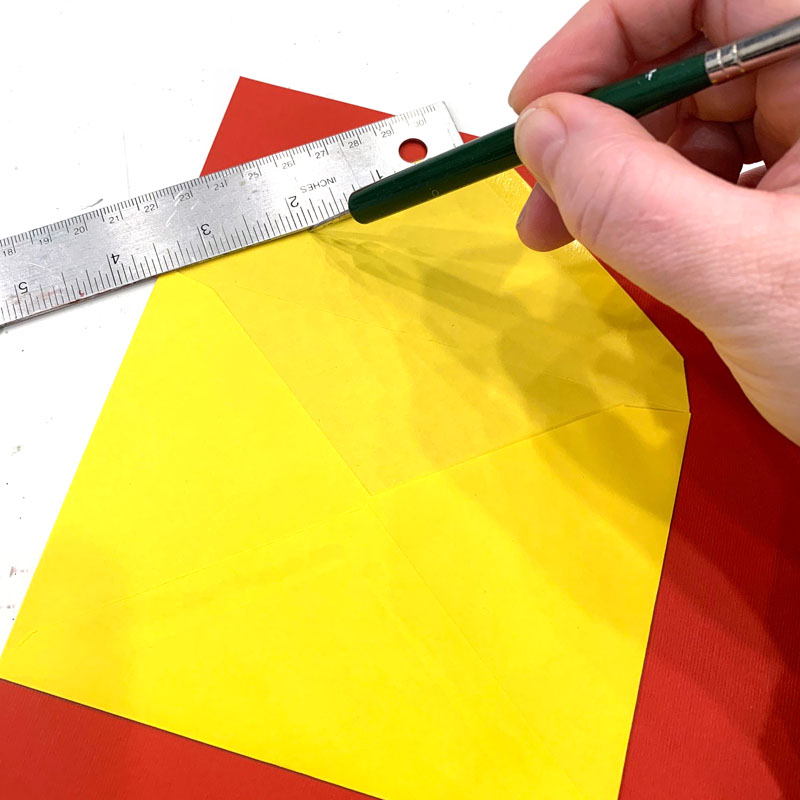
Start by choosing your envelope. It doesn't matter what size envelope you use — the technique I will show you can be used on any of them. Open the flap then trace the outline of the entire envelope onto a piece of scrap card stock.
With the envelope still in place, use a scoring tool to score a line along the inside of the glue line of your envelope's flap. This will make an indentation on your cardstock at just the right place so you'll know how much of the cardstock to cut away so that the liner doesn't cover the gummed area of the flap.
Then cut the template out along the traced edges, but for the flap, cut at the scored lines instead.
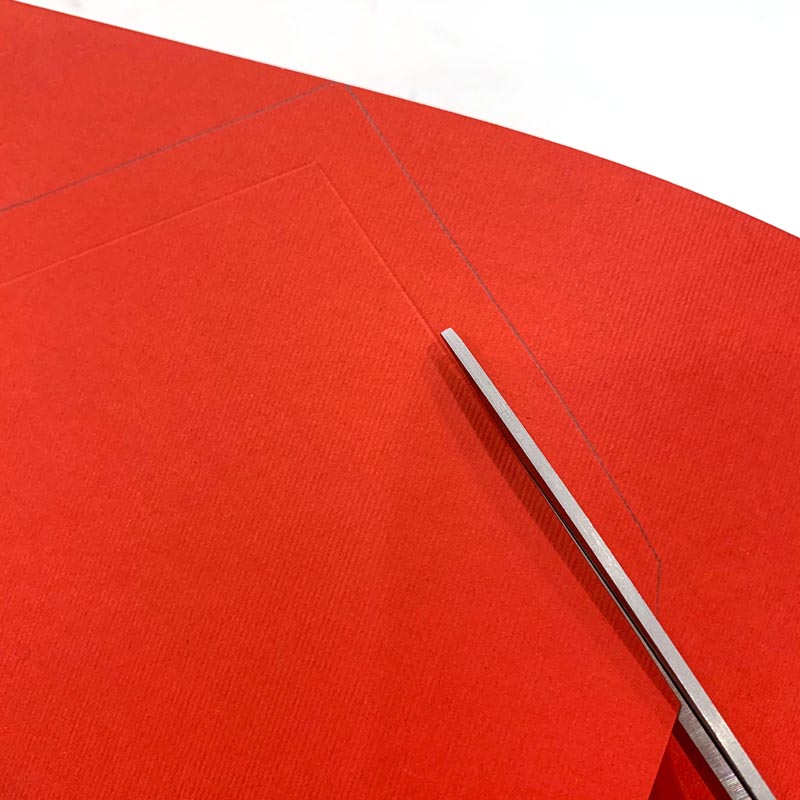
To test the fit, slide the template back into your envelope and make sure the gummed area on the flap is not covered up. Now you have a perfect template for this envelope and can make lots and lots of liners very easily.
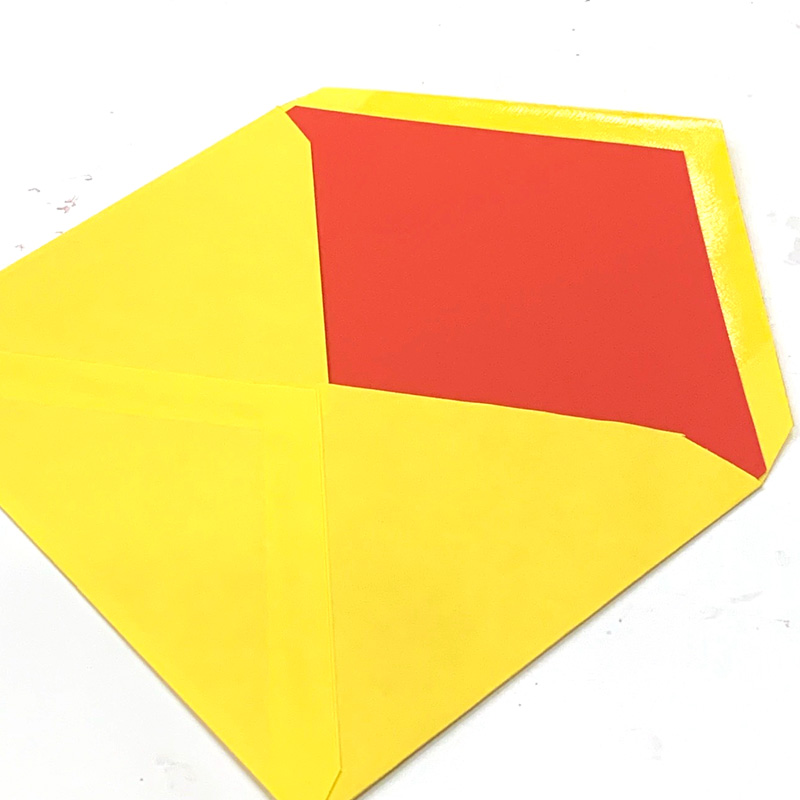
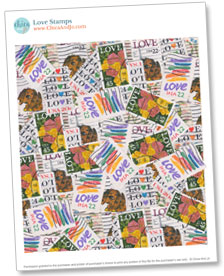
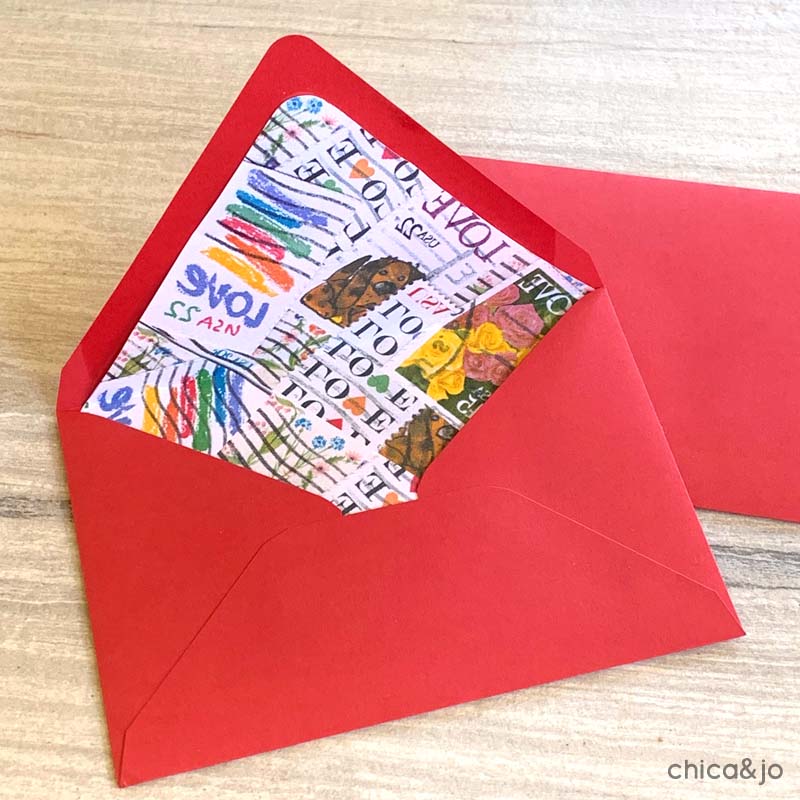
To make the liner, just trace the template onto your decorative paper, and then cut it out. I created a fun collage of LOVE stamps to use for lining my Valentine's Day envelopes, and we're sharing our LOVE stamp pattern printable with you so you can use it too!
Just print the pattern onto regular paper, or use any other patterned paper you like, to suit your card occasion.

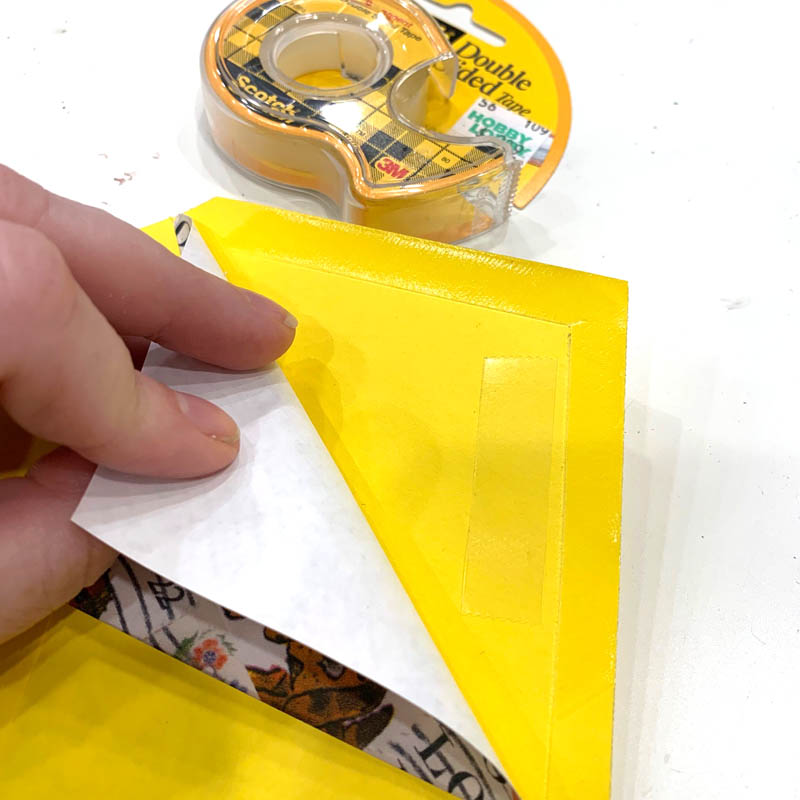
Slide your liner into the envelope and fold the flap down, creasing the liner as well. Then use double sided tape to adhere the liner to the envelope flap.
Just like that, you have a custom lined envelope. Didn't they turn out cute?
similar projects
Mini M&Ms Wrappers for Valentine's Day
Printable Friendship Bracelet Valentine's Day Cards
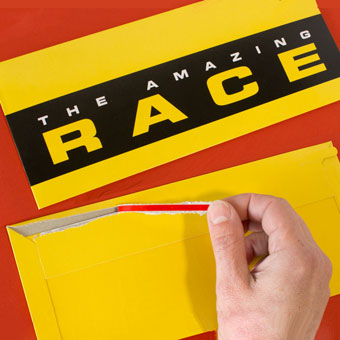
Amazing Race Tear-Strip Envelopes


2 comments so far:
I love this! What a cute idea.
Those came out so cute! Thanks for the how-to, I'll be linking.