


Easy DIY Rainbow Cupcake Display Pedestals

While helping a friend with a rainbow-themed birthday party, we immediately offered to make some of our rainbow swirled frosting cupcakes, which were a natural fit. When she asked us for ideas on how to display them, we decided to get really creative and build individual cupcake pedestals, to create a truly unique cupcake display. And if we could make them rainbow too? That would be perfect!
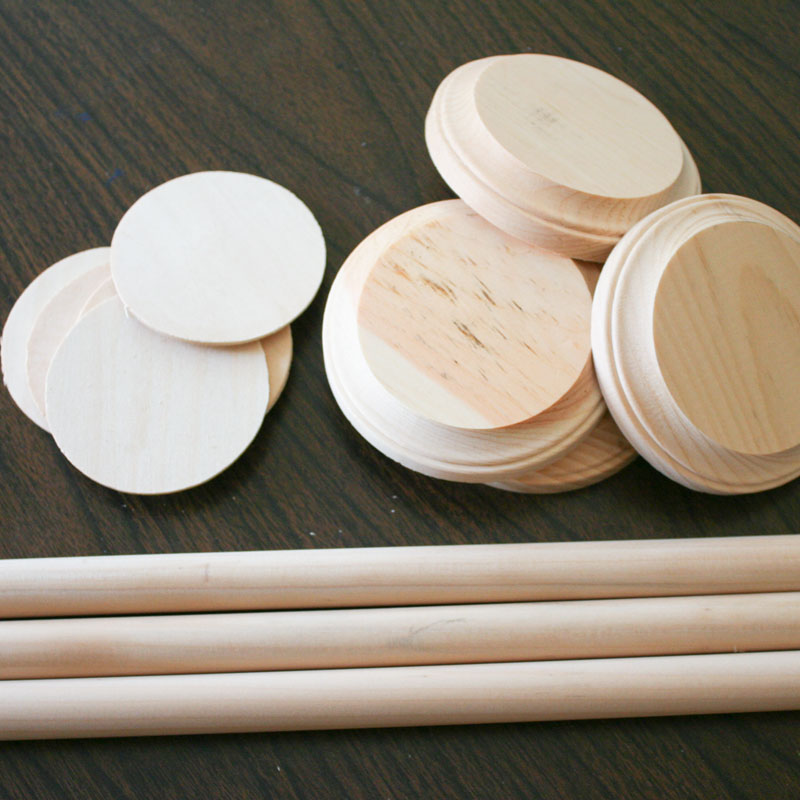
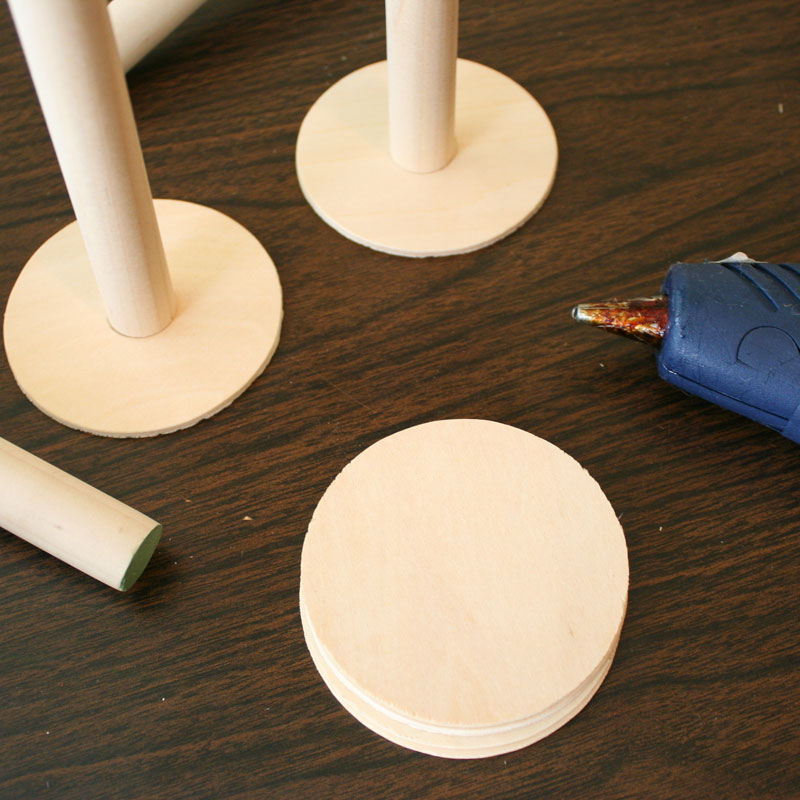
To make the cupcake pedestals, we started with a few wood pieces from the craft store. We got a handful of 3/4" wooden dowel rods for the height, some thin 3" wood circles for the tops, and some 4" round wooden plaques for the bases.
We cut the dowels into varying random lengths, so that we would have a variety of heights for the finished pedestals. Then we pre-drilled a hole through the center of the wooden plaques as well as the ends of the dowels.
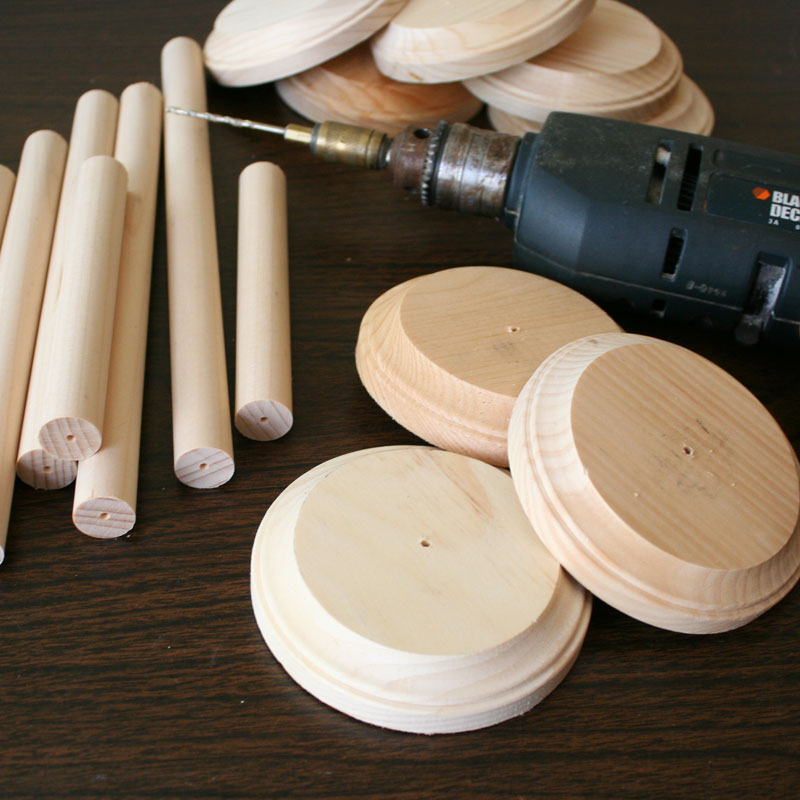
Then we used a wood screw to attach the dowels to the plaques, screwing up from the bottom and through both pre-drilled holes.
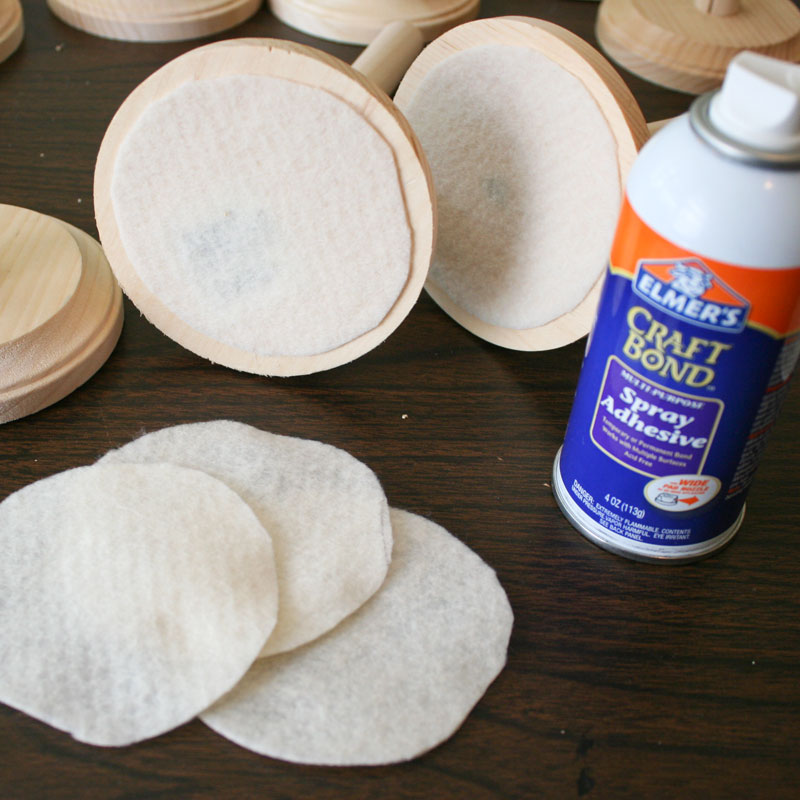
To make sure the screw head doesn't scratch your table, use spray adhesive to attach a piece of felt to the bottom.
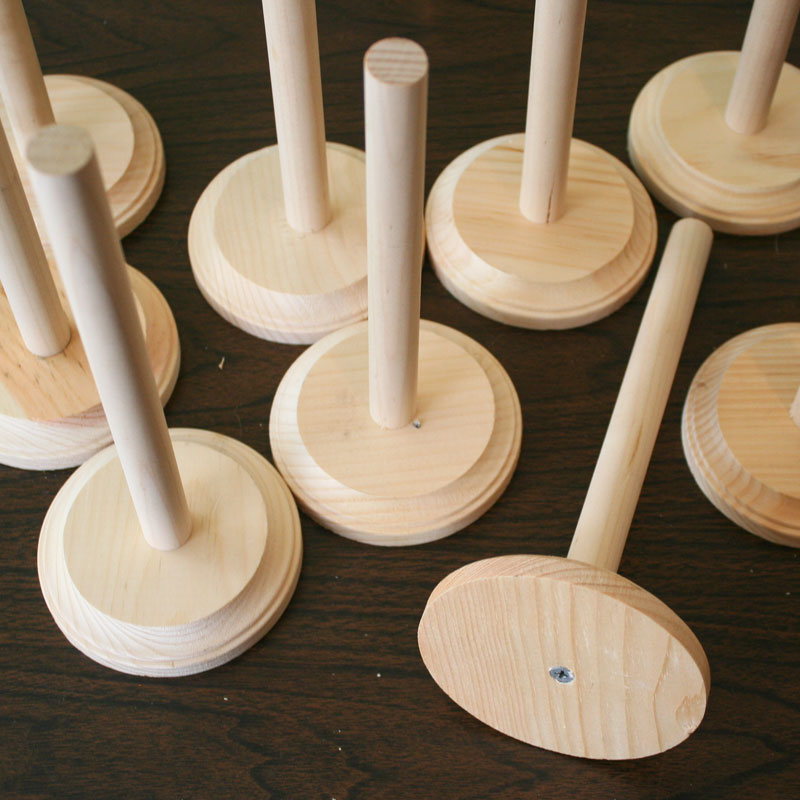
A dab of hot glue is all it took to attach the 3" wooden circle to the other end of the dowel rod, creating the top.
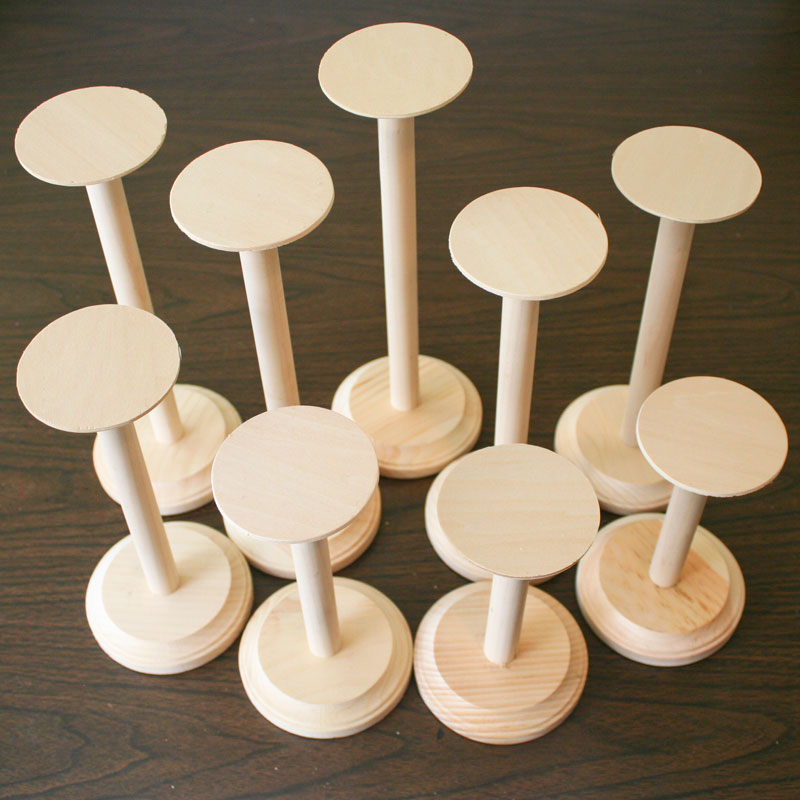
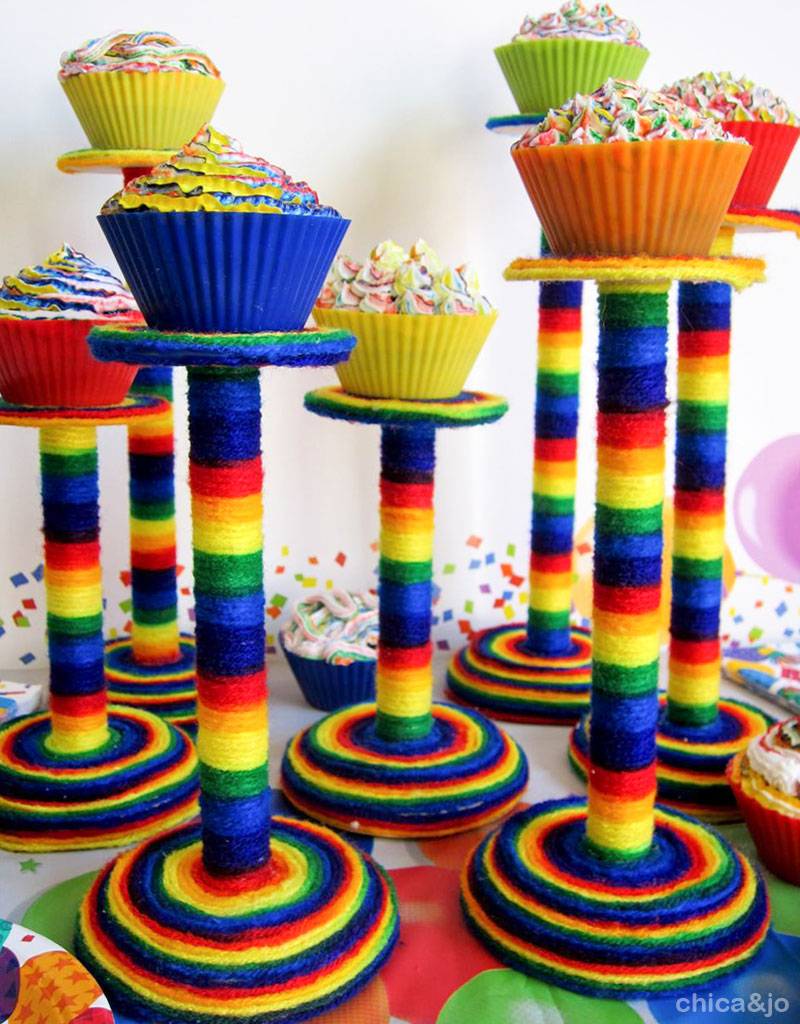
Wasn't that easy? I love how the different heights look when they are grouped together. At this point, you could customize these cupcake pedestals with paint, or any number of other finishes, but we decided to use yarn. Rainbow yarn, to be exact!
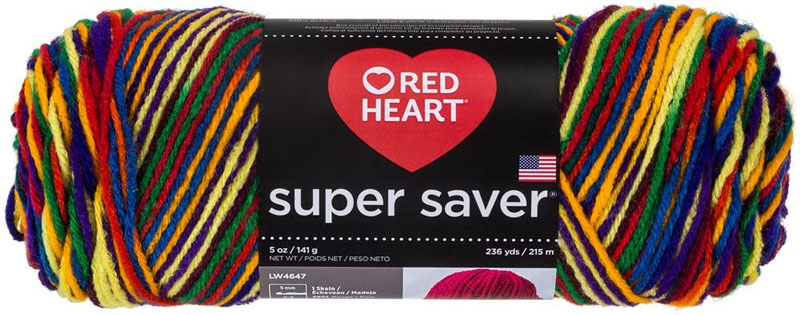
In particular, we used Red Heart yarn in Mexicana, but you could use any rainbow striped yarn color that you like.
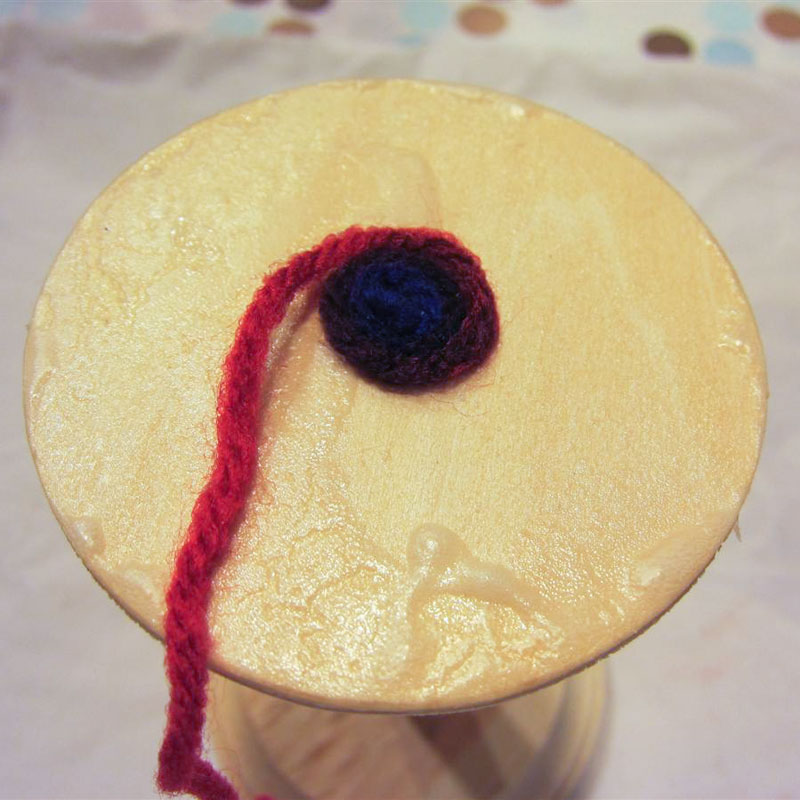
After you have selected your yarn, you need to attach it to the stand. To keep this easy and quick, I just sprayed the surface with a good thick coat of spray adhesive.
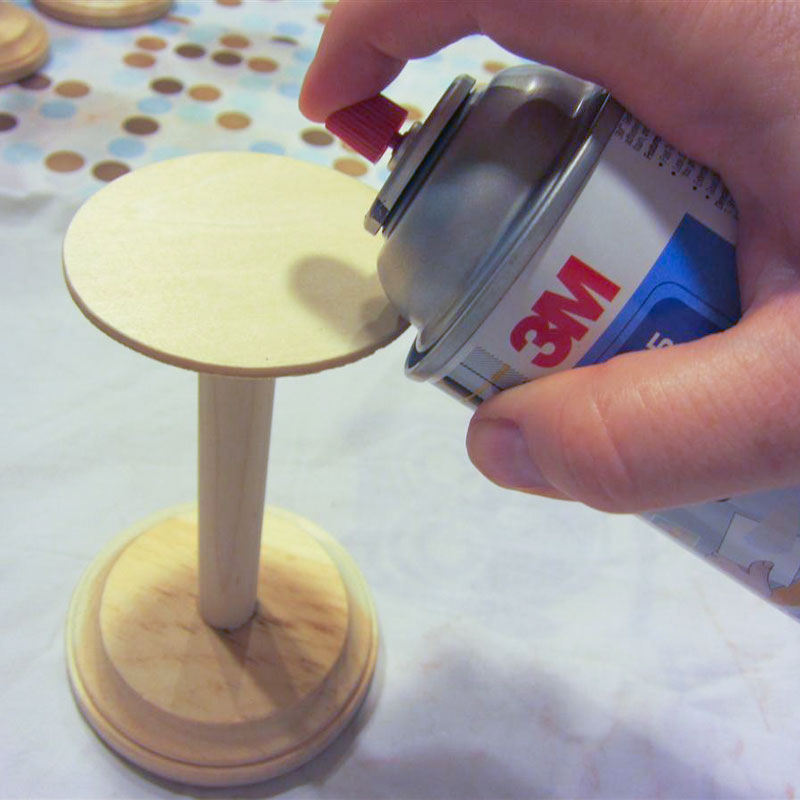
Then I stuck the end of the yarn to the center of the top and coiled it around, pressing it in place as I went.
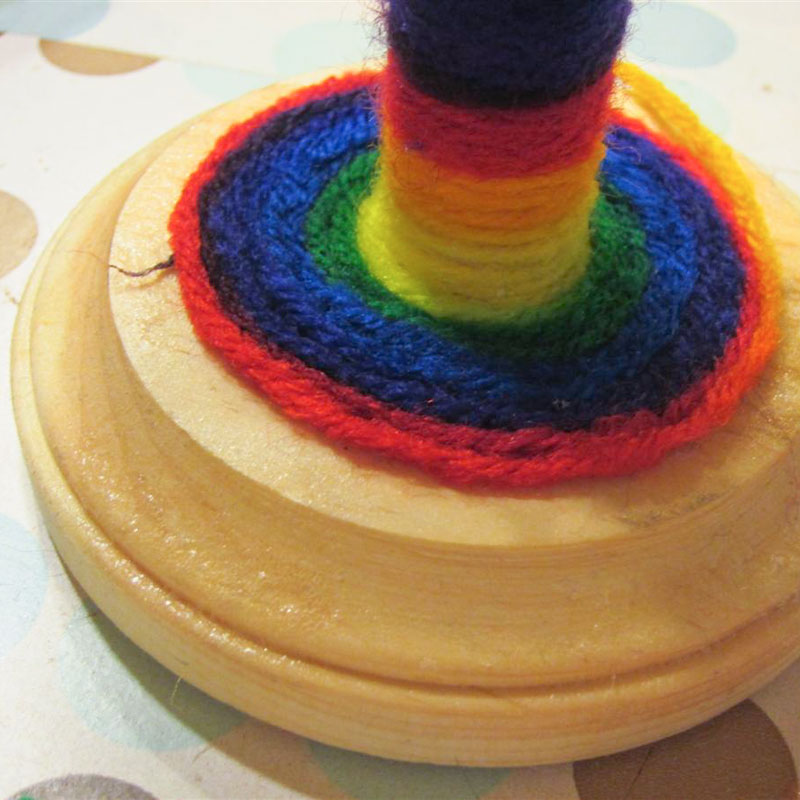
When the top was covered, I kept going, adding spray adhesive to each section and working my way down the dowel and to the base. I just love how the color variation in the yarn automatically gave me perfectly even bands of color as I worked.
When the glue was dry, these cupcake pedestals were ready to top with cupcakes! To add to the rainbow look, we used brightly colored silicone bakign liners and, of course, frosted them with our rainbow swirled frosting technique. They look so yummy and festive!
similar projects
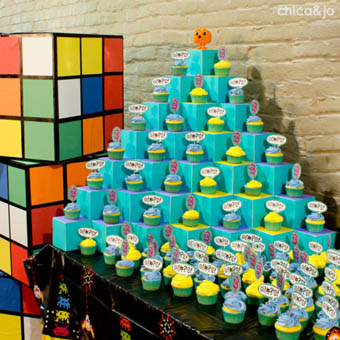
80s Party Cupcake Display with Donkey Kong and Qbert

DIY Faux Marble Pedestals
DIY Barbie Cupcake Stand


11 comments so far:
Love it! This particular yarn would be great for a Cinco de Mayo party.
Shauna, that's a great idea!
Those are so fun, I love the rainbow!
so fun and clever! loved the colors! I think it's so just amazing!
Whoah these are amazing. Such fun colours
Very cute idea and well executed. Do you mind sharing how you achieved such fine lines of colors in your frosting? I've never seen anything quite like it.
Thanks and Happy Baking!
Sorry. Reading more carefully I see that you were already kind enough to share the technique. Thanks so much! Can't wait to try it out!
Do they fall over easily? I am thinking you could screw them all into one large circle cake board for more stability.
Gail, we haven't had a tipping problem because we used a pretty wide base, but your idea for attaching them to a base is a great one.
Wow! Looks like the cover of a Dr. Suess book. I think it was Oh, the Places You'll Go. Dr. Suess themed b-day party, here I come.
Lucy, you're so right. These stands are kinda reminiscent of the cover of Oh, the Places You'll Go!