


Thanksgiving Clothespin Wreath

Did you guys realize that were were the original crafters who created the very first clothespin wreath back in 2009? (See a picture of it at the end of this post!) Having seen our idea bloom all over the internet since then, we're amazed at the fun spins everyone has put on our original idea. We love exploring new ideas for wreaths and we really hit the nail on the head when we came up with this one!
My inspiration for the first clothespin wreath came during a trip to the dollar store, when I realized that the clothespins in my hand would clip onto the wire wreath frames I was looking at. With Thanksgiving coming up soon, a project idea quickly formed.
I always have a huge Thanksgiving dinner with my family, and there are dozens of people in and out of the house that day. My ideas was to have each visitor write what he or she is thankful for on a clothespin, and clip it to the wreath. What a fun and unique way to collect everyone's thoughts.
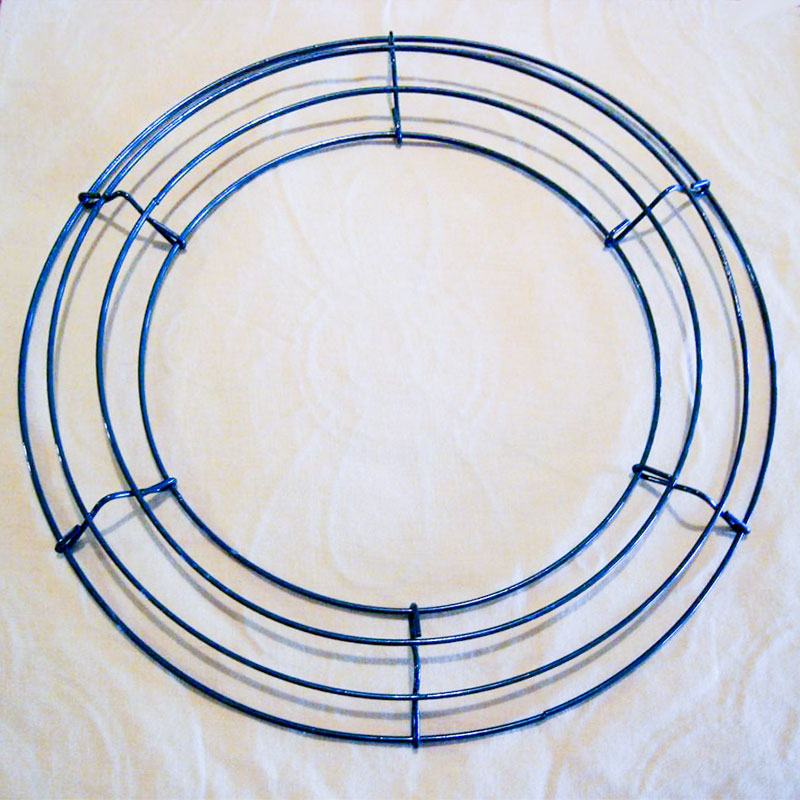
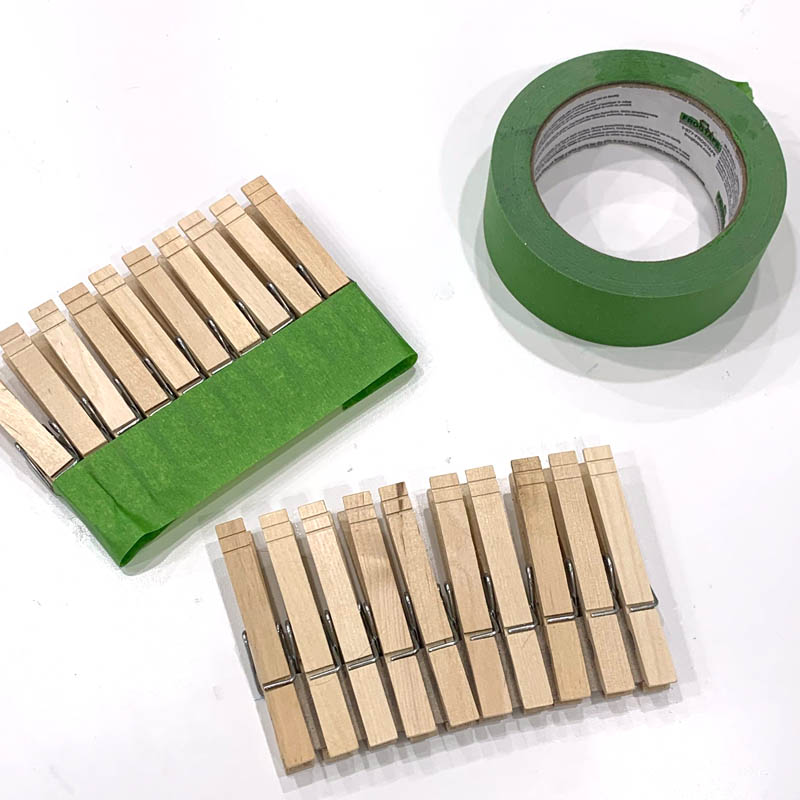
I started with a wire wreath frame and a bag of ordinary wooden clothespins.
The beauty of these wreaths is that you can decorate them however you want! I have personally made many versions of it and it was fun coming up with new decorating ideas. This time, I taped off the bottoms of the clothespins.
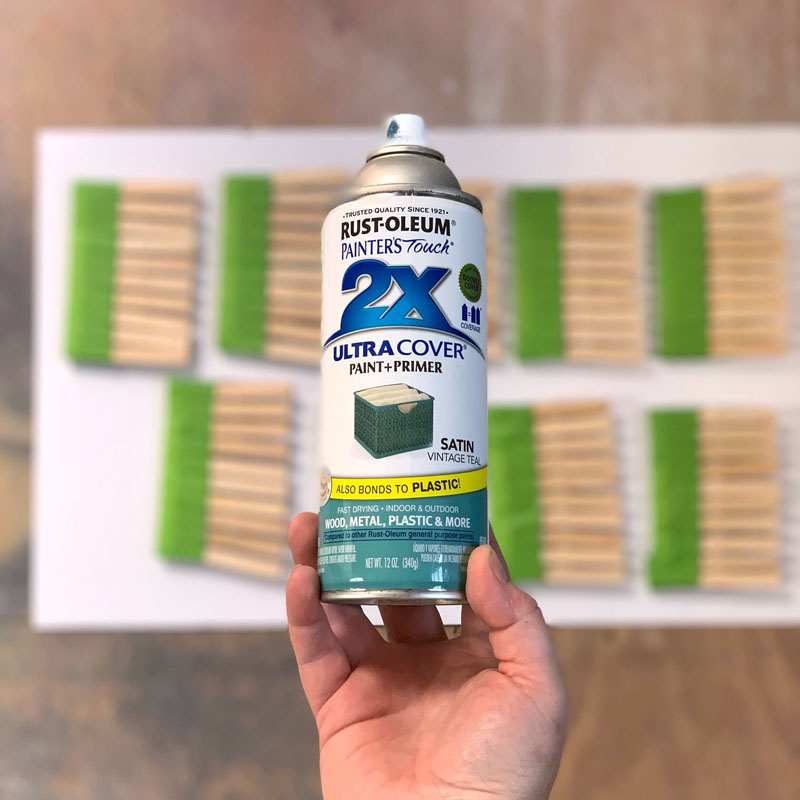
I spray painted them Vintage Teal by Rust-oleum.
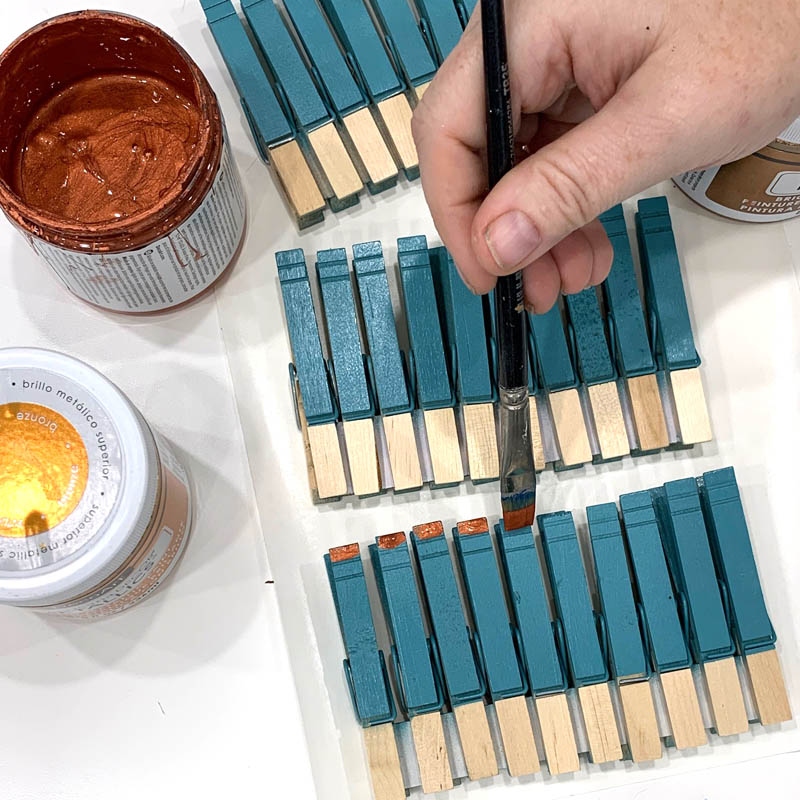
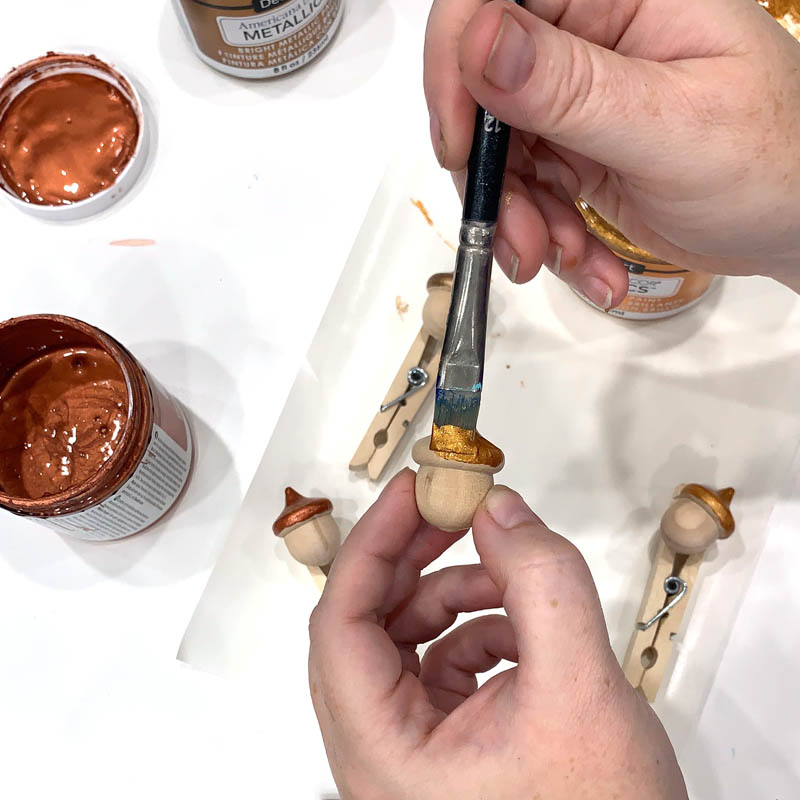
To add a bit of shine, I painted the tips of the handles with Americana Decor Metallics in three different shades.
I used the same colors to paint just the caps on some wooden acorns. I left the bottoms of the acorns (as well as the end of the clothespins) unfinished to add a natural wood look to the wreath.
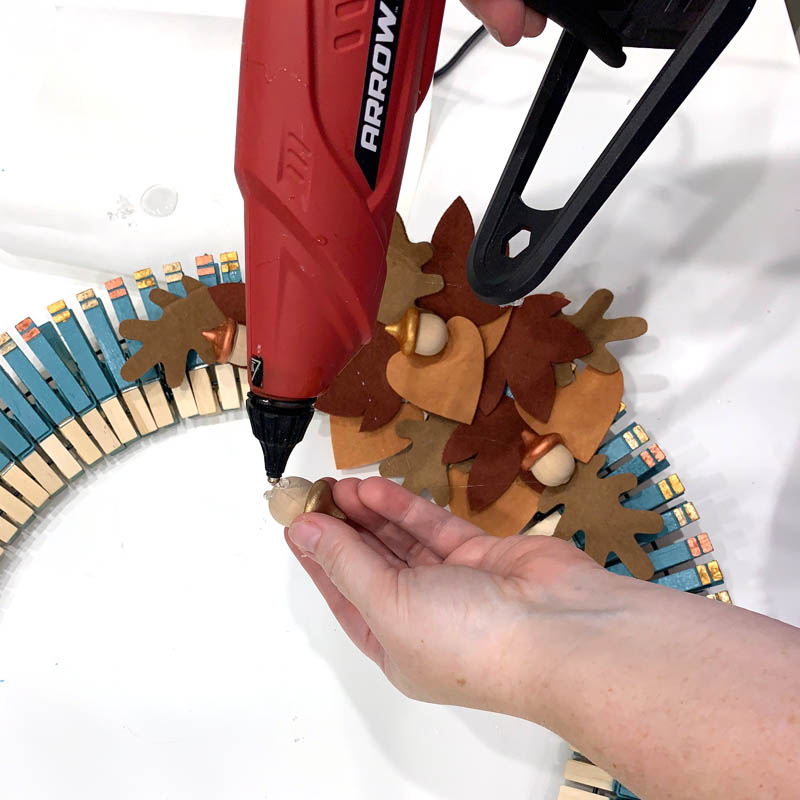
After clipping all the clothespins to the wire frame, I attached felt leaves and the wooden acorns to one section of the wreath using my Arrow hot glue gun.
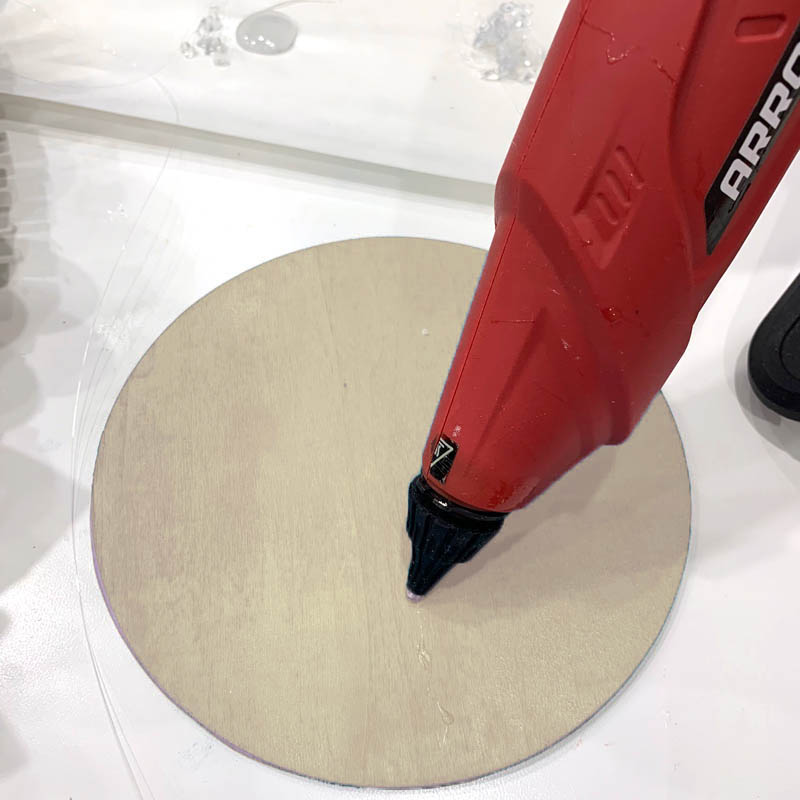
To decorate the wreath further, I painted a wooden disk the same a soft tan color and hot-glued some clear fishing line to the back.
I used my Silhouette to cut some vinyl word art (you can download my free "I'm thankful for..." .studio file) for the sign, then tied it to the wreath, letting it dangle in the center on the invisible string. This sign lets people know they should complete the phrase by adding their answer to a clothespin!

Everyone who has visited so far has loved my wreath, even the UPS delivery driver, who took a moment to sign a clothespin as well. And a teacher friend of mine saw it one day and went out the very next day to buy the supplies to make one to hang on her classroom door. What a great idea for teaching students to be thankful at Thanksgiving!

The Original Clothespin Wreath (2009)
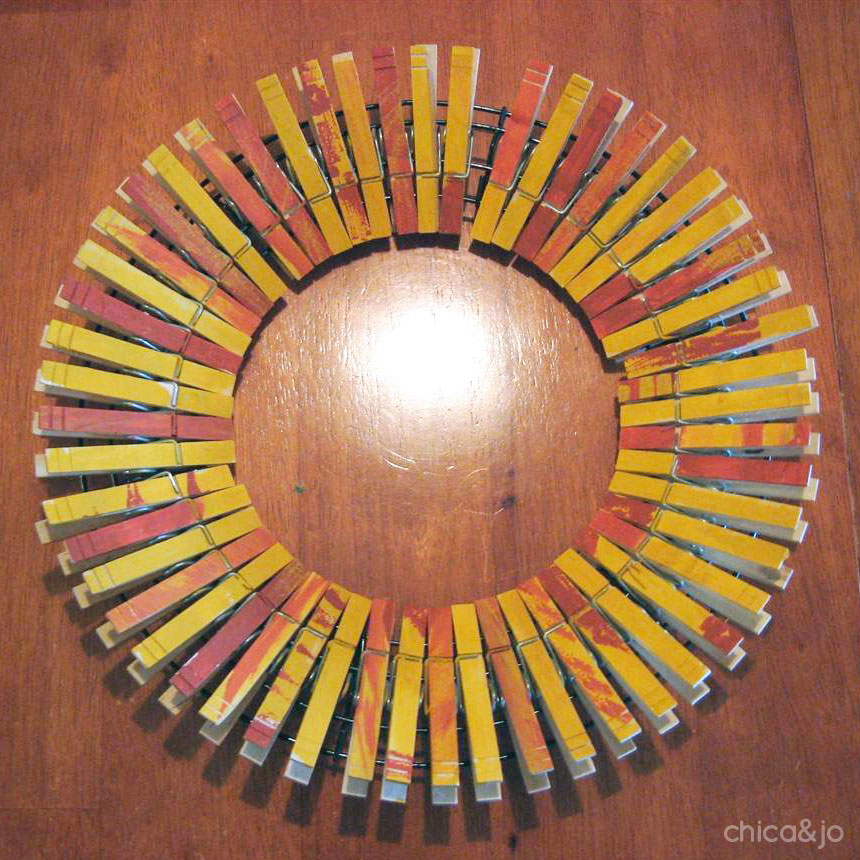
Back when I first came up with the clothespin wreath idea, I had young daughters who loved to craft, so they were my main helpers with the project. I gave my young girls some yellow, brown and orange acrylic paint and some sponge brushes and told them to paint the clothespins however they liked.
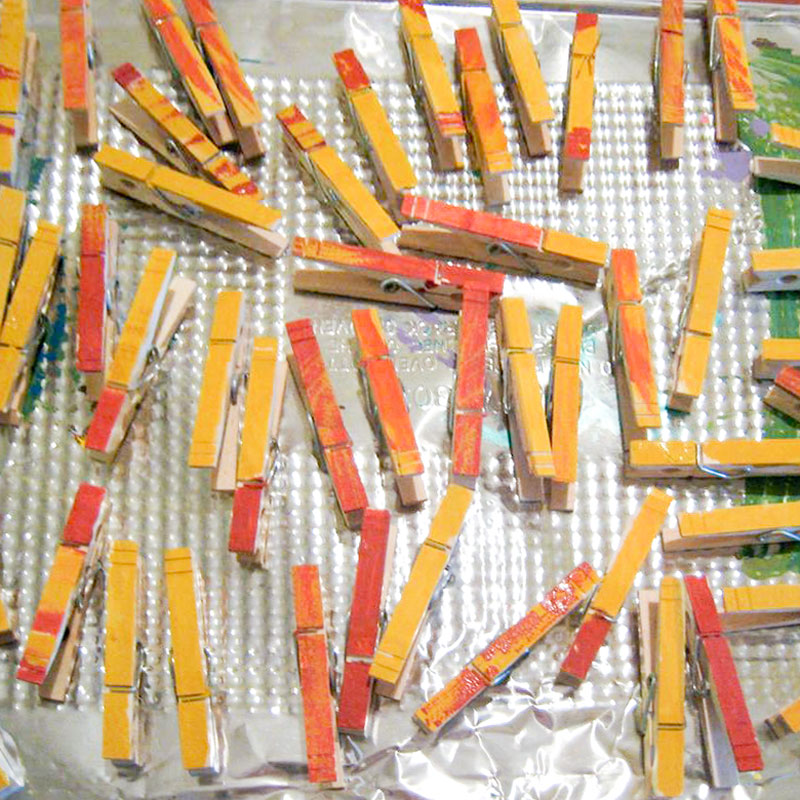
From there, it was as simple as clipping the dried clothespins onto the wreath, all the way around. I love how their mottled paint jobs look when all of the pins are on the wreath.
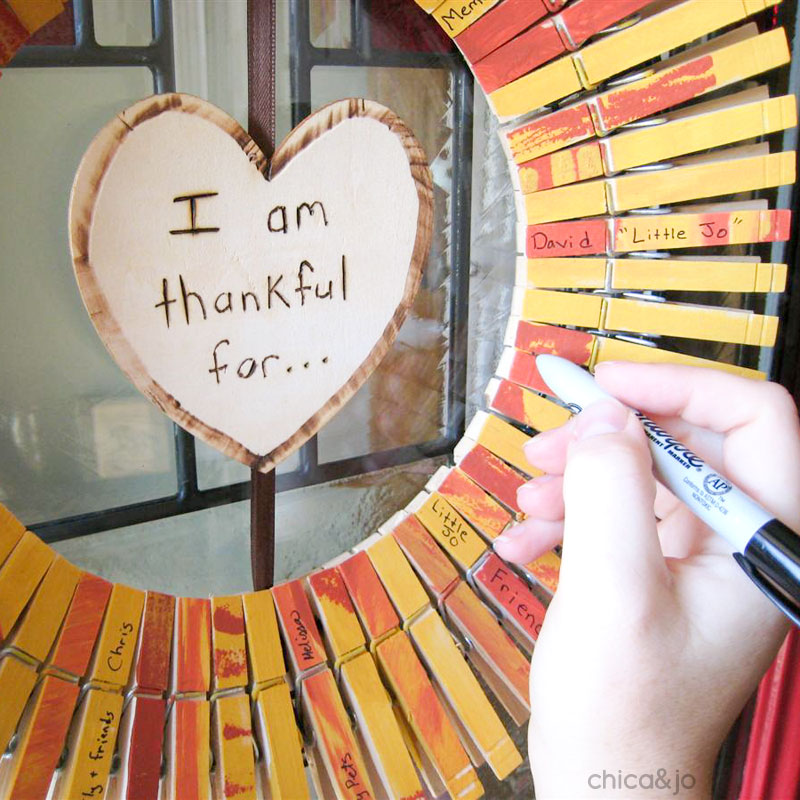
For this one, I used an unfinished wooden heart shape and a woodburner to burn in a message saying, "I am thankful for..." I suspended it with ribbon in the middle of the wreath.
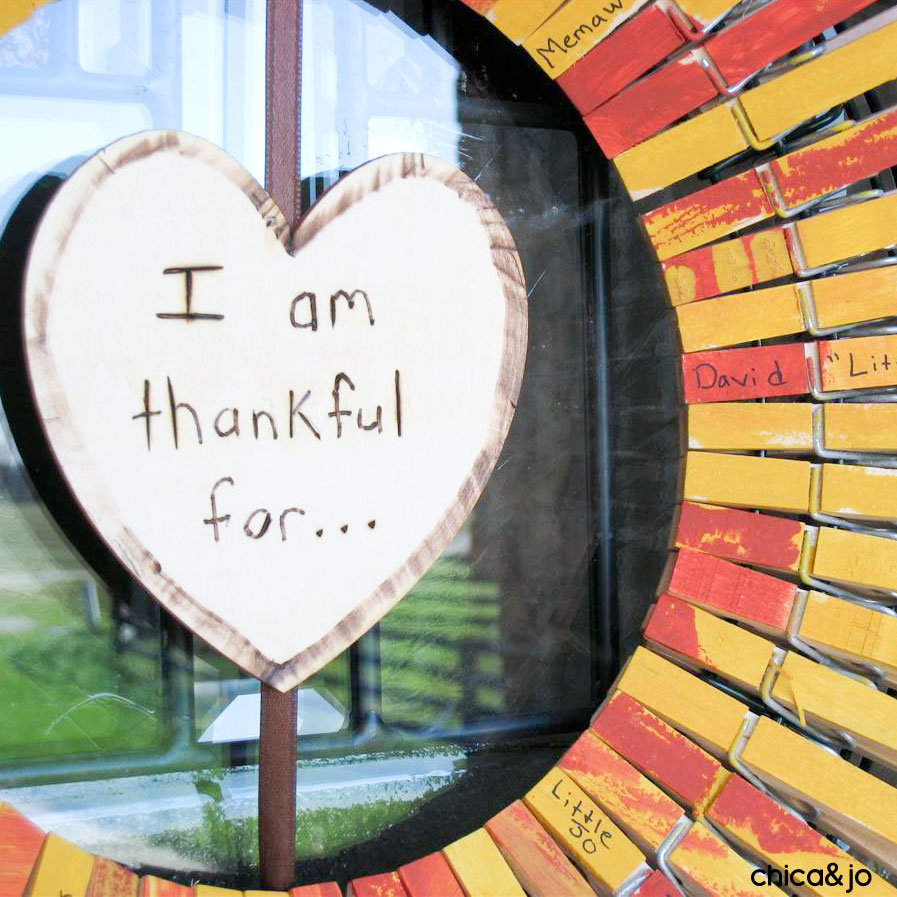
I also hung a black marker from another ribbon, so that visitors could write on the clothespins. They put their name on the small half, and what they were thankful for on the larger half.
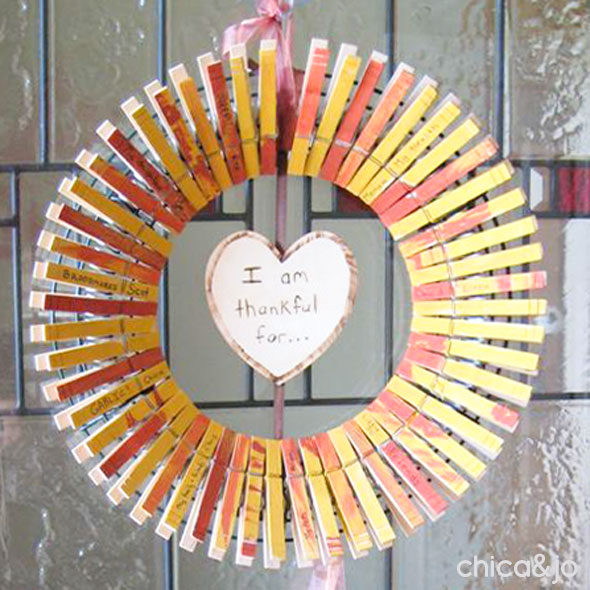
This one is all full but is a wonderful keepsake!
similar projects
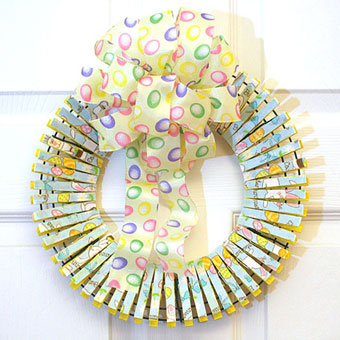
Easter Clothespin Wreath

Make a Paper Flower and Clothespin Wreath
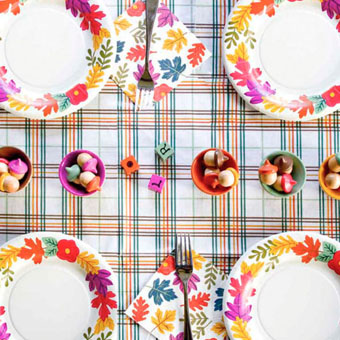
Thanksgiving Kids' Table Game


42 comments so far:
I am thankful for....every day! I love this idea.
Thanks for sharing.
Whoa...this is so fabulous! I love it! Thanks so much for yet another fantastic idea, I'll be linking.
Thanks, Rachel! You forgot to tell me what you are thankful for! You are definitely one of my blog-world friends!
I am thankful for Chemotherapy, now my dad can live a few months more than his alloted 10-12 months life.
Becca, a lot of people would agree with your sentiment on chemotherapy. We are so sorry your family has to go through the battle with cancer but thankful you will get to spend more time with him.
I am thankful for your generosity!
you guys have an awesome blog and I appreciate it. so glad I found it and suscribed!
Welcome, Johna. You are too kind!
What size wooden heart did you use inside the wreath? I know that you said to use an 8" wire wreath, but it looks bigger than that to me unless 8" is the opening size. Thanks. Lori
The wooden heart is 4 inches. The wire frame is 12 inches from outer edge to outer edge!
I am thankful for your creativity also. I am using a wooden initial "P" in the middle for our last name. My family is going to have a good time making this wreath tonight!
Karin, I love the idea of using your initial! Please add a picture of your wreath to our Flikr group!
This is awesome! I love how kid friendly it is! We're moving in a couple weeks, but I think I'll try making it with my daughter anyway. If not, we could always make a Christmas version with the clothes pins painted green with something red thrown in for holly to remind us to be thankful for the things we have around Christmas and not just the things we want. Thanks for the idea. I added it to my list of "Projects to Do" on my blog at http://helpinglittlehands.blogspot.com. I'll let you know how it goes.
Oops...forgot what I'm thankful for...
I'm thankful my hubby is finally graduating with his PhD and we get to move to the country!!!!!
Polly, I was thinking of making my Thanksgiving wreath into a Christmas one by just flipping the clothes pins over! There's no reason not to use the back side of them. I would love to see a picture of your wreath if you would add it to our Flikr group.
I'm thankful for the opportunity to go back to school!
I love this project - I'm going to make one for my house!
what else could you use instead of the wire frame thing? we are on a tight budget. love this idea!!!
You could try making your own wire frame out of old coat hangers. Or take a large plastic lid like from a coffee can, cut the center out of it so you have a plastic ring. You basically need one smaller ring to clip them to and a larger ring to hold up the backs. I will let you know if I find anything else that might work.
Wow, what an adorable idea! Just like Becca, I'm thankful for chemotherapy because it helps my stepdad who's been suffering from brain cancer since the beginning of 2009.
Such a cool idea for the kids... I'm hoping you'll pop over to my blog today and post it on Friday's Nature Table.
Blessings and magic.
ah, this is wonderful. Thank you for sharing.
I'm thankful that creative women like you are willing to share their wonderful ideas with us! I will get the supplies to make a Christmas one with my family on Thanksgiving - two birds, as they say.
this is one of the nicest ideas i've seen in a long time. it's great for home but i just love the idea of giving it to a teacher to hang in her classroom. my son's teacher would love something like this.
I love this idea!
I love this idea!! It looks pretty easy and it really communicates a great message for Thanksgiving. Thanks for sharing this.
A great idea, looks so festive too!
This is an adorable idea! I LOVE IT!
I could see this used for all holidays or occasions, even birthdays. Such a great flexible idea. I'm on a Chrismas one already{plan to write my fave things about Christmas on red, white and the occasional green pin.
Fun
fantastic idea... thanks for sharing!!!
Sorry, Just saw this now as I am trying to focus on holiday projects. I am thankful that I have so many things to be thankful for!!! Mostly my FAMILY and FRIENDS. I am headed out to the store now, and am wondering if the clothes pins can be glued facing out, allowing notes to be posted along the edges?? What do you think? If I attempt I will post a pic. Happy Turkey Day.
Rachael, that's an interesting spin on this wreath. i would think you could do it but the problem might be that the ends will be too far apart. Does that make sense?
it does, maybe I will try every-other. I got my supplies today and will let you know how I make out!
this is an awesome and amazing idea that i've never seen or thought of before! i will def be hanging one of these up this fall in my home! :)
I an making this with my Girl Scout Troop!
I can't wait to make this with my kids what a great idea to show everyone what we are thankful for.
I am thankful for my wonderful husband and the love and support that he gives to our family.
???? my clothespins at the top of my wreath fall forward when I lift it up to hang...I obviously have not mastered this yet...any ideas what I may be doing wrong...it is super cute and I so want to hang it up!
Pam, it sounds like maybe the opening in the clothespin is wider than the wire of the wreath you're clipping it to, so the grip isn't tight. I wonder if you could try shoving a little piece of foam in the clip before attaching it to the wire? Maybe that extra padding would make it a tighter grip. Let us know if that helps!
Hi Jo! I shared your Thanksgiving wreath idea on my blog today:
http://www.chickabug.com/blog/2012/11/ways-to-share-your-thanks.html
Thank you for the inspiration! : )
Heather
You are welcome, Heather. Have a wonderful Thanksgiving!
Doing this! I love how everyone gets to help personalize it!
Made my own with the kids at my work!
What a great idea ,I shared it with my sisters they love it , Thank you for sharing, the grand kids can’t wait to get started.