


Easy-Sew Candy Corn Halloween Treat Bags

Jo has been busy planning her daughter's Halloween party, so we were talking last week about making some treat bags for the kids. What better symbol to represent Halloween candy than candy corn? So I got some craft felt in yellow, orange, and white, and I got to sewing.
Candy Corn Treat Bag Video Tutorial
Here's a full video tutorial for those of you who like to see a live demonstration of how to make these cute little candy corn drawstring bags.
If you can't see the video above, you can view it directly on YouTube.
Candy Corn Treat Bag Step-by-Step Photos
And for those of you who prefer photos and text, I've documented it here with steps and photos! Keep reading to learn how to make your own candy corn drawstring felt bags.
Step 1: Prepare the materials
Making these felt treat bags is super quick and easy, and just takes a few supplies. You'll need some ribbon and felt cut into the following pieces:
- 1 piece of yellow felt cut 4" x 3.5"
- 2 pieces of orange felt cut 4" x 2"
- 2 pieces of white felt cut 4" x 3"
- 1 piece of ribbon 24" long
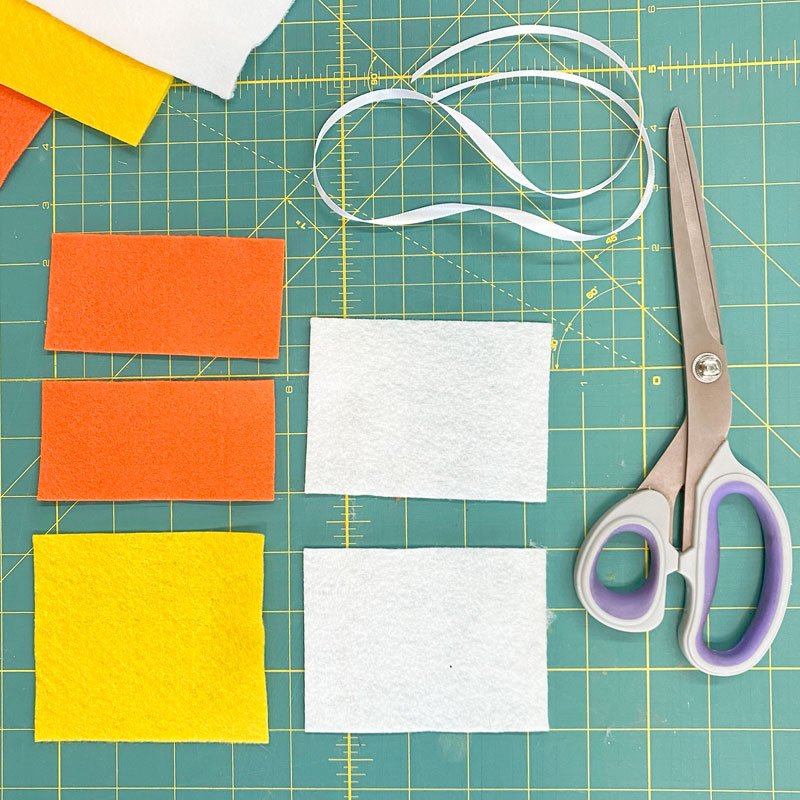
For an optional extra bit of decoration, use a pair of pinking shears to trim the long sides of the two orange pieces of felt.

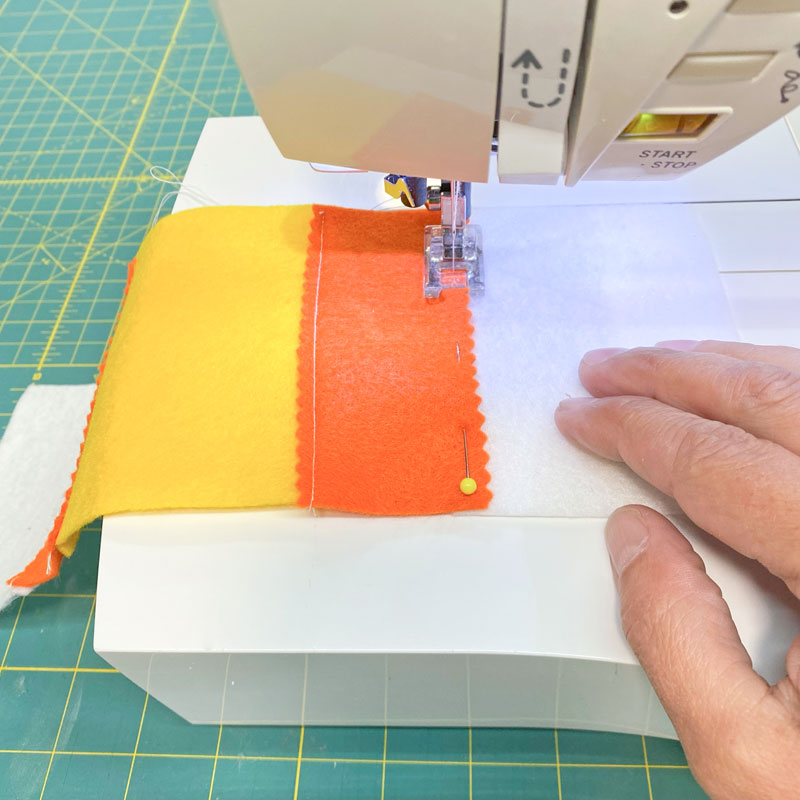
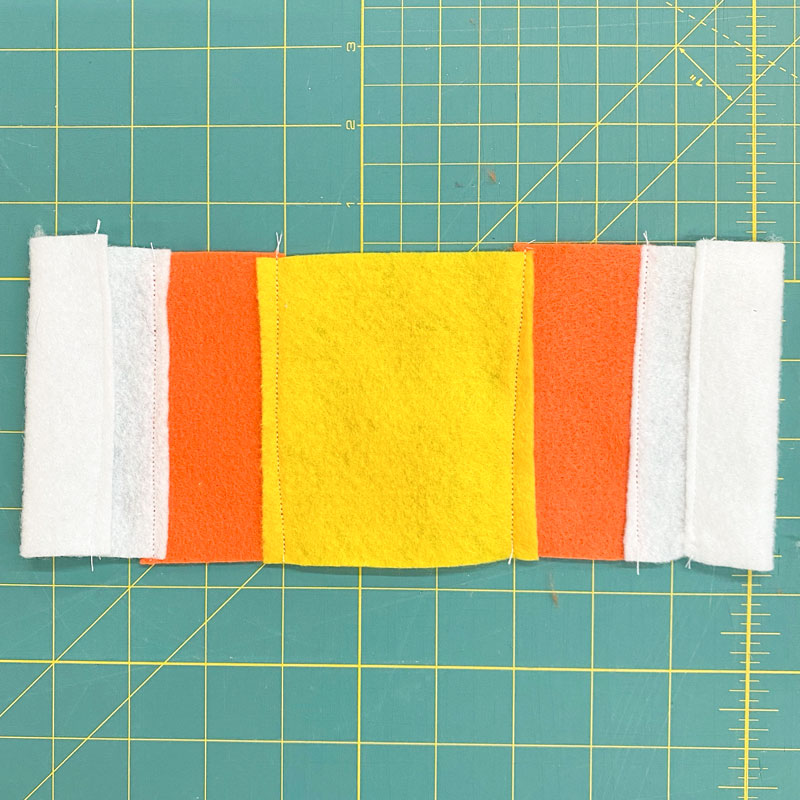
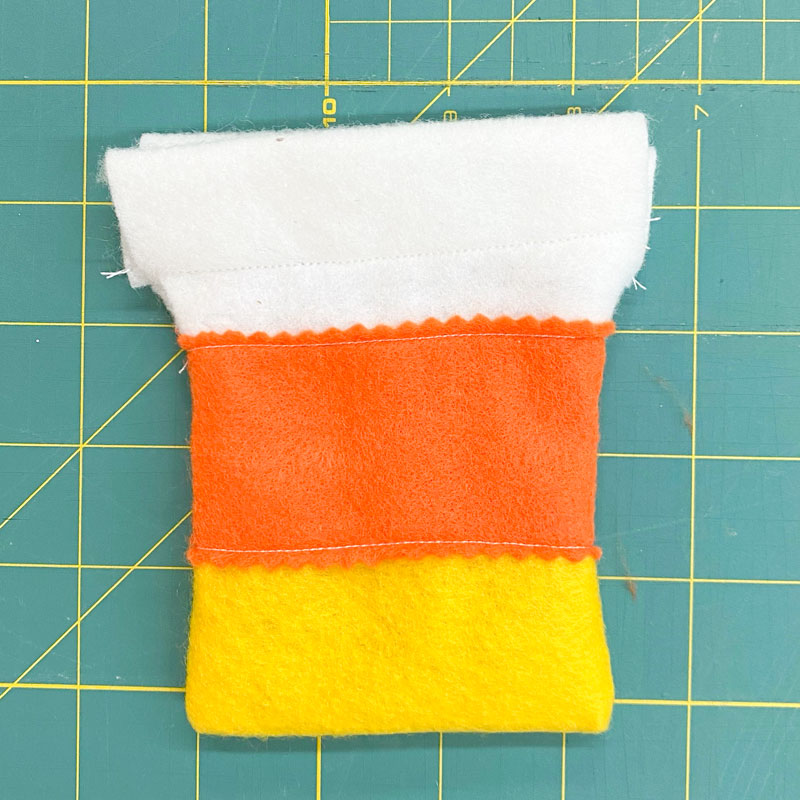
Step 2: Sew the panels together
Start by placing the two orange pieces on either side of the yellow piece, overlapping by just a tiny bit. Make sure the orange pieces are on top of the yellow one, and pin in place.
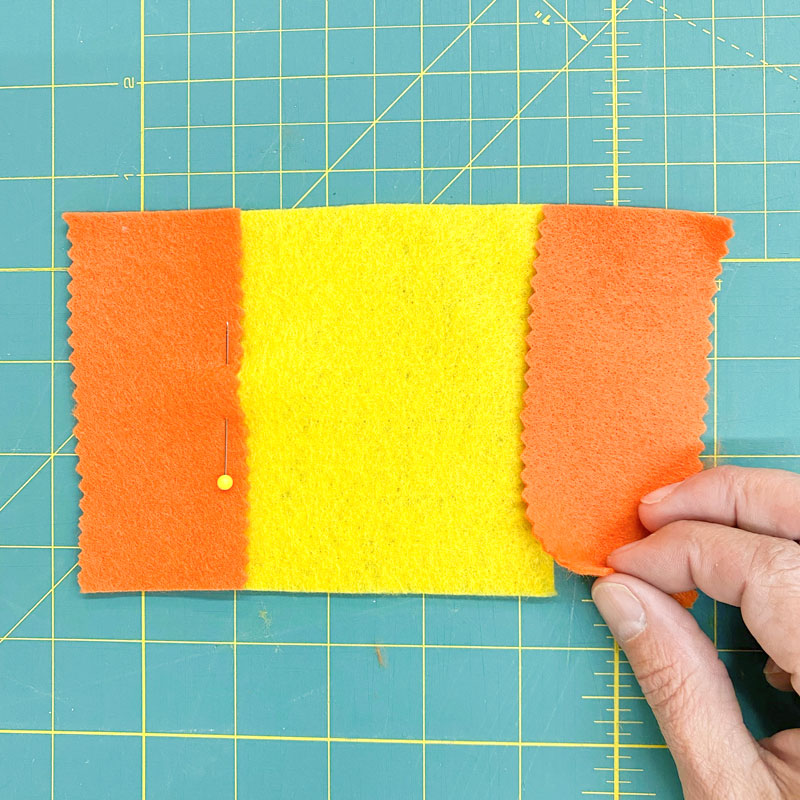
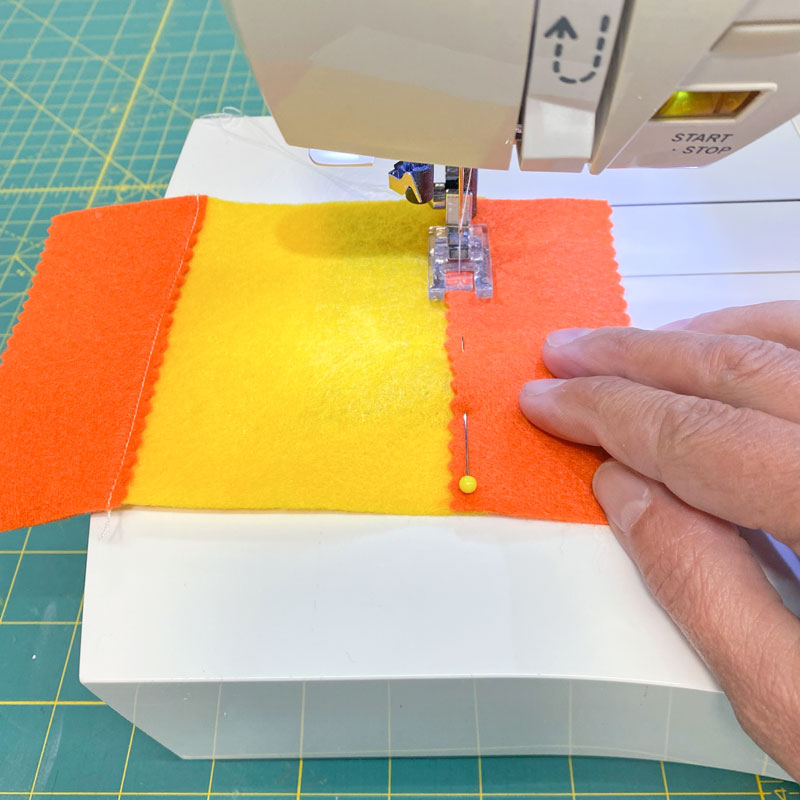
Take the piece to the sewing machine and sew the orange pieces down with a topstitch.
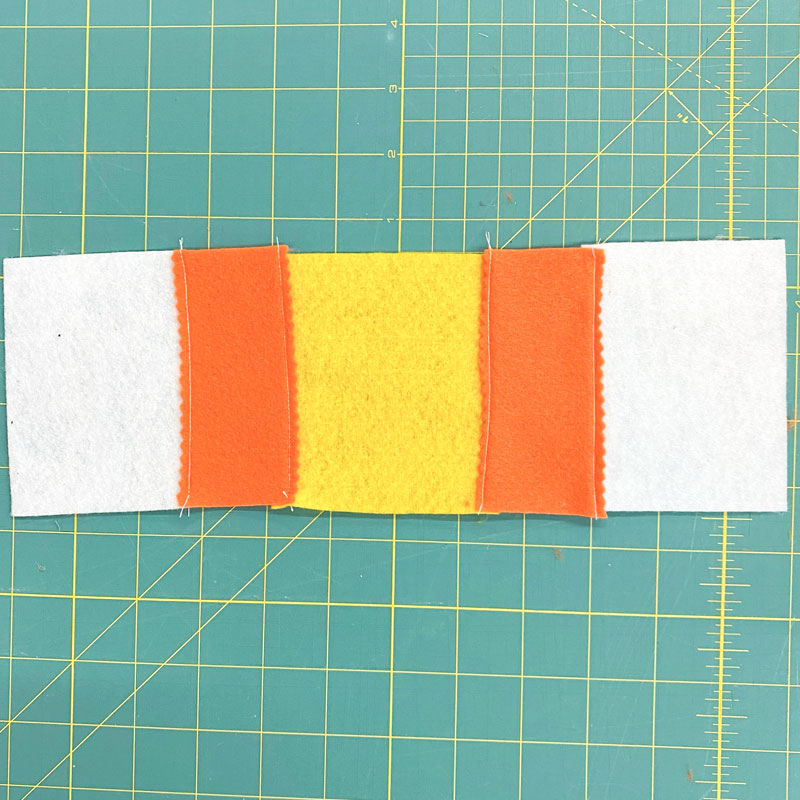
Now place the two white pieces on either side of the orange, and overlap them just a tiny bit. Again, make sure the orange is on top. Pin in place.
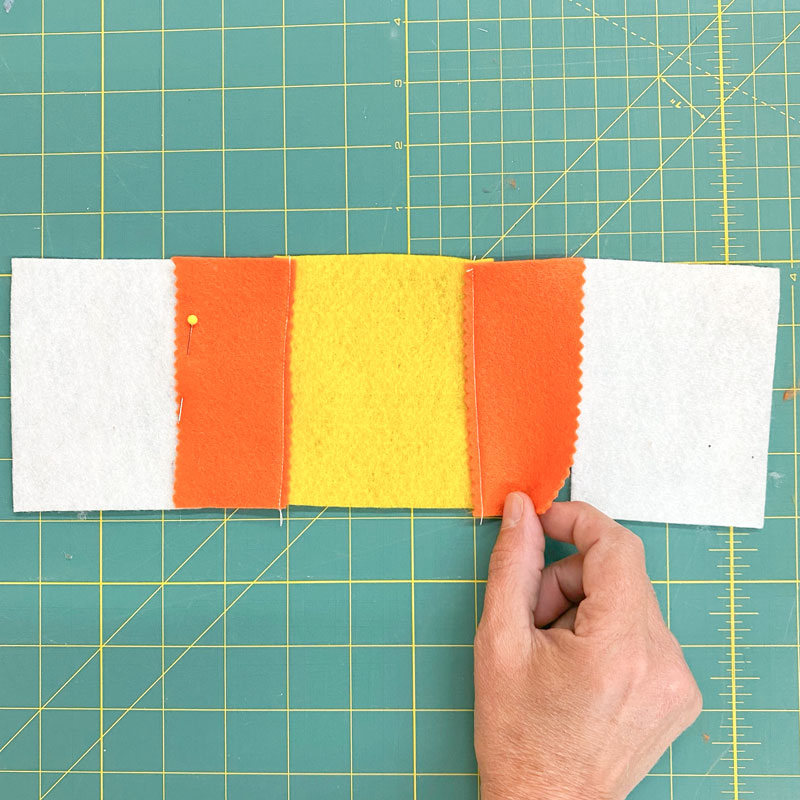
Use the sewing machine to sew the pieces together, again with a topstitch.
Now flip the piece over so that the orange pieces (with zig-zagged edges) are face down on the table.
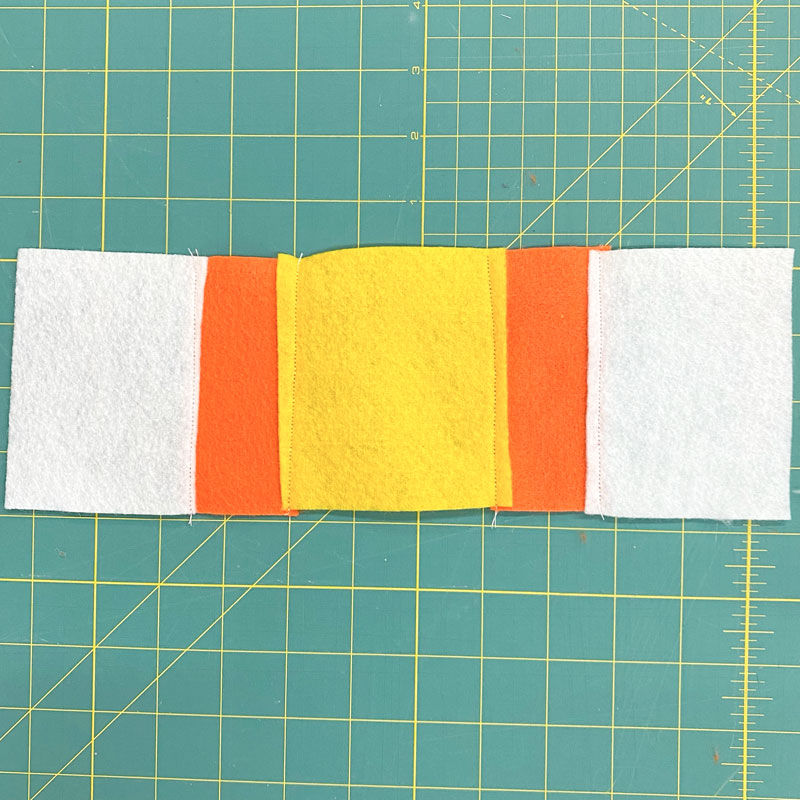
Step 3: Form the pockets
Fold the ends of the the two white pieces in about one inch and pin them in place. These channels will form the pocket that the drawstring will go through later.
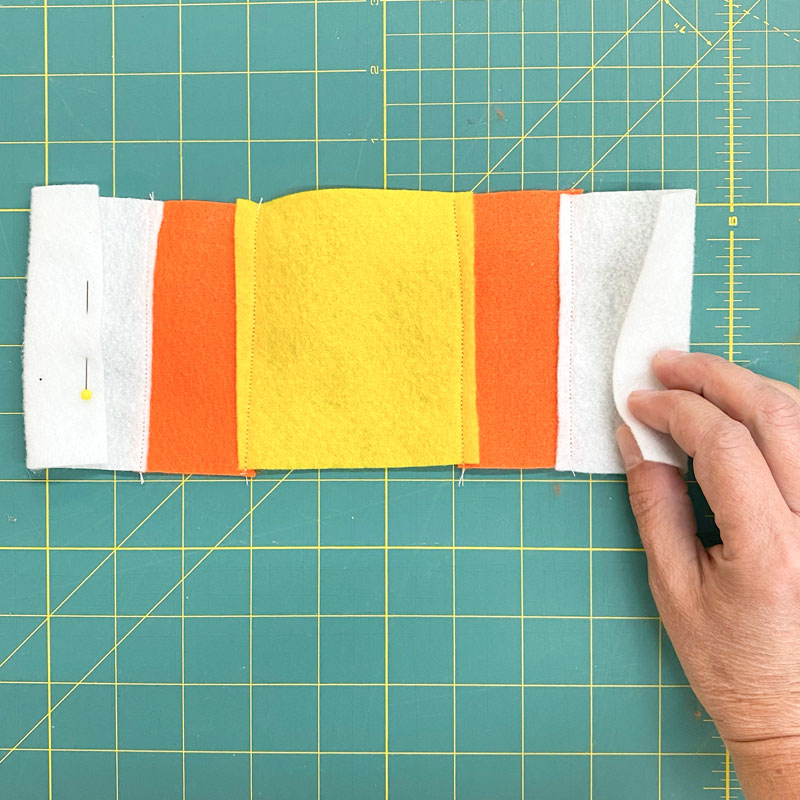
Back at the sewing machine, sew the edges down with a topstitch, creating the pocket/channel.

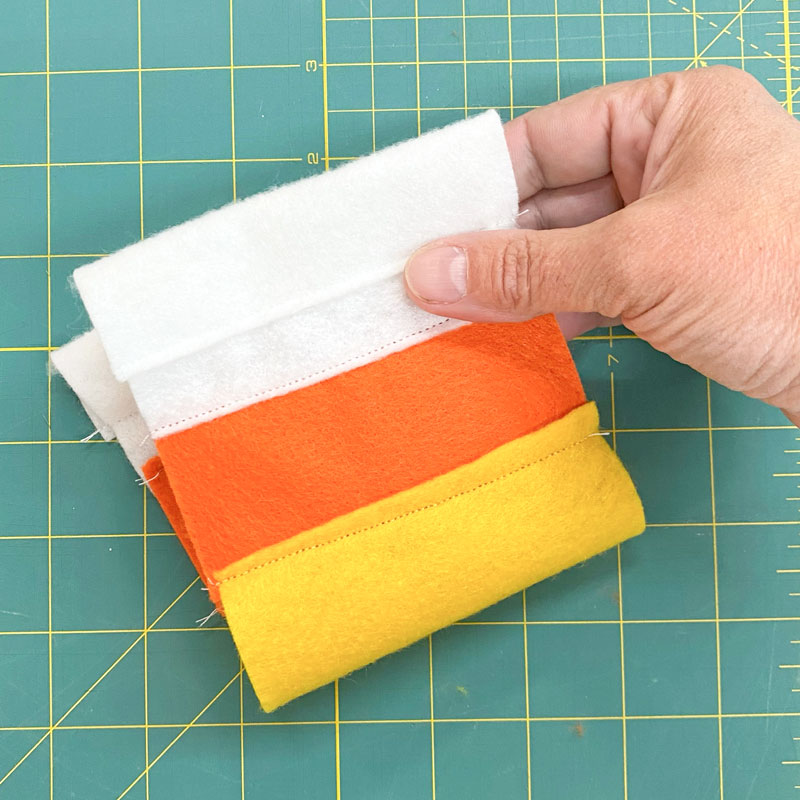
Step 4: Form the bag
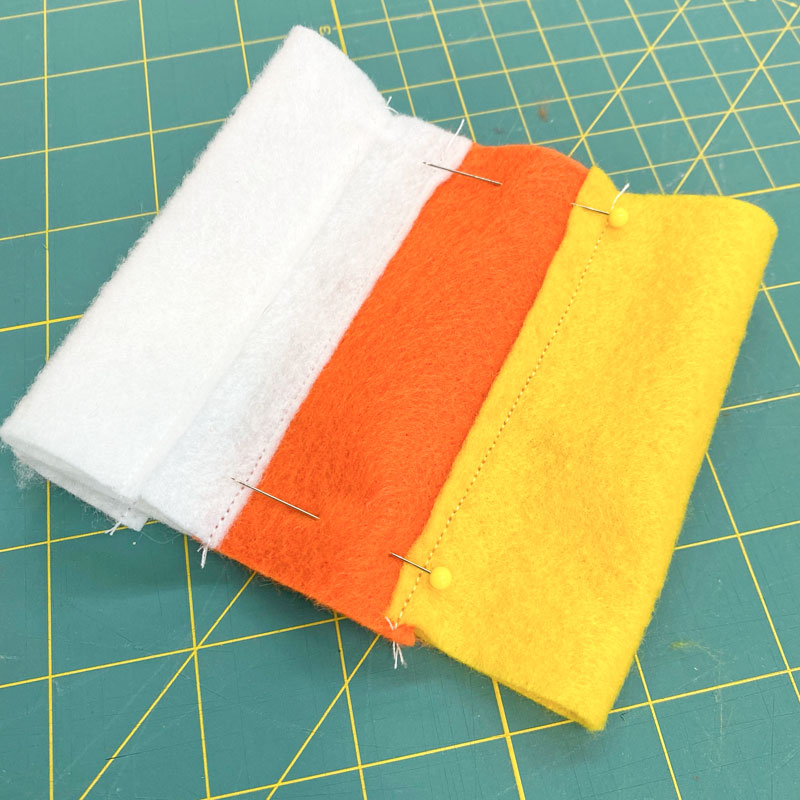
Fold the entire piece in half, inside out (the orange piece with zig-zagged edges should be facing the inside).
Pin the sides in place, taking care to match up the seams between each color band so that they line up.
Take it to the sewing machine and sew up either side, but stop when you get to the seam for the white pocket. You don't want to sew the pocket closed, or else you won't be able to get the drawstring in there!

That's it for the sewing!
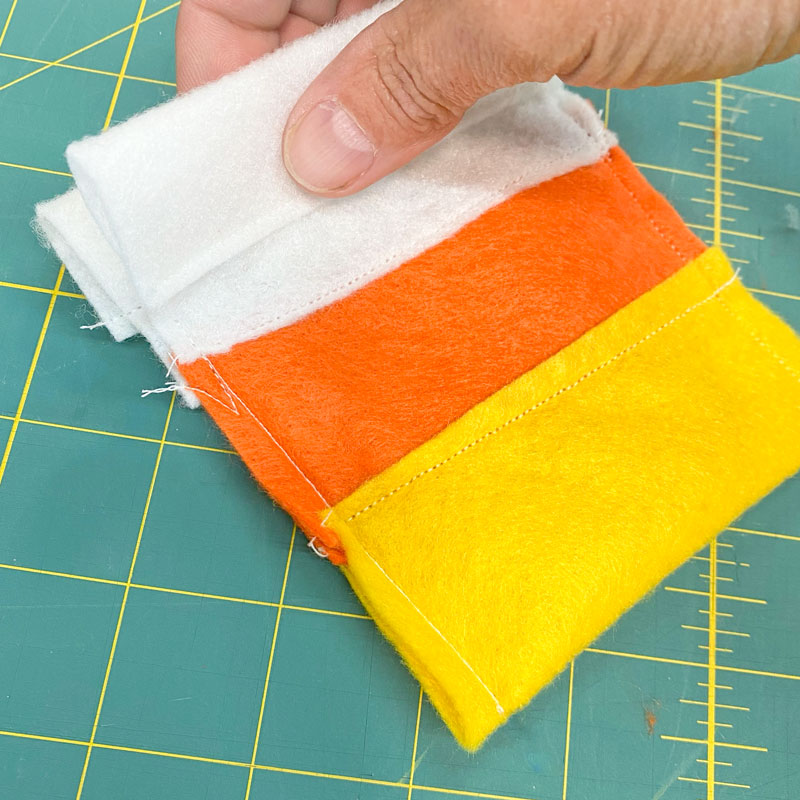
Turn it right side out.
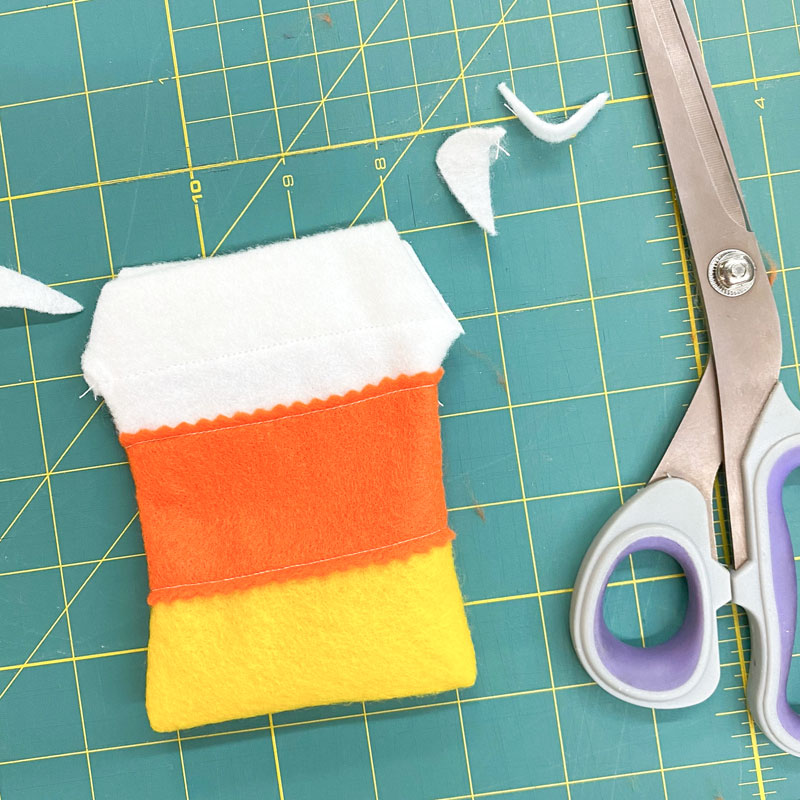
Step 5: Trim the corners
You'll notice right away that the white part at the top is a little too wide, since it didn't get sewn like the rest of the sides did. To take care of that, just flatten it as best you can and snip off the corners with some scissors to remove the excess felt.
Step 6: Add the drawstring
Using our tip for threading a drawstring, put a safety pin on the end of your ribbon and use that to help you feed the ribbon through the pocket of the sachet.
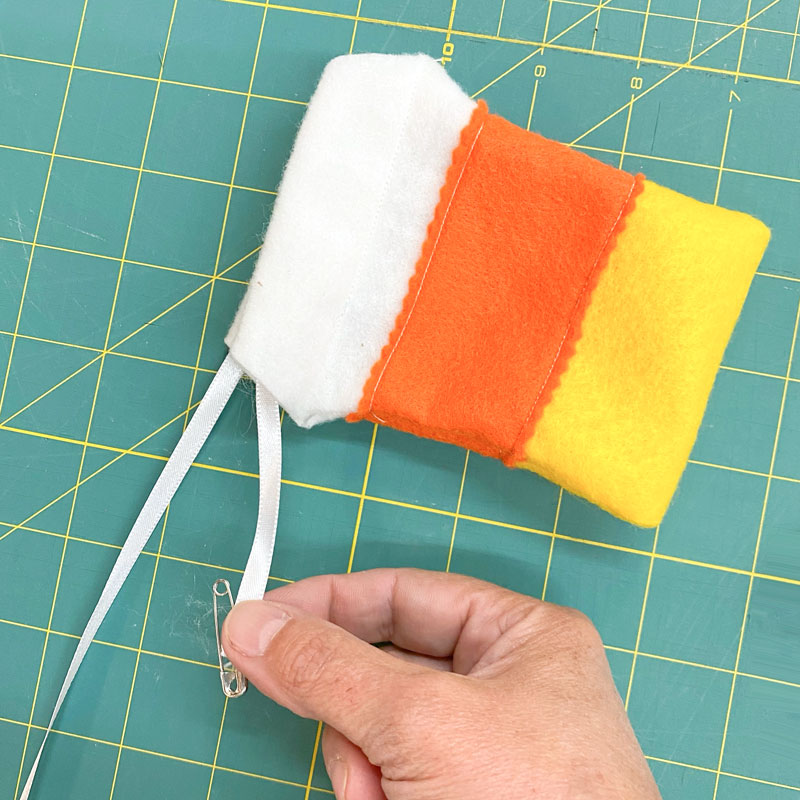
Once you've got it through both sides and back out the same place it went in, you can remove the safety pin. Then just pull the ribbon and tie it in a bow, and you're done!
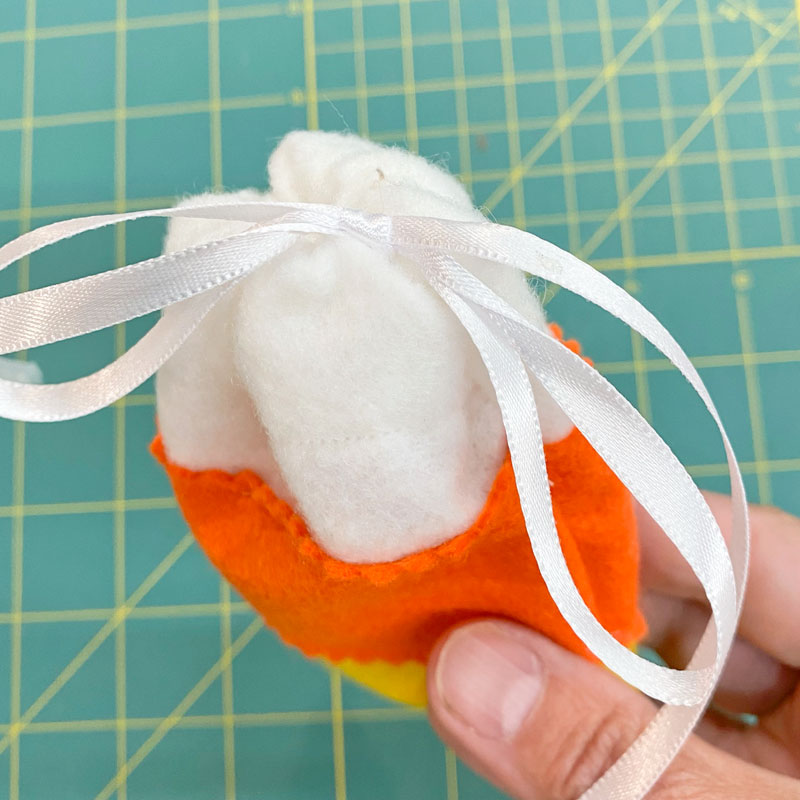
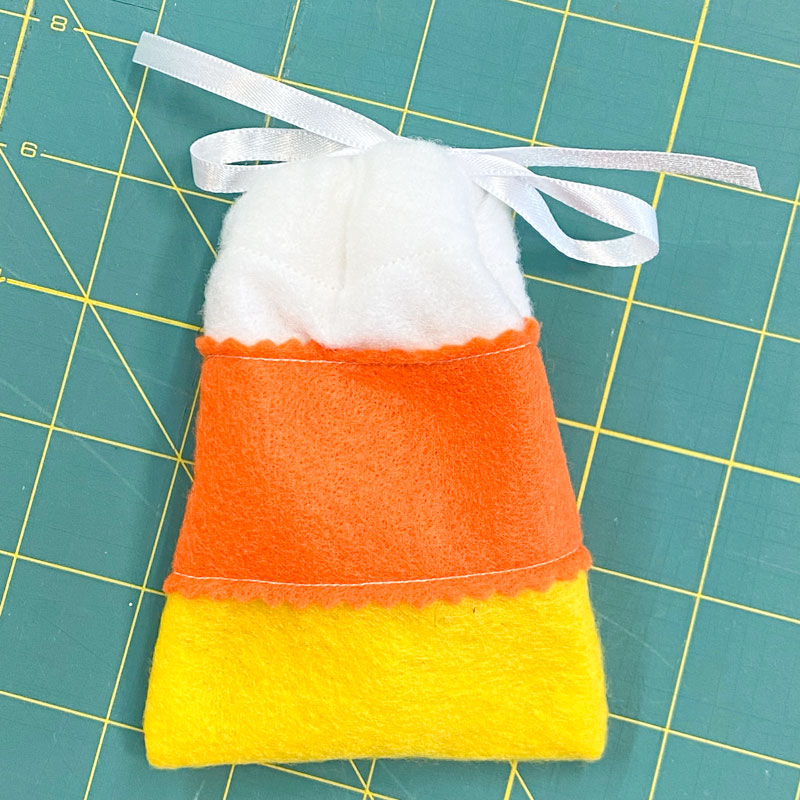
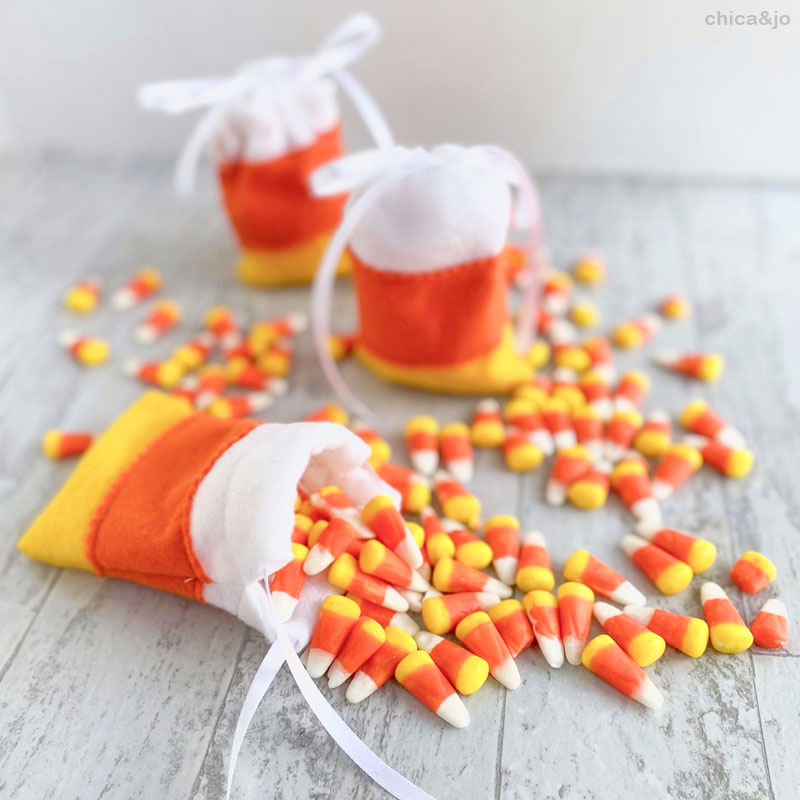
I mean seriously... how cute are these? You can fill them with any small candy or toys, but of course Brach's classic candy corn looks the best! And they were so easy and inexpensive to make, too. I made twelve of them in about an hour, with only about $4 worth of supplies.
similar projects
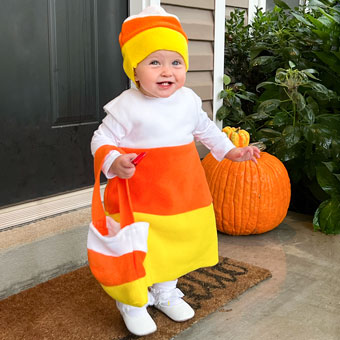
Easy Candy Corn Costume for Kids
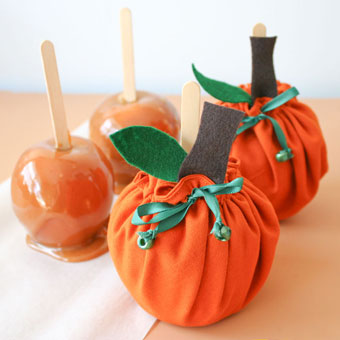
Easy-sew Pumpkin Treat Covers for Caramel Apples
Halloween Party Game - Witch Pitch Candy Corn Toss


34 comments so far:
Cute! I love all things candy corn! :)
Wow, I love this! Candy corn is soooo pretty! Thanks tons, I'll be linking.
How cute is that? Love it, great idea!
Thanks everybody. I can't wait for the kids to see them at the party next Saturday!
These are so cute!
What a cute idea - simple too! Thanks for the tutorial!
Emily, thanks!
maryanne, simple is just the way I like it sometimes :) Enjoy!
Ack! This is so cute, and easy too? What could be better. I think some work friends will be getting these. :)
OH I love it. I just stayed up making candy corn trick or treat bags and then I turn on my computer to check my email and see this on the Crafty Crow. So cute-- i just love candy corn anything!
These are fantastic -- thanks so much! Thanks also for mentioning how long it took you to make a dozen -- that's a key detail for me since I might be making 20 or so!
Mary, making them assembly-line style really helps speed it up when you're making a bunch. Sew all the orange pieces on, then the white, then the pockets, etc. Hope my estimate works out to be right for you. :)
Those are too cute for words! I think I will do these next year for sure!
Adorable!!! Thanks for sharing! :)
what is the finished measurments ? These are way cute
Michelle, the finished bag is about 3 1/2" wide and about 5" tall. You could of course make the bag in any size by adjusting the size of the pieces of felt you work with.
These are SO cute! Perfect little treat bags. I can't wait to make some!
Absolutely fab! Saw this floating on Twitter this morning! Do you have a version for those of us who are allergic to sewing machines?
Hi Dawn! We're glad Twitter brought you our way. I'm afraid you'll have to take some allergy medicine and do some sewing to make these little bags :) It's not too much, though, so you could always sew it by hand without too much work!
My daughter-in-law and I had the best time making the Candy Corn bags. She cut them out and I sewed them together. Everyone loved them. Thanks for the easy project that was sssooooo cute!!!
Barb, we are so glad you all enjoyed making them.
These are darling!! Thanks so much for the tutorial -- I am anxious to make them for my sons' teachers for school!
Omg!! These are so cute, you gave great instructions, I can't wait to make some for my kids, their class and friends!! Thank you for the awesome idea!!
Absolutely adorable! Thanks for sharing!
Simple,but cute and easy!
Thanks for the link, Iris!
I love these, they are so cute! I have featured them on Fun Family Crafts today :) http://funfamilycrafts.com/candy-corn-felt-sachet-bags/
Thanks for such a cute and easy idea. My 9 year old will wear this!
Easy to make AND I already have all the materials :)
I can't wait to make these cute bags. I hope to make enough to put candy in to give out on Halloween. The first ones will be the lucky ones and so will my grandchildren. I'll probably make the grandchildrens' a little larger to fit little extra treats in them as well. Thanks for the idea.
Ann, maybe after you make a few you'll get so good at it that it'll be easy to create dozens. Or maybe you'll be tired of it... who knows! :)
Is there anyway you can send me the instructions/pictures? I do so much better when I have a visual along with the instructions. Can't wait to make these for co-workers. Thanks so much!!
Aleta, we have set up all of our tutorials so that whenever you print them from your browser, you just get the instructions and photos without all the other extra stuff on the page (like comments and headers). Go ahead and try printing this page, and it should be what you need :)
So cute! Glad I found this. Hope you don't mind that I linked to your project via Pinterest and on my blog.
Julie, we're glad you found us too! Please feel free to link to us and pin any of our projects on Pinterest. We love it when you guys spread the word about our fun project ideas!