


LifeSavers Candy Party Favors

I was looking for an extra something to give the guests at birthday party I held recently at my home. I wanted party favors that were fun, cheerful, and sweet. The guest of honor at the party was a big fan of LifeSavers candy (who isn't?) so that was my inspiration. I added some colorful paper and ribbon and the result was so adorable that the guests almost didn't want to eat the candy!
These little favors can be customized to any occasion or to match any color scheme. They're so easy to make, too!
Start by cutting two pieces of coordinating colored or printed paper that are each 4" x 6". One will be the cover and one will be the liner. Scrapbook paper works great here and offers unlimited color options. (You can also use card stock, but be sure it's not too thick, or else it will be too stiff to roll nicely once you have two sheets together.) Line up the two sheets together and use decorative scissors to cut a nice design on one end.


Slide the cover sheet back about a quarter inch to reveal the liner sheet. Use quick dry glue or double-sided tape to attach the two sheets together near the decorative edge (no need to glue the entire sheet).


Fold one inch of the decorative edge over. Roll the rest of the paper up so that the end is tucked under the flap you've just formed.


Put two binder clips on the top of the flap and use a hole punch to add punch two holes near the center, about an inch apart.


Feed the two ends of the ribbon through the two holes, going from front to back, so that front is a smooth band and the ends of the ribbon are hanging out the back of the favor.


Now take one of the ends and push it through the back of the opposite hole, so that it comes out the front. Pull it tight.


Take the other loose end from the back and push it through the back of the other hole, so that it comes out the front. Pull it tight.


With the ribbon secure, you can now remove the clips. Arrange the ends on the front of the favor and trim with scissors. Slide a roll of LifeSavers inside and you're done!


Now aren't these just about the cutest things ever?


This design can easily be adapted to any occasion, from parties to weddings to Thank You "cards". Take a look at these two other favors I made with the same idea.
I used a lovely damask print paper to create this holder and wrapped the roll of LifeSavers with the same paper. On the roll, I wrote "Thanks! You're a real life saver!" What a unique and fun way to thank a neighbor or friend who helps you out in a crunch.

For this one, I used a glittery white paper, trimmed it with pink paper, and tied on a little pink paper charm. With a roll of candy (or even lipstick!) inside, this is the perfect favor for a little girl's birthday party. My niece went nuts when she saw this.

similar projects

Cracker Snap Party Favors for Easter
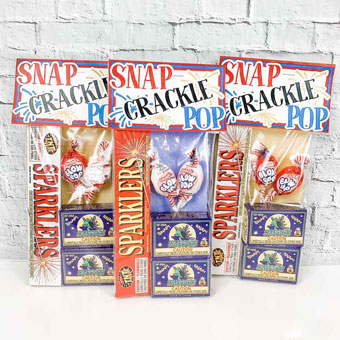
Fourth of July Party Favors for Kids
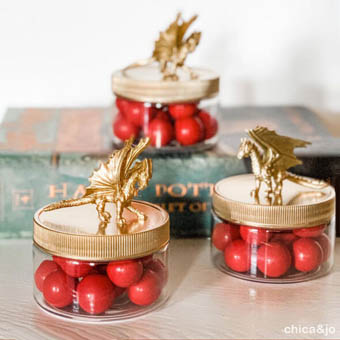
Harry Potter Dragon Party Favors


12 comments so far:
Those are so cute :-)
These are adorable and could be use for just about anything. Thanks for posting the instructions and pictures...:O) Love paper crafts!
Really enjoyed your free patterns for the lifesavers favors. Thanks!
Just discovered this site and I love it! Can see that I will be a regular visitor! Thanks for all the clever ideas. katie
These are just too cute!
Hello you creative people of this site! I stumbled across this while drifting the Web. Great favor idea with the Life Savers.
Welcome, Perry! Glad you found us!
I made these for all the teachers at my sons school for teacher appreciation week.
TIP: Easy way to cheat on the measuring of the paper. I just used a pack of the Mat Stacks that you buy at the craft store in the scrapbooking section. The 4x6 pack is perfect. One sheet does the project, if you choose not to layer. If you do layer, the stacks are already color/pattern coordinated.
EJS, thanks for the tip! A 4.5" x 6.5" is a little larger than we recommend, but certainly a great way to save time cutting!
Your lifesavers holder are so cute for the kids at school at any holiday. Thanks!
These are so cute! My daughters are having a unicorn/rainbow party this year. I am looking for ideas, and this is one I can use! Have any others? LOL! Thanks!
Jeneh, that sounds like a fun party theme. We actually do have several other rainbow projects that you might like to incorporate. For instance, you can use our swirled frosting technique to make rainbow cupcakes that you can set atop our striped cupcake stands. Our recycled rainbow crayons would make great party favors, and you could decorate with our pot of gold and rainbow door decoration!