


DIY Cityscape Silhouette Lamp Shade

When it comes to lamp shades, I love nothing more than seeing a plain shade come to life when you turn the light on, courtesy of a built-in silhouette design inside the shade. I made my own silhouette lamp shade for my desk lamp, featuring a simple cityscape design. The results were fantastic, especially for such minimal cost and effort.
I started by using my Cricut to cut some cityscape shapes out of black cardstock, using a design from the Going Places Cricut cartridge. I adjusted the height of the shape to what I needed to fit my lampshade.
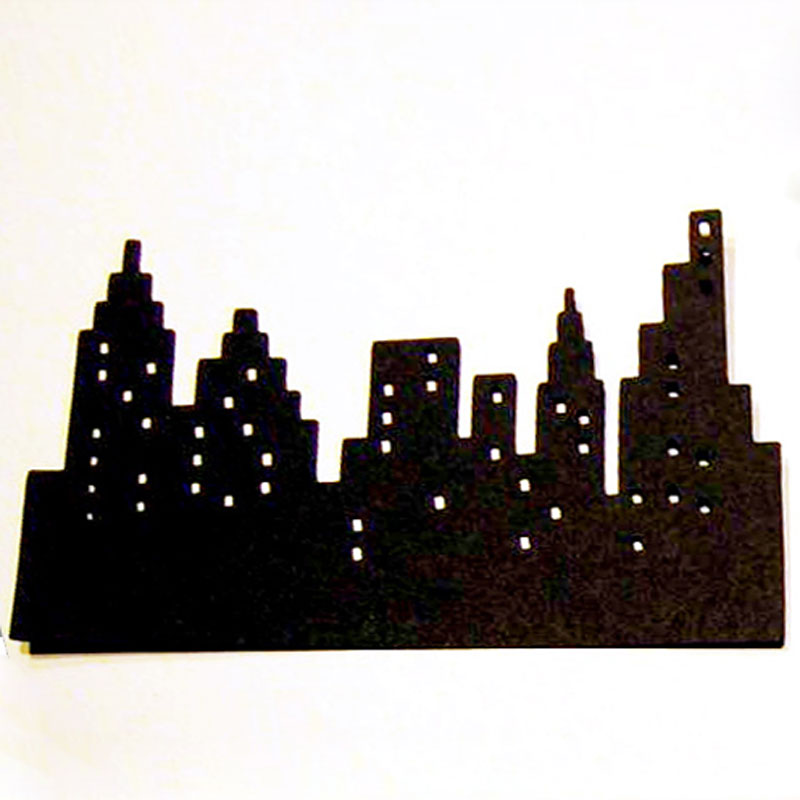
In order to make it easier to apply the flat pieces to the curved lamp shade, I first cut the individual buildings apart.
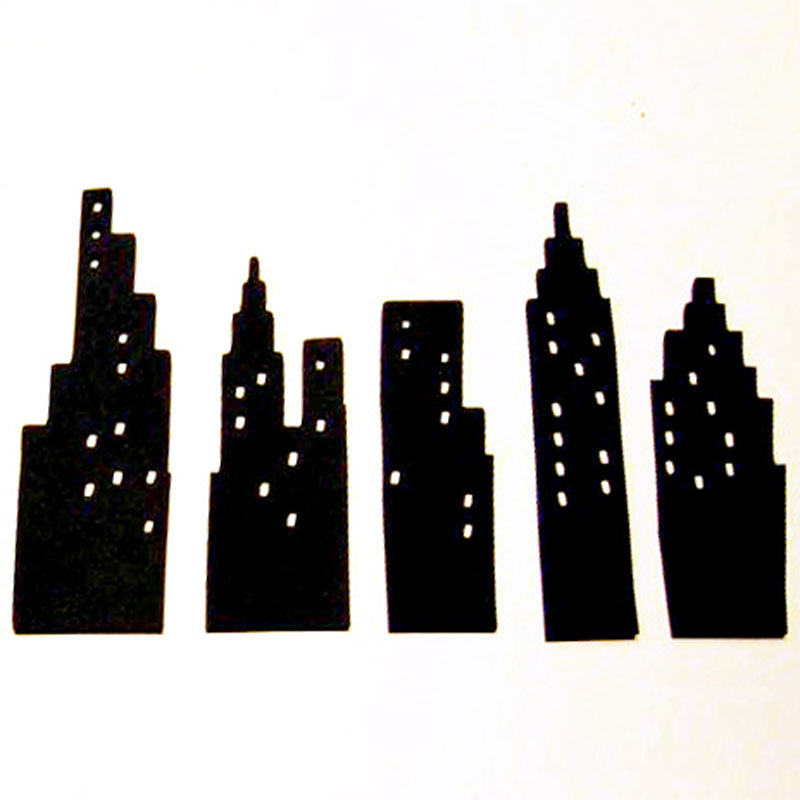
I used a basic spray adhesive to attach each building to the inside of the shade, overlapping each one slightly at the top to accommodate the curved angle of the shade.
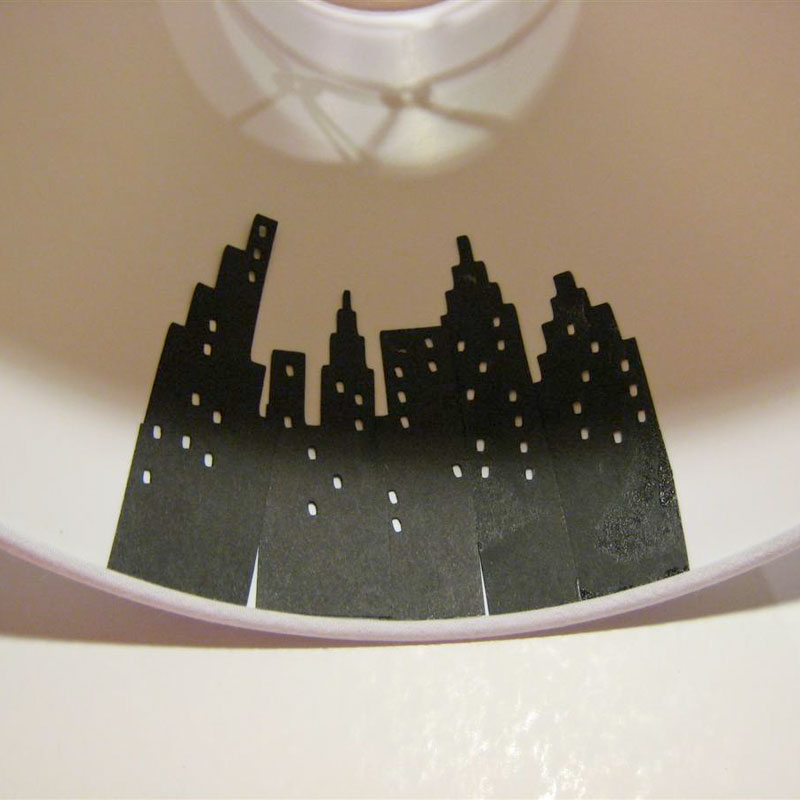
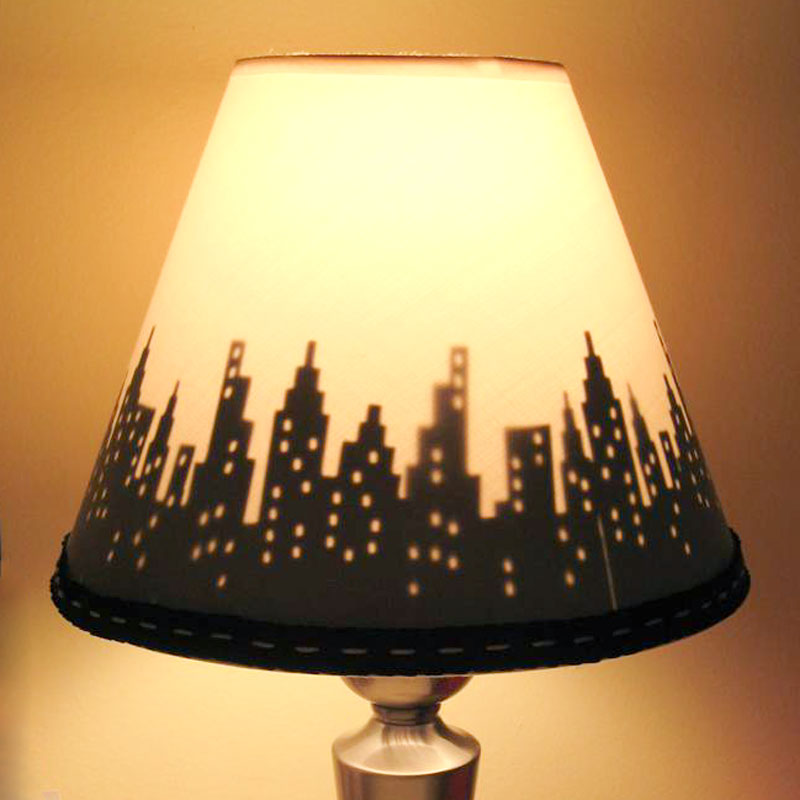
I continued adding little buildings around the inside of the shade until it was covered. Then, to add some extra flair (and hide any gaps I accidentally left between the buildings) I glued some black ribbon with a white stitch along the bottom edge of the outside of the shade. It looks just like a street, don't you think?
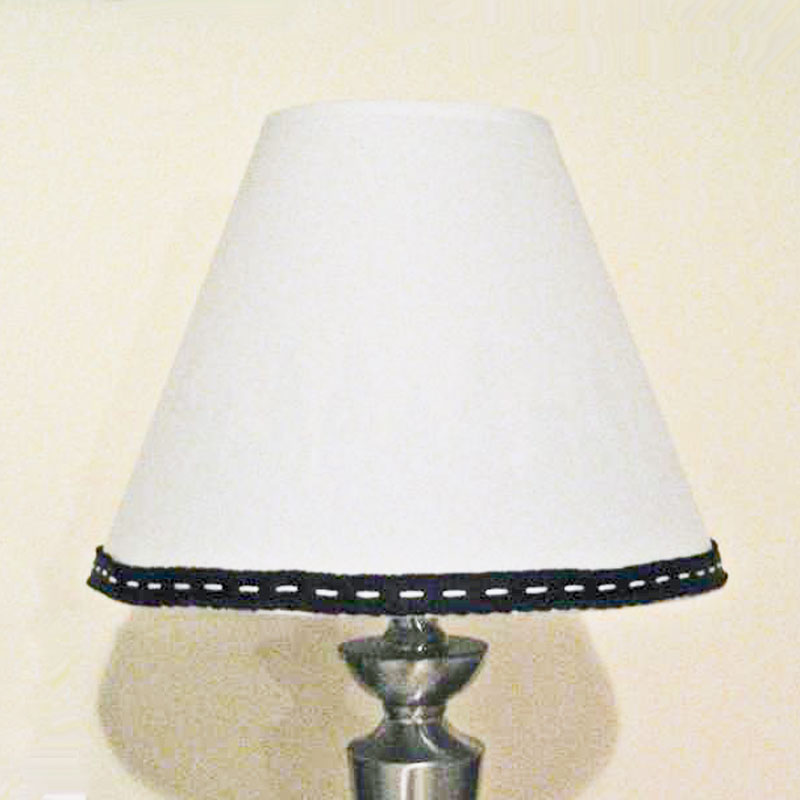
The finished lampshade is still fairly ordinary when the light is off, but when you turn it on... wow! I love the look of the light coming through the tiny windows. I couldn't be happier and I am already thinking of other designs I could do.
similar projects
Silhouette Reading Lamp
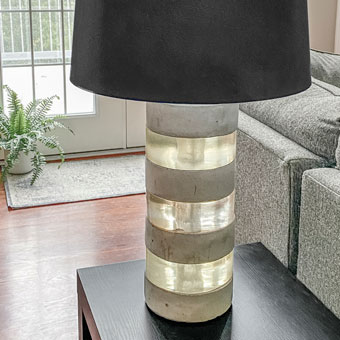
DIY Lamp Base from Concrete and Epoxy Resin
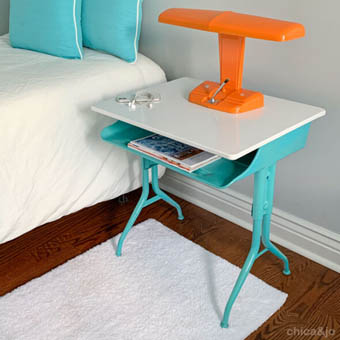
Vintage Modern Desk and Lamp Makeover


24 comments so far:
Awesome! I loves it!!!
What an nice inspiration. I love your idea. thanks for sharing.
Thanks everyone for the nice comments. I have to admit, this is one of my favorite projects I have done recently.
What a great idea. Have some lamps I'm trying to bring new life too. I will definitely have to try this. Just one question; how do you adhere the paper to the lampshade?
Nancy, thanks. I used spray adhesive . Please send us some photos of your finished projects. We love to see our readers' ideas.
WOW! I *love* this idea! I have the Going Places cartridge and have been trying to think of something neat to do with that skyline cut. I am so going to do this!
Have fun, Heather! We'd love to see your finished lampshade when you're done.
How so very cool!!!!!Love love love this. Gotta find some lamps to do this.TFS
WOW! That's wicked cool.
I just realised I have no lampshades in my house. Dang!
Just wondering - do you use regular card stock and is it safe or is there a risk of fire?
Laura, Jo did use regular card stock for her lamp. Since most lampshades are lined in a paper-like material anyway, we don't feel there's any more risk with the card stock than there is with a regular lampshade -- as long as you don't use a super-high wattage light bulb. Never exceed the maximum wattage listed on the lamp, and never let the bulb come in contact with the shade or paper.
I saw, on tv, today a very unique blackboard that is called a chalkboard decal. It is found on wallcandyarts.com. The one I particulary like is called Rocco. I'm sure those creative people here (ahem) Chica and Jo, can find a way to make these. I plan to try to make some of the other types on the website for the grandkids, cut a board into a shape and paint it with chalkboard paint. How easy is that?
Carol, I especially love the animal shaped ones they have on the site. How cute! I like your idea of just painting some thin cut-out shapes. You could use luan or it might even work to use foam core, they would be really light for hanging. I wouldn't mind trying to use a normal stencil and painting the chalkboard paint directly onto the wall. The downside there is that it is a lot harder to get rid of! If you do this project, please take a picture and send it to us!
What a great idea. Thanks for sharing.
Wow...that lampshade is amazing! I just recently found your website---I think it's going to become my new online home. Great stuff!!
so modern and such a money saver. i'm gonna make one right now!!!!1!!!one!!!1
It would be cute for a sports themed room using the Sports Mania (I think that's right) cartridge...especially if you have a child involved in sports or a hubby with his own "man cave."
I'm not crafty and i don't have any of these fancy tools, but I'd buy it! My kiddo loves the city theme now, and I just bought a skyline lamp shade at World Market, but I like yours much better!!
I looked through Cricut Cartridges and found the "Going Places" cartridge, but I didn't see any building shapes on it. Could you have mistaken the name of the cartridge?
Anita, it's the right cartridge. On the back of the box, the skyline is in pink.
I was trying to search for ideas in the internet on how to design my lampshade. (It's actually a fluorescent lamp, not a bulb... so anyway I made a rectangular lampshade) I might as well try this...... Thank you guys for the good idea :) GOD Bless you guys and may you continue to inspire others with your artworks!
What a great idea. So many possibilities, love it!!!!
This lamp shade is awesome. My son just moved to Minneapolis and I know he would love this. I am going to make it for him. Thanks for sharing!
Laurie, we do not have a JPG available for this design. It came from the Going Places Cricut cartridge.