


DIY Easy-Sew Baby Burp Cloths

Whenever a new baby is born in my family, you can count on my aunt to give the parents a giant stack of handmade burp cloths. They are easy to make, soft and gentle, and absolutely adorable. They also quickly become indispensable items to have on hand for all the baby's messes. When I was invited to a baby shower recently, I took on my aunt's tradition and made a stack of burp cloths for the mom-to-be. Here's how I did it.
VIDEO: How to Make Burp Cloths
If you'd like to see a full demo of how to make your own burp cloths from fabric, check out our tutorial video!
Or keep reading for step-by-step directions and photos.
Step 1: Gather the supplies
The list of supplies for this project is quite short. You just need a sewing machine, thread, and fabric. My favorite type of fabric to use is 100% cotton flannel, which is super soft and available in plenty of fun baby-appropriate patterns.
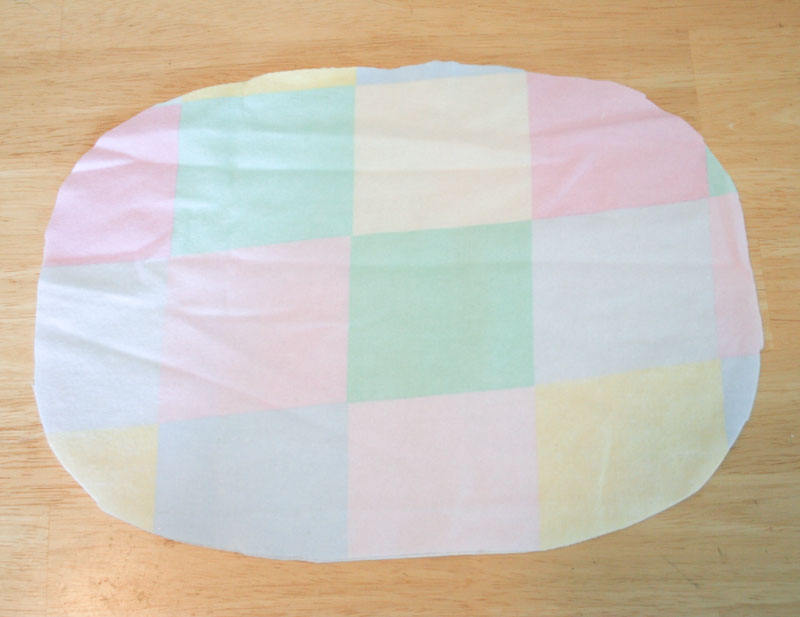
Step 2: Cut the fabric
Cut two layers of fabric into an rectangle about 12" x 15", then round the corners, resulting in an almost oval shape. The size you're aiming for is something that can lay over your shoulder easily and provide good coverage for the baby's potential mess.
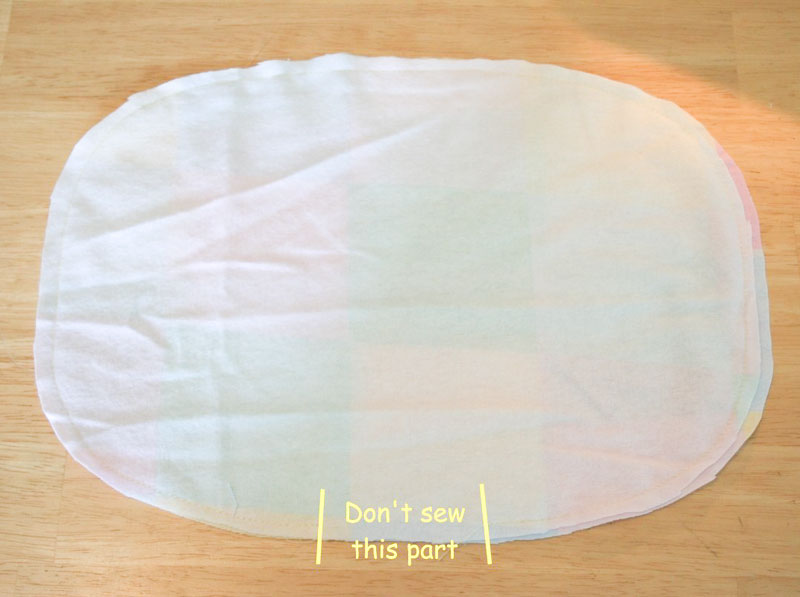
Step 3: Sew the fabric
Put the two pieces of fabric with faces together and take it to the sewing machine. Sew almost all the way around the edges, leaving a gap of about 2 inches that's not sewn.
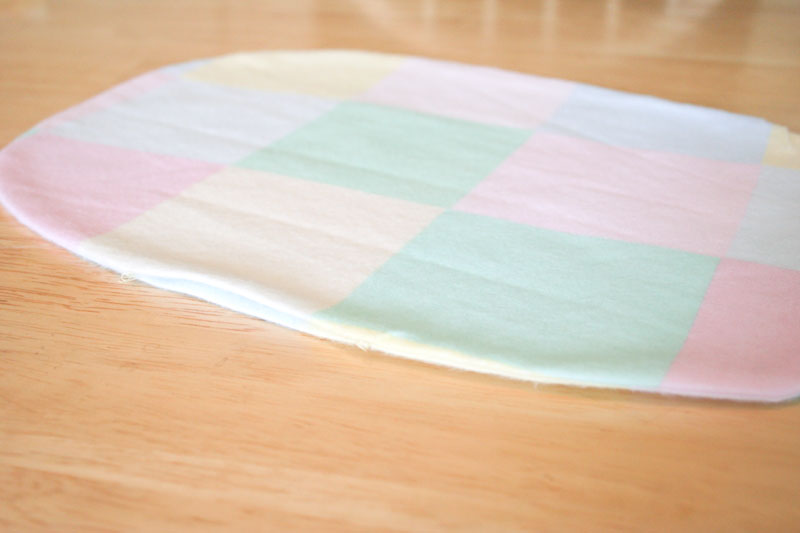
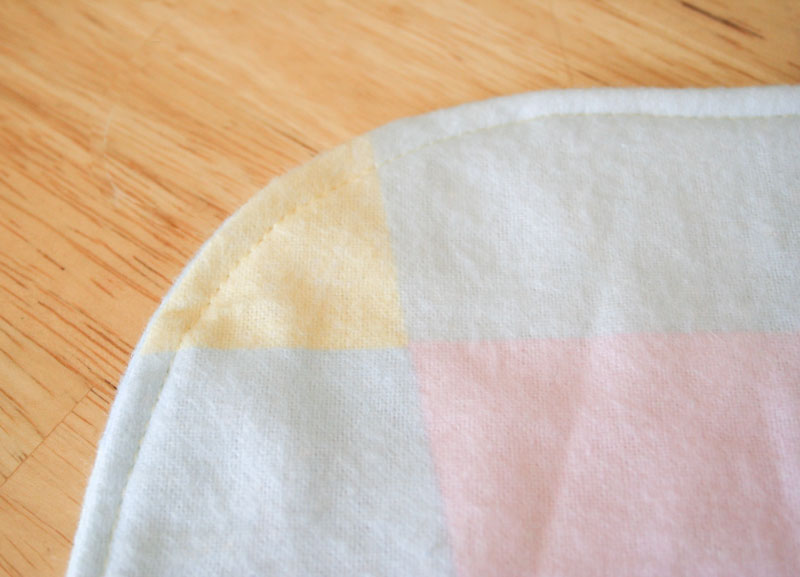
Now turn the piece inside out by pushing it through the gap you left un-sewn. Iron the fabric flat, pressing the edges carefully to make a nice crisp edge, especially in the area that is not sewn.
Step 4: Finish the edges
Take the piece to the sewing machine again and sew as close to the edge as you can, all the way around. In this step, you will close the gap you left by sewing it down, and you'll end up with a nice finished edge.
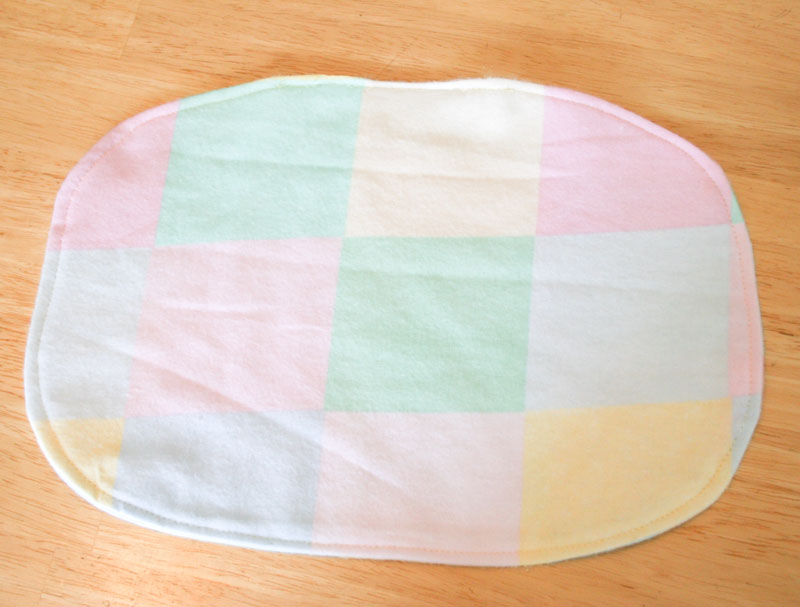
The results
These are so easy and fast to make that you can quickly crank out a stack of them, which the parents-to-be will surely appreciate.
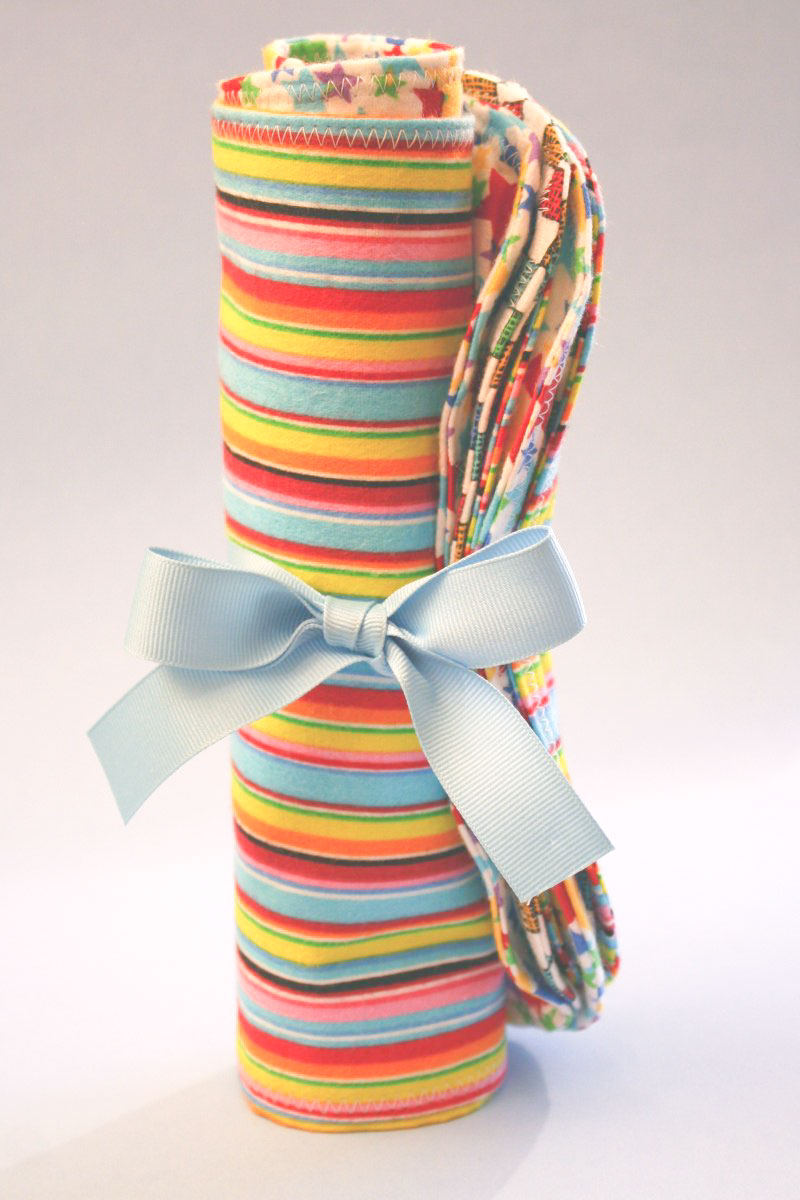
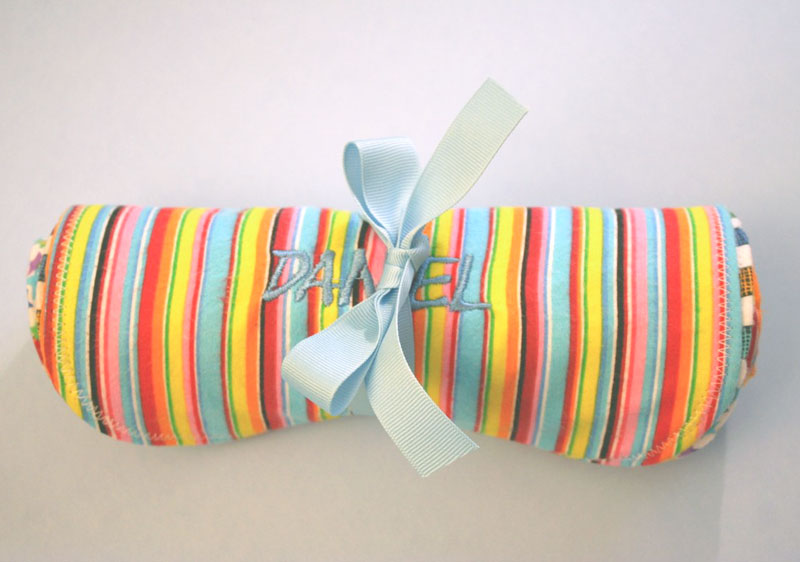
I like to roll them up and tie them with a ribbon, which makes a pretty presentation.
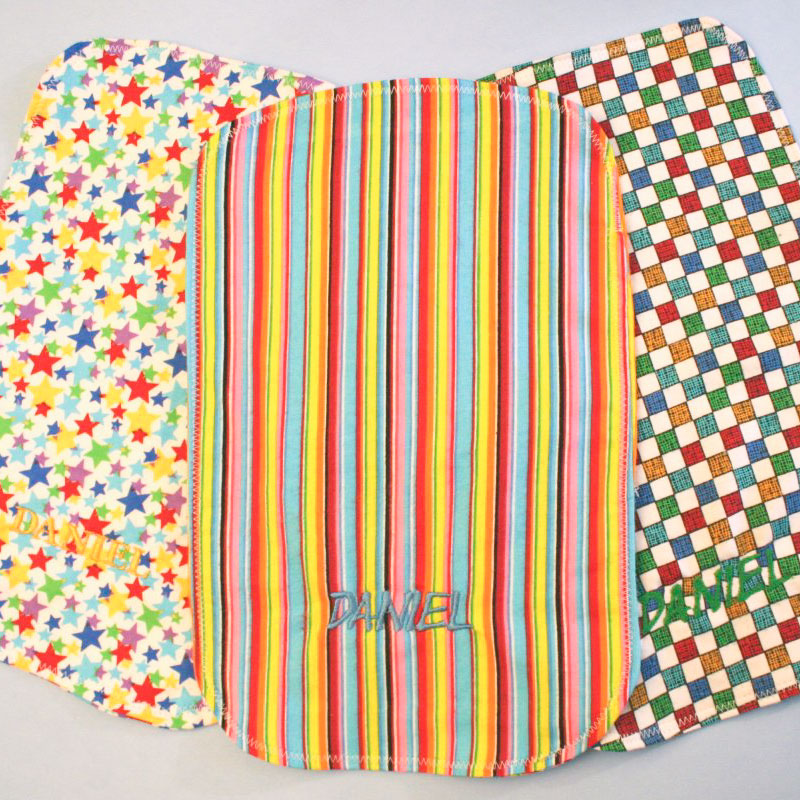
If you have access to an embroidery machine, consider embroidering the baby's name on one of the pieces of fabric before sewing the burp cloth together.
similar projects

No-sew Cupcake Baby Bib Pattern
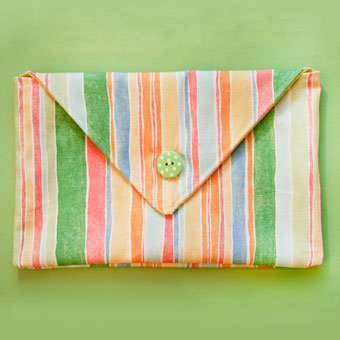
How to Sew a Button Closure Pouch
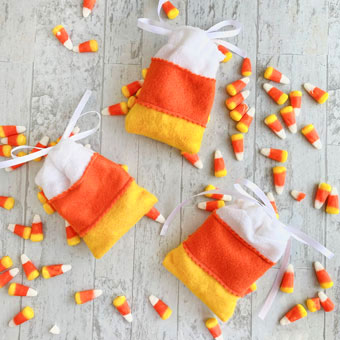
Easy-Sew Candy Corn Halloween Treat Bags


6 comments so far:
I used two fat quarters to make some burp cloths, couldn't be easier: http://www.flickr.com/photos/chicaandjo/4662696755/
A lot of my friends and family are pregnant right now, and I'm a poor newlywed/recent graduate, so I'm churning out these suckers like crazy for easy, inexpensive, and thoughtful gifts. I want to share some of my process, so that it might help others who want to "mass produce" these burp cloths.
First, I made a template from a larger cereal box (I used an 18-ounce Rice Krispies box), and rounded the corners by tracing a round container lid. The template ended up being about 7 3/4" by 13", and the finished product will be a little smaller due to seam allowances.
Second, I bought 2 yards of flannel (in a pattern to coordinate with the tag blankets I made!). I ended up getting 13 cloths from that with my template. I traced one outline, then flipped the template over like a book page and traced another for a mirror image, making one "set" of outlines that will make one cloth. I did two more like that below the first set. Then I cut this strip off, and cut the three "sets" apart from each other. At the end, I had a long, narrow strip left where I made one more cloth by making two template outlines stacked vertically.
Now I have 13 smaller pieces of cloth, each with two mirror-image outlines of the template. Doing this legwork first will make it much easier for me to cut, pin, and sew each burp cloth.
Thank you, Chica, for giving all of us such a great idea!
Meredith, thanks for sharing your tips with us! I love the idea of using the cereal box to make a template. We're glad you are able to make so many affordable gifts with this tutorial :)
anyone have any ideas for my grandaughter who is in the hospital in her 26th week...awaitingn the birth of twin boys. she is bored to death and has the need for nesting.if you have any sug. of things that she could make i would appreciate this very much thank you charlotte
Hello, can you please tell me of a web site where i can buy baby material to make a home made quilt ? and also cAN you please email me the patterns for the burp cloths and the tag blankets for babies. thank you so much. Joyce
Joyce, check out the fabric selection at Fabric.com. We love shopping there. We do not have any patterns for the burp clothes or blankets. For both projects, just cut the fabric to the size you wish, and for the burp clothes, round the corners into curves. Our tutorials should explain the rest. Good luck!