


Make a Photo Mosaic Scrapbook Page

I often find myself trying to display several photos of something in a limited space, whether it's a single scrapbook page layout or in a frame. I came up with an artistic and clever technique for fitting lots of pictures in a dense area, while still appearing to be a single layout. I cut the pictures into tiles and create a the photo mosaic.
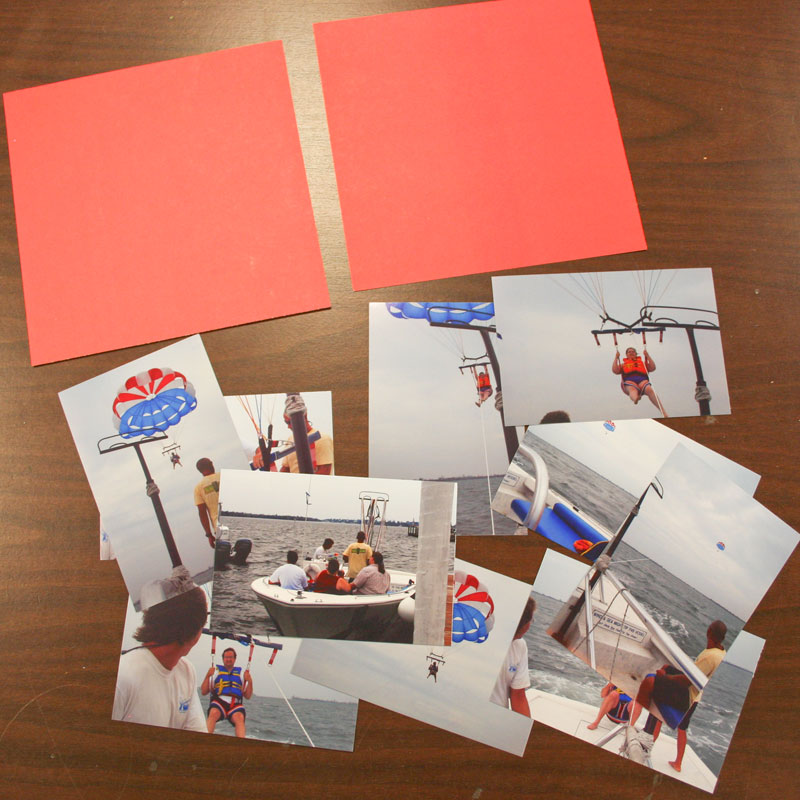
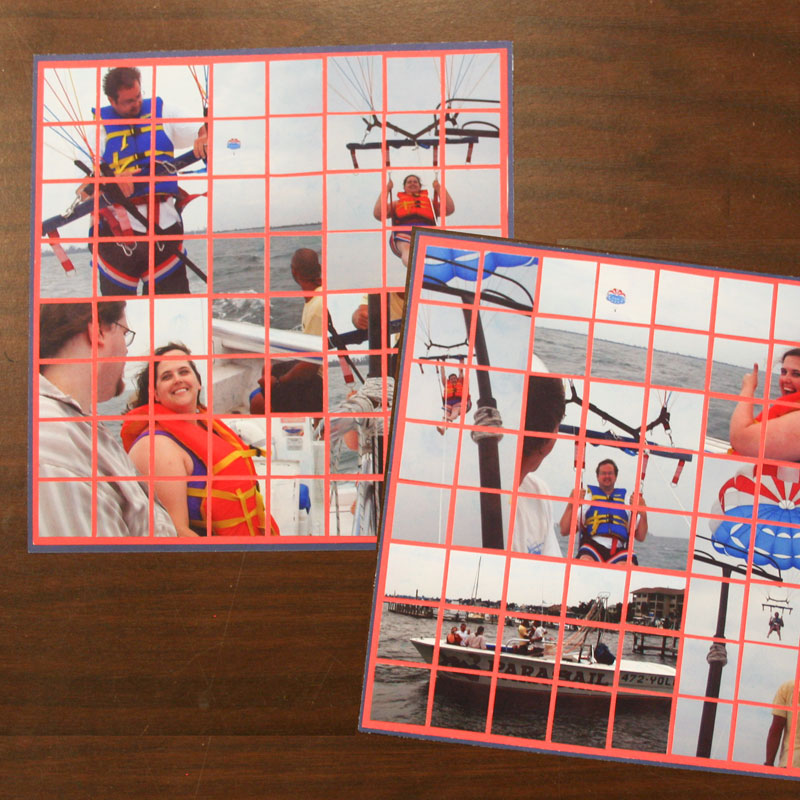
The first step to creating a photo mosaic is to gather together a bunch of photos relating to the same subject, as well as pretty sheet of colored paper for the background. I chose a two-page scrapbook layout featuring photos of my friends parasailing.
Next you need to decide on the size of the "tiles" in your mosaic. You have to remember that your tiles will have a space (like grout) between them, so you can't just use eight 1" tiles for an 8" layout, because they won't all fit on the page. I like to account for this space by just making my tiles 7/8" square. On an 8"x8" layout, that gives me plenty of room to have the mosaic be 8 tiles high and 8 tiles wide, and fit perfectly on the layout.
You can choose any size of tile you want, but to avoid having to do any math, just follow my general rule of thumb: make 7/8" tiles and plan for as many tiles as you have inches of paper. (For a 12" layout, use twelve 7/8" tiles. For a 8" layout, use eight 7/8" tiles.)
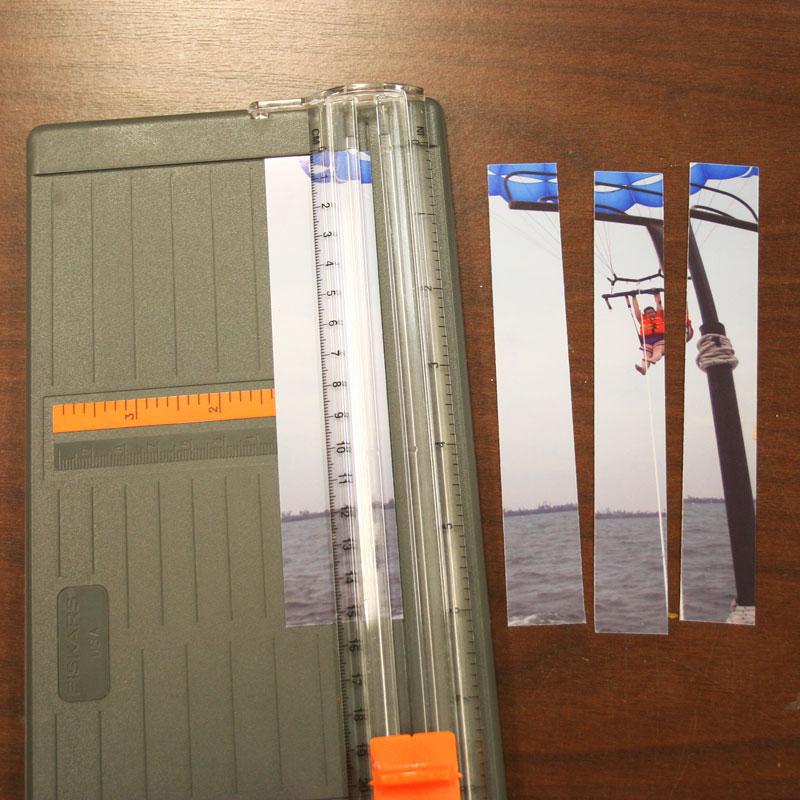
Now it's time to start cutting those images up into tiny squares. Start by cutting strips in one direction...
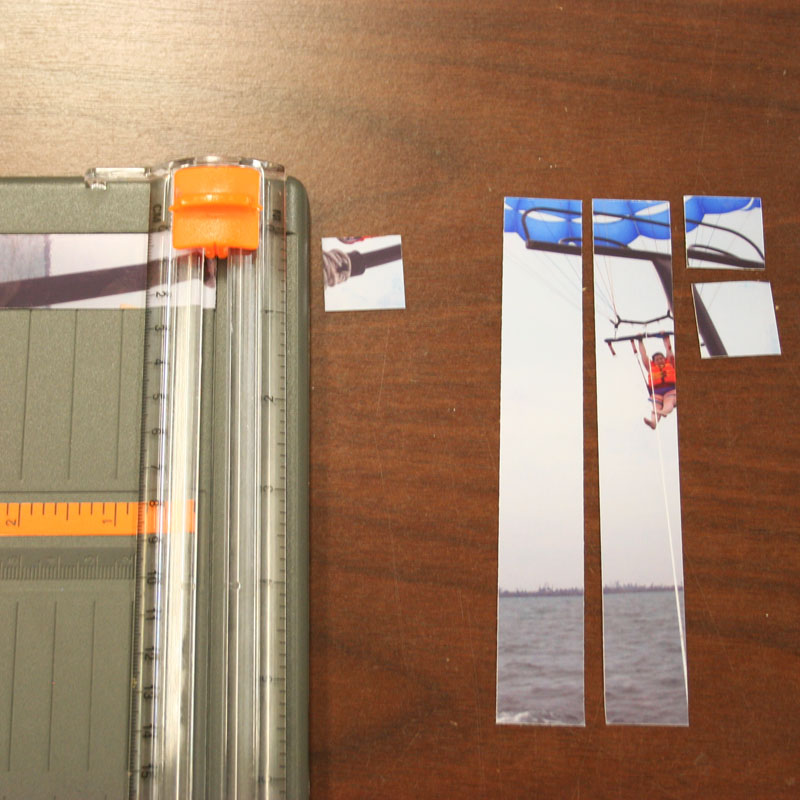
..then cut again in the other direction, creating tiny tiles.
As you cut each photo, be sure to pay attention to the key element in the photo before you make the first cut. You do not want to cut a person's face right in half as you cut your tiles, so start your cuts on either side of the key element.
As you cut off each row of tiles, be sure to line it up carefully to the side, so you don't get them out of order or mixed up.
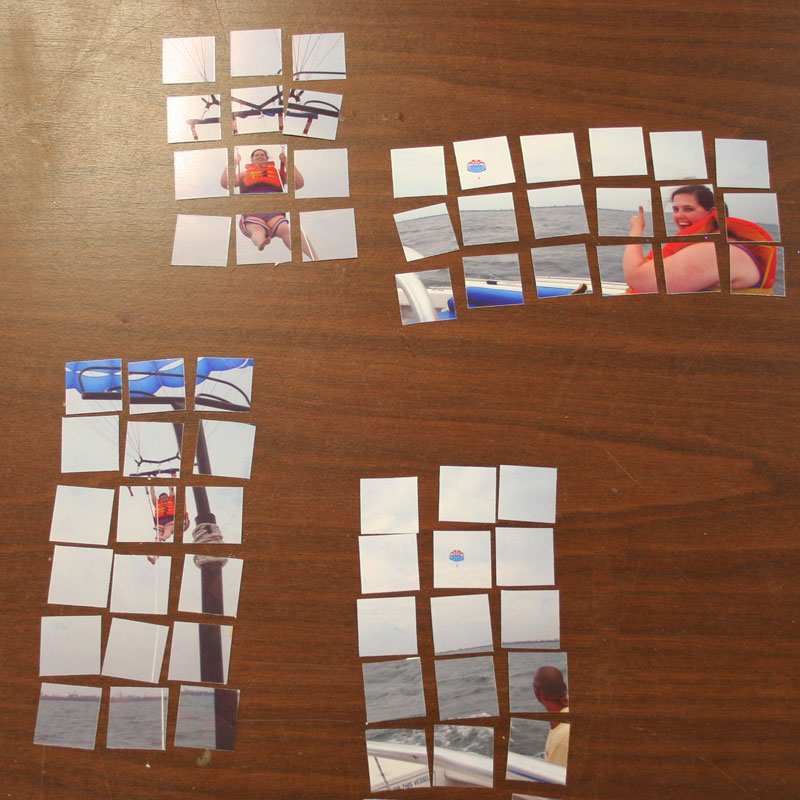
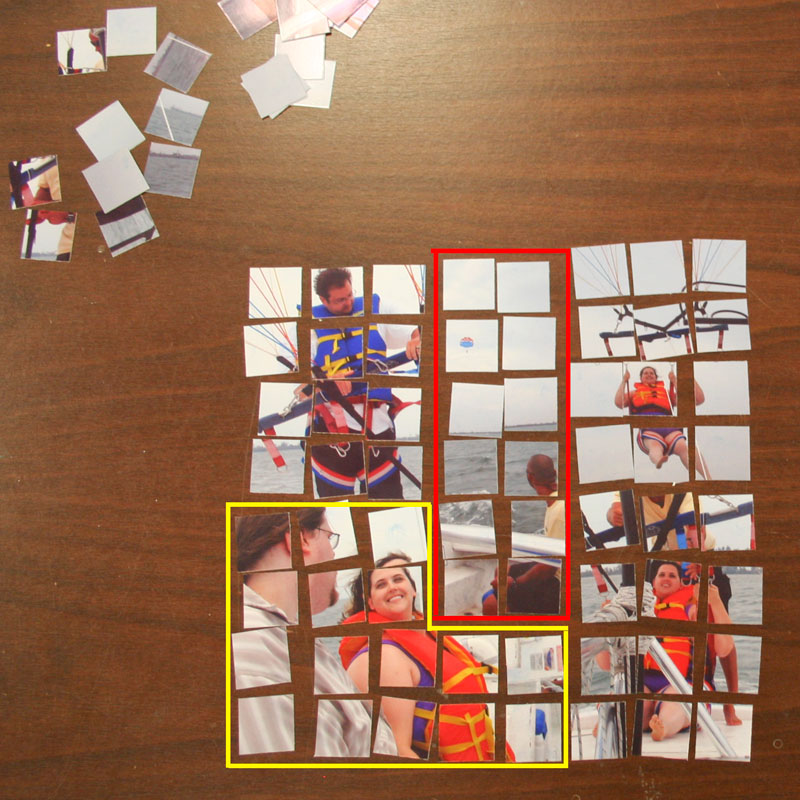
With everything cut, it's now time to select the photos that you'll use on the page. My layout was 8"x8" so I needed a overall mosaic that was 8 tiles wide and 8 tiles high. I started with my favorite image and started scooting other images over next to it, until I had a finished square.
As you can see, sometimes you can take away a corner of one picture (see the picture outlined in yellow) to make room for another one (see the picture outlined in red). This allows you to maximize the photos you can use and minimize the boring/empty areas of photos. You can even squeeze in tiny images that are only two tiles wide by putting them between larger ones in the layout.
Your layout will of course vary every time you do it, depending on which pictures you select, but eventually you'll have the squares laid out in a pattern that will fit on your page. Once you've gotten this far, congratulate yourself because the hard part is over! Now you just need to keep anyone from bumping the table or opening a window until you get all your tiles attached.
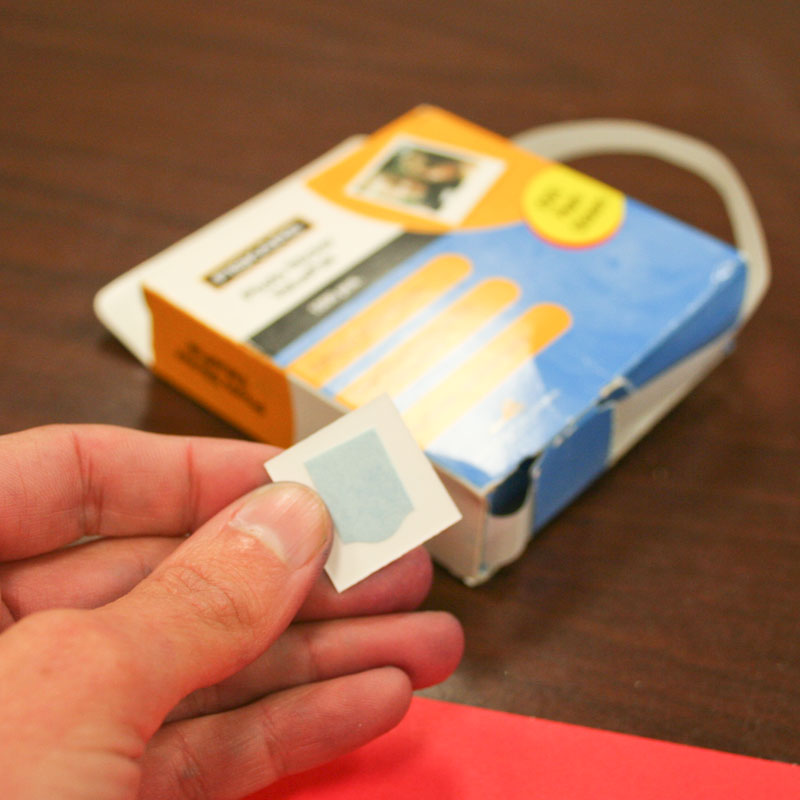
To attach the tiles, I like to use photo sticker squares because they are the perfect size for attaching single tiles.
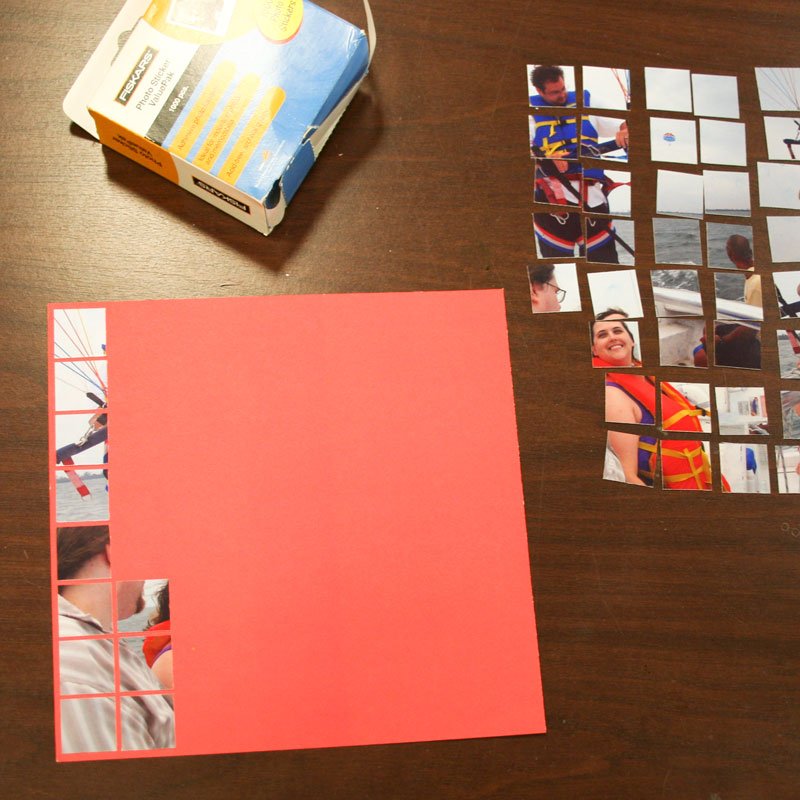
I start with one corner of the layout and adhere one tile at a time, one row at a time.
As you add your tiles, be sure to space them a little bit apart from the others (1/8" or less) to create the look of grout between the tiles. For the best effect, try your hardest to keep the tiles straight and evenly spaced.
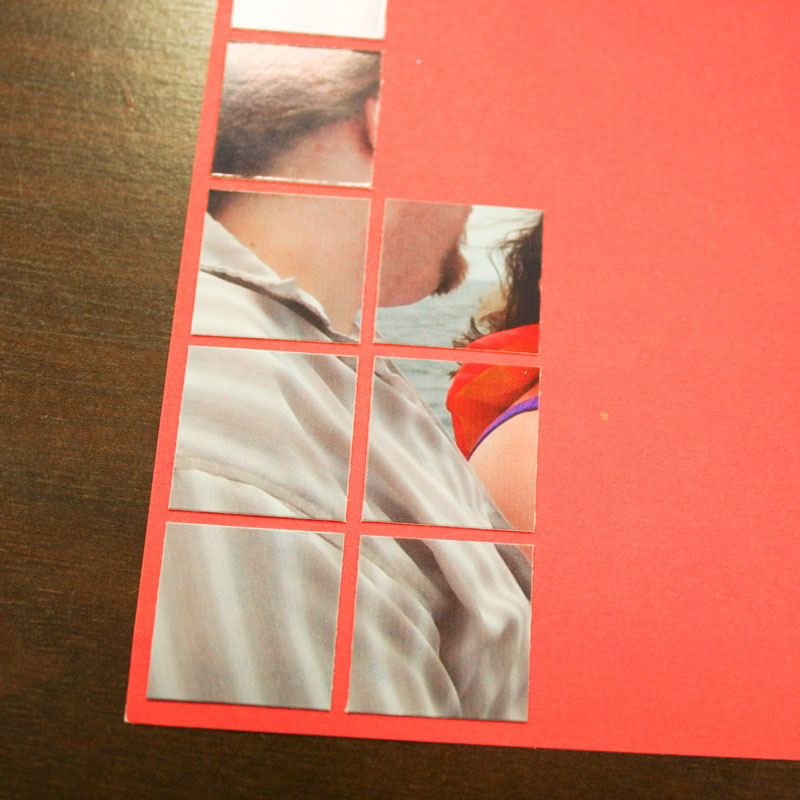
If you need help keeping things straight, you can try holding a ruler along the grout line and then putting the tiles against the edge of the ruler to line them up.
When you're all done, you may need to trim your background paper a bit to make it even on all sides. If doing this makes your page smaller than the size you need for your album or frame, just add another full-sized sheet of paper to the back, creating a matted effect and a nice background.
It's amazing how what was once a pile of disheveled scraps of photos turns into such a nice collage once you get them all attached in straight lines!
similar projects
How to Make Photo Corners
Get Perfectly Straight and Centered Scrapbook Letters
Make Your Own Custom Photo Notepads


2 comments so far:
Good idea! I think you could make it on a bigger scale and cut the squares bigger and put it on a canvas. You could use spray on adhesive to glue on. You could also paint the canvas!
What a fantastic idea for some original art work. If you try this, please send us a photo!