


Recycle Daily Calendars to Wallpaper a Small Space

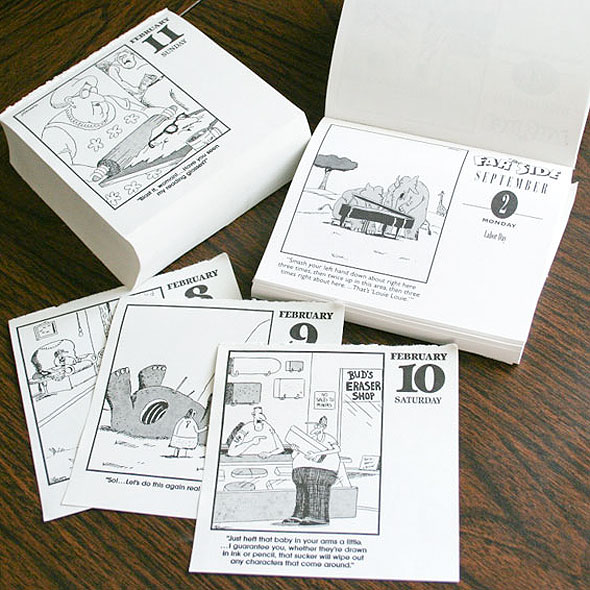
The year I first started working in an office, three of my loved ones gave me those little "page a day" desk calendars for Christmas. I could only use one, so I saved the other two away in a drawer, knowing that one day I would find a use for them. Then one day, while brainstorming ideas for decorating the half-bath in my home, I remembered those calendars and inspiration struck. I could wallpaper with them!
The two desk calendars I had saved away were both full of The Far Side comics. That had always been my favorite comic strip (and my family knew that — that's why I got three of them!). I wanted to read them over and over, so what could be better than putting them on the wall? I especially loved that they were black and white, which would be a nice decorative touch.
Even with the subtle black-and-white color scheme, I knew that covering an entire wall would be too much, so I decided to just cover the bottom half of the wall with the comics. To delineate the space, I started by installing a small chair rail around the room. Then I covered the bottom half of the wall with pieces of 1/4" thin lauan plywood. Why? Well, this way if I (or a future homeowner) ever wanted to undo the project, removing the panels would be way easier than scraping off glued comics from the drywall.
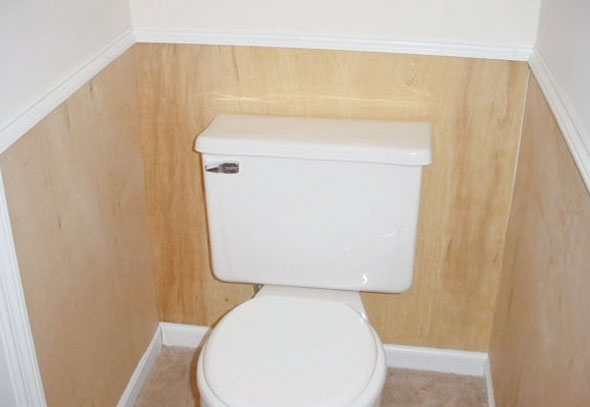
I cut the lauan to fit between the chair rail and the baseboard, and suddenly I had a smooth (and easily removable) surface on which to apply my custom wallpaper. I didn't have to fill any holes or gaps, because I knew I was going to cover it all with paper. But I did paint it white to make sure I had a nice bright background in case it showed through.
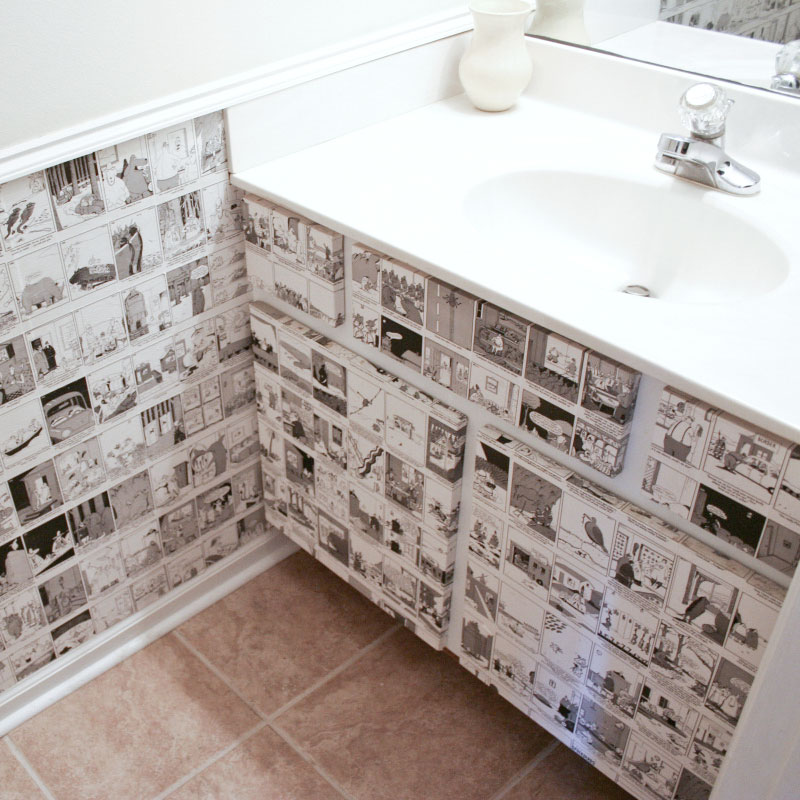
I wanted the vanity to be similarly easy to un-do, but I didn't want to ruin the solid wood doors and facing. So I quickly cut out some new doors from pine, painted them white, and covered the facing with white contact paper. Perfect!

With the surfaces prepped, I got to work on my cutting the comic pages into usable pieces. I used a paper trimmer to trim them as close as possible on the top and right sides, but left the excess white paper on the bottom and left sides. This extra on two sides gave me plenty of background so that when I applied the next one up against it, there was some overlap and no gap between the two.

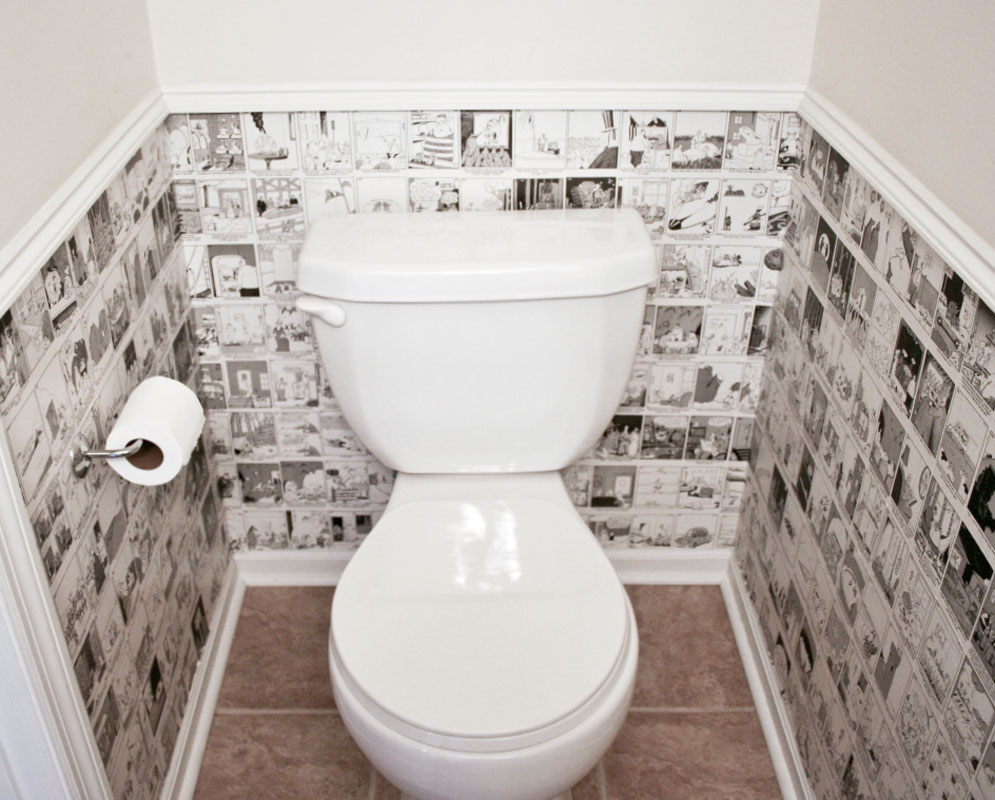
Finally the prep was done and I could start applying the comics. For this, I used Decou-Page medium and a foam brush, applying it first to the wall where the comic would go. I then pressed the comic on top of the decoupage medium, smoothed it out with my fingers, and brushed more medium over the whole comic, sealing it thoroughly. I continued in this manner, starting at the top right corner of the wall and working down to the left and then down. Keep in mind that the close-trimmed edges of the comics were on the top and right, so it was crucial that I work from right to left and top to bottom.

When the entire wall was covered (boy, it was hard to reach behind the toilet!), I brushed another coat of decoupage medium over the entire surface, again with a foam brush, to give it a final sealing coat.
And those boring white new vanity doors? Yup, I covered those with comics, too.
I was having so much fun I couldn't stop — I even framed a couple of my favorite comics in simple black frames and hung them on the wall.
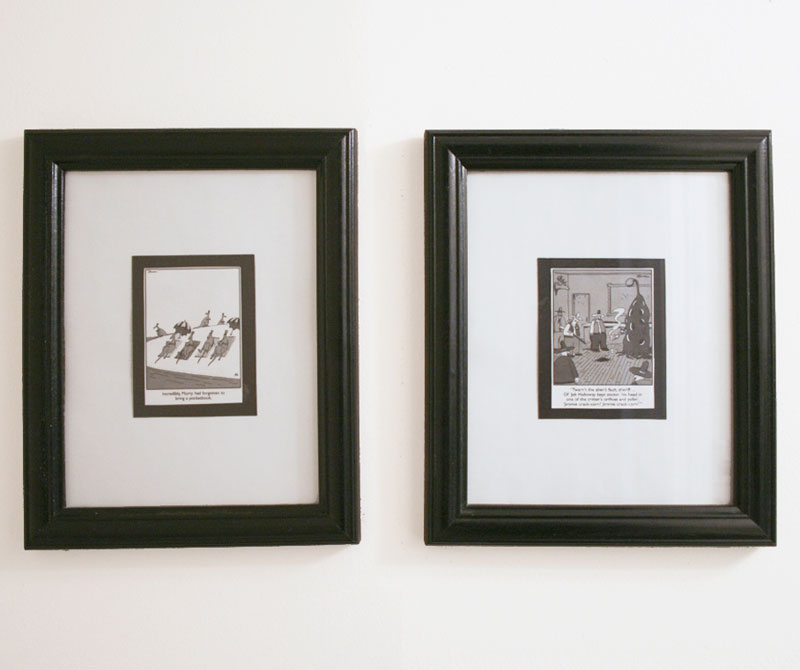
With the framed comics on the wall and a matching black towel on the towel rack, I had myself the most creative black-and-white bathroom I'd ever seen. Every guest in my home who walks into the bathroom laughs as they see what I've done, and they all love it. Most of my friends have identified their favorites on the wall, and I love having such a unique conversation piece in such an unusual place.
similar projects
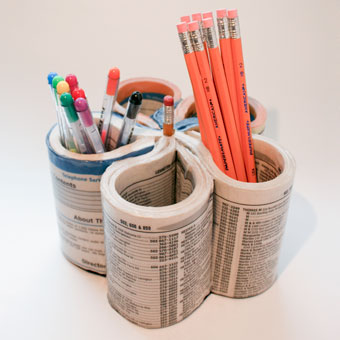
Recycle a Phone Book into a Pen Organizer
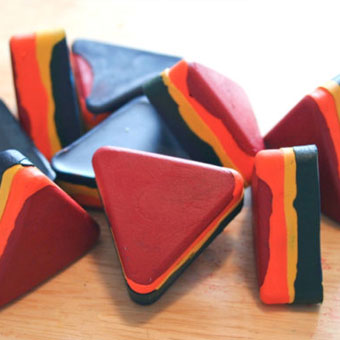
Recycle Broken Crayon Pieces into Fun New Shapes
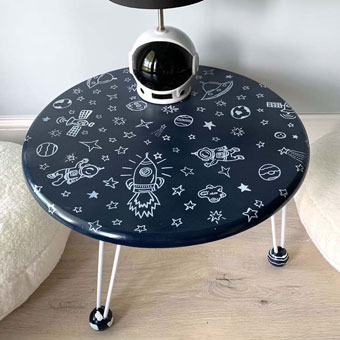
Space Themed Kid Playroom Table


7 comments so far:
Thank you for sharing this great tutorial. I'm definitely going to try this. You also inspired me to try to make a tutorial video of my own to post on my site. Thanks for the inspiration!
So glad you liked the idea! We'd love to see your project when it's complete :)
When you want to change the decor, do you just paint over it or does it have to be removed? If it has to be removed, how would one go about removing it??
Also, could you use starch to apply it? People frequently use starch to apply fabric to walls. When they want to change their decor, they just peel the fabric off the walls.
It seems that as long as you don't over saturate the walls, the drywall would be ok. This technique might not work in a full batthroom where moisture would be an issue. But in a half bath...it just might work.
NM, those are great questions!
Because I knew this would be difficult to remove later if I glued it straight to the drywall, I first covered the walls with very thin sheets of lauan wood (see Fig 1). I tacked this in place with a few thin nails, so that if I ever want to remove the whole finish, I just need to pry the lauan off with a hammer and the walls are back to normal.
I would not suggest painting over it, because the surface won't be smooth anymore because of the paper and glue. Those irregularities would show up really strongly under paint.
I have never used starch for applying fabric, but I would be afraid to try something like that with paper. I just can't imagine it coming off very easily, and most importantly - you wouldn't have a nice sealed surface on the paper unless you use the decoupage medium. There's just something about bathroom walls that can't be wiped clean that irks me :)
Love what you did here but due to people taking showers and such in the bathroom, did any of the comics start peeling off?
Abby, this was a half bath with no shower, so steam wasn't an issue. If I'd done it in a full bath, I probably would have finished it off with a coat of outdoor polyurethane.
Thanks for this piece, Chica... Looks great! I'm about to try something similar in my bathroom (also b/w "pen & ink" comics, although not all the same size), but I DO have a full bath with shower & tub, so steam might be an issue -- so will try your idea of finishing it off with a coat of outdoor polyurethane -- if you have a preferred type or brand to recommend, please do!